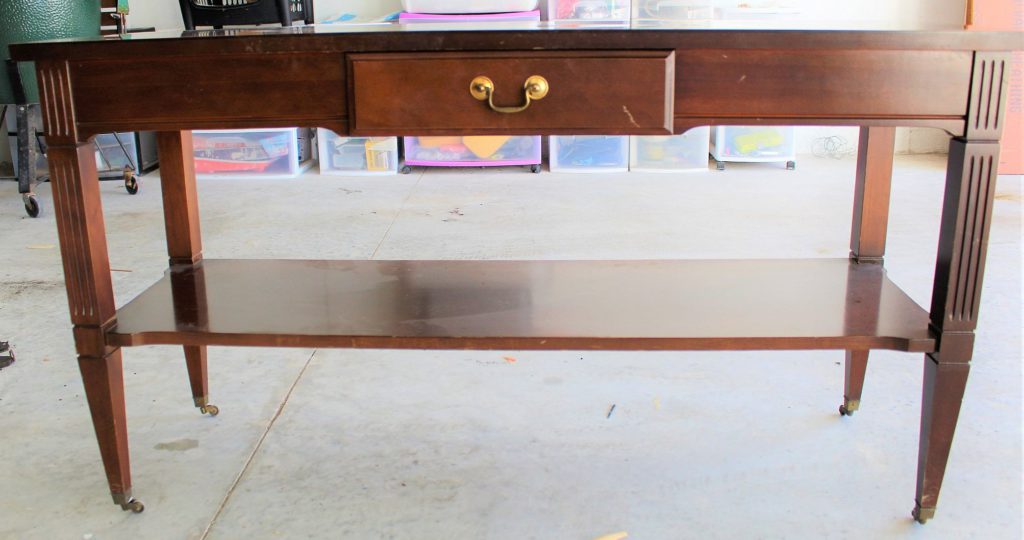
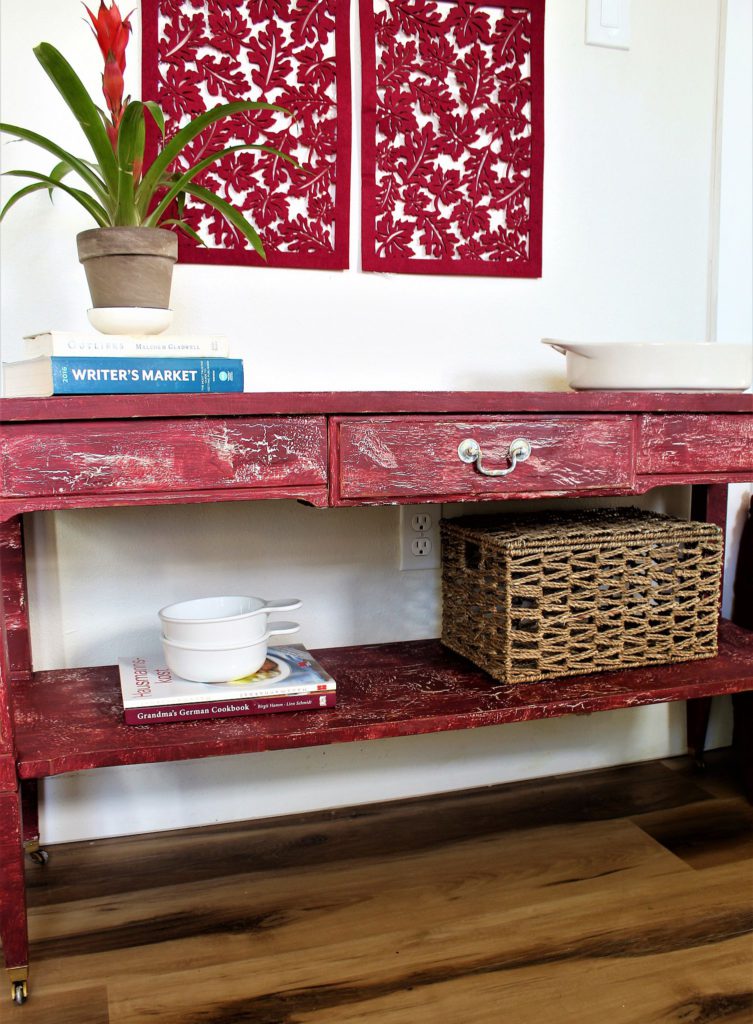
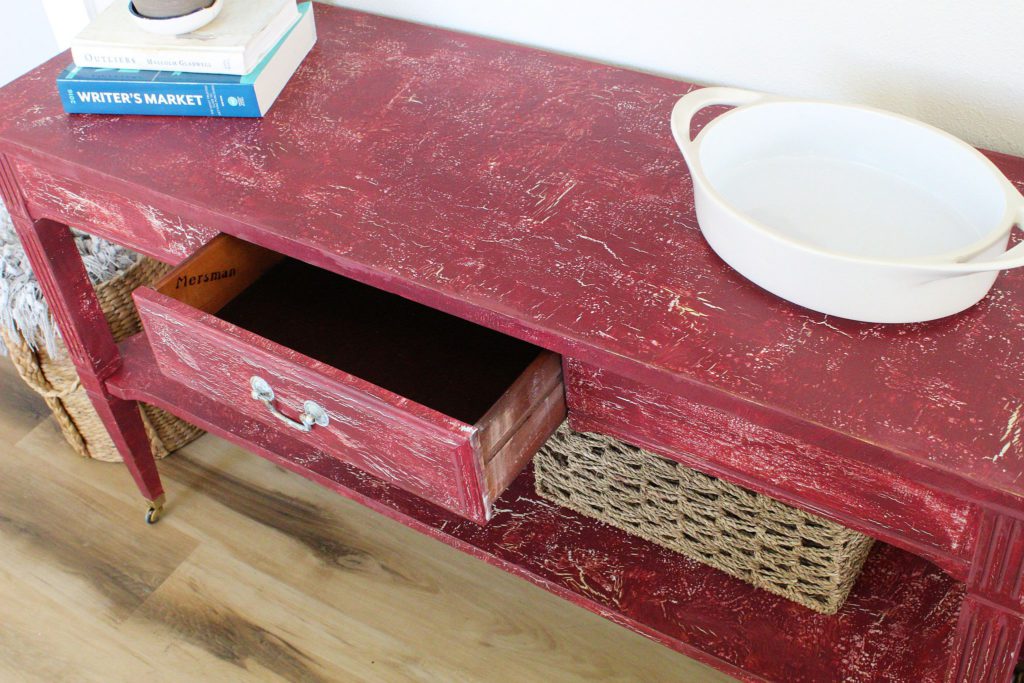
Hello everyone! Thanks for stopping by. This thrift store Mersman table underwent a really cool transformation. Please take a look for yourself.
Although it’s a really cute table that can be used as a sofa table, an accent table, and even as a bar, it was begging for an updo.
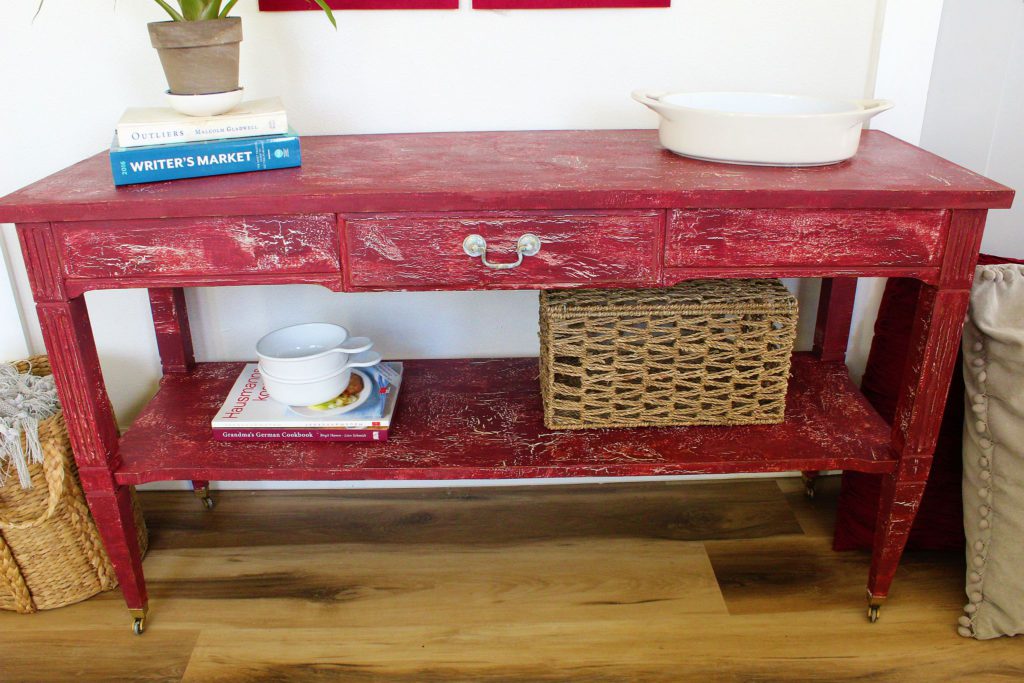
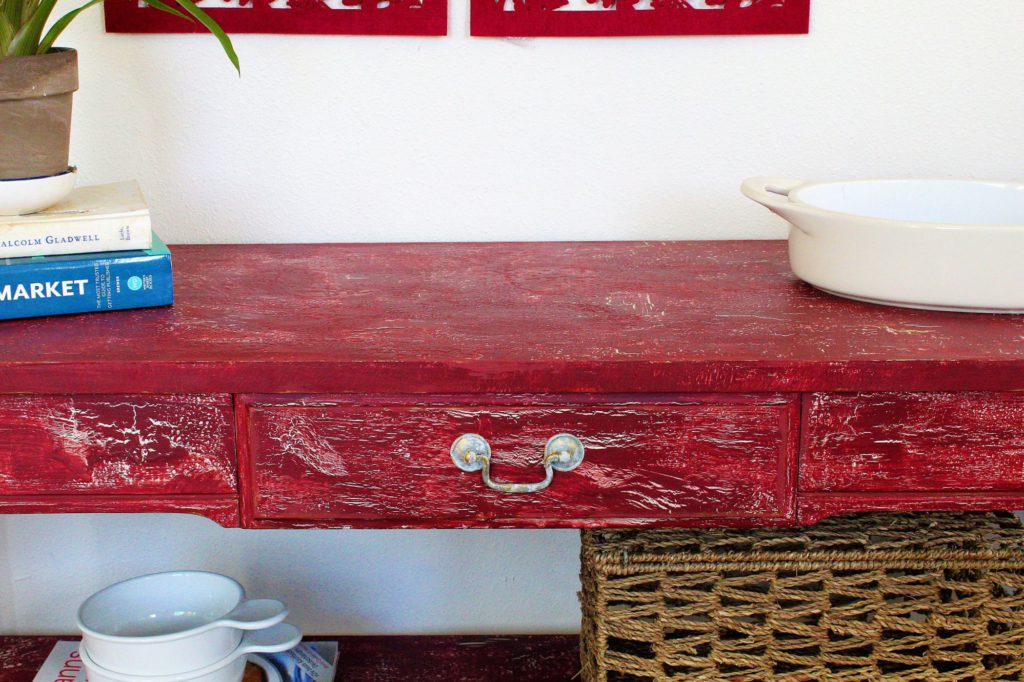
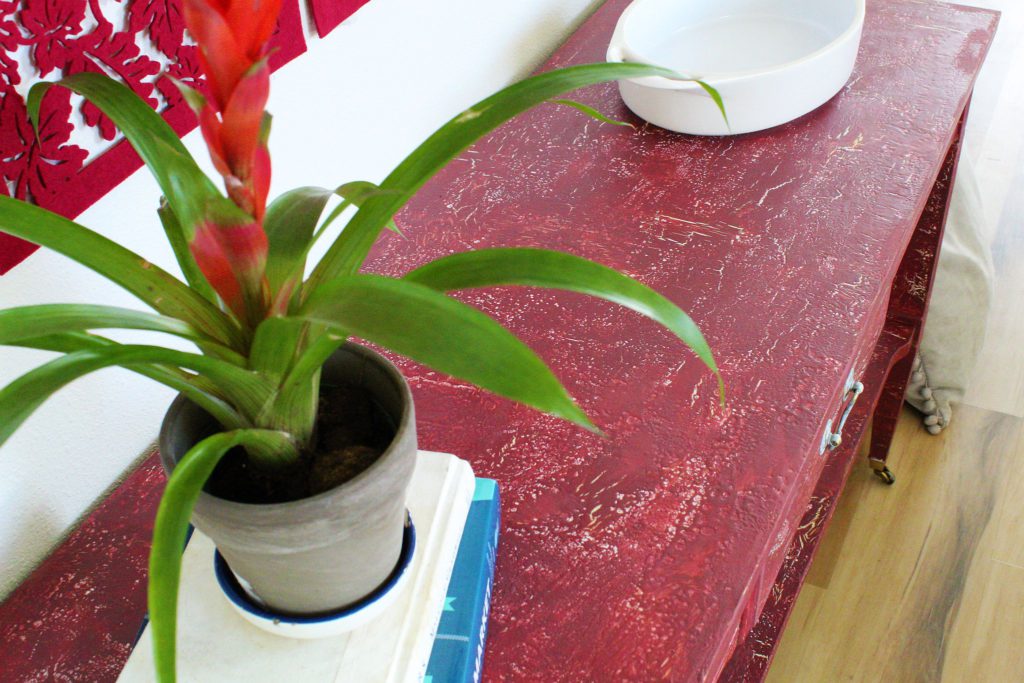
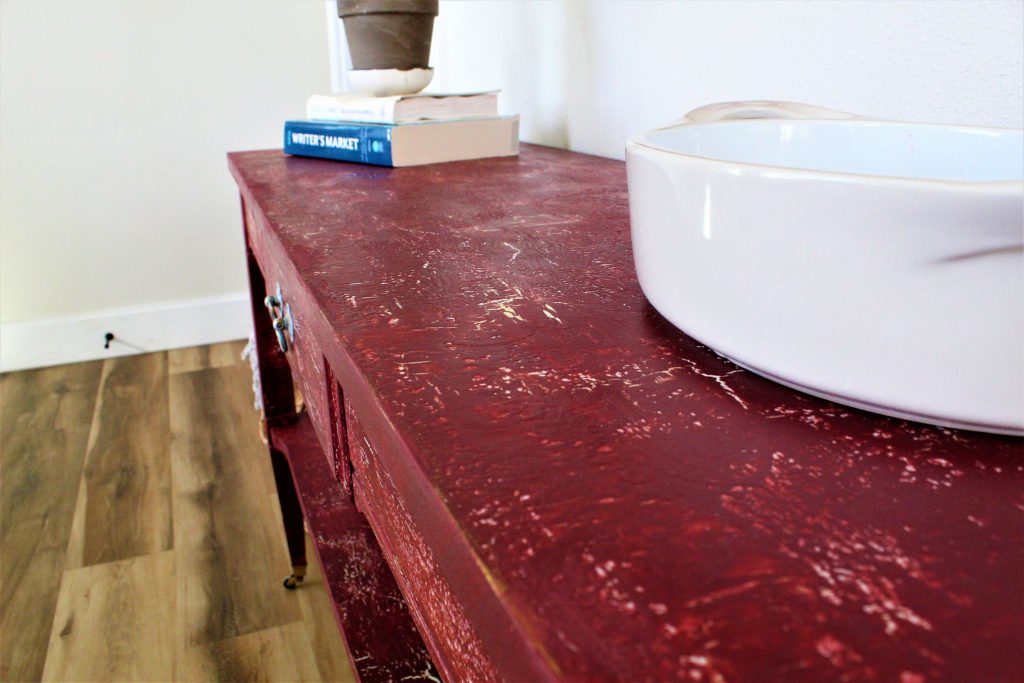
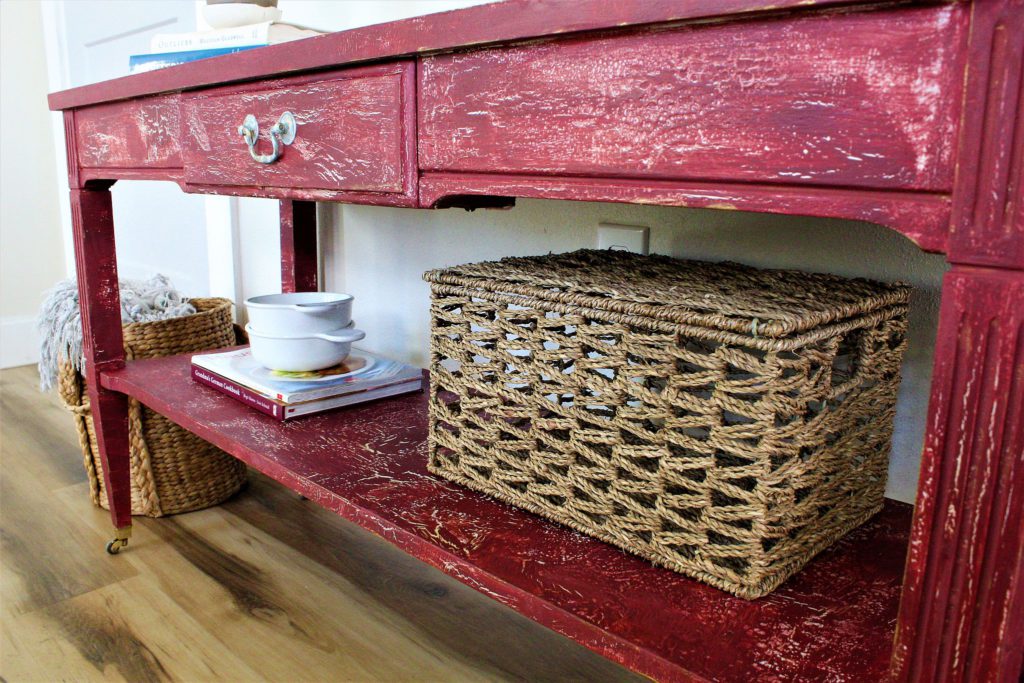
I just love the crackled look on furniture. It’s a beautiful way to create an aged look and to add fascinating character. Since I wanted to do something bold with this table, I picked Glidden’s Chery Cola to jazz it up. I chalked the paint with the Navage Patch’ssuper easy recipe:
For each cup of paint you add: 4 tbsn.s calcium carbonite 1 tbsn. talc (pure & unscented) water as needed I blend it all in an old blender
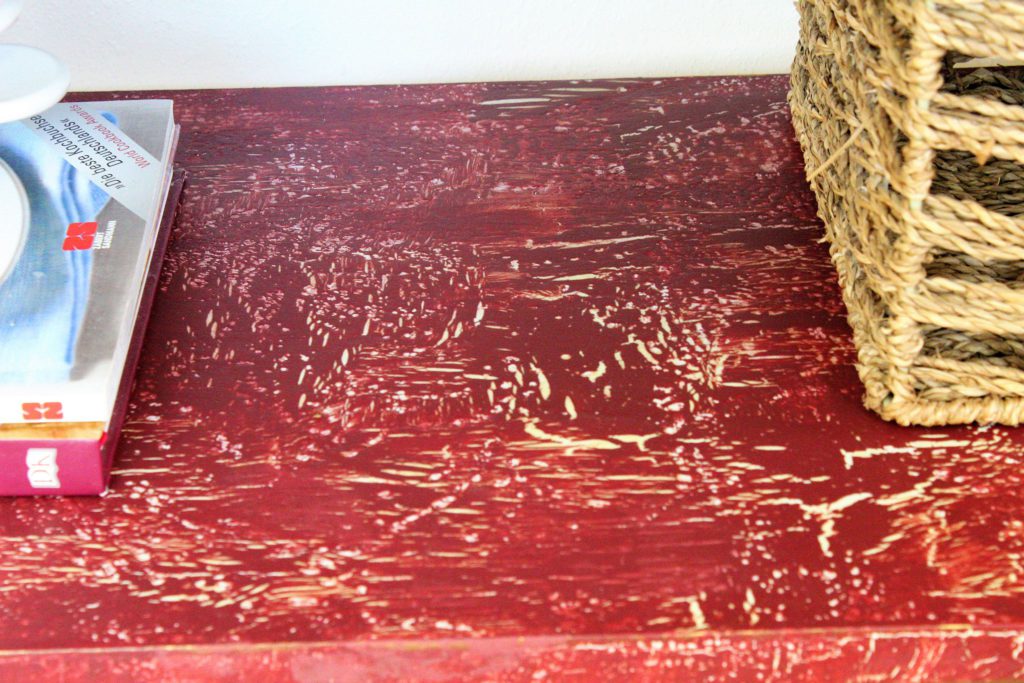
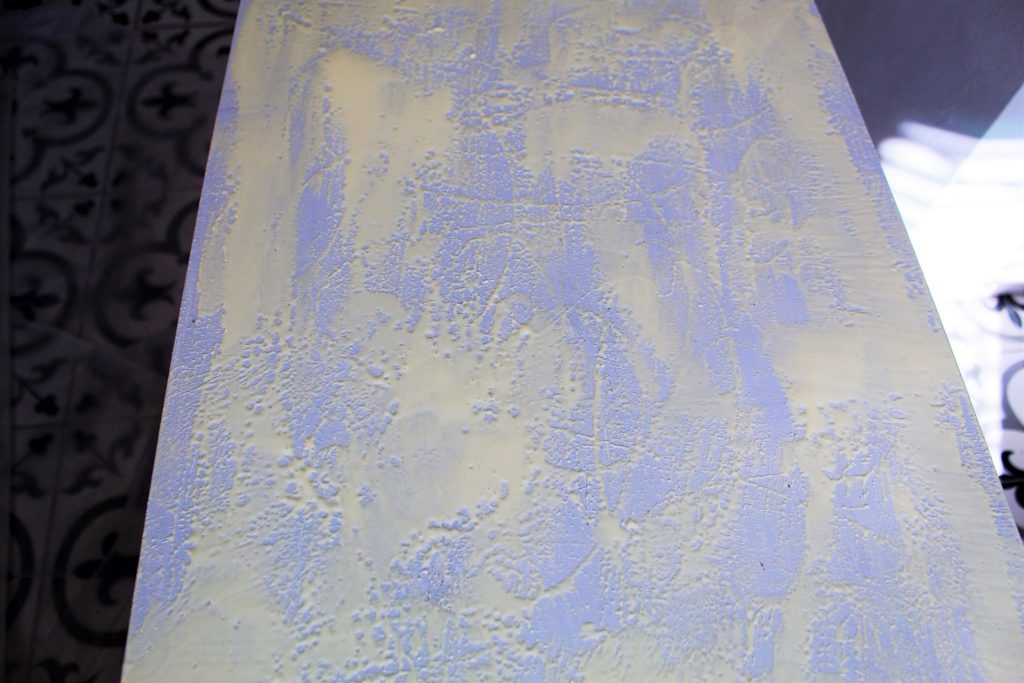
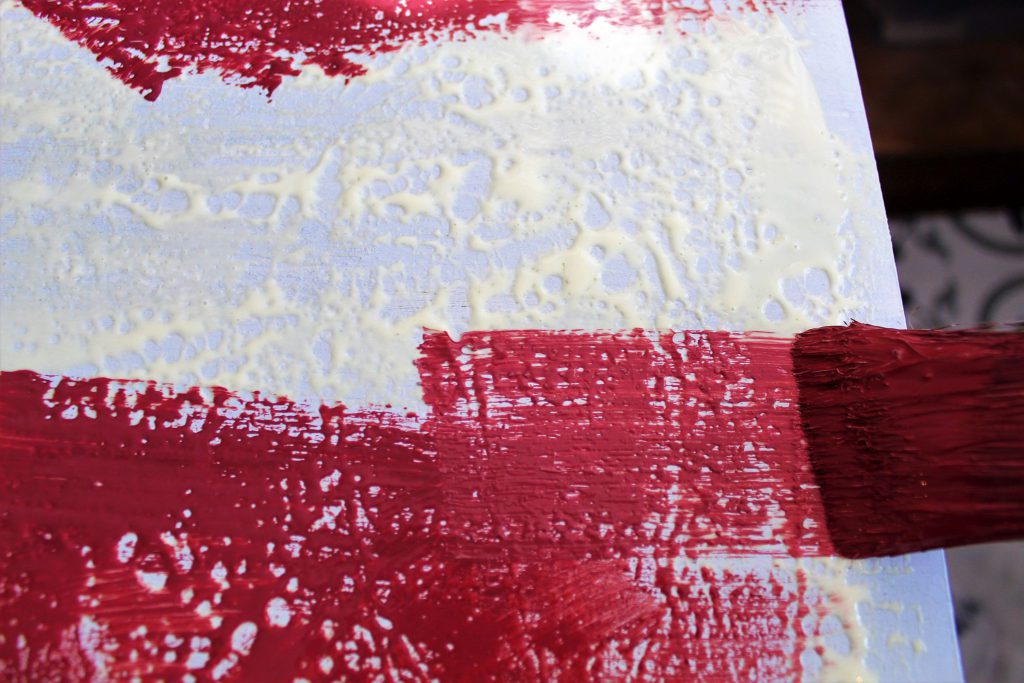
So I have a confession to make…What I started with for my crackling look didn’t work out so well. I was trying a new product, a crackling glaze, which I applied to my base coat, a pale light blue. (Make sure you use two colors, one light, one dark, to get a good contrast when the top layer crackles.) Perhaps I didn’t apply it correctly, but there was not a whole lot of crackling going on with this glaze…pooh. So I went with plan B—glue. I drizzled wood glue everywhere and then spread it with a paint brush.
Because the light blue had a dried layer of crackle glaze on it, the glue did not spread out evenly and smoothly. I used a hair dryer to just slightly dry a thin skin on the glue. But if you use a dryer be careful not to dry the glue out. Since the glaze made the glue kind of curdle, when I brushed the red color on top, it created this awesome textured look. When it comes to creating, mistakes are not really “mistakes” but opportunities for something amazing! So in addition to the raised texture patterns, as the glue dried and shrunk it pulled the top layer of paint creating a crackled effect.
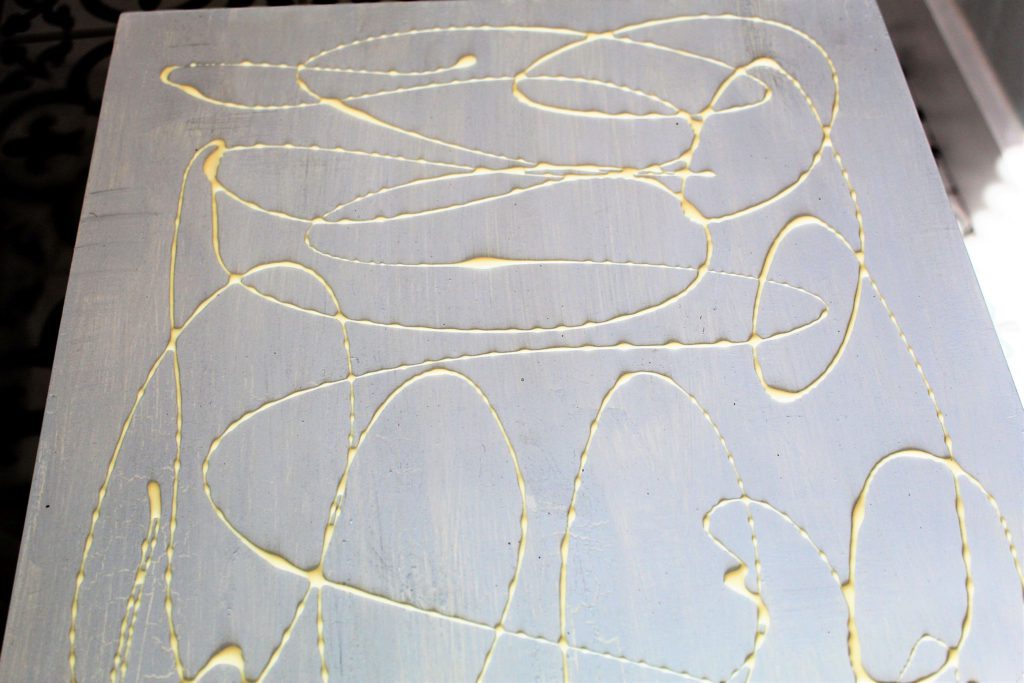
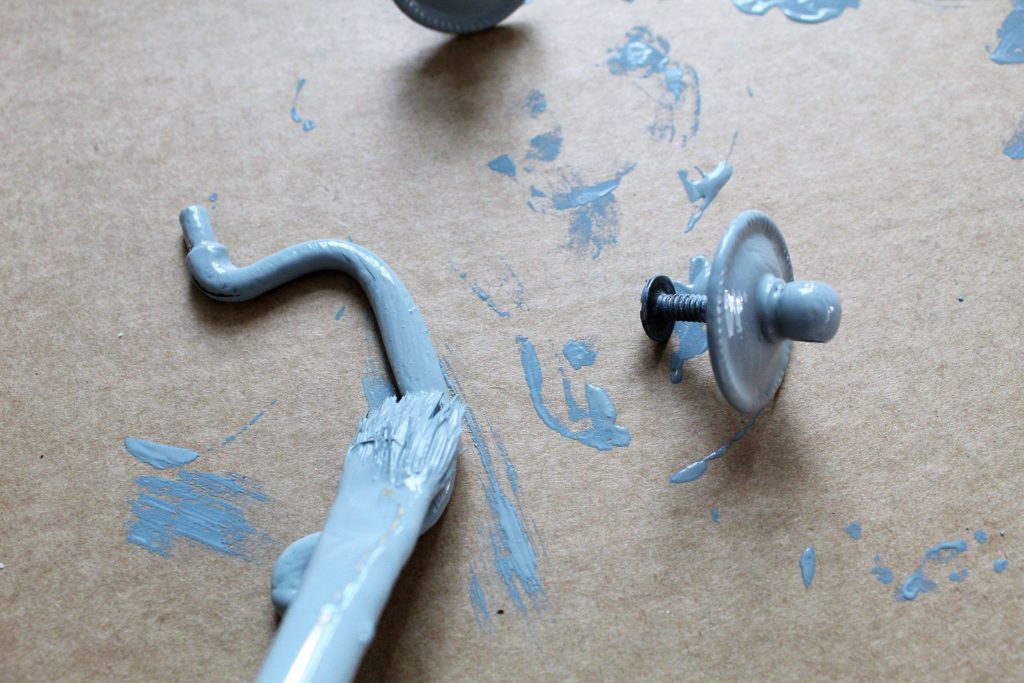
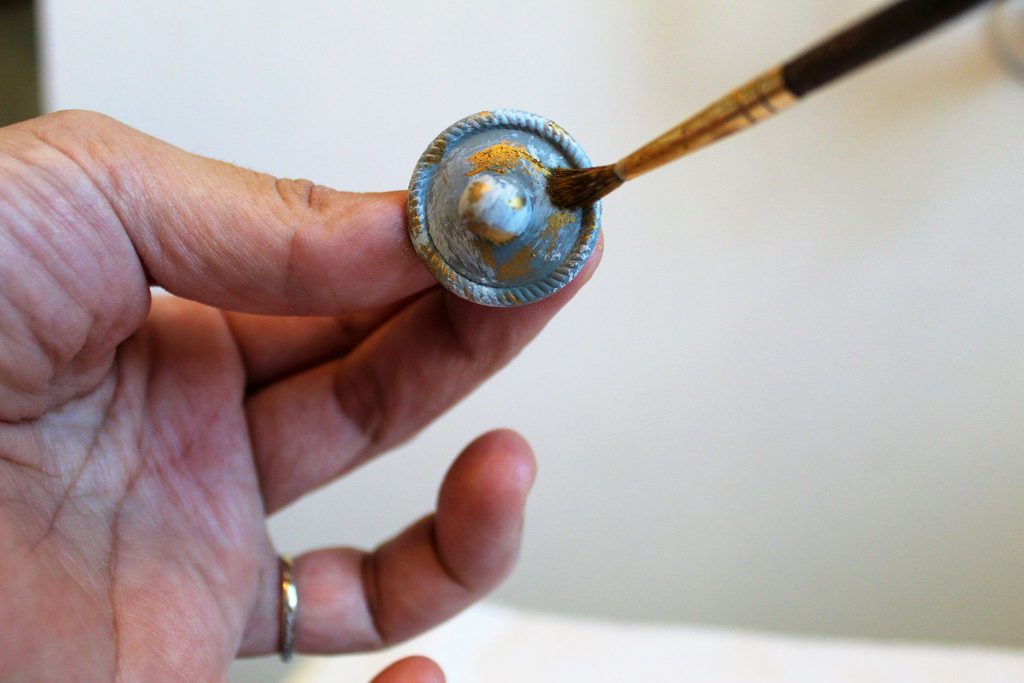
To pretty up the hardware and mimic the textured look, I first applied a thick base coat of a gray chalk paint. Once it dried, I dabbed some of the light blue chalk paint I used for the table. Then I accented the hardware with Gold Leaf Rub n’ Buff.
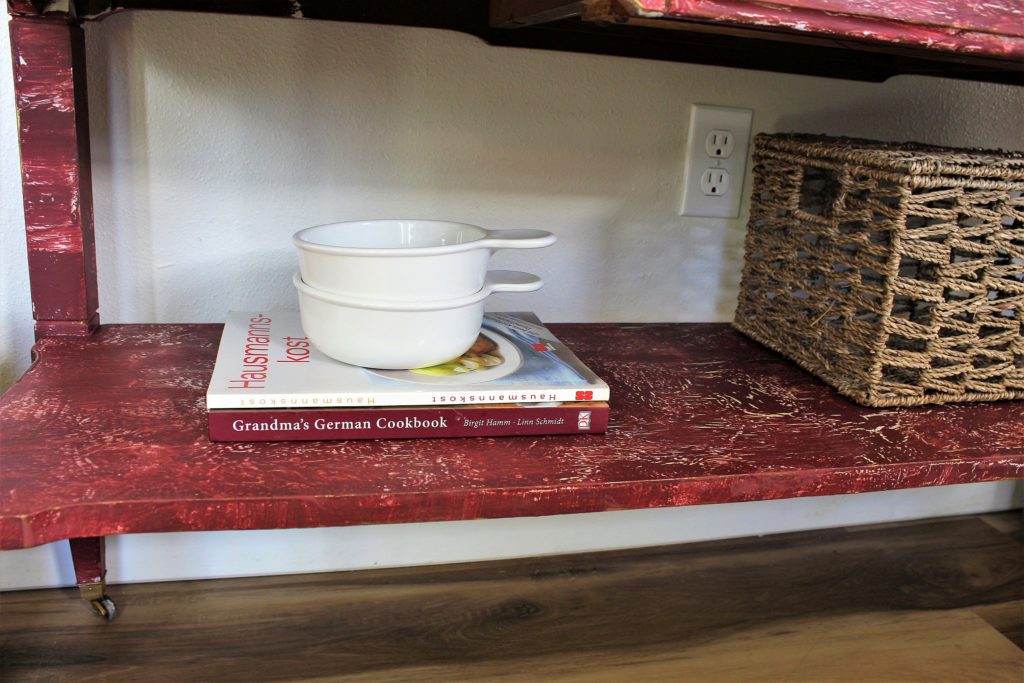
So what do you think of the Mersman table. Isn’t she a show-stopper? I sealed everything with my beeswax clear finishing wax. This piece is now available for sale on our facebook page.