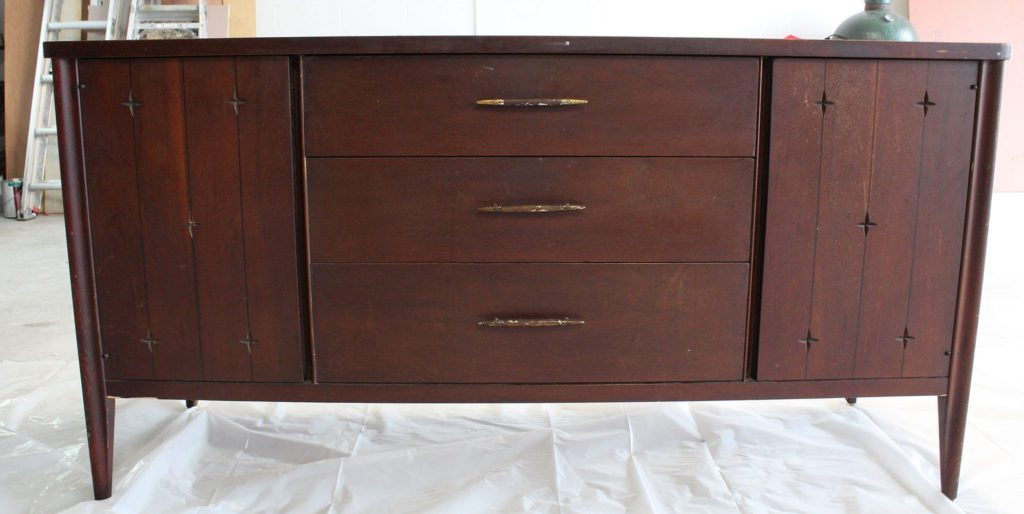
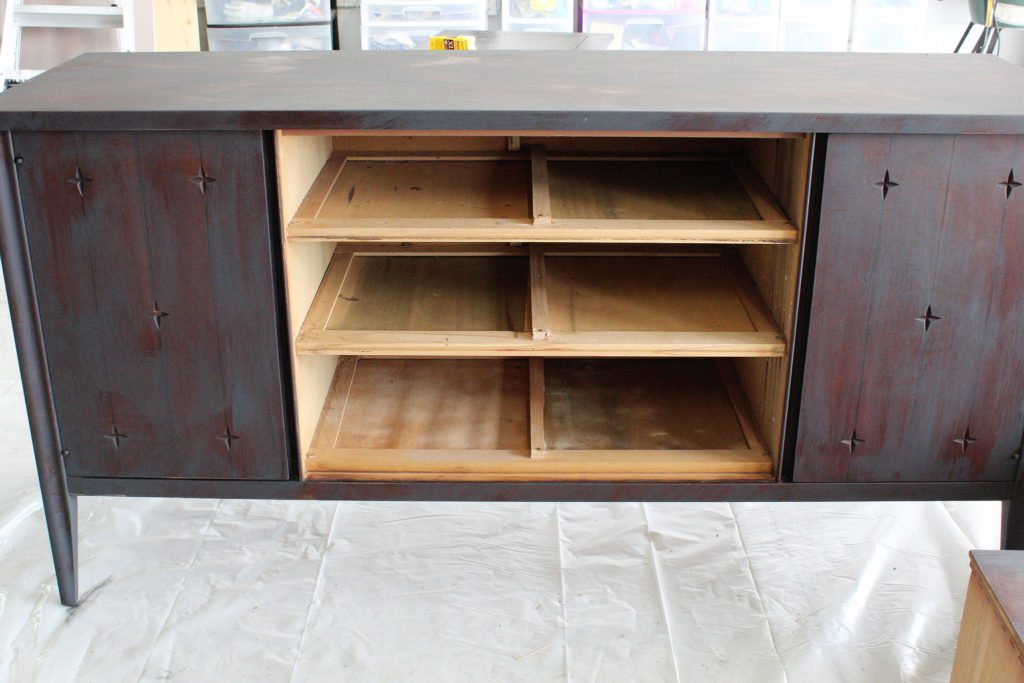
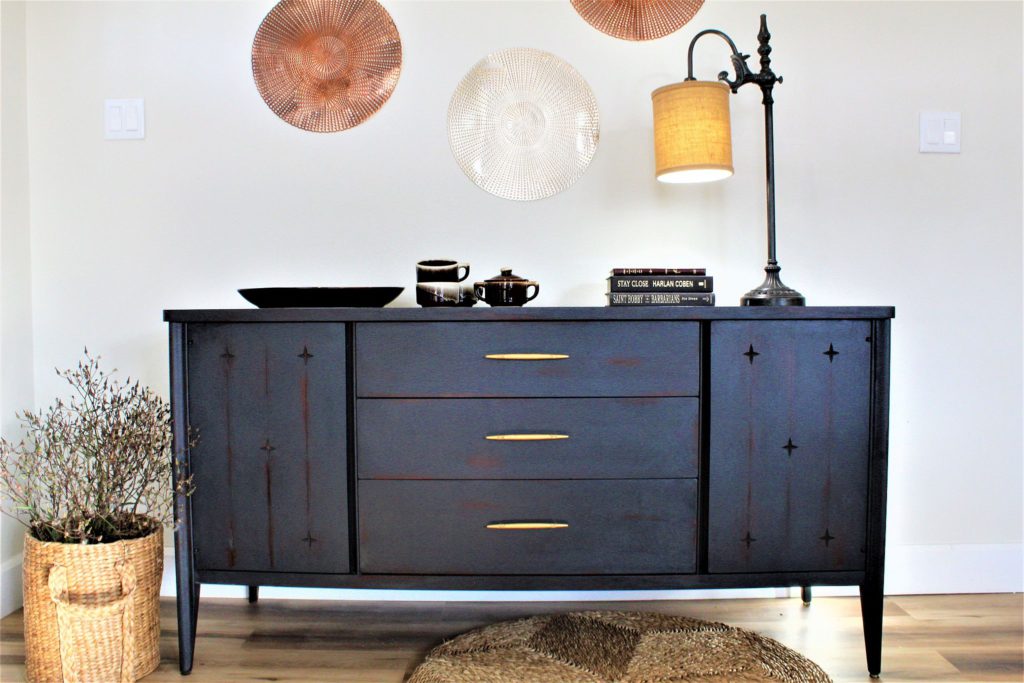
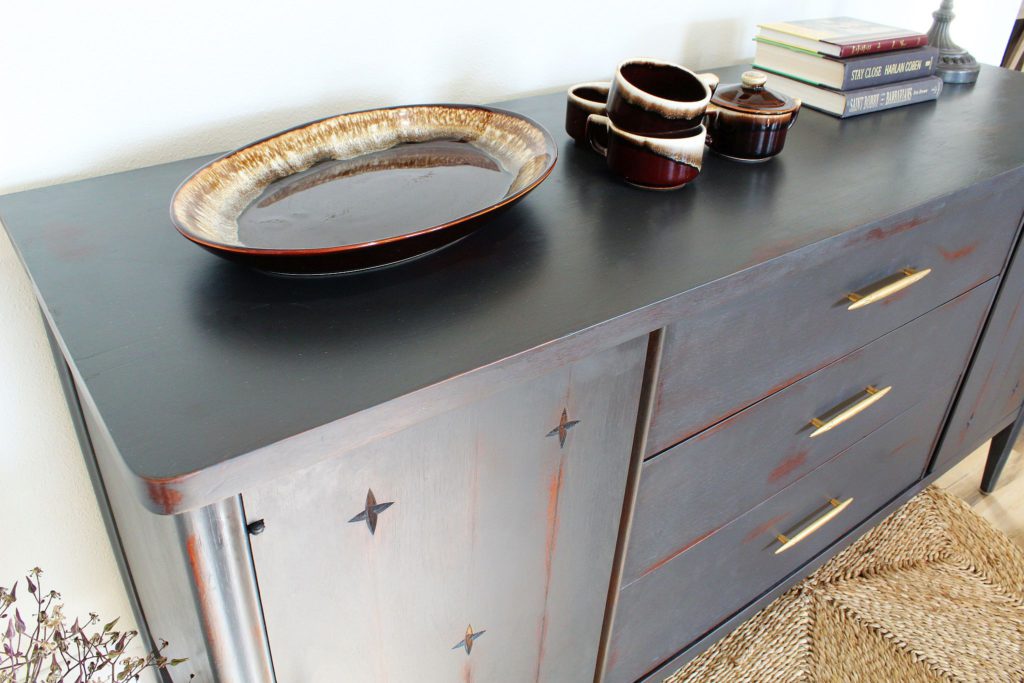
Oh my stars and garters! Out thrifting I stumbled upon a hidden gem—a stunning vintage Mid Century credenza tucked behind layers of dilapidated furniture. I took a closer look and wow—star-carved details and gorgeous lines and best of all, this solid walnut piece was in wonderful condition. Someone had really taken care of this beauty. I can’t wait to share with you how I refashioned this treasure.
No repairs needed just some light sanding to remove minor blemishes and a good cleaning. I love cleaning everything with my homemade vinegar mix. Cleans great and NO chemicals. It’s simply distilled vinegar with a few drops of jasmine essential oil. The jasmine gives it the lovelyiest scent.
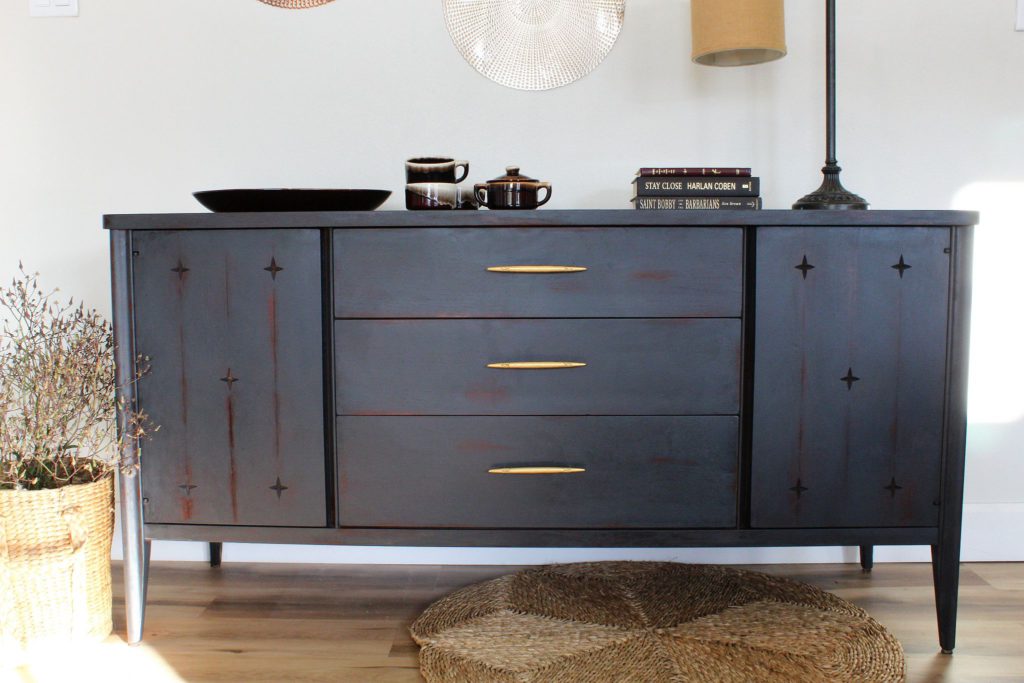
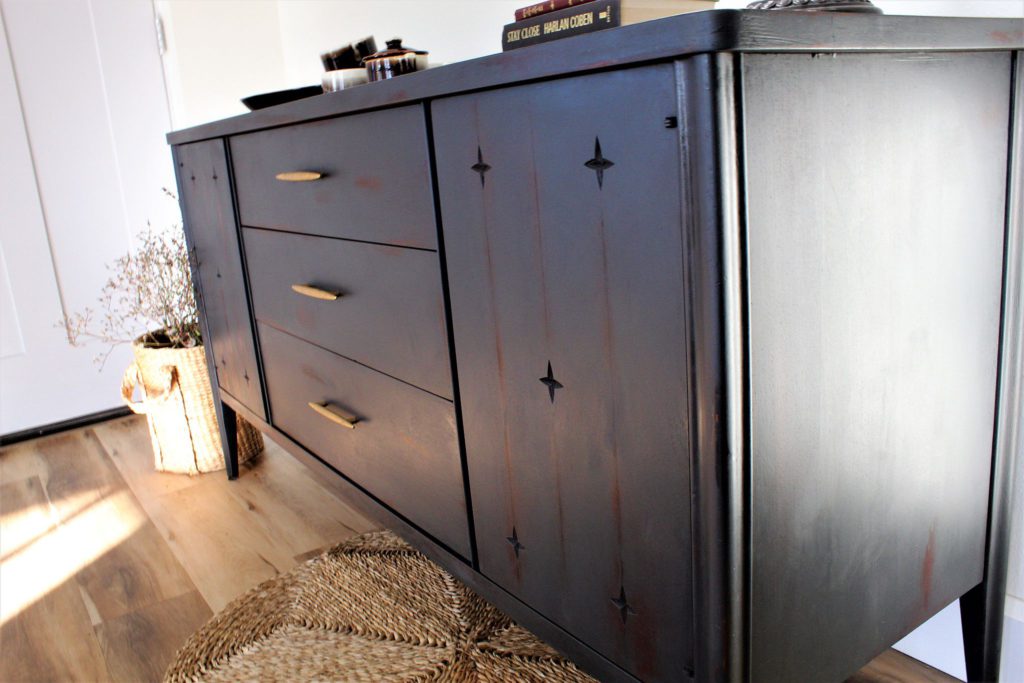
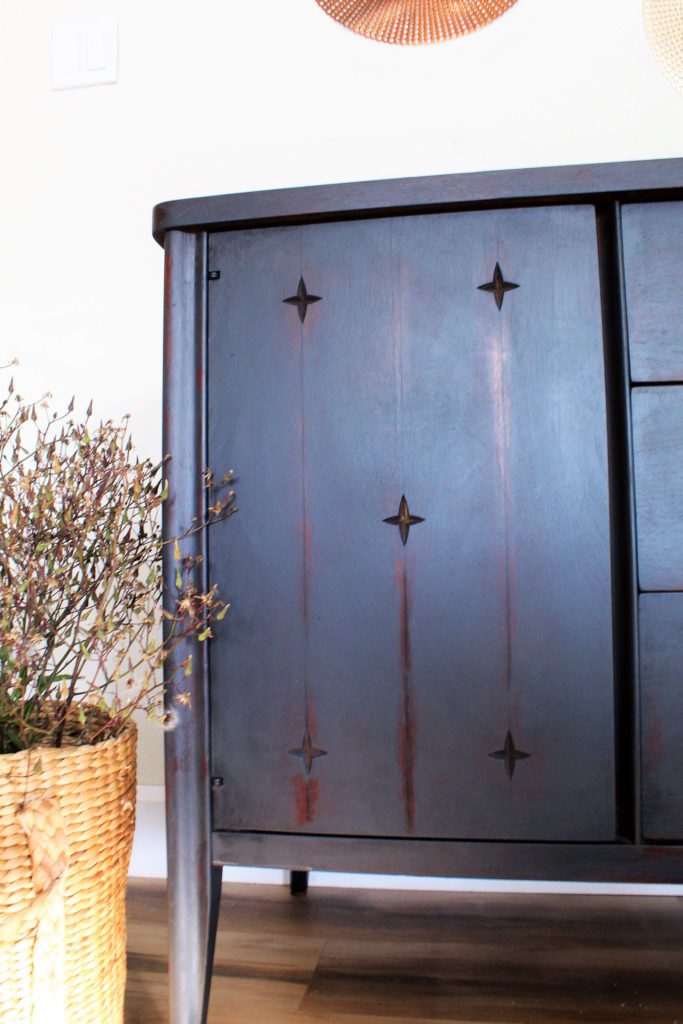
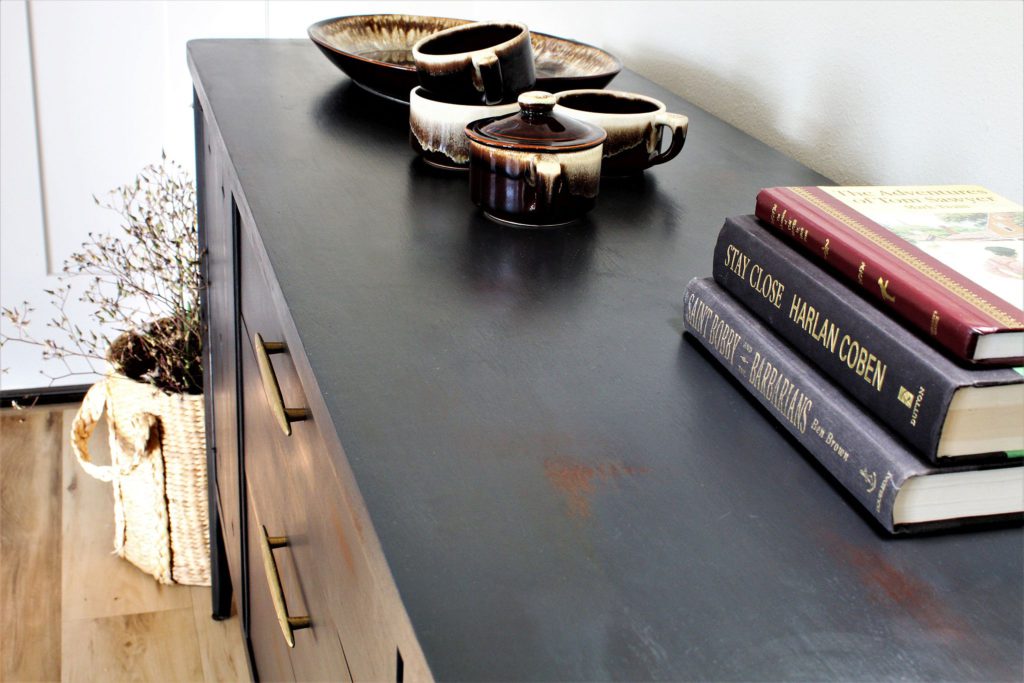
I went with Glidden’s Dark Secret for my color. It is a majestic, deep, bluish-blackish color. The pictures simply don’t do it justice. I chalked with the following recipe: Only 2 ingredients! For each cup of paint you add: 4 tbsn.s calcium carbonite 1 tbsn. talc (pure & unscented) water as needed I blend it all in an old blender—easy peasy.
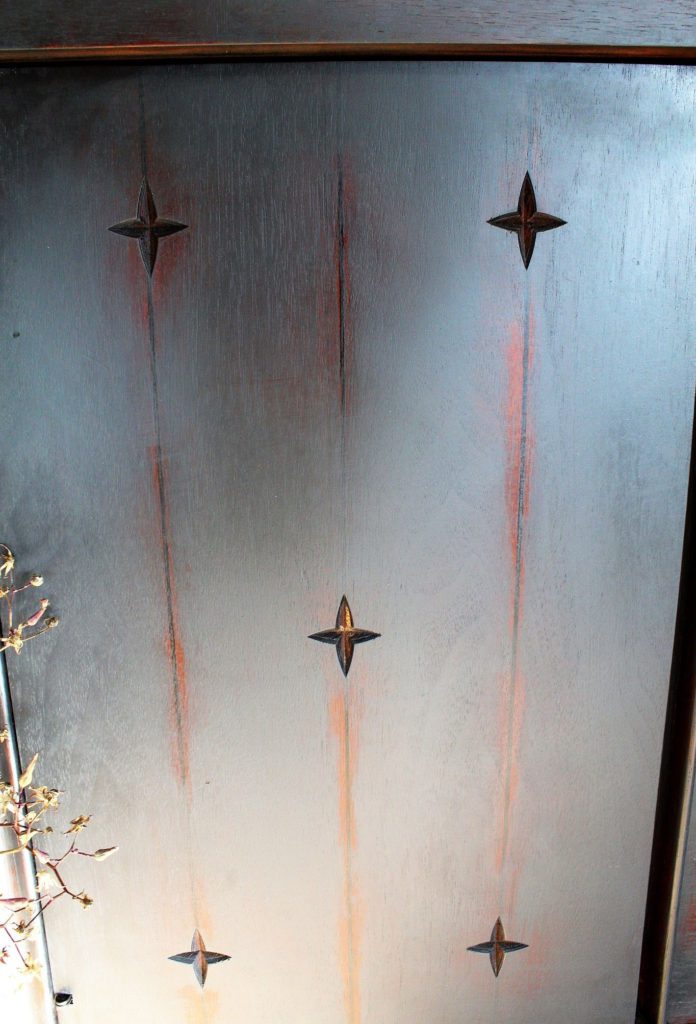
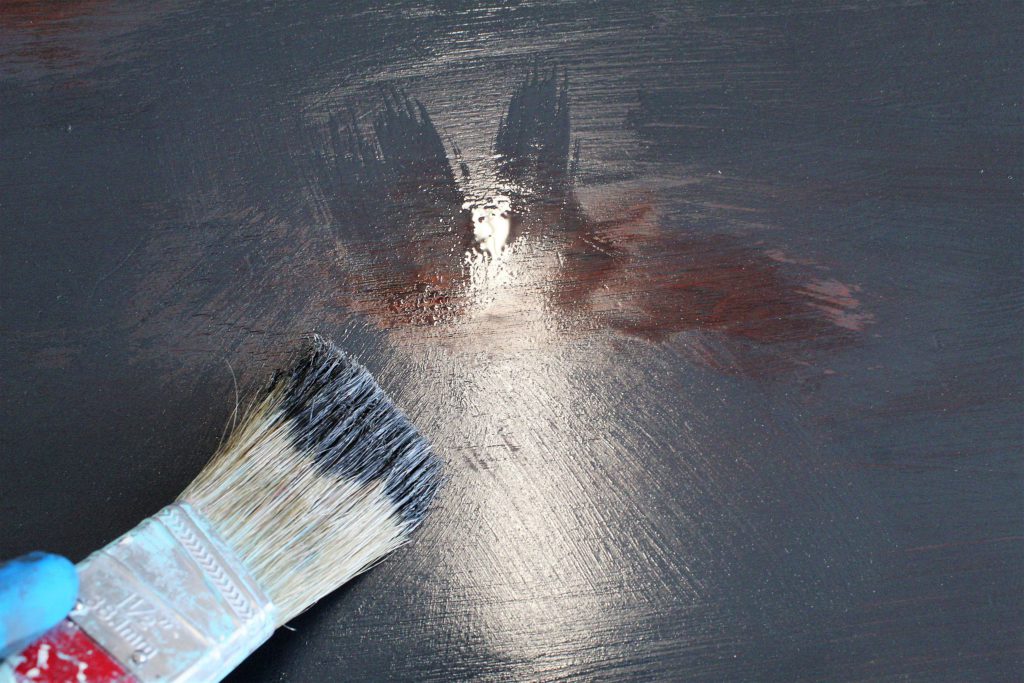
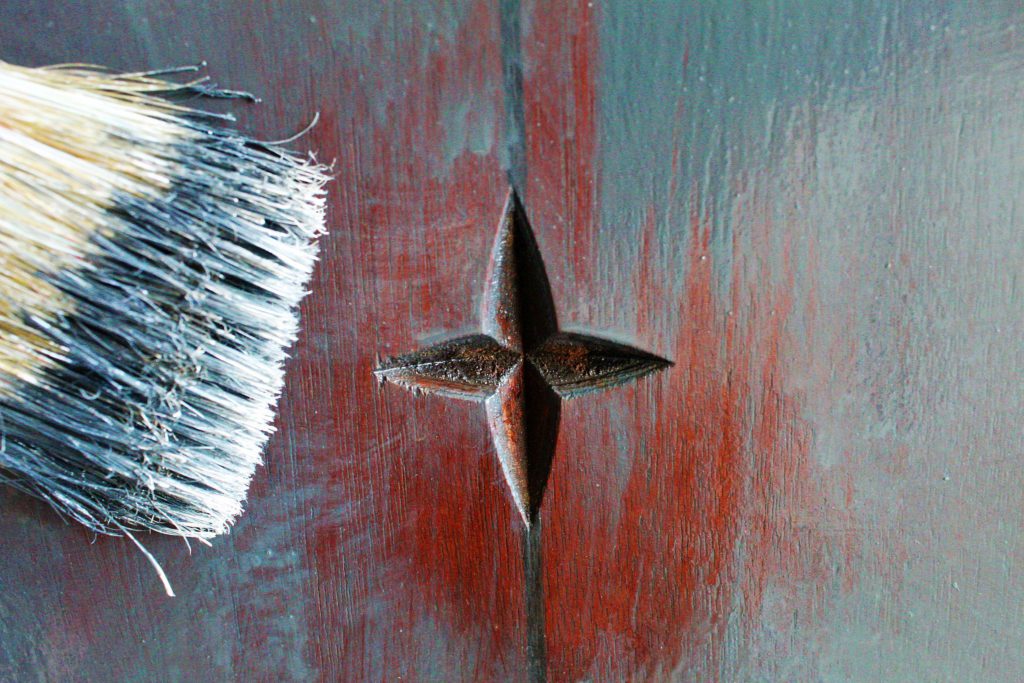
To get the look I wanted, I played with a few techniques: backwashing, feathering the paint while using my water mister and wet distressing.
I love the magic that happens through trial and error. Denise from Salvaged Inspirations has a great post on black washing as well as TONS of beautiful furniture makeovers tutorials. Since I’m using a different color and I’m not white or black washing, I’m just calling it back washing. Meaning I first spray the area with my handy mister, brush on some paint, take a rag and immediately run it back over the paint, slightly thinning it out. This is another way to allow some of the color underneath to come through. This is what the piece looked after one coat of paint.
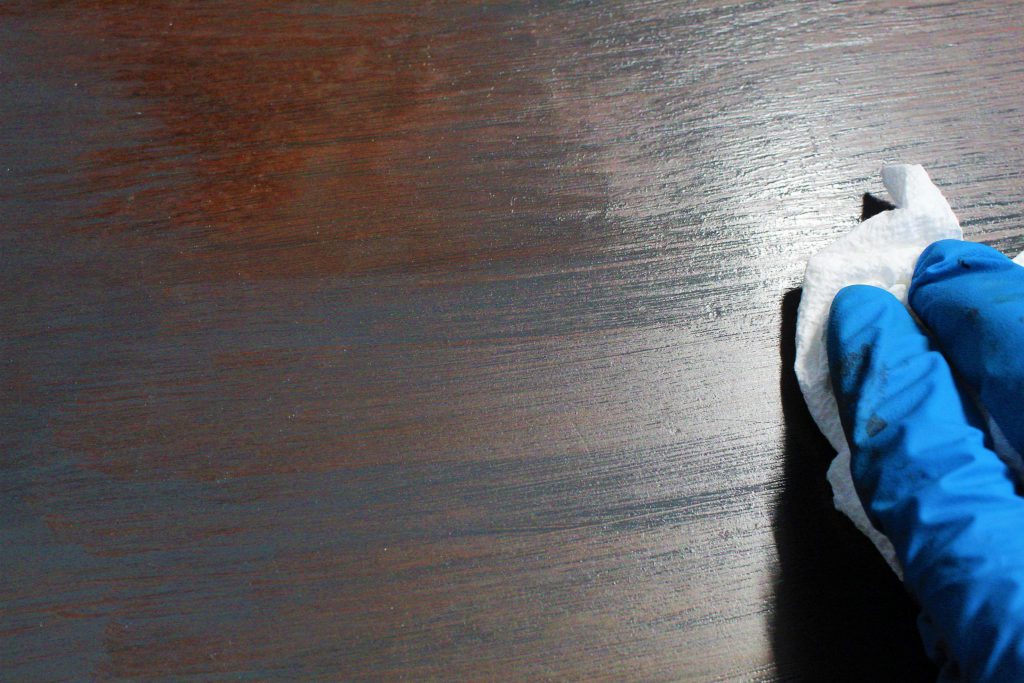
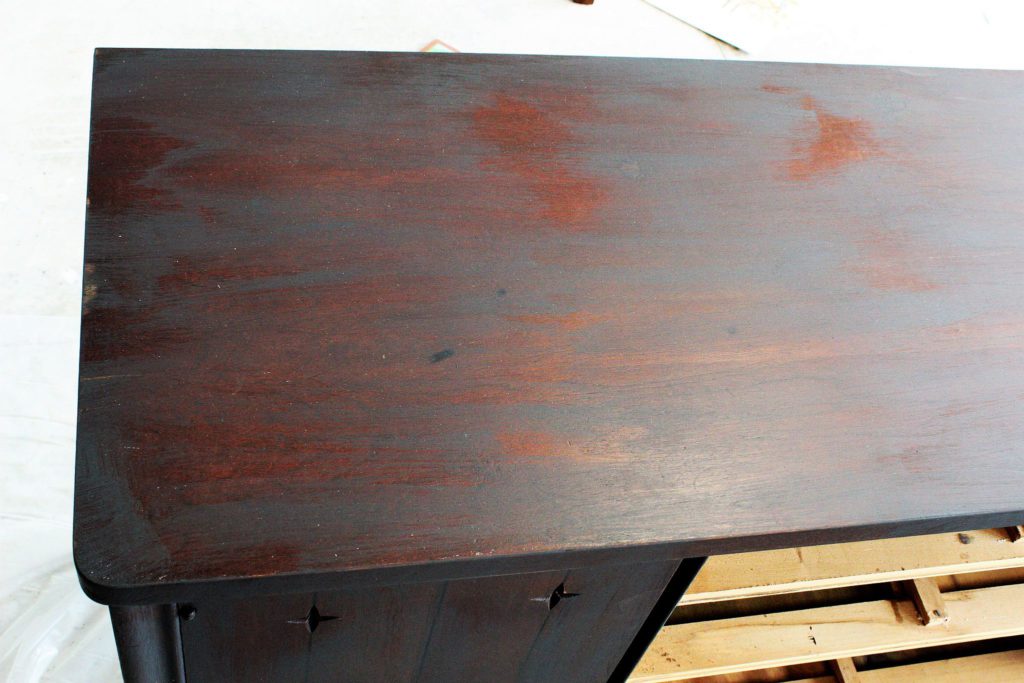
Don’t worry, it gets better! The second coat changes everything. Once I applied the second coat, I did some wet-distressing by simply spraying a little water with my misting bottle and rubbing off a little paint with a paper towel.
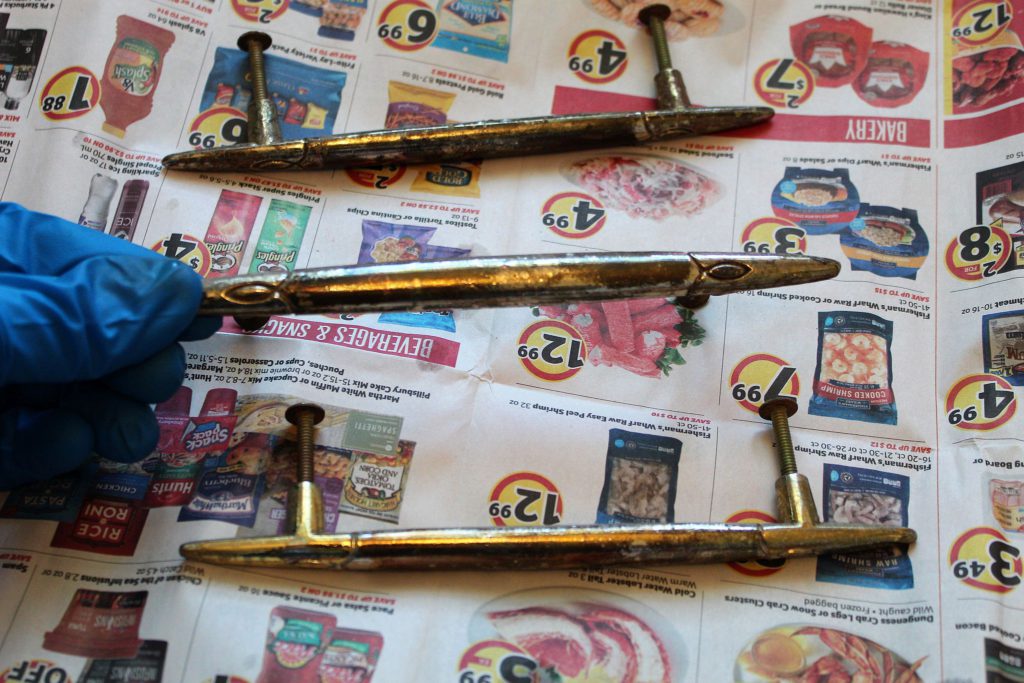
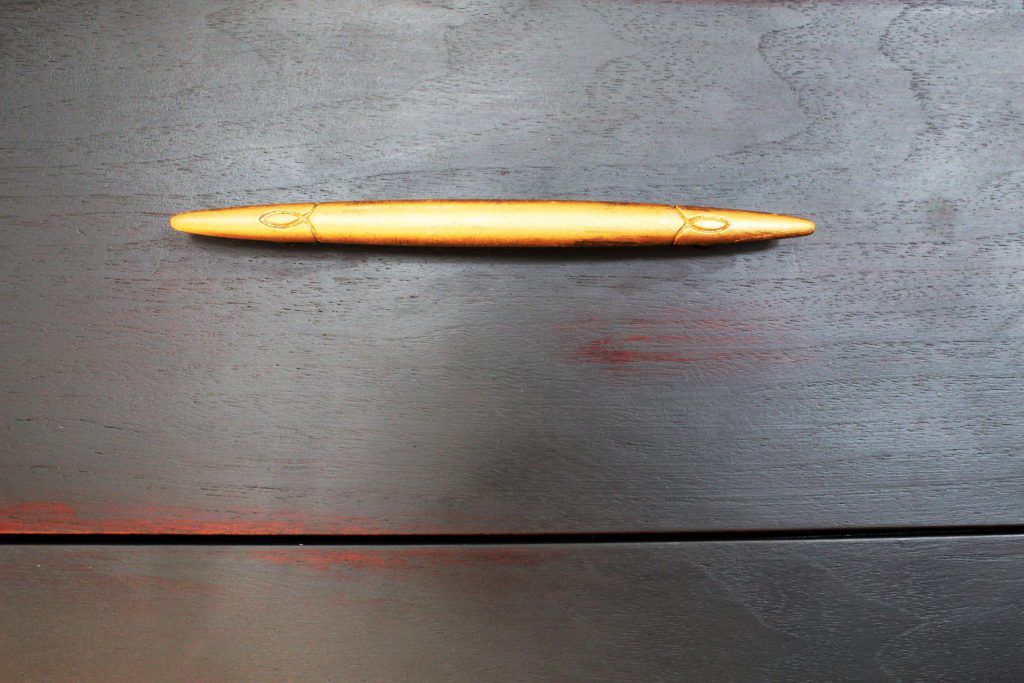
To freshen up the hardware, I cleaned them well and then gave them two coats of Gold Leaf Rub ‘n Buff. I have several colors of these Rub ‘n Buff wax metallic paints. They are wonderful to work with—dry fast, the paint holds up great, and the little tube goes a long way.
It really was a privilege to work on this piece. I wanted to honor its history and Danish minimalist design and I really like how the dark color with light distressing and elegant gold pulls kept in tune with its radiance. I sealed the whole piece with my favorite finishing wax, my Eco-friendly beeswax.