If you’re wanting to learn how to renovate a lamp in the most beautiful and easy way, this is the tutorial for you! I recently scouted my local thrift store for a new table lamp for our living room. Our kids had kicked over our old lamp one too many times. The bright side is I got to shop for a new light!
DON'T MISS DOING THIS WHEN THRIFTING!
In this quick video below I document my thrift store trip. I share my 10 top tips for bringing home THE perfect lamp to renovate. Sometimes it challenging to decide what piece will look best once refinished. Sticking to these guidelines on what to look for has helped me to make better purchases.
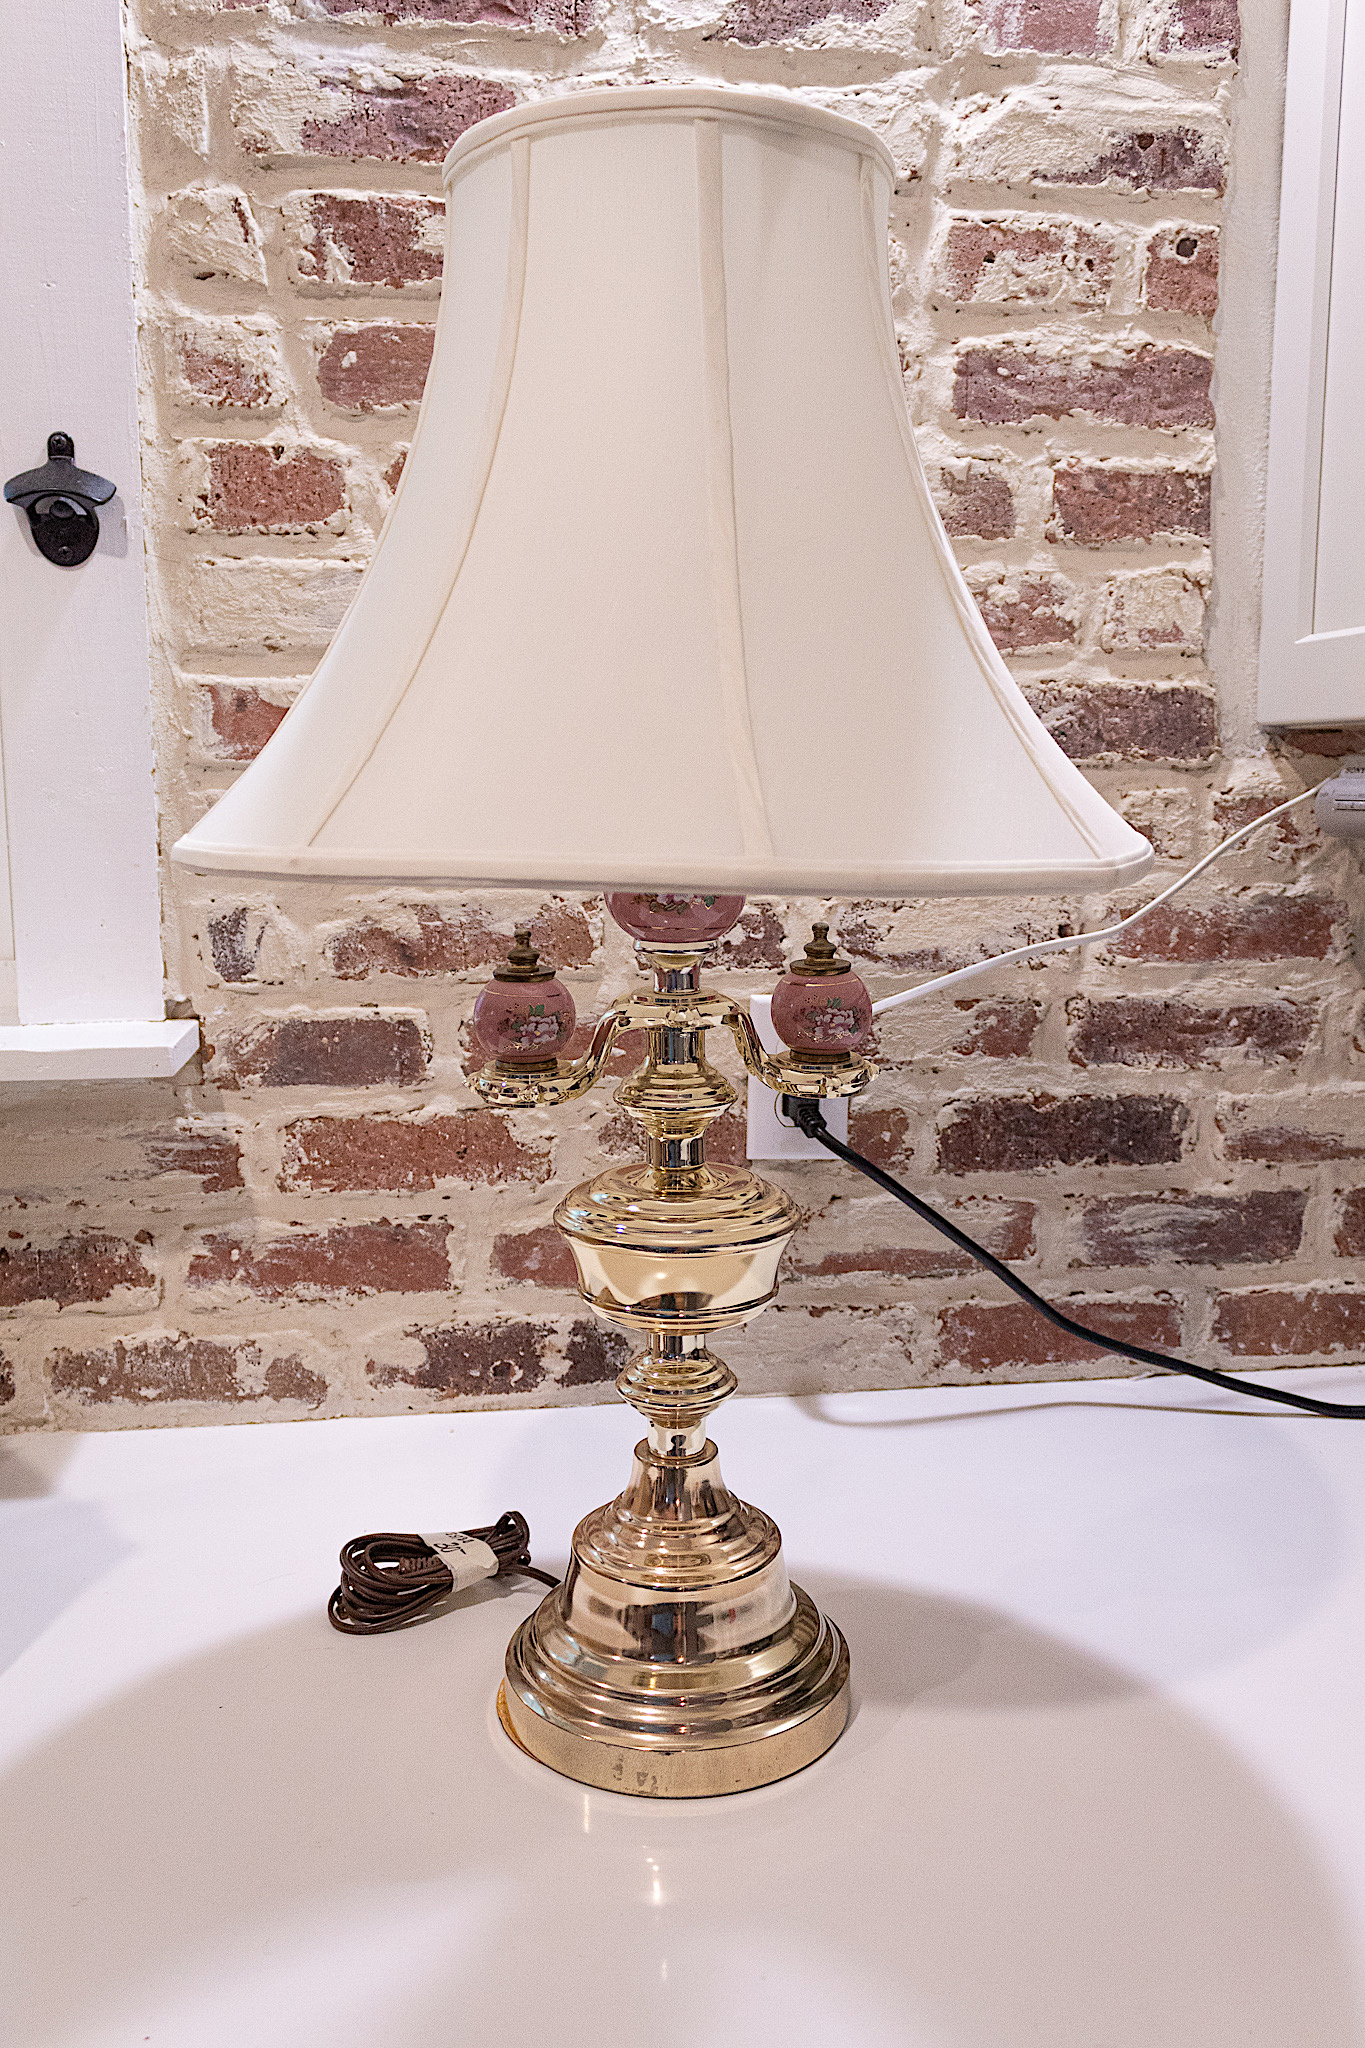
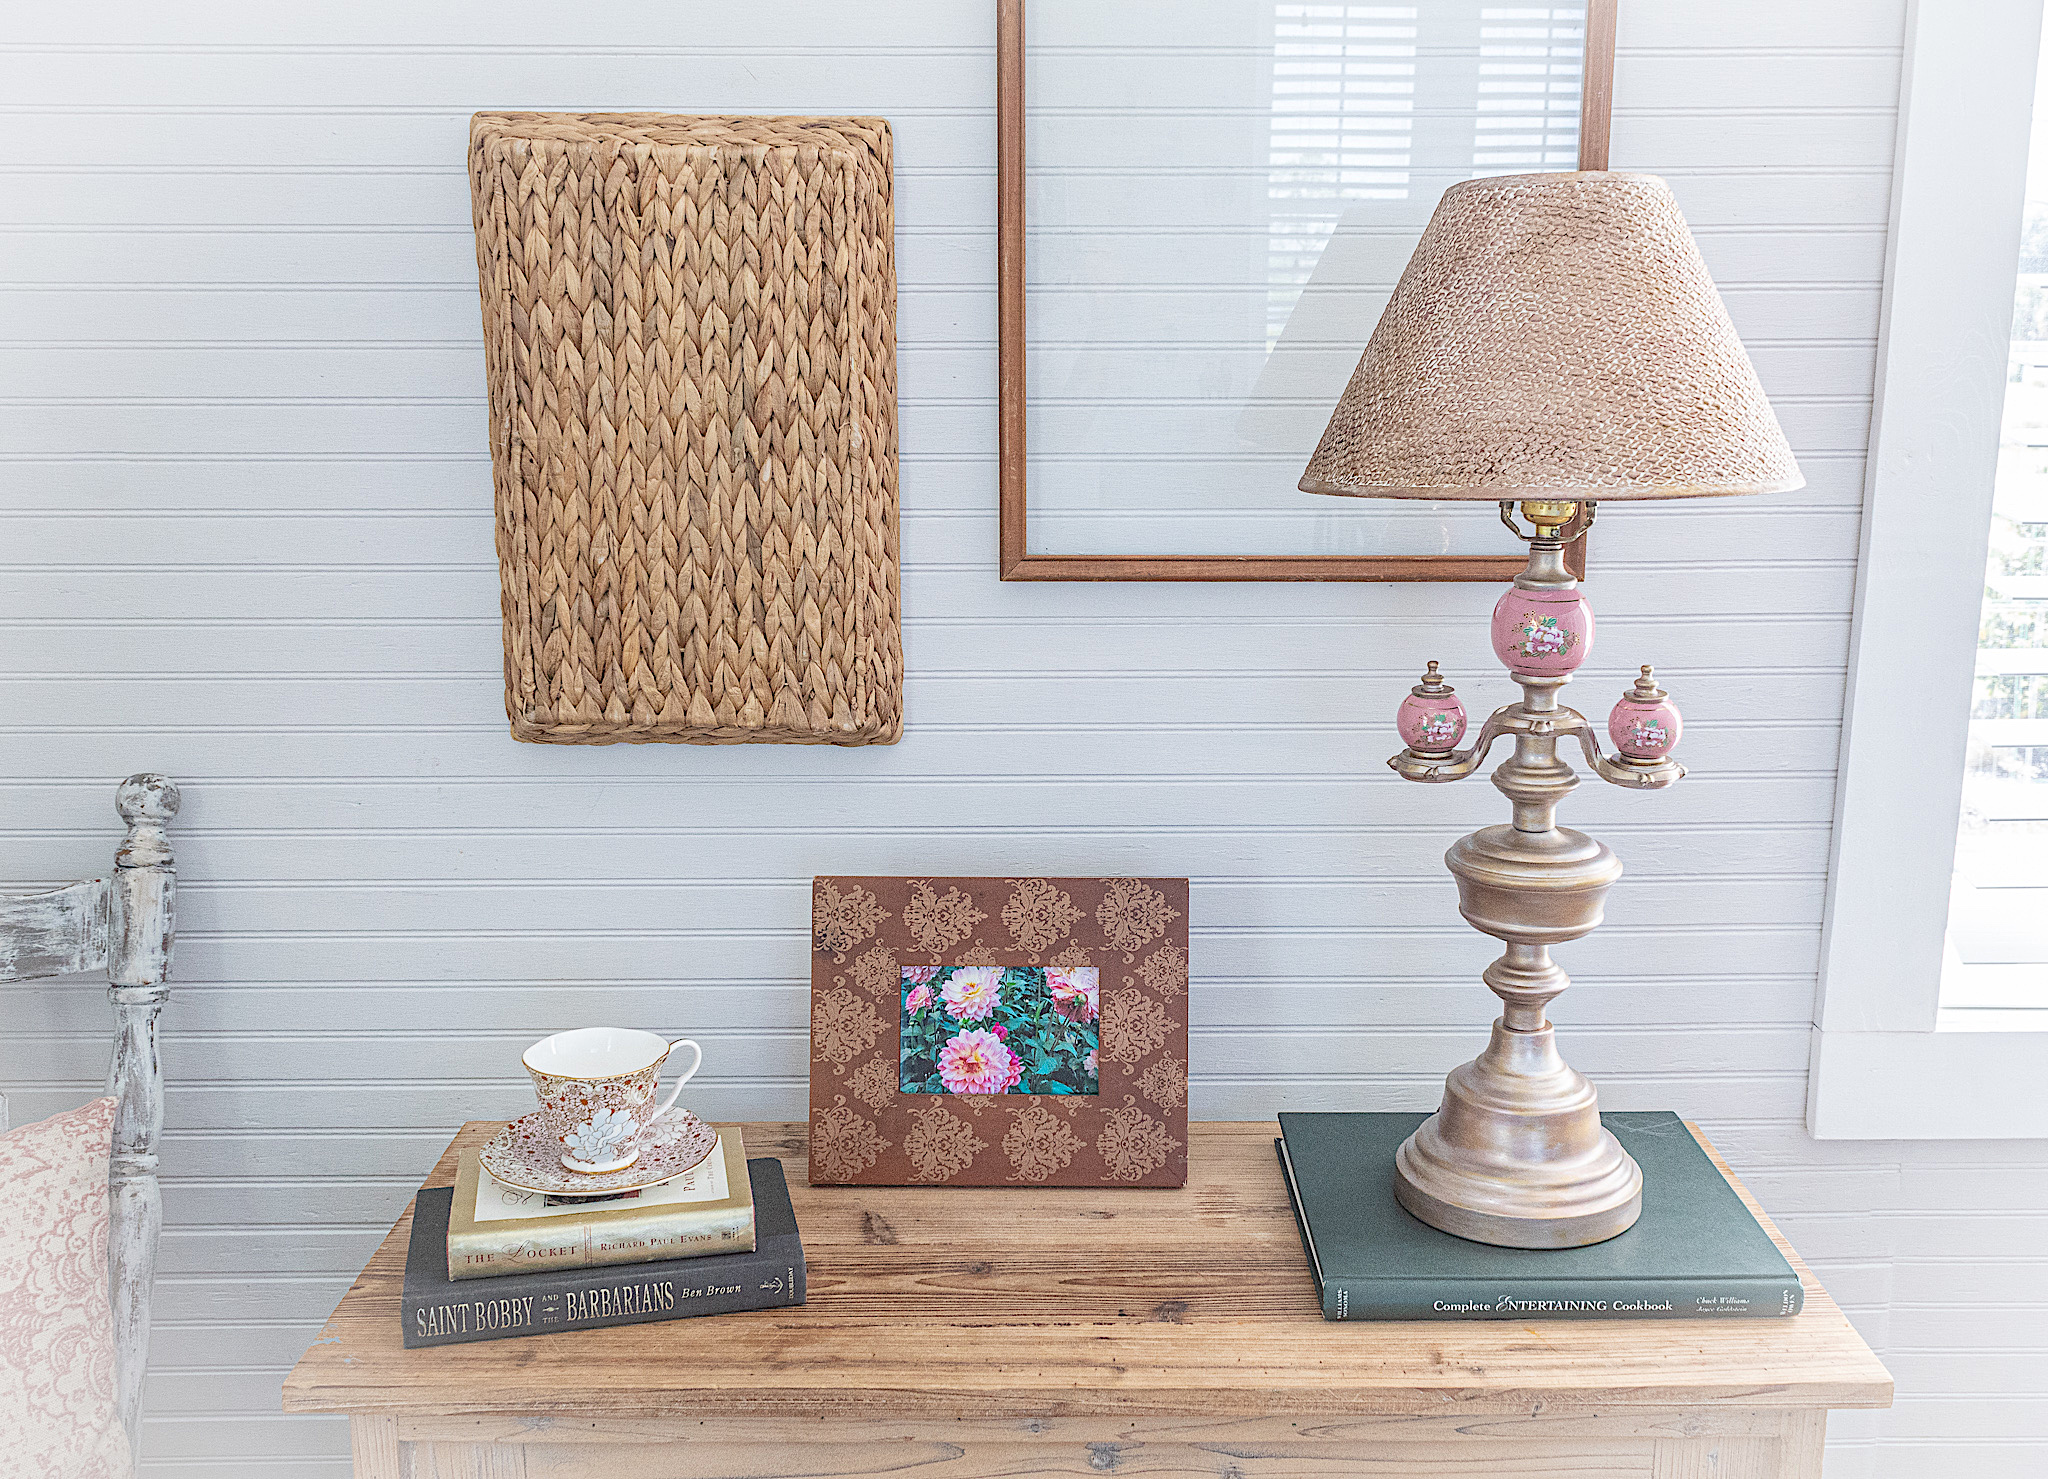
This is the lamp I picked to bring home. I just loved the pink floral globes and its vintage aesthetic. I wasn’t crazy about the oversize shade but I figured I could replace it with an old shade I had. The paint was too brassy for my taste but I new I could change that.
Luckily the store was running a 50% off sale on lights and I was able to get the $30 lamp for $16. Not a bad price for a new table lamp. In this tutorial I will show you how I took this lamp from outdated to beautifully vintage.
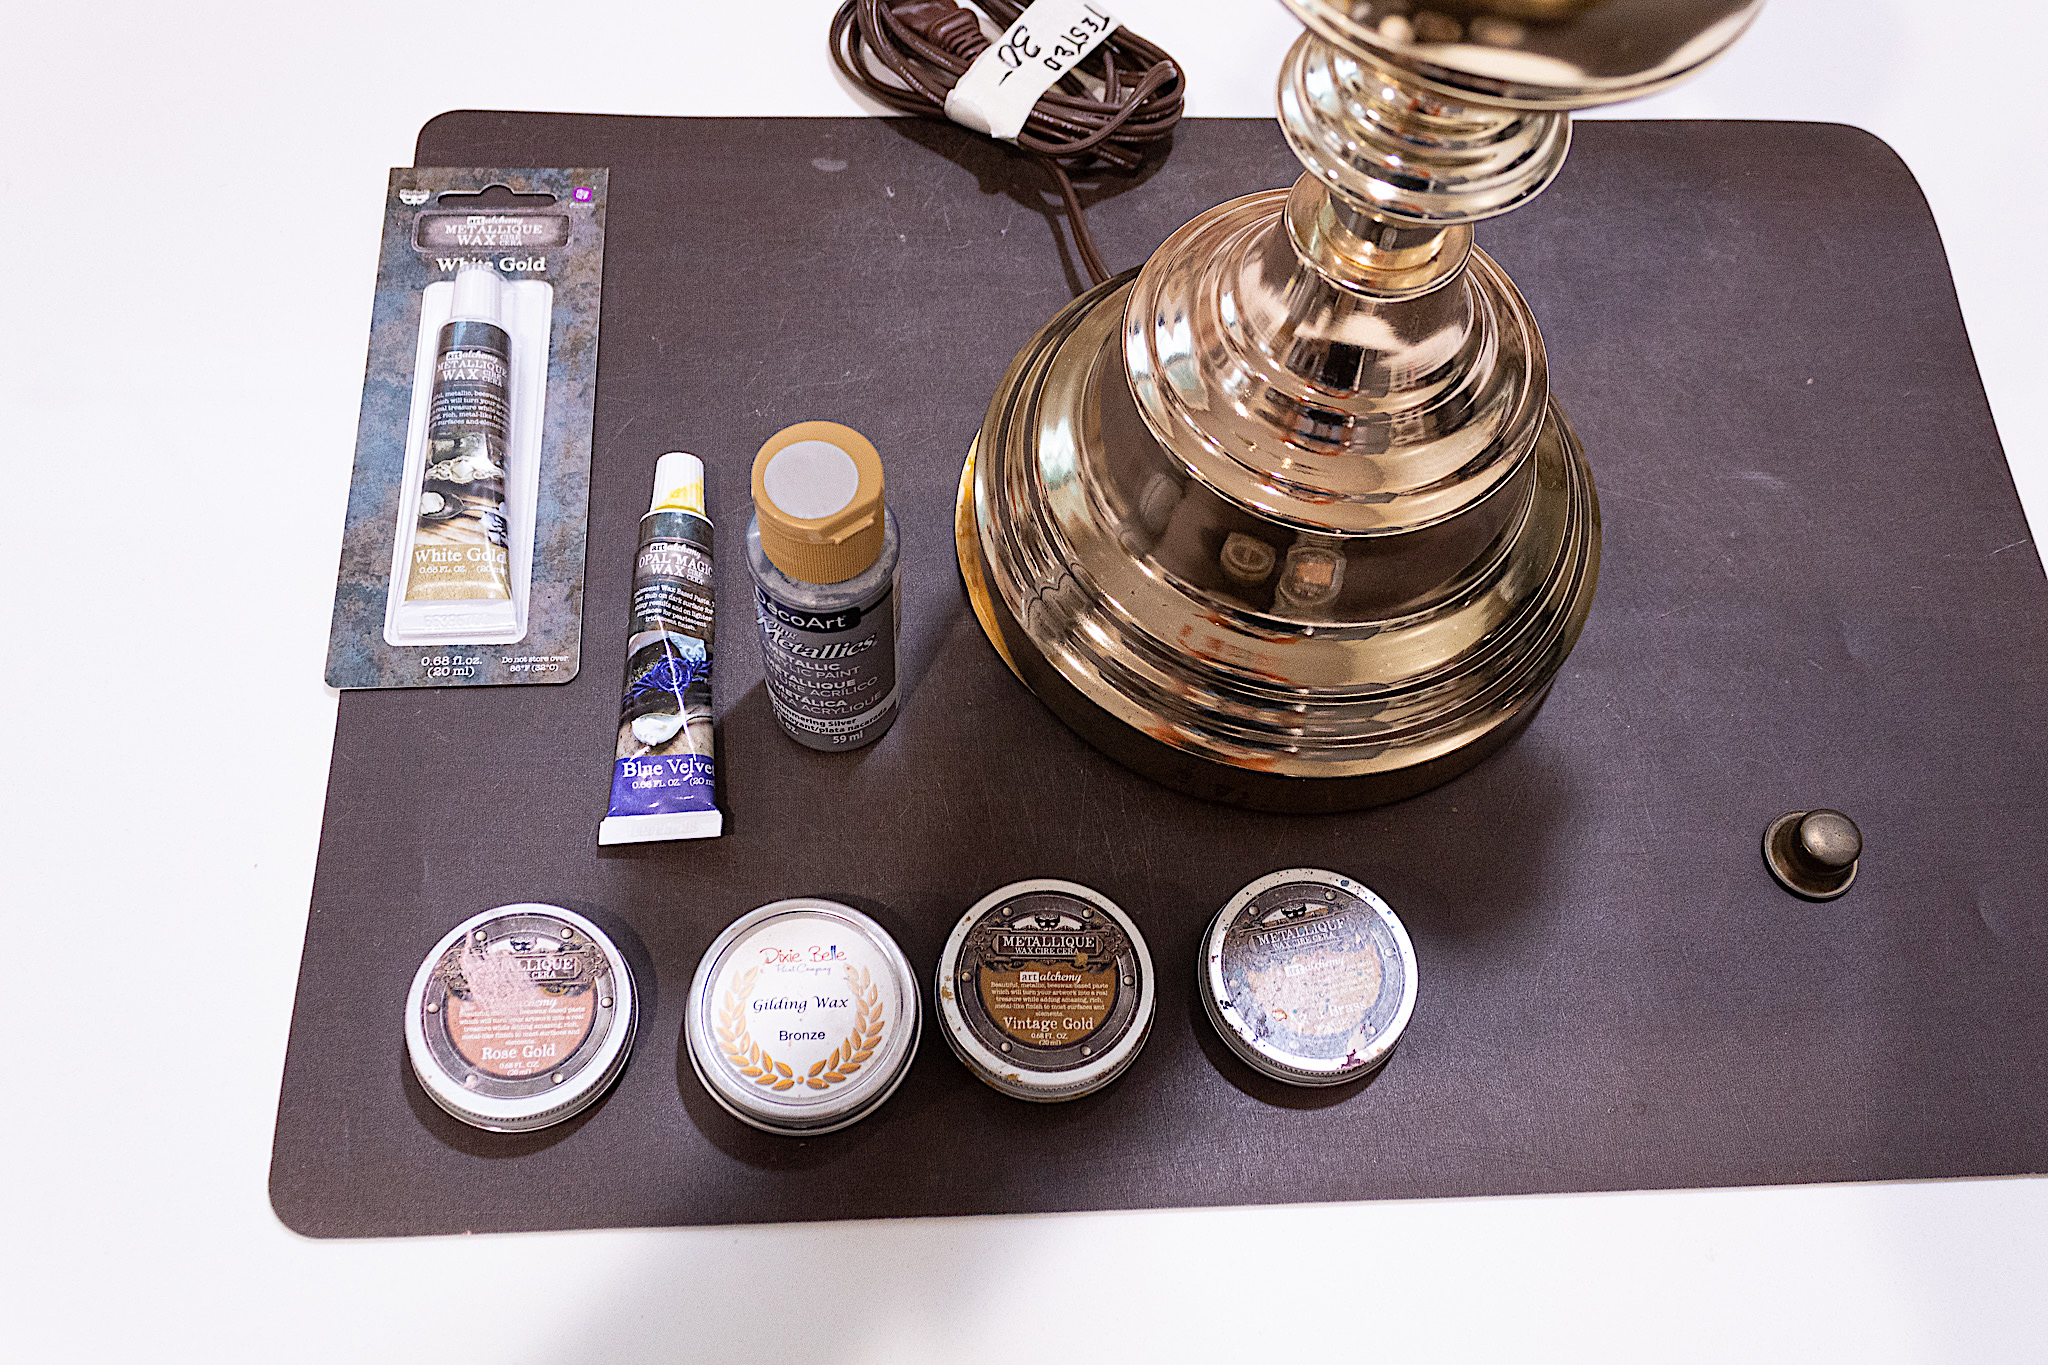
I ended up not using all the waxes in the picture below. I usually like to play around with colors until I get a result I like. After some trial and error I came up with a technique to get just the right look for this lamp’s new finish.
1. Apply Your First Color- Rose Gold
I first applied a coat of the Rose Gold metallic wax. For my first coat I needed a wax with lots of grab. I found the little cans of Art Alchemy waxes adhered the best to the lamp’s metallic finish. The Dixie Belle gilding wax and the tube version of the Art Alchemy waxes were not showing up very visibly over the brass of the lamp. I chose rose gold as my base color to complement with the pink floral globes of the lamp.
I applied the wax by rubbing it on with a paper towel. This wax is amazing. On the first coat you can see it changing the brass into a beautiful rose gold. I could have also painted this lamp but I chose not too for two reasons: 1. I felt that getting paint to adhere to the metal of this lamp may have required more time and work than I was willing to invest. 2. I felt a metallic look with a vintage aesthetic would suit the style of this lamp.
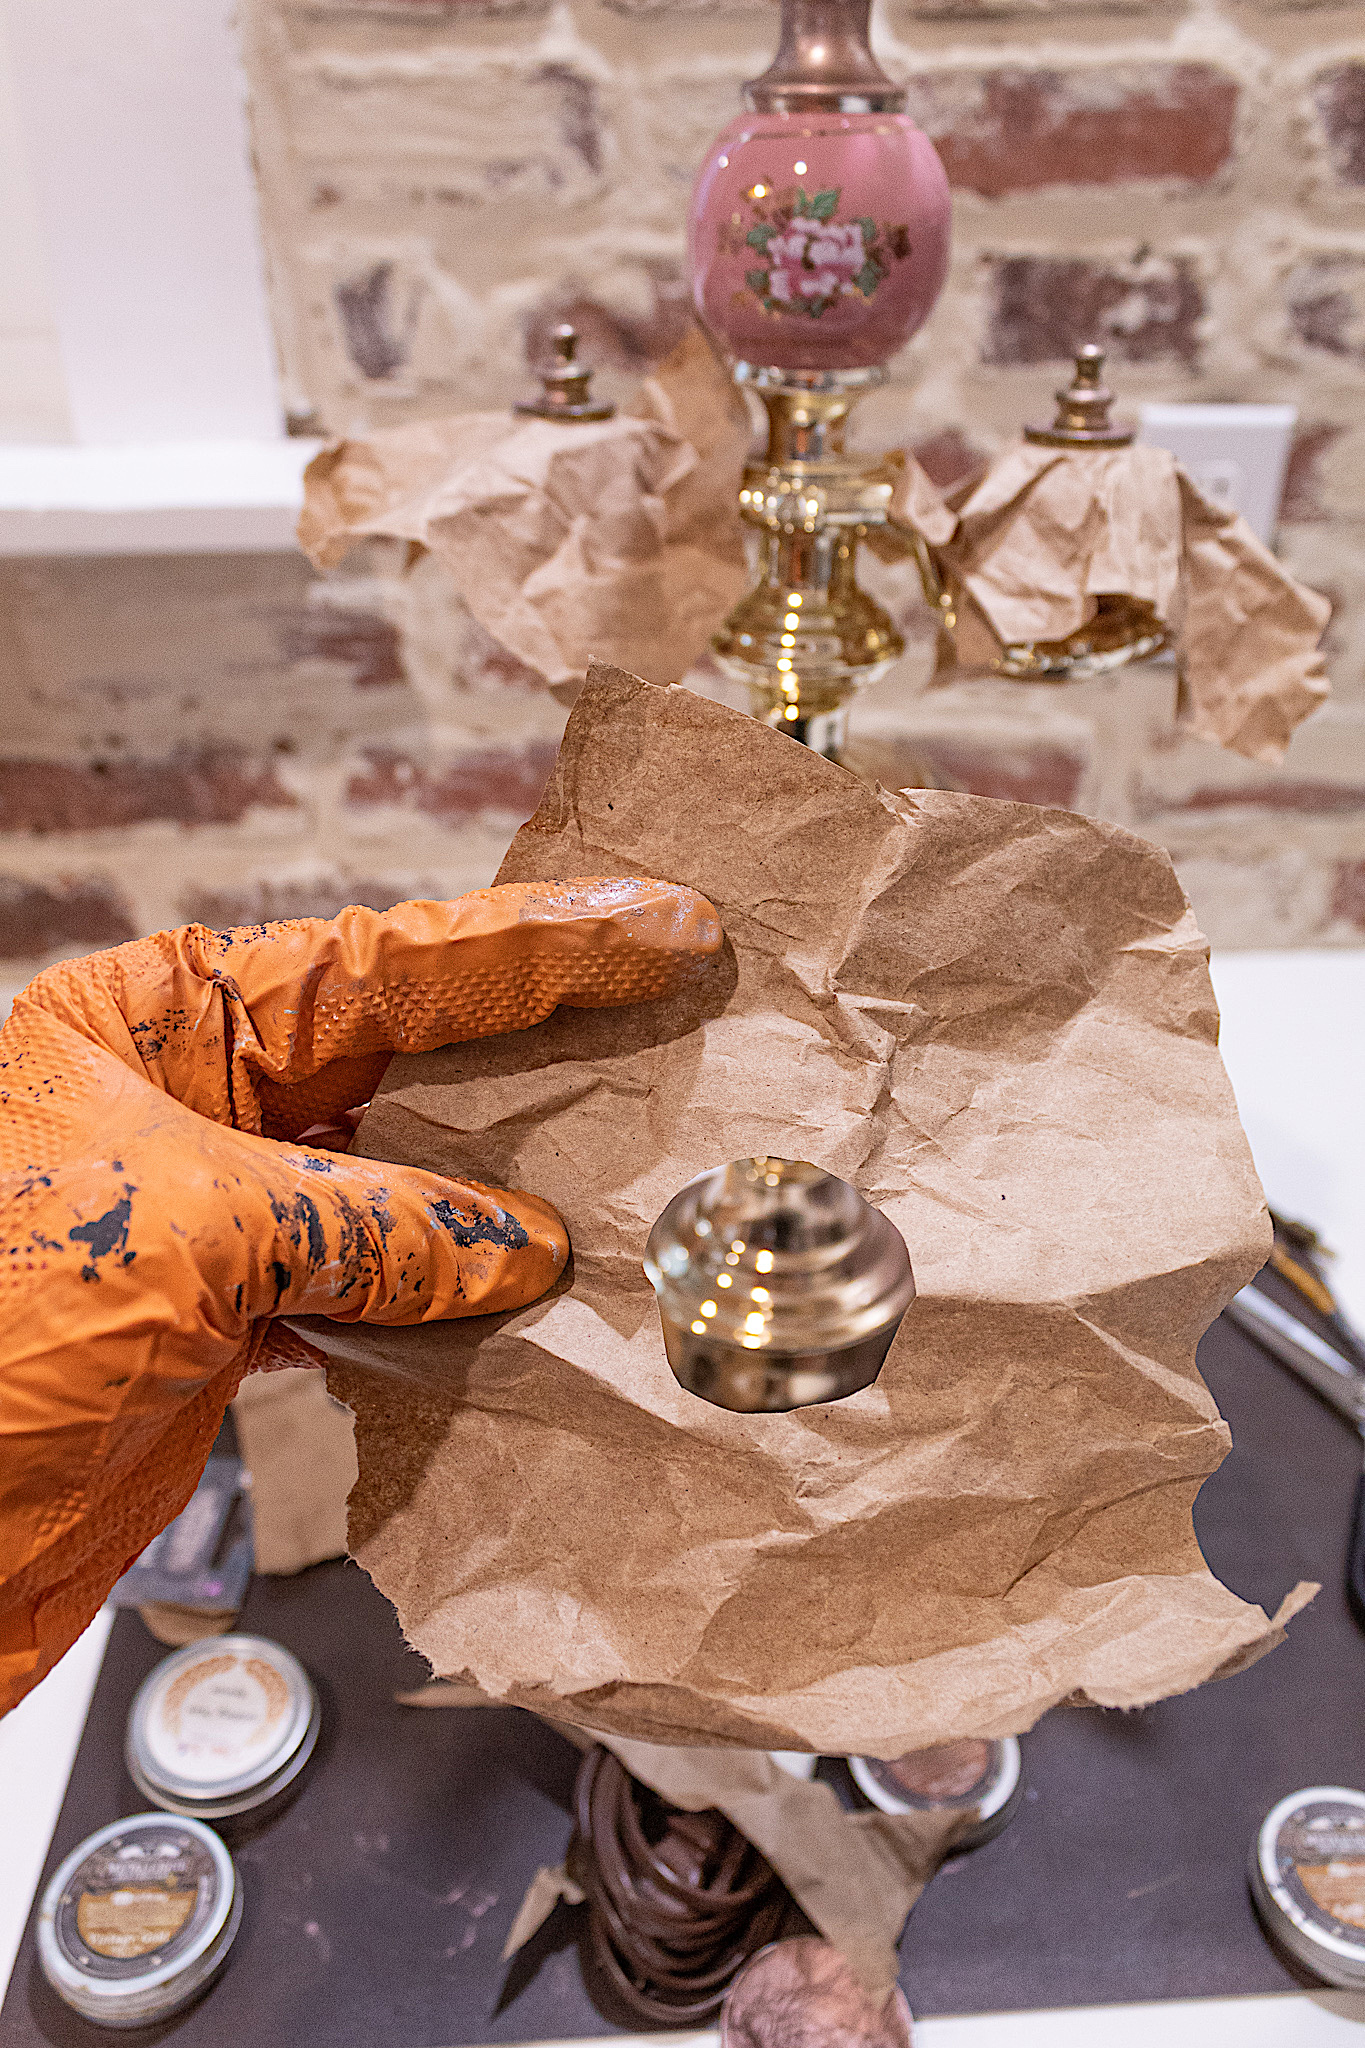
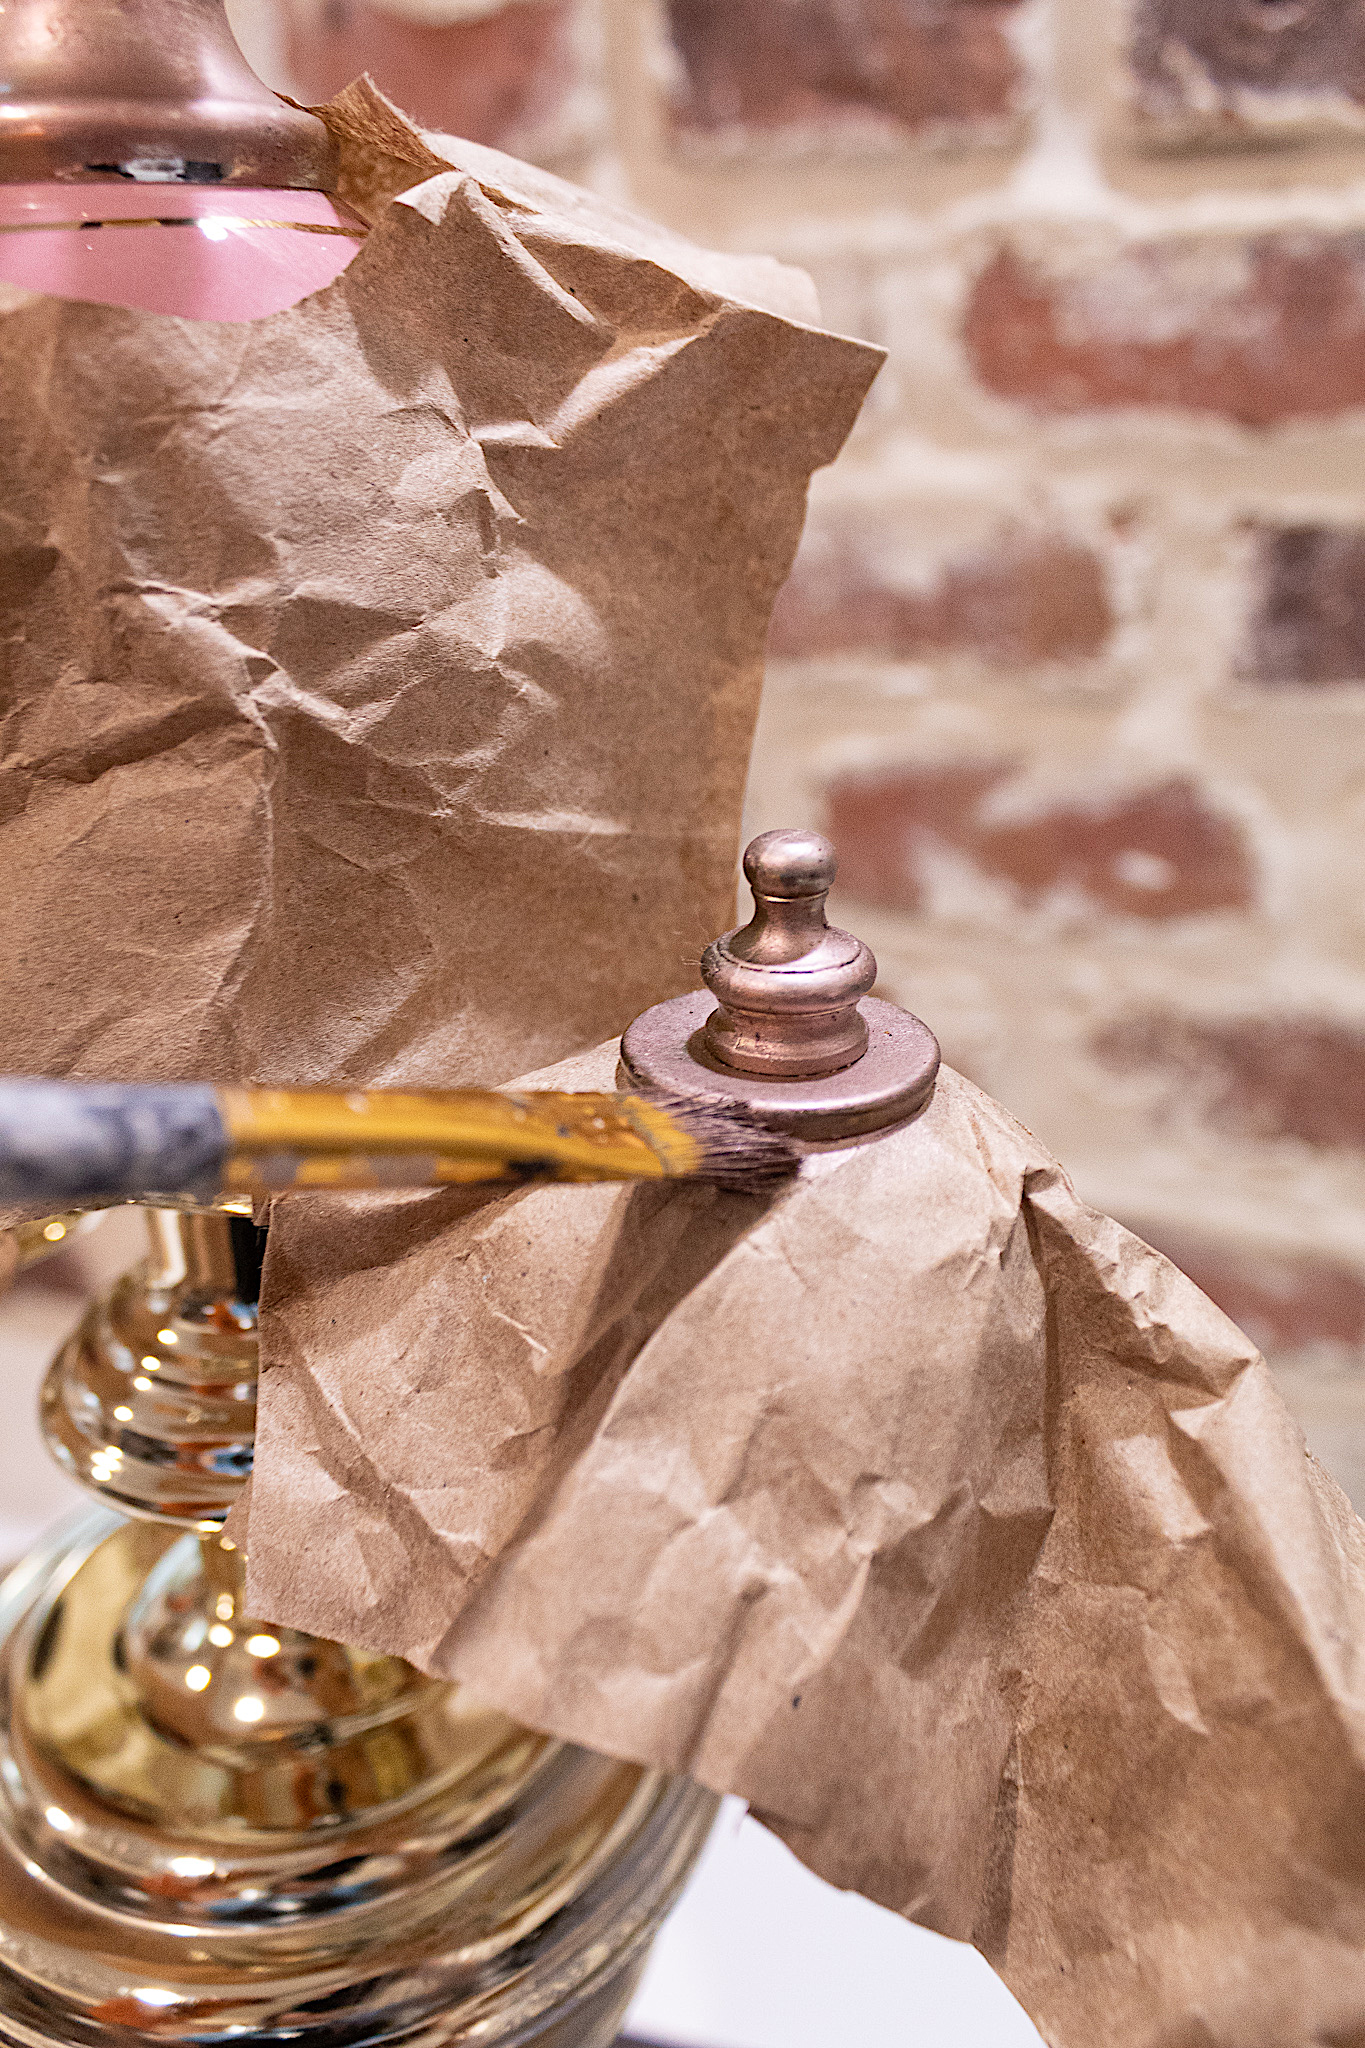
To protect the globes from wax (this stuff sticks to everything), I cut a circle in a piece of packing paper and slid the paper over the top of the globes. I used a small paint brush with a firm head to wax over small details.
The next picture shows the lamp after one coat of the rose gold wax. Although you can still see some of the brassy parts, the coverage of this wax is incredible. Since I don’t want to overwhelm with pink because the globes are already pink, the rose gold is just going to be an undercoat. So I’m not worried about leaving some of the brass exposed. It will get covered with the second color or simply serve as added character. Let’s move on to our next color…
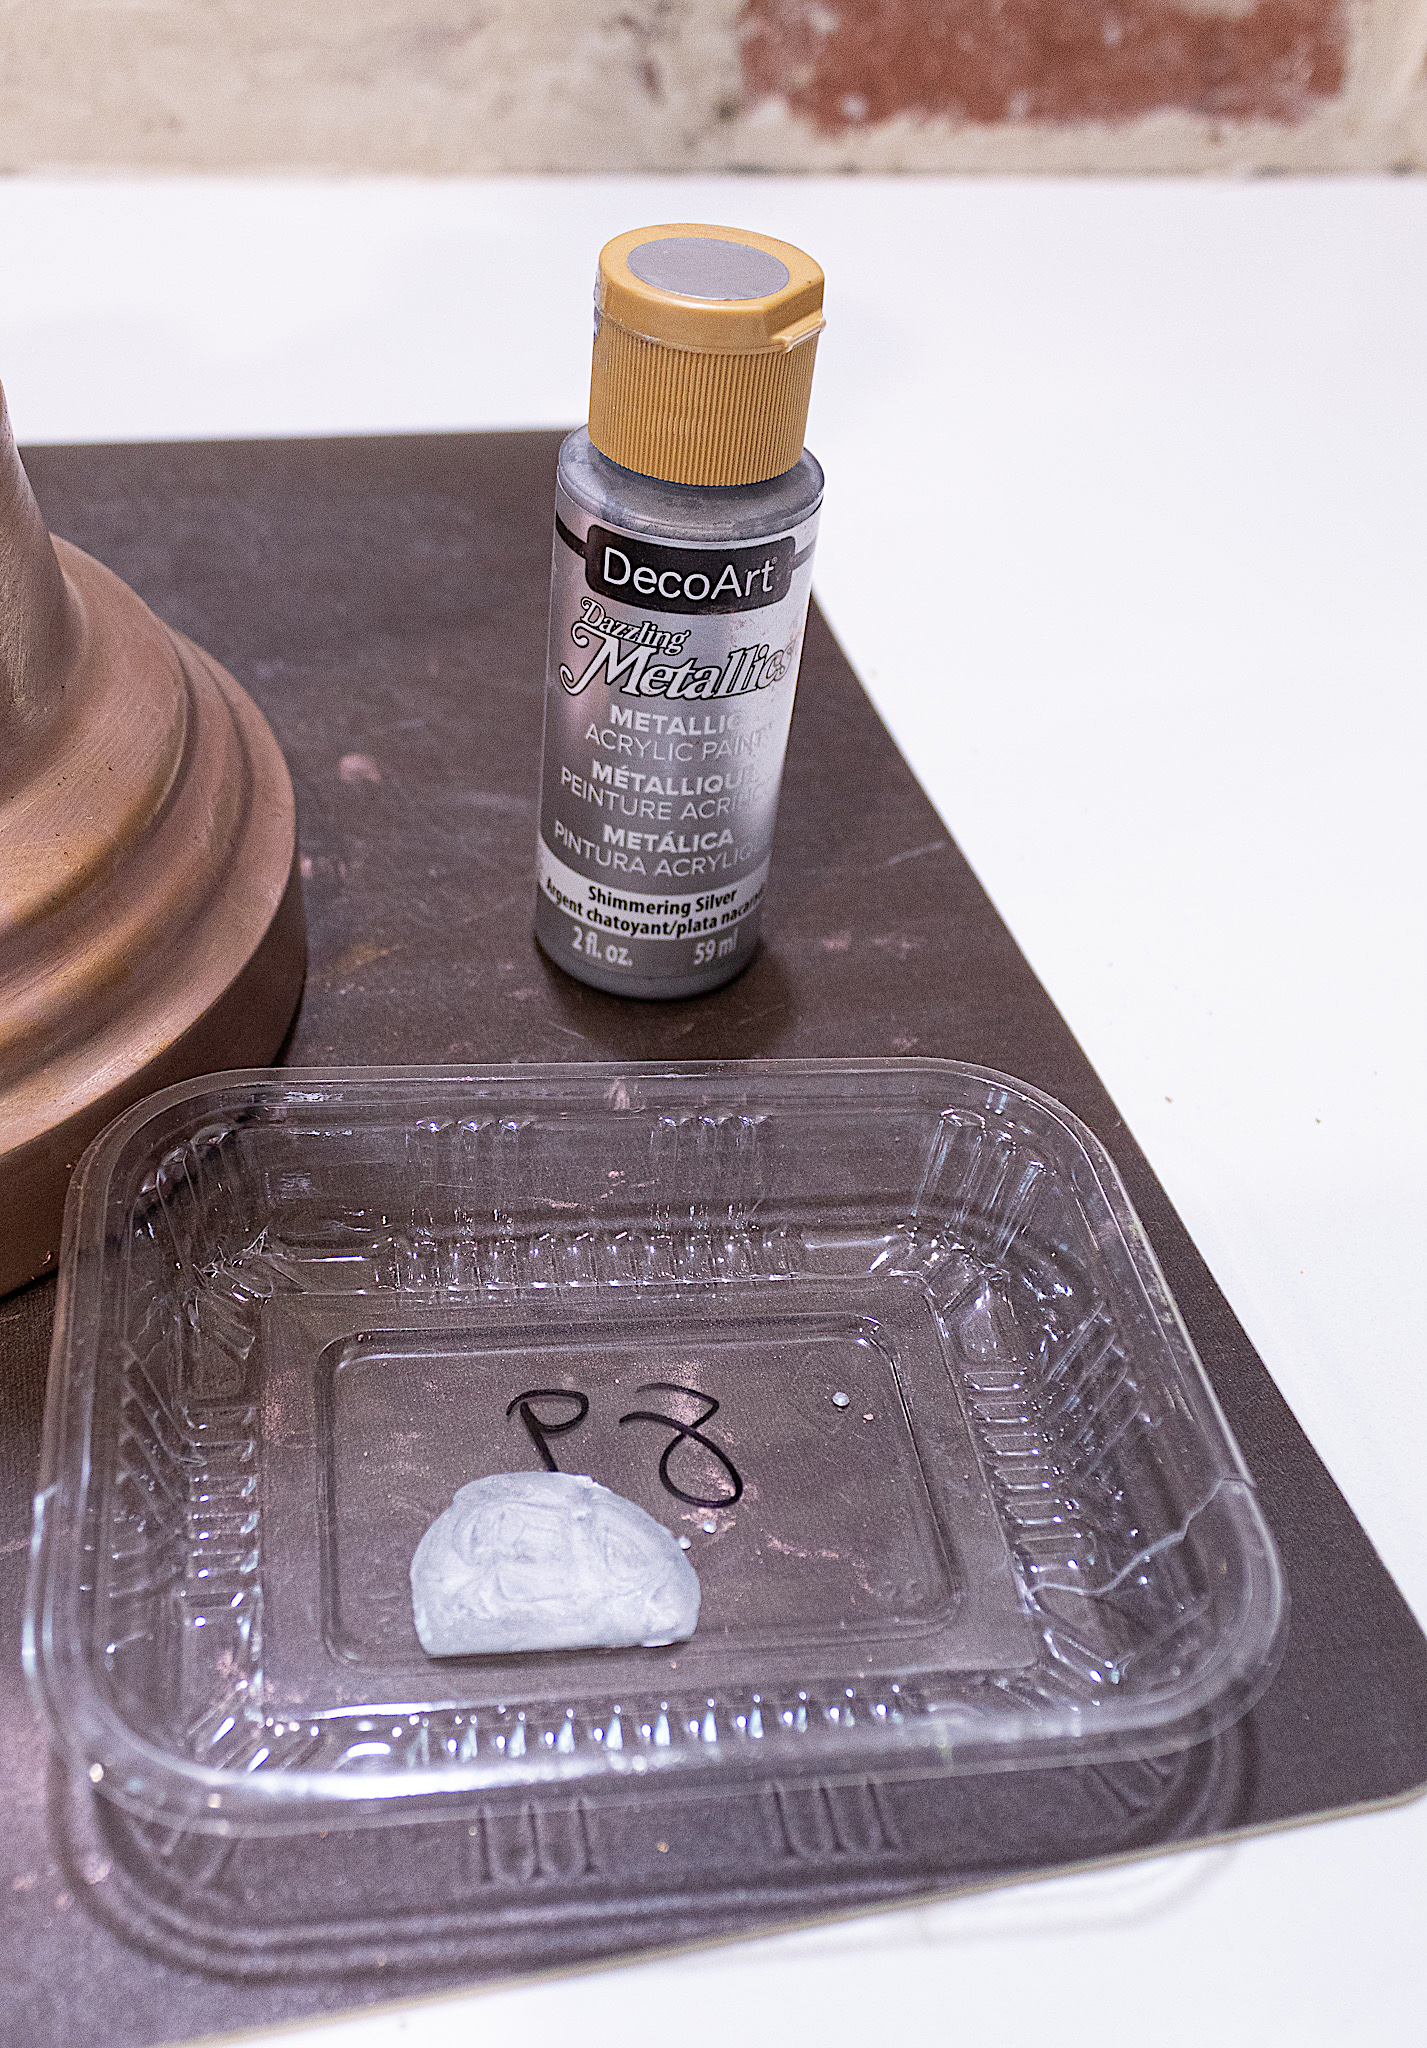
2. Apply Your Second Color- Shimmering Silver
This next color, Shimmering Silver by Deco Art, is gorgeous. I like that it is subtle. Remember I mentioned playing with different metallic options at the beginning. Well, the silver on the rose gold was my favorite combination for this lamp.
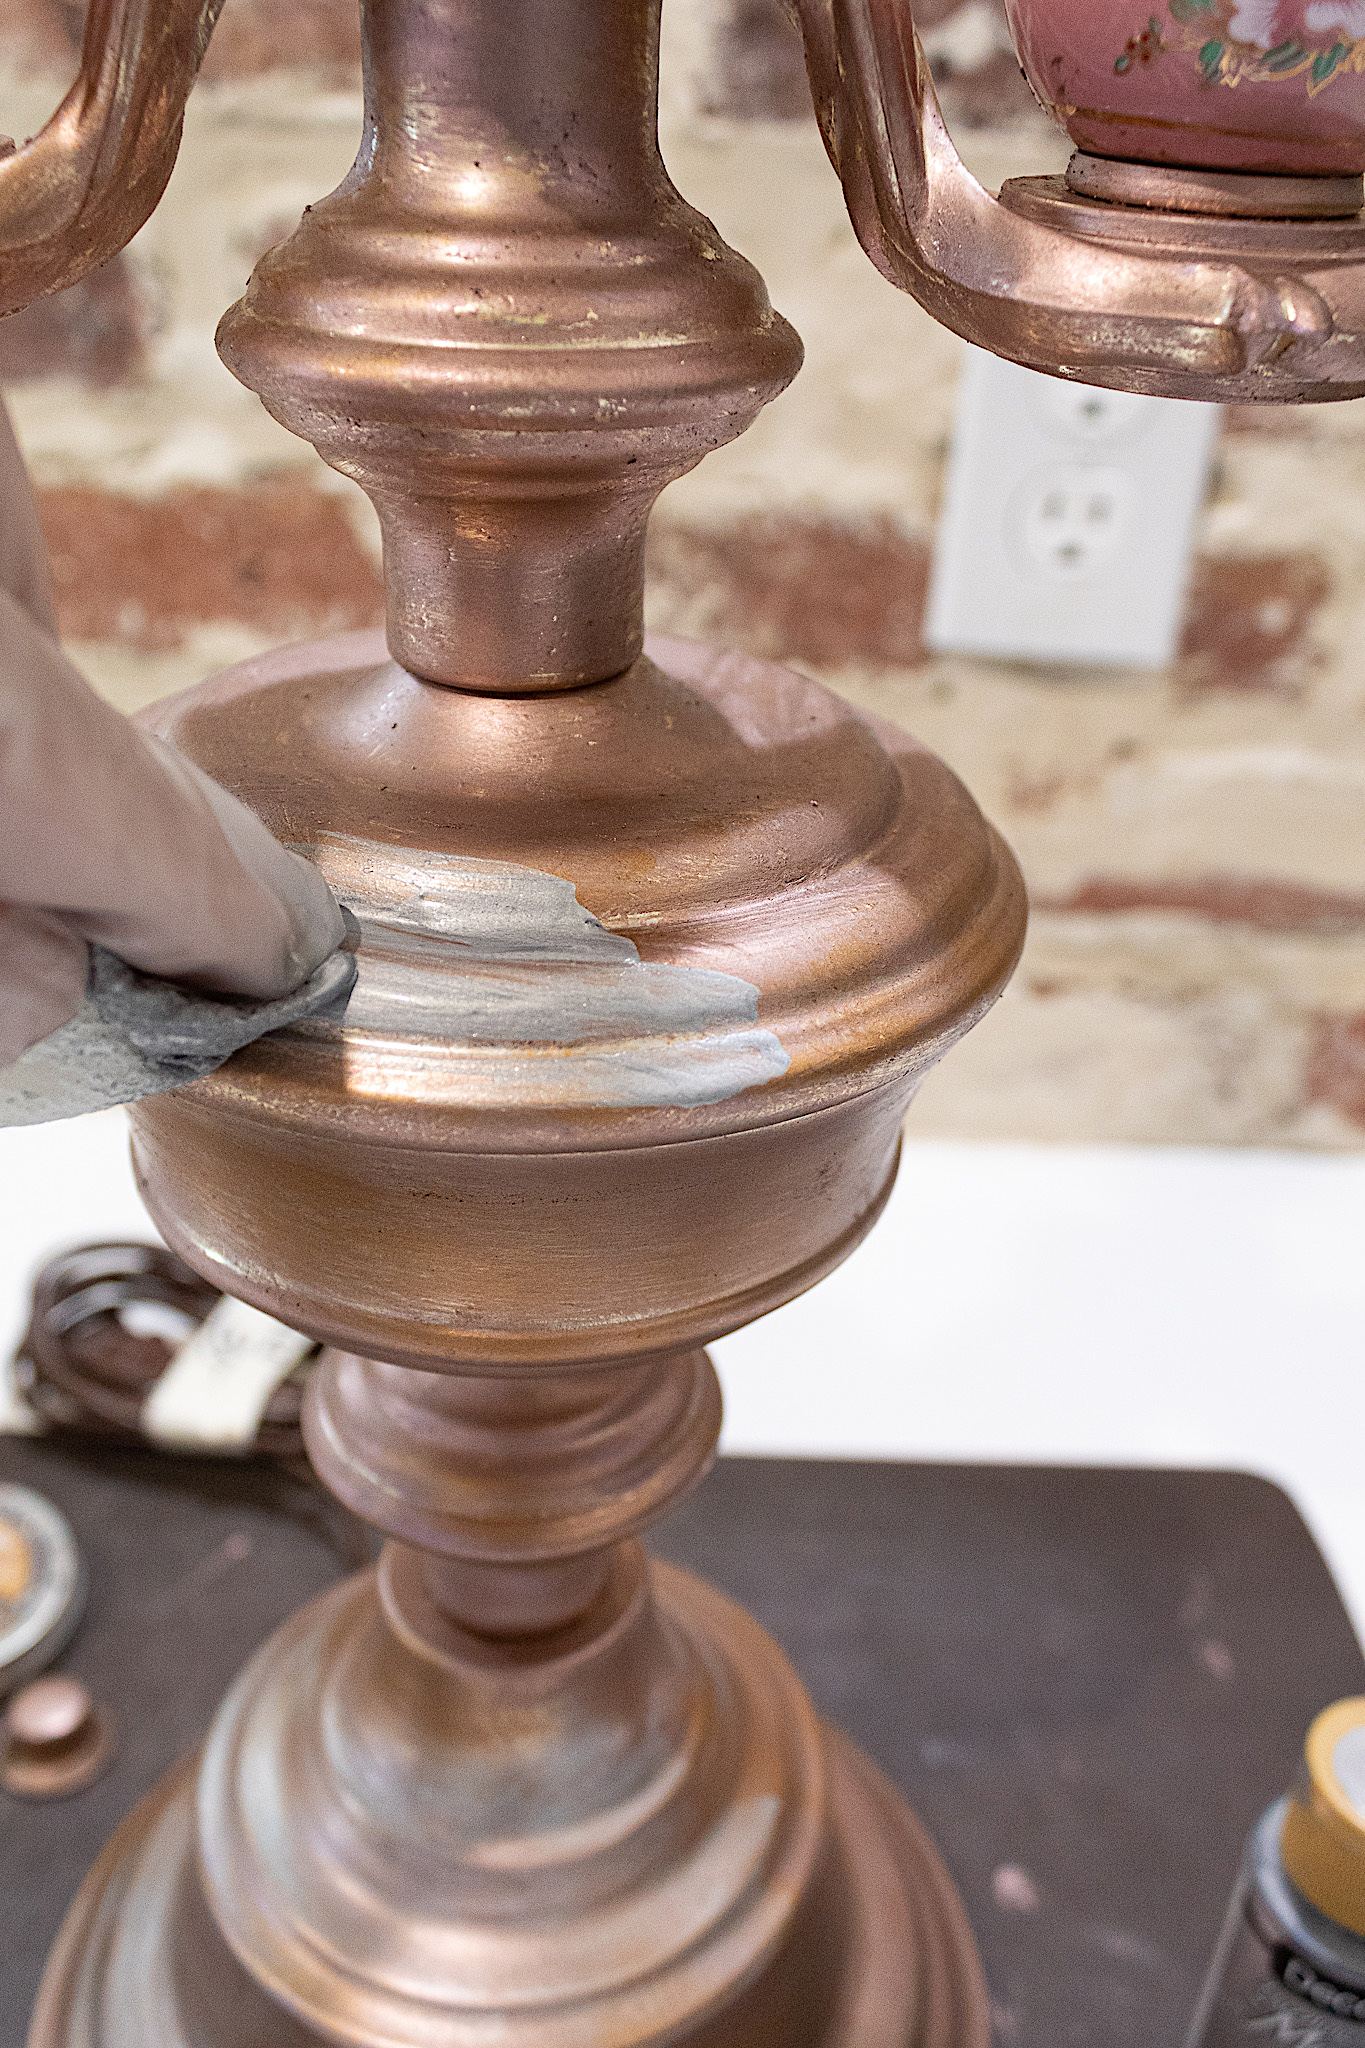
The Deco Art metallic paint is more liquid than the waxes. I pour a little onto my plastic holder and with a paper towel I begin rubbing the paint all over.
Disclosure: Some of the links provided are affiliate links. By purchasing through these links it supports this blog and the work we do and there is no extra cost to you. If you would like to read our full disclosure, click HERE.
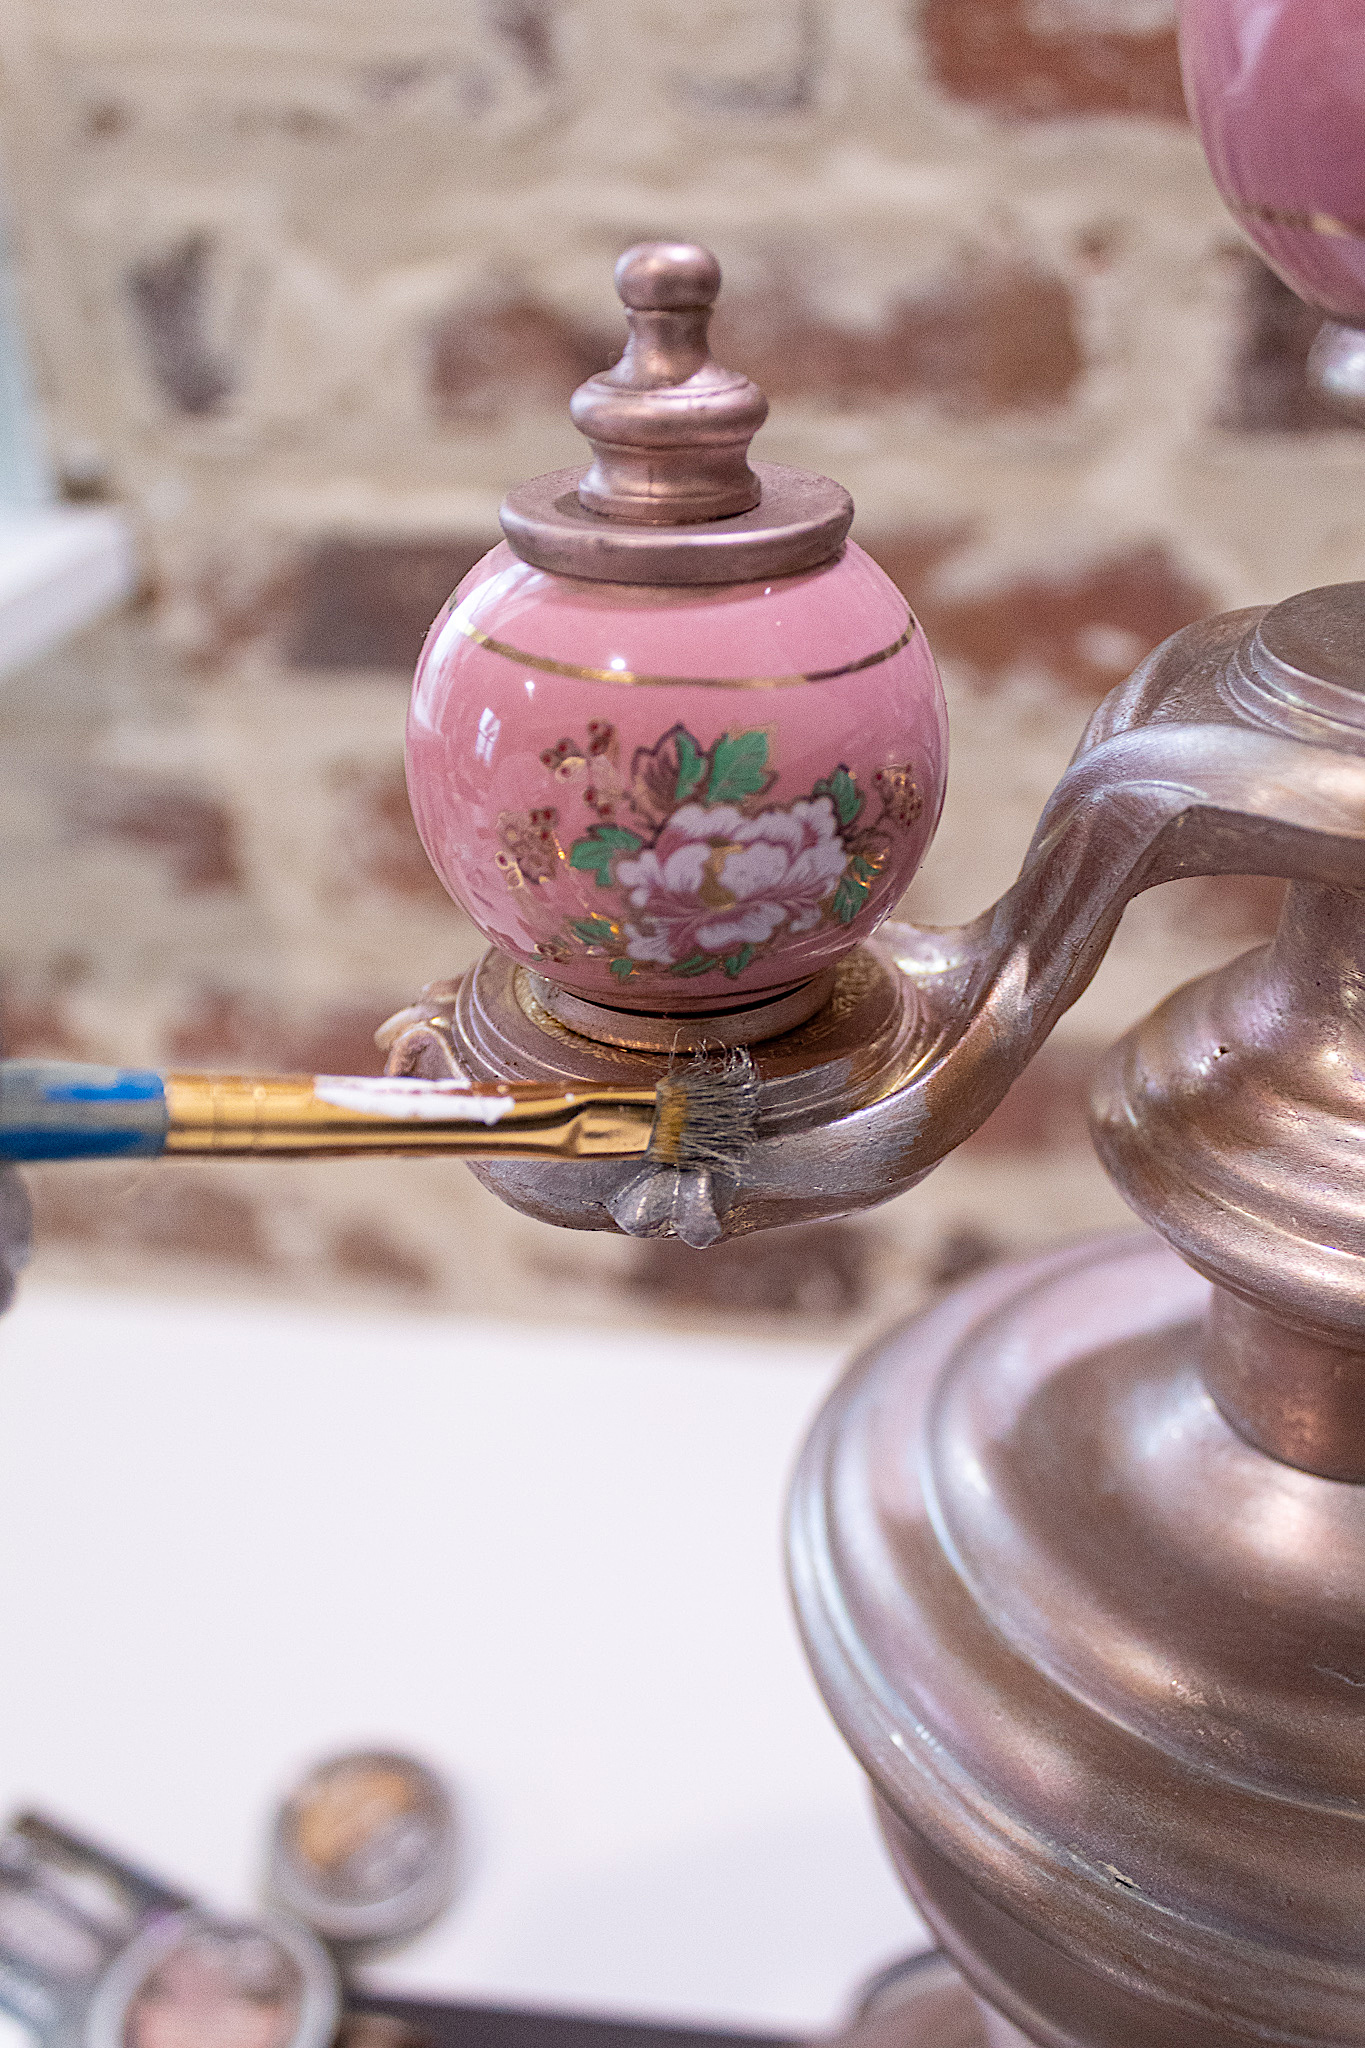
I use my small paint brush to reach the smaller areas and details of the lamp. I only apply one coat of the silver because I still want some of the rose gold to show through. I am creating a vintage by layering colors.
3. Final Color Accent- Vintage Gold
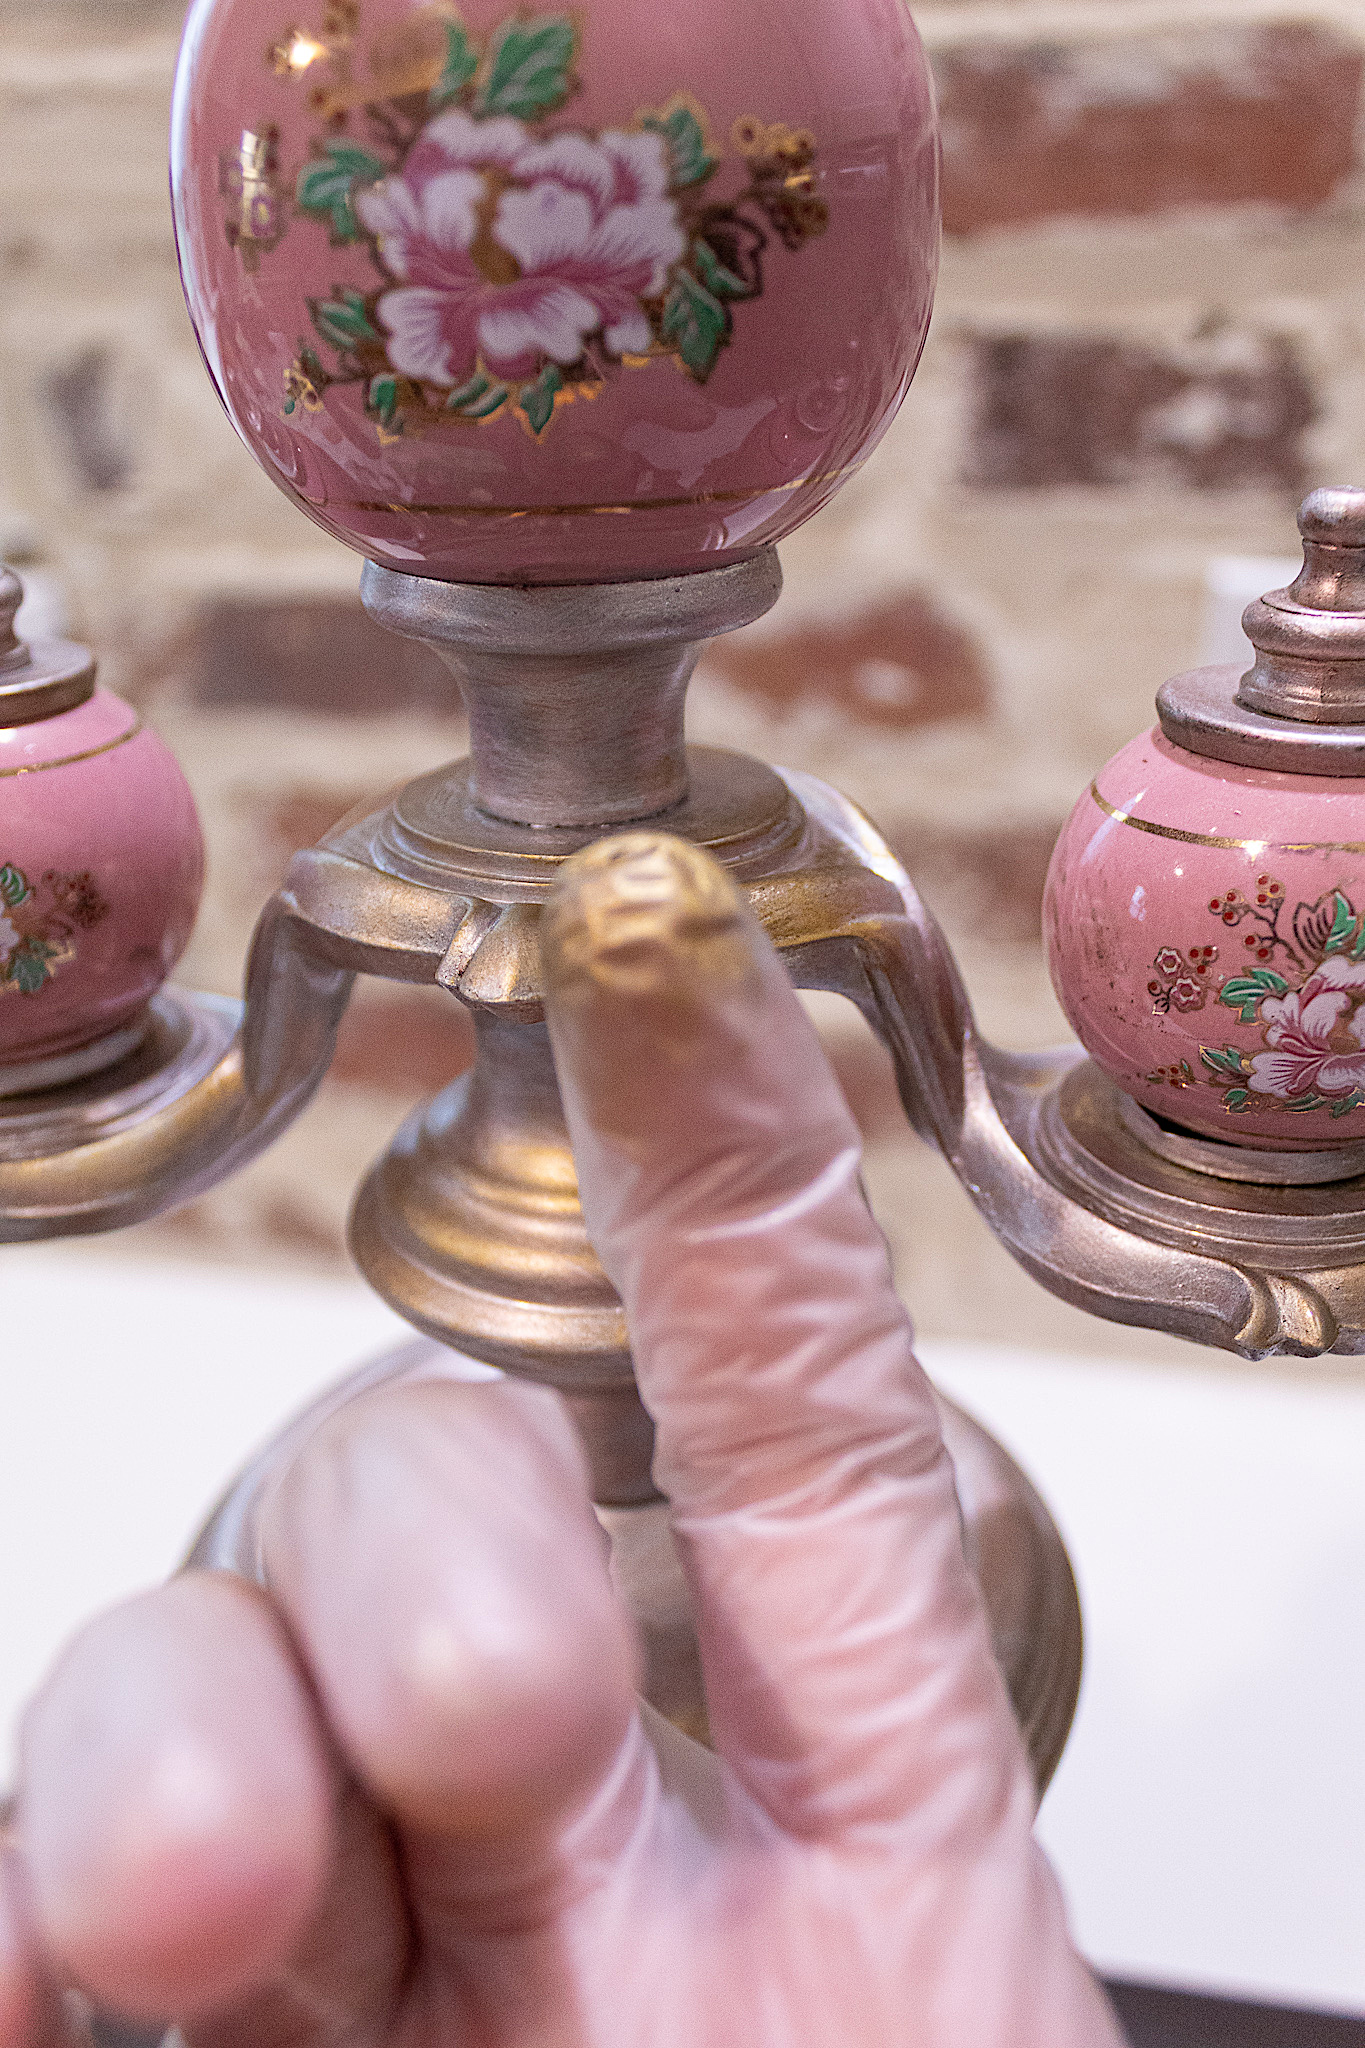
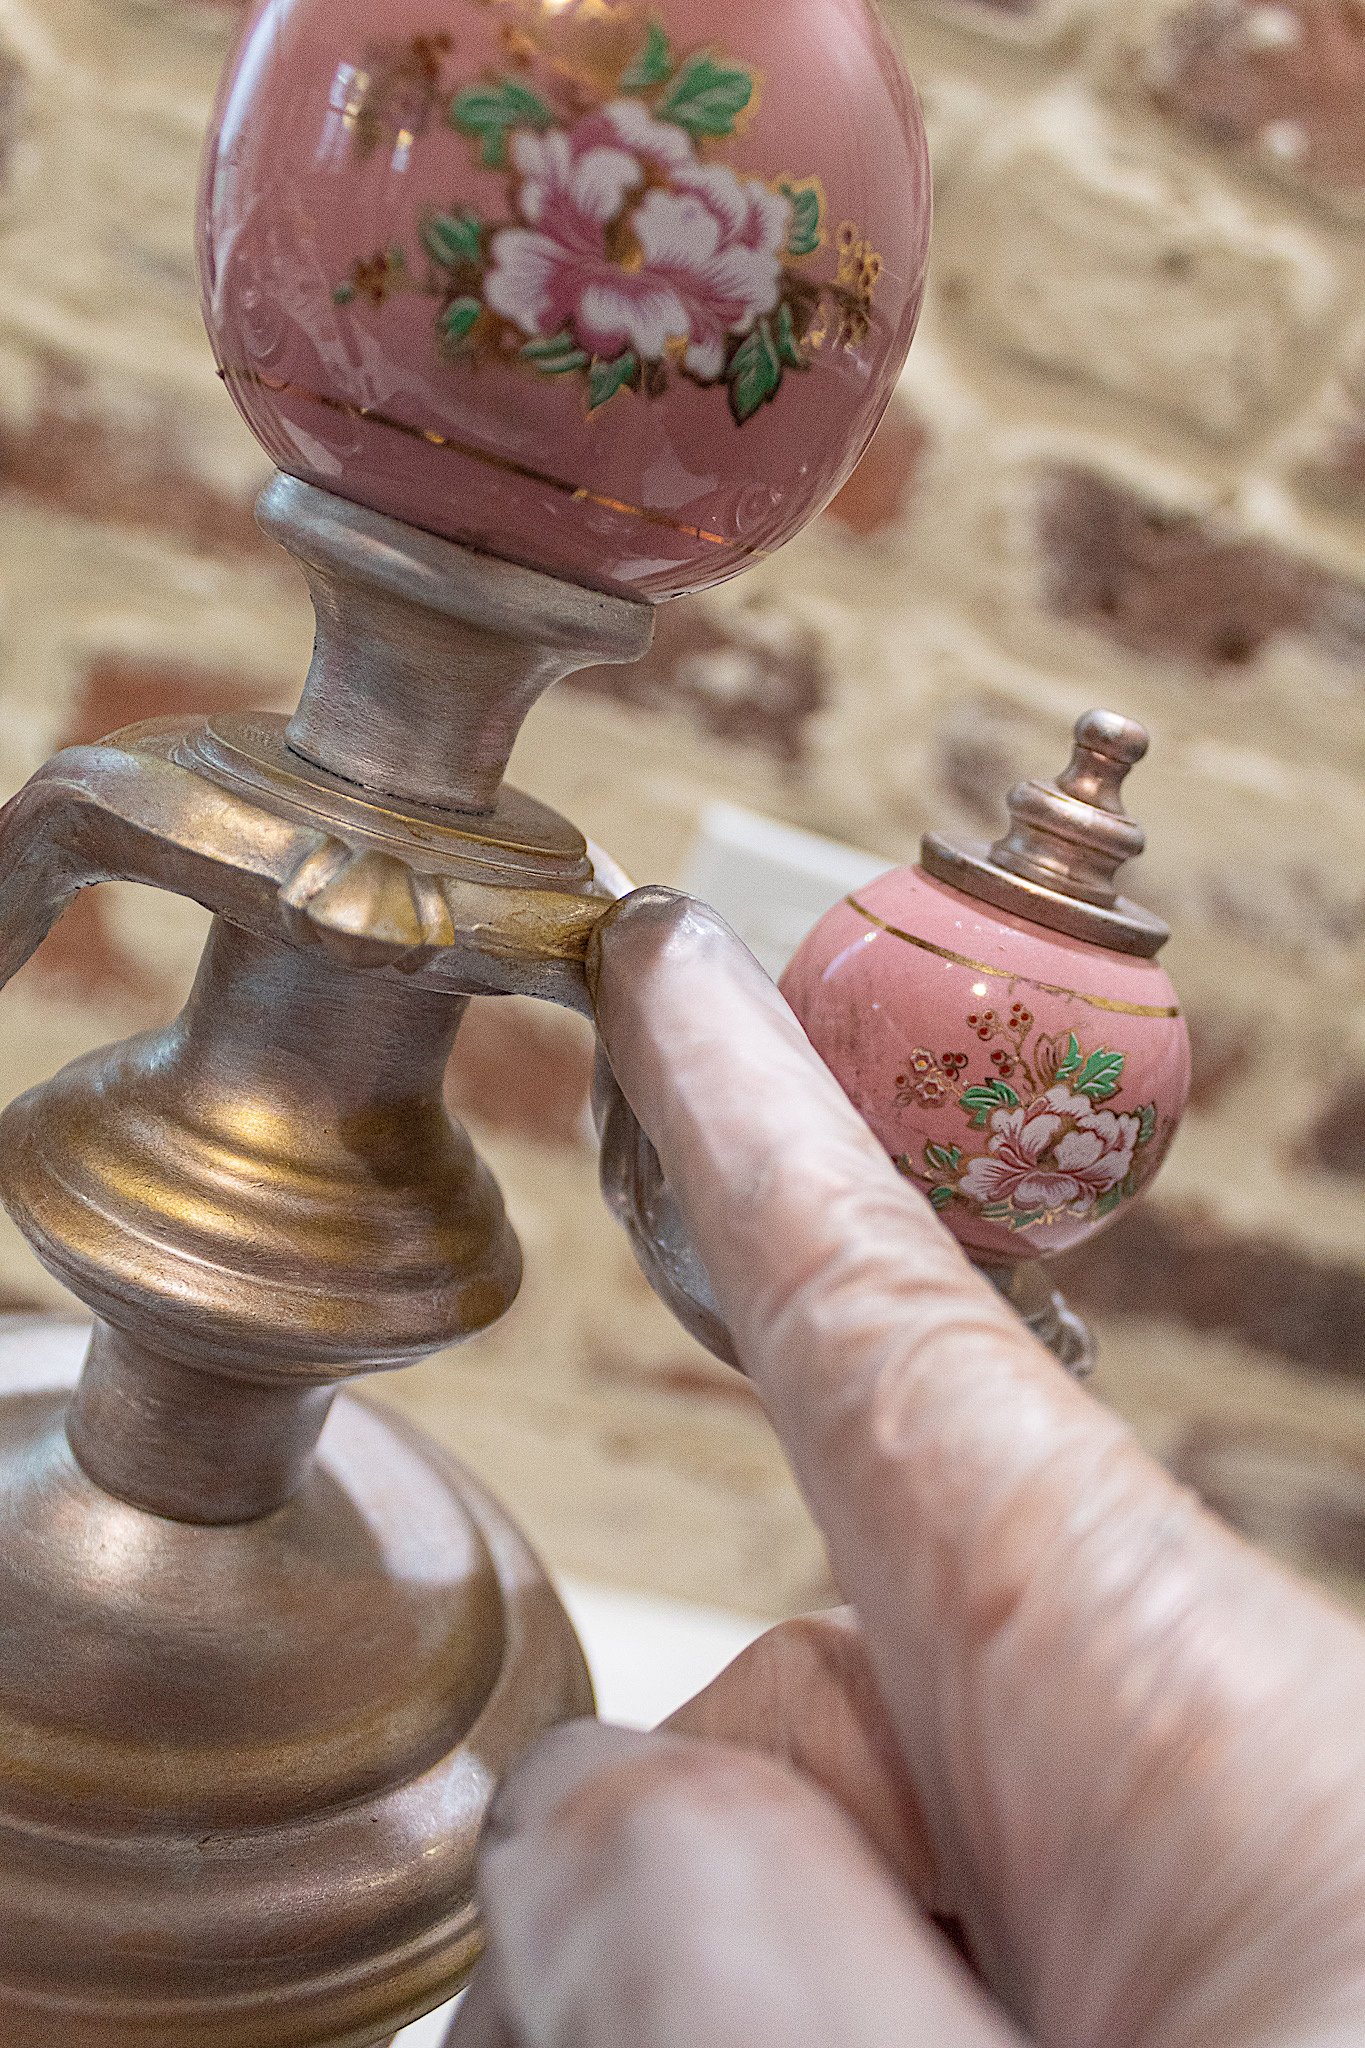
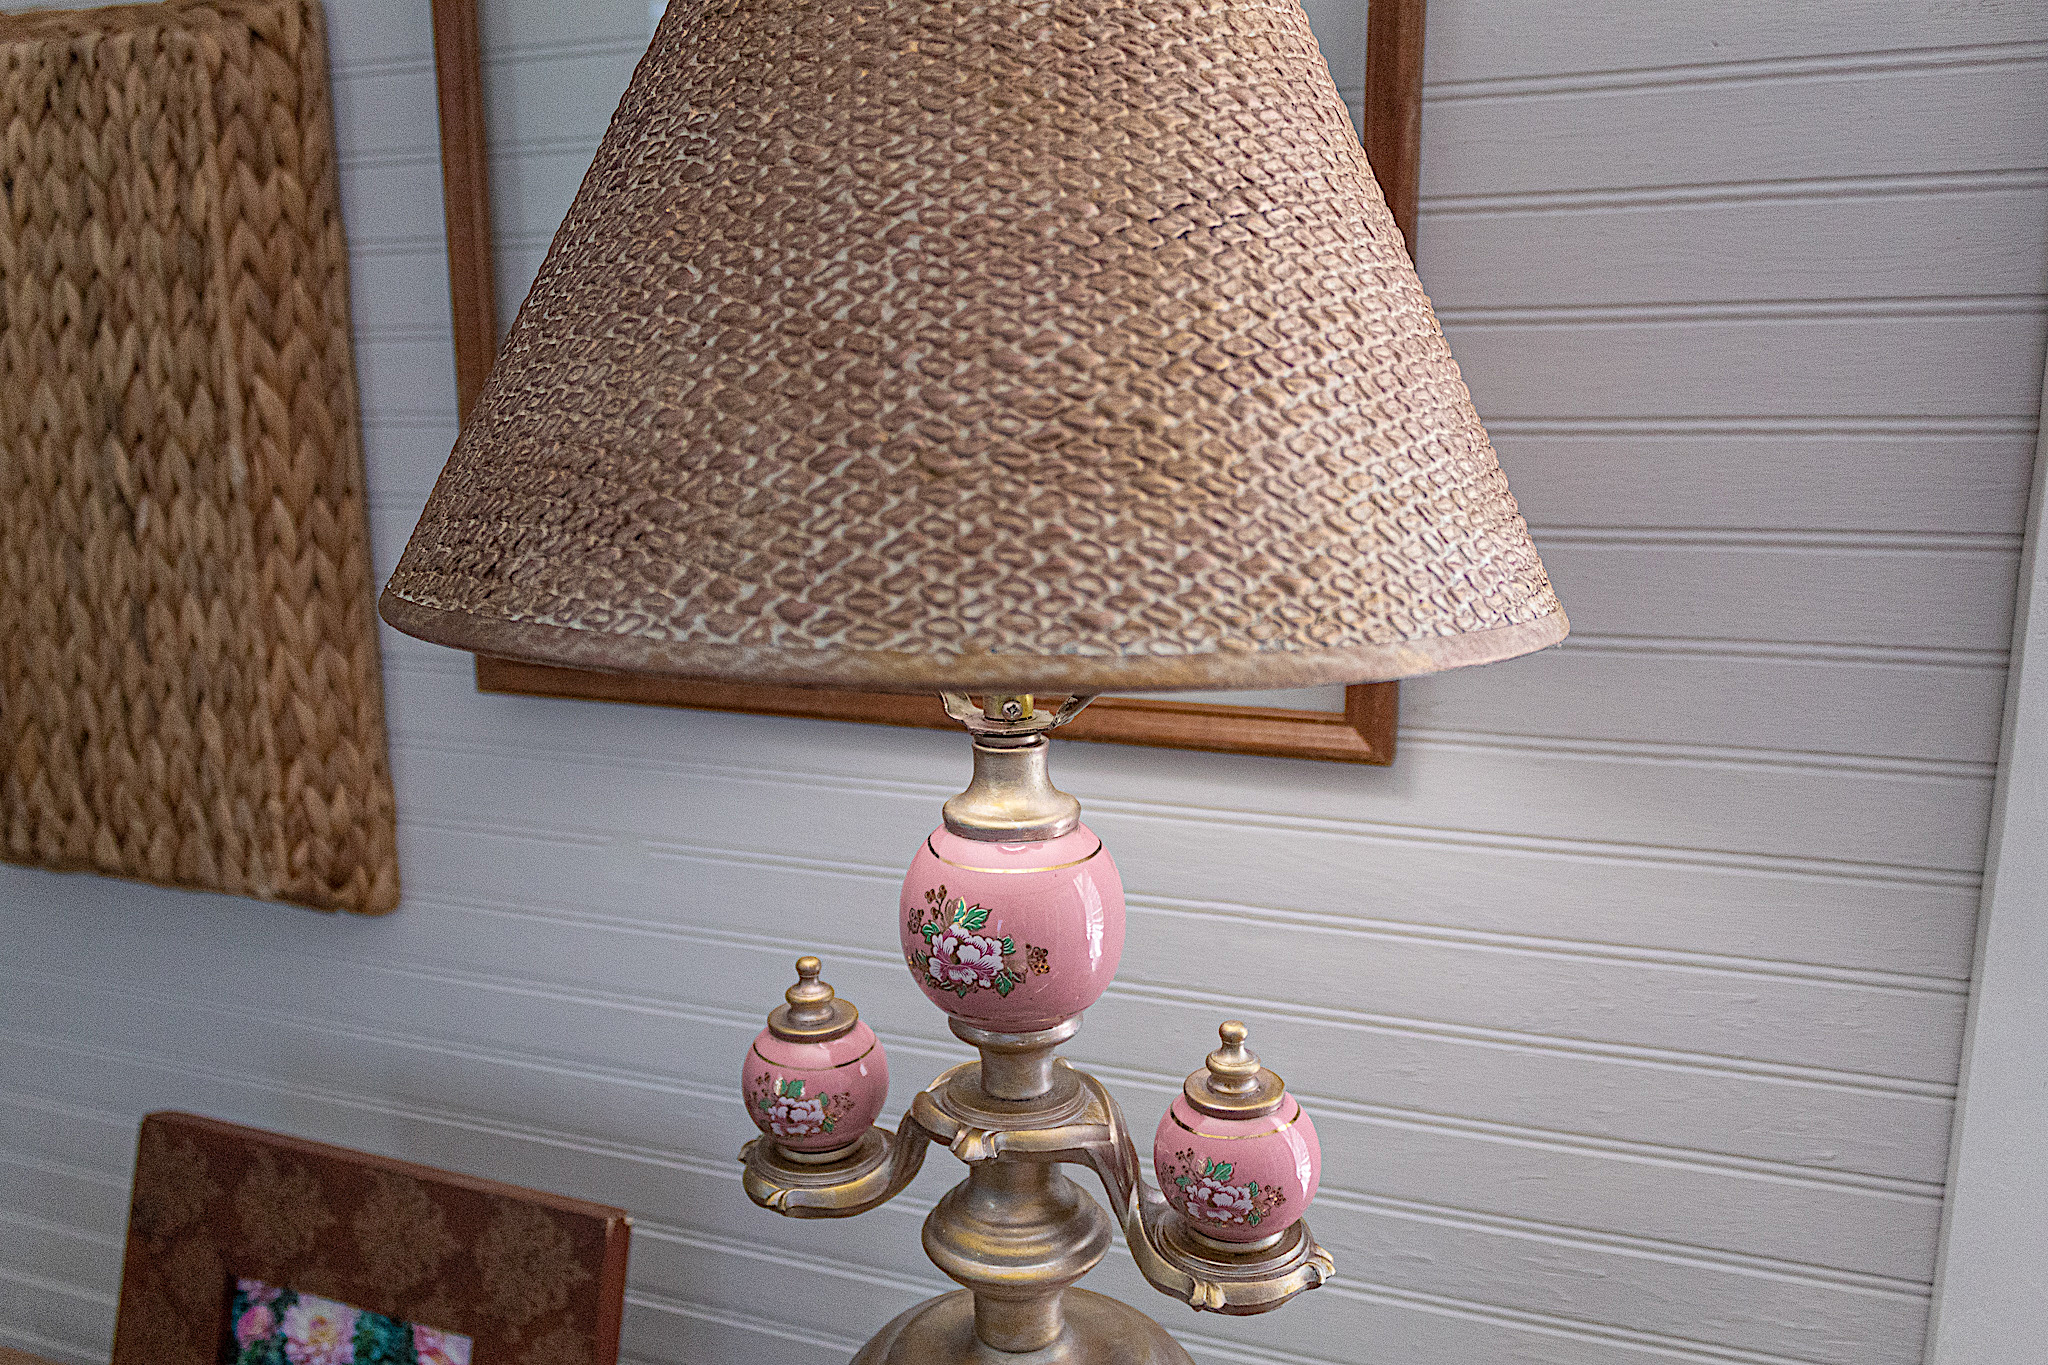
The next color will only be applied as an accent. I’m using Art Alchemy’s Vintage Gold Wax to add more depth to the finish and to bring out the details of the lamp. I simply rub my gloved finger in the wax…
…and then I rub my finger along edges and in random parts around the lamp.
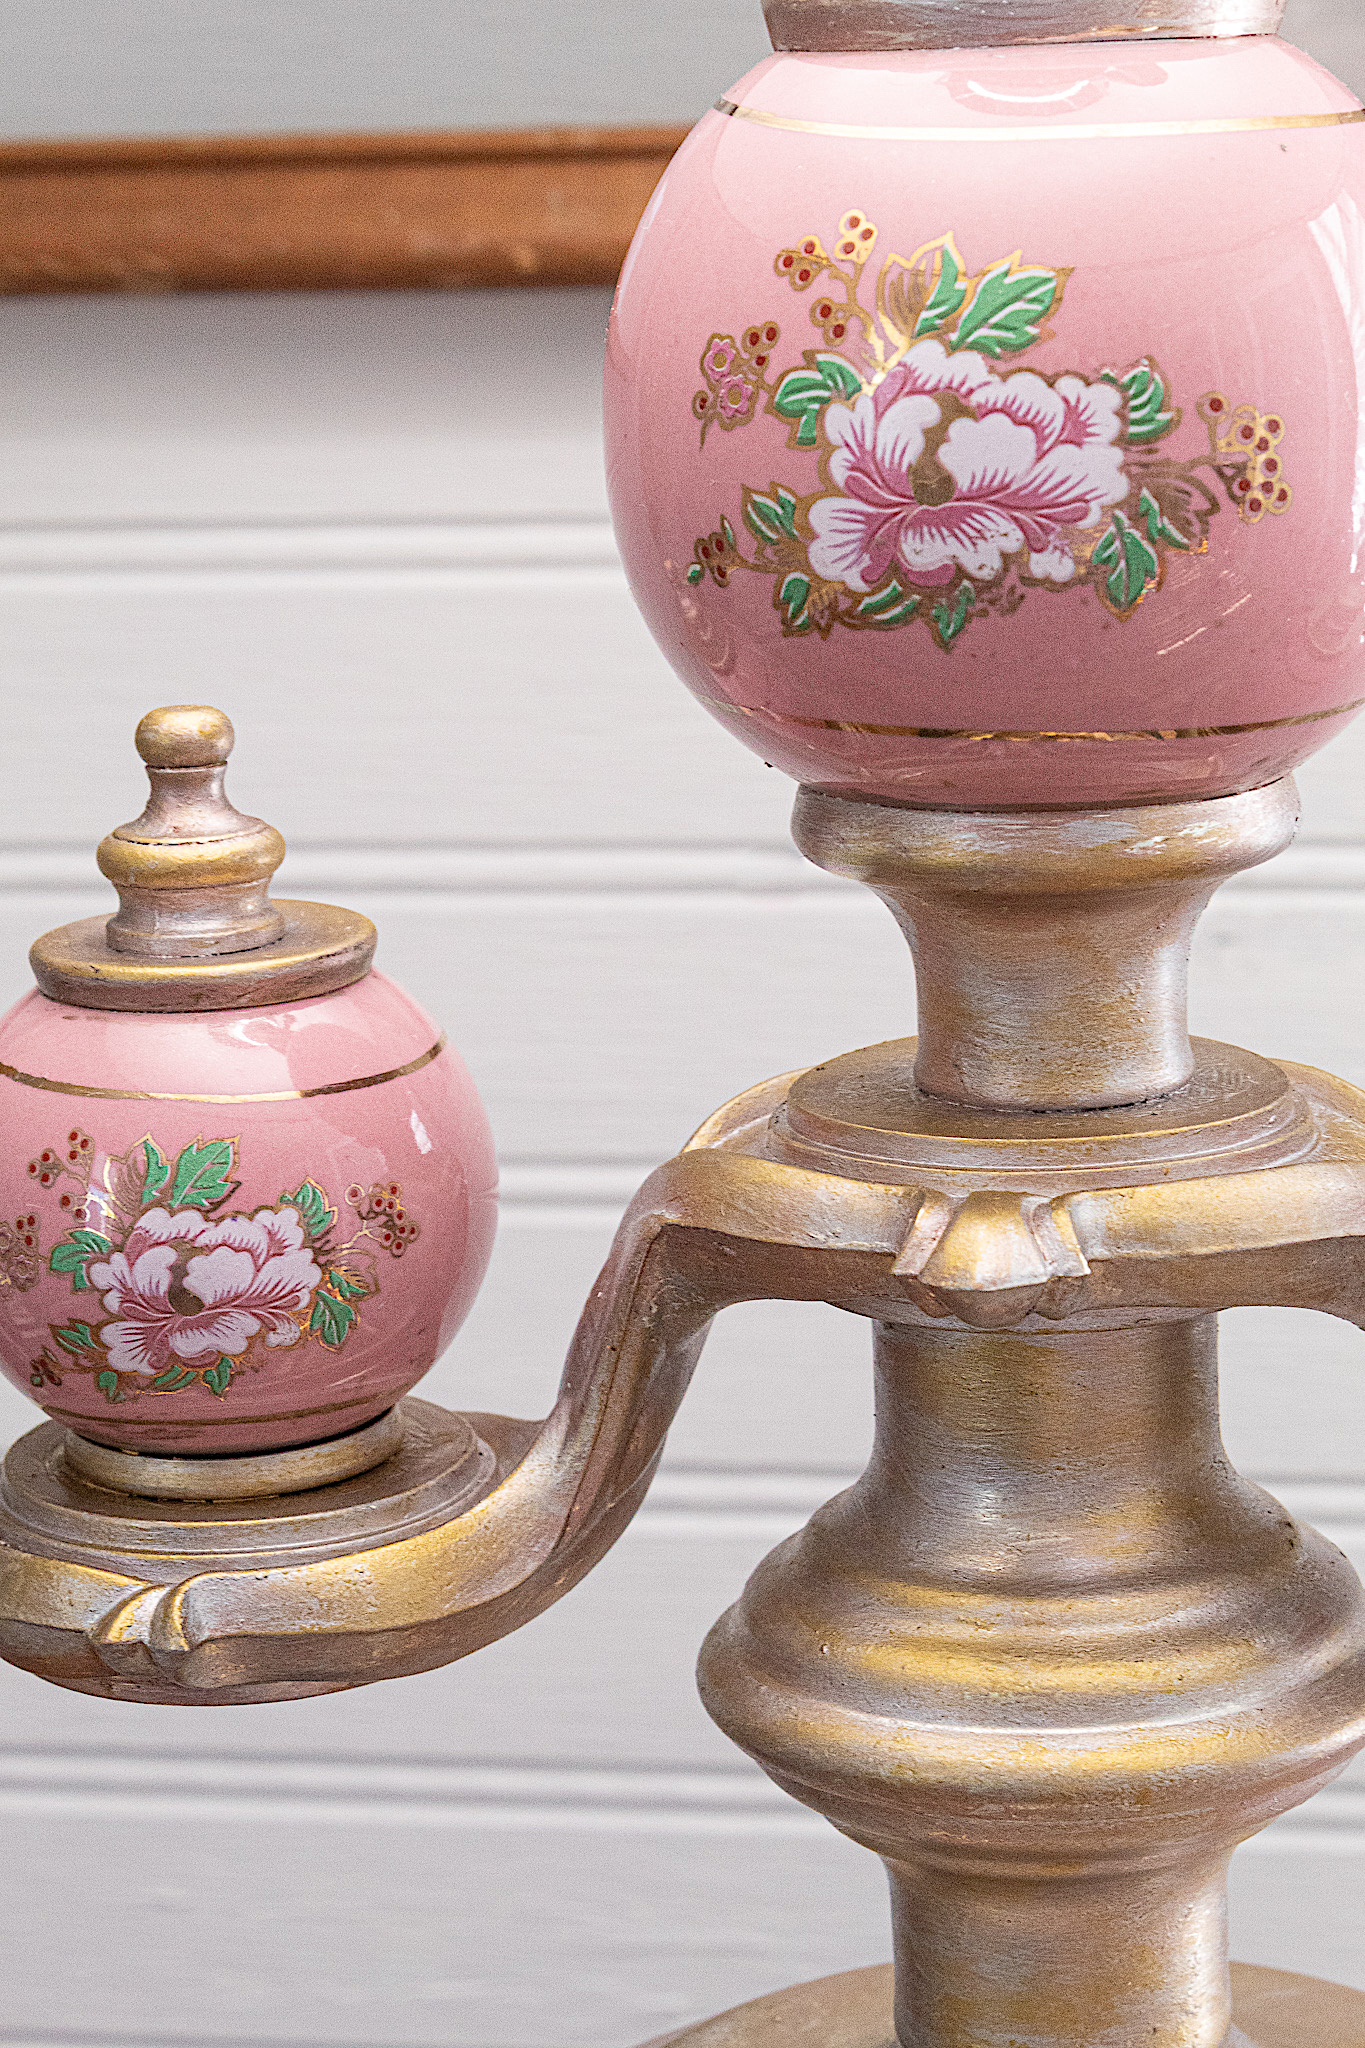
I love how the wax helps bring out the gold details in the pink globes.
Video Of This Renovation
Why I prefer second-hand lamps over new lamps: •Value: you are much more likely to find a well-made, vintage, ornate or unique lamp for a fraction of the cost of something new with similar qualities. •Originality: many of the older style lamps, the ones that people have had for years, have beautiful details (the kind of workmanship you don’t find so freely these days). •Rarity: If you’re like me you may appreciate having one of a kind items. You can frequently find items at thrift stores that due to their age are no longer made. •Personal touch: as a creator, I like the experience of making decor items my own. Even a lamp can take on a whole new look to suit your style.
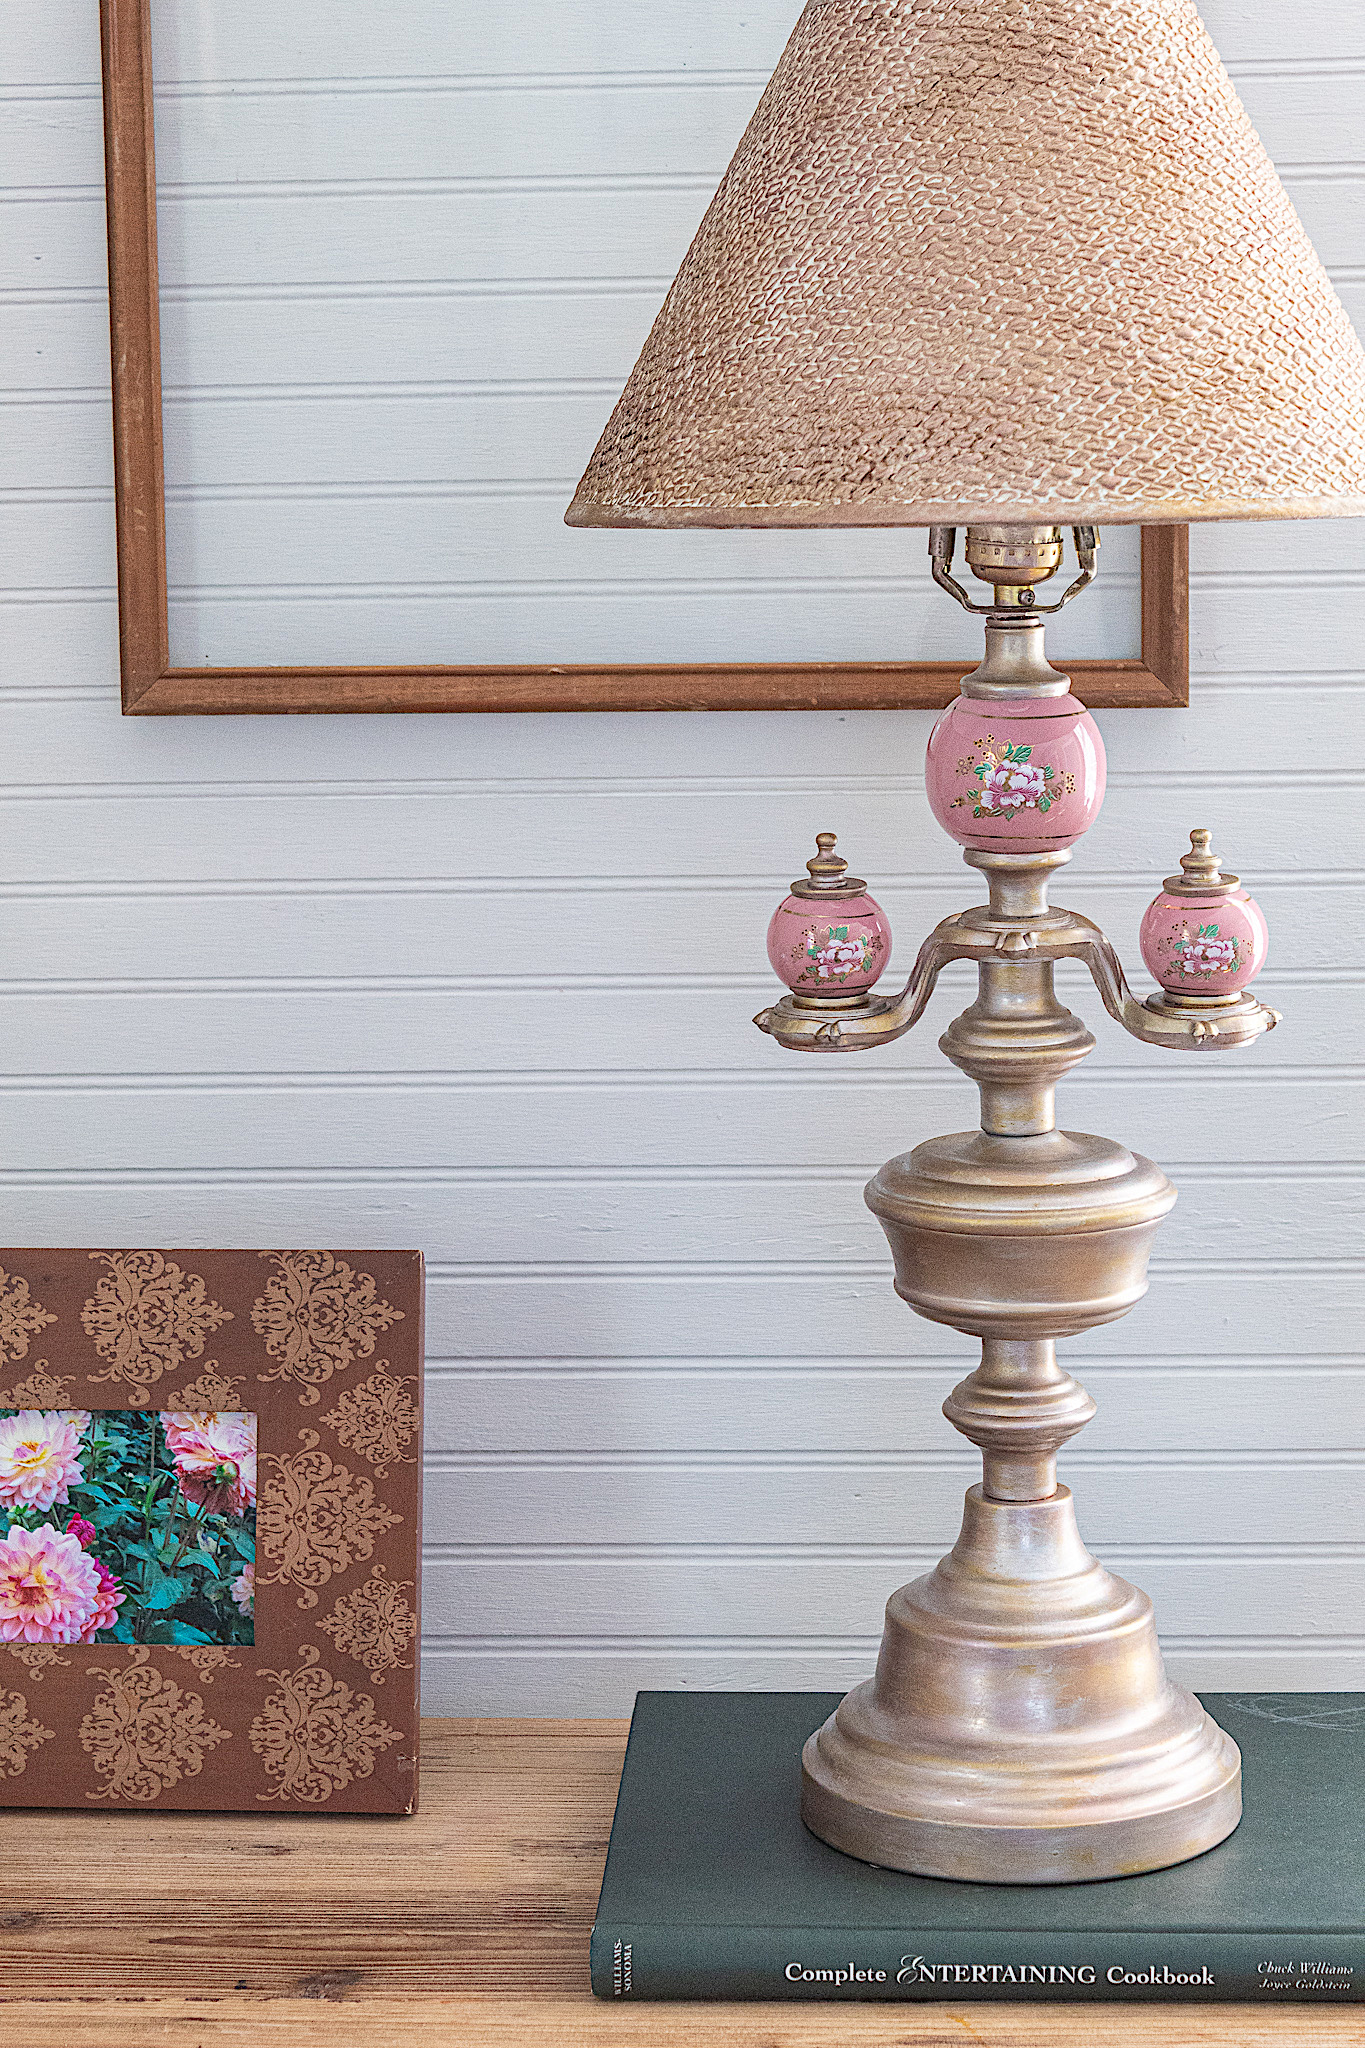
Because I wasn’t crazy about the oversize shade that came with this lamp, I decided to refinish and use an old shade I had. It had some really pretty texture but a black and white pattern that wouldn’t match the lamp. I painted it white and added antiquing and metallic waxes. Now it fits much better to the lamp’s style.
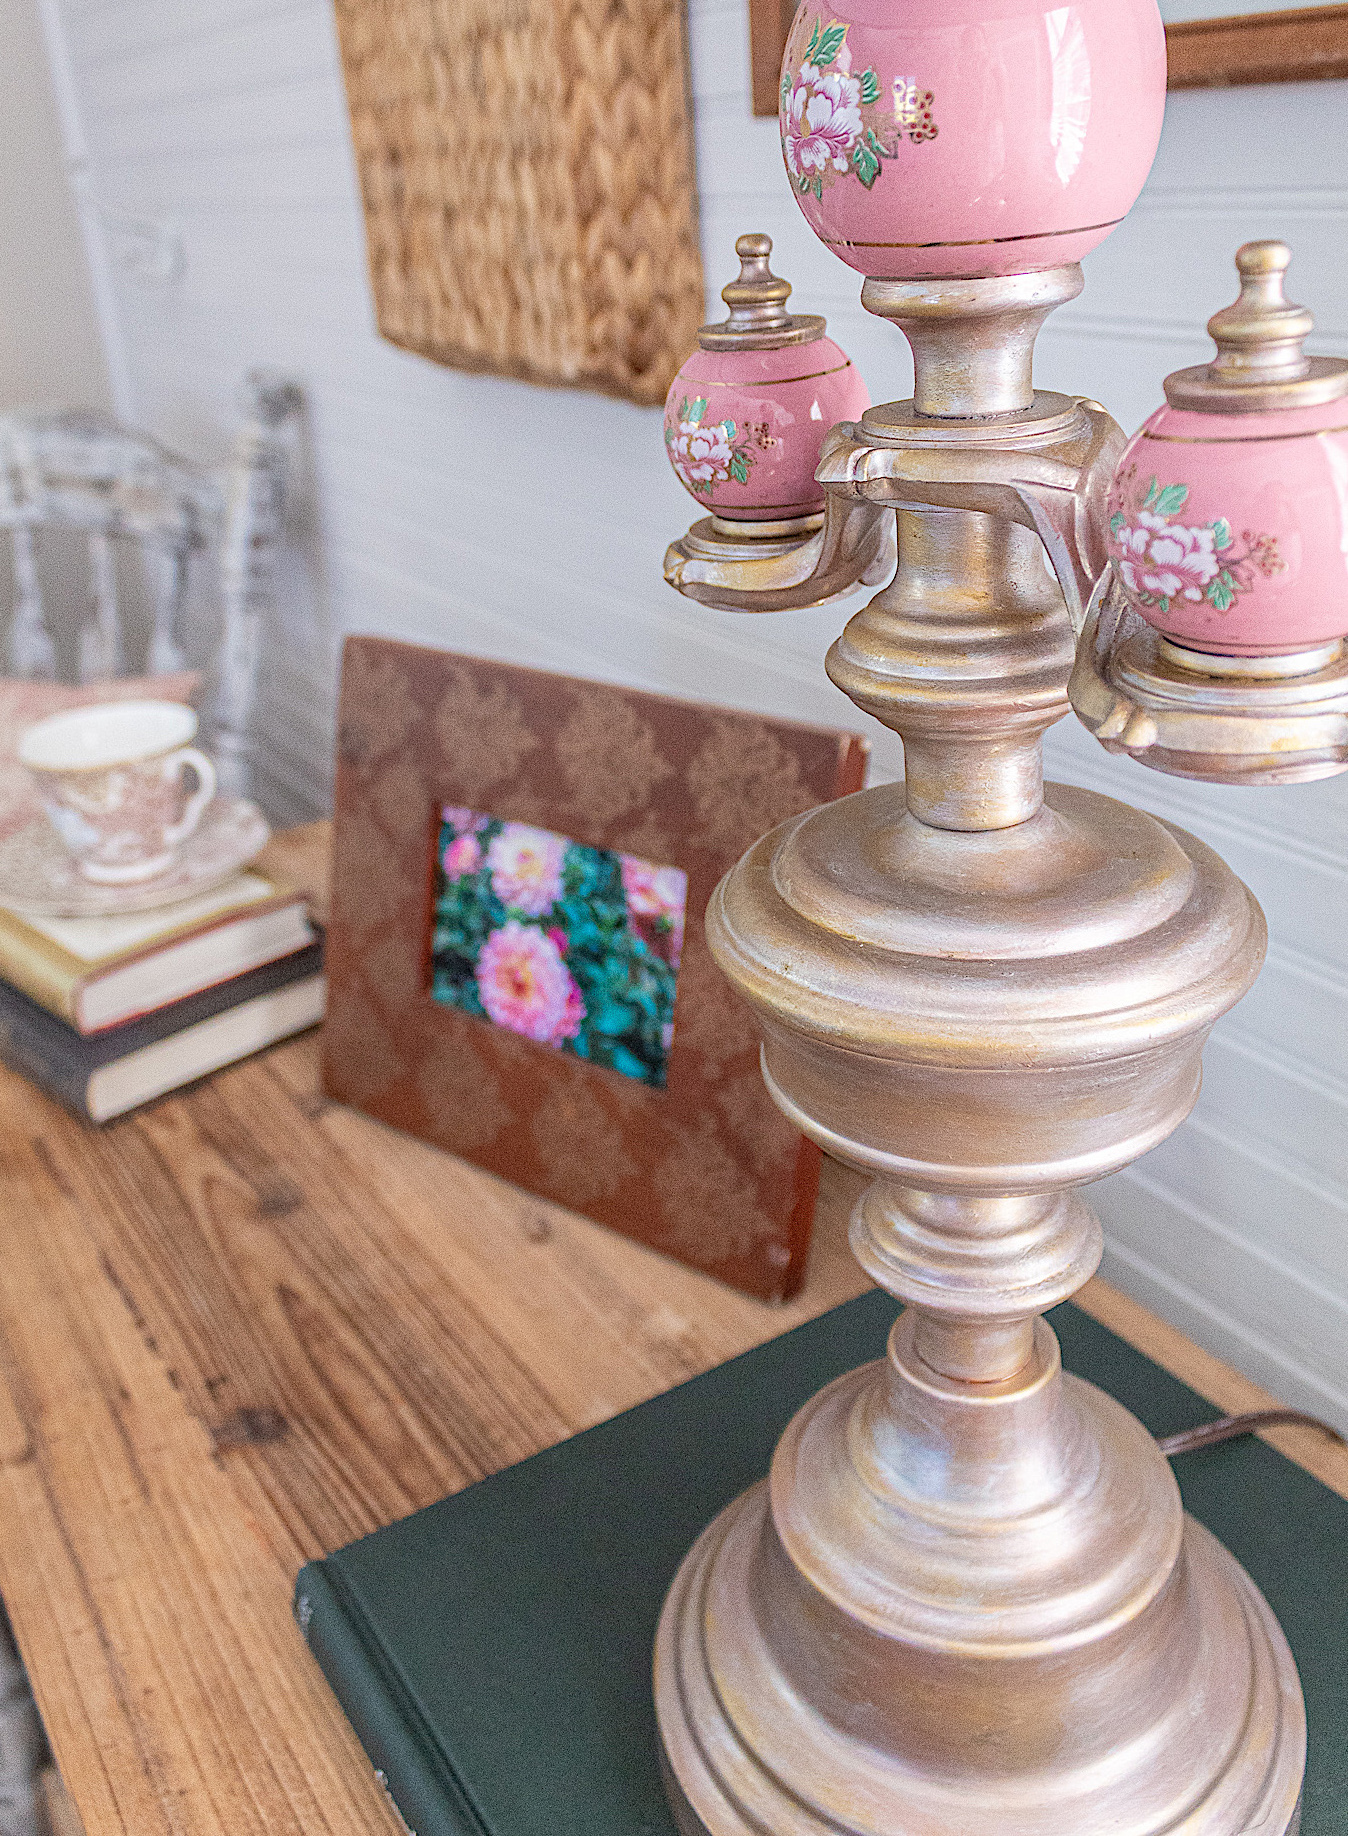
What do you think of my “new” vintage lamp? Isn’t she lovely! I love time honoring pieces and this was such an easy way to restore the beauty of this lamp. Thank you for reading friends! Be sure to SUBSCRIBE so you never miss a post!