Rub-On Transfer & Blended Chalk Paint Techniques

Hello friends! This renovated end table (or night stand) was the perfect piece to kick off the new year. It is fresh and colorful, boasting a gorgeous floral transfer with green low lights and greige highlights.

Take a look at her before. She was a sad state of affairs—neglected, flaking varnish, and sitting awfully low to the ground. First priority was to give her some long sexy legs

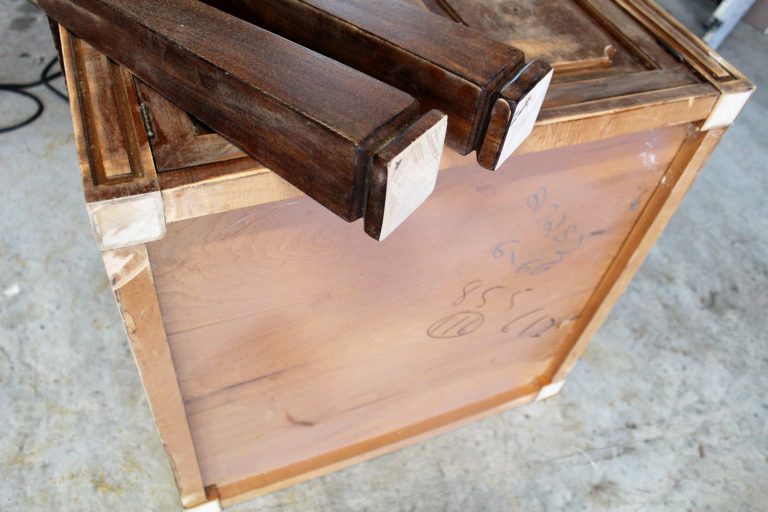
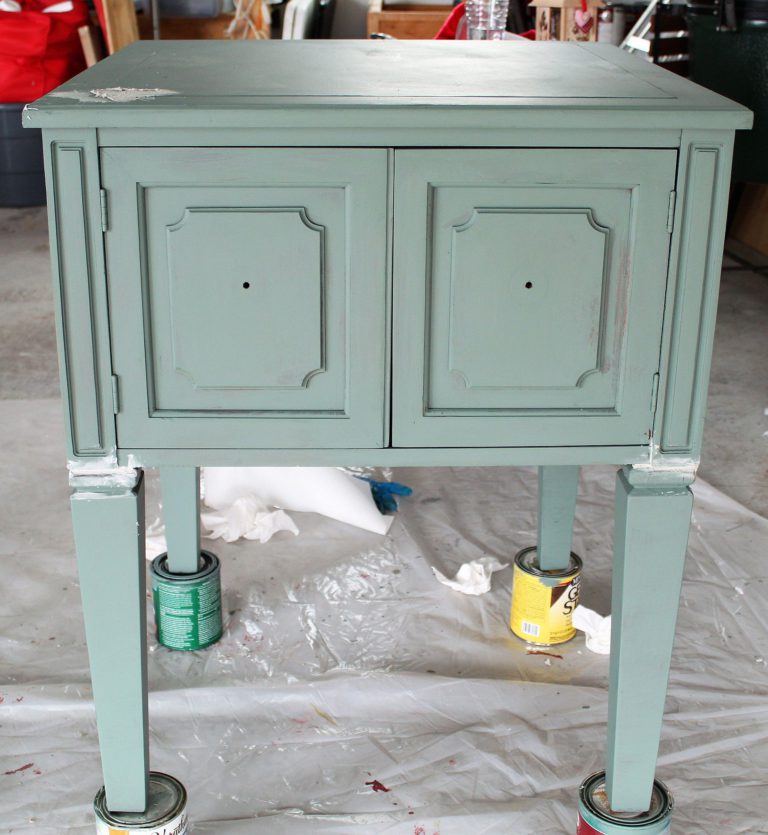
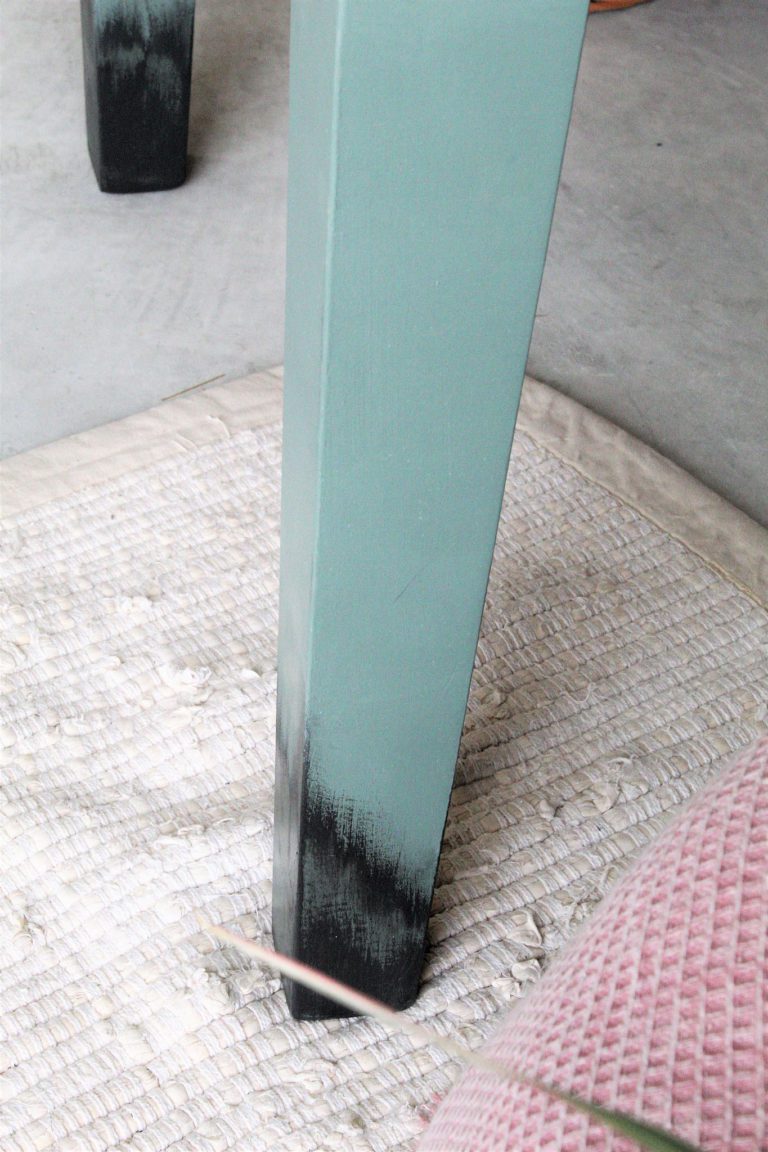
I carefully cut the legs of the table using our Ryobi table saw. Our table saw has been a great investment. We used it during our home construction process and now I use it for even the smallest of projects. Remember to always follow all safety precautions when using power tools.

For the new legs I cut the legs off of an inexpensive thrift store table. I sanded them down really well with my orbital sander and my husband Ronny attached them using screws and nails.

I used bondo to fill in any gaps. This stuff is powerful. I use it when I need to rebuild parts of furniture pieces. It dries incredibly hard and sands down beautifully smooth. I recommend very good ventilation because it has a strong smell. Here is the table with her new legs and one coat of Glidden’s Boreal Green. If you’d like to see how I make my own chalk paint, click HERE.

Unfortunately I do not have good pictures to share with you of my chalk paint blending technique. Working in the garage at night is not the ideal setting for great photography!

The Ruby Rose floral transfer by Redesign With Prima is so beautiful. It has large colorful bouquets. The table has plenty of flat surface area making it perfect to adorn with a transfer.
1. I first cut out some sections of the florals and placed them where I wanted them. I used painters tape to help keep them in position as I peeled back the protective white plastic.

2. Using the wood tool that comes with the transfer, I went over and over the transfer rubbing back and forth with moderate pressure. I took my time with this to ensure the transfer was well adhered.

3. Then I slowly peeled off the transparent plastic layer to reveal the transfer. Below is a video showing how I applied this transfer.

Video Demo of How I applied This Transfer

For a fun detail I gave the tips of the legs a charred look using Behr’s Dark Secret. I brushed upwards with a paint brush and slightly smudged using a paper towel.

What do you think of the floral end table? Isn’t she a beauty! I hope you enjoyed this tutorial. Please let me know if I can answer any questions.

1 thought on “Rub-On Transfer & Blended Chalk Paint Techniques”

  1. Pingback: French Ceramics Table – HOME DECOR & DIY

Leave a Comment

Your email address will not be published. Required fields are marked *


The reCAPTCHA verification period has expired. Please reload the page.

nooksinbloom

•Creating and Making the Home Pretty
•Inspired by European & Grandmillenial Styles
•Budget-Friendly DIY’s
🙏🏽
Blog ⬇️

Jessica
Load More Follow on Instagram
Scroll to Top

Sign Up So You Never Miss A Post!

Your information will never be shared or sold to a third party.