
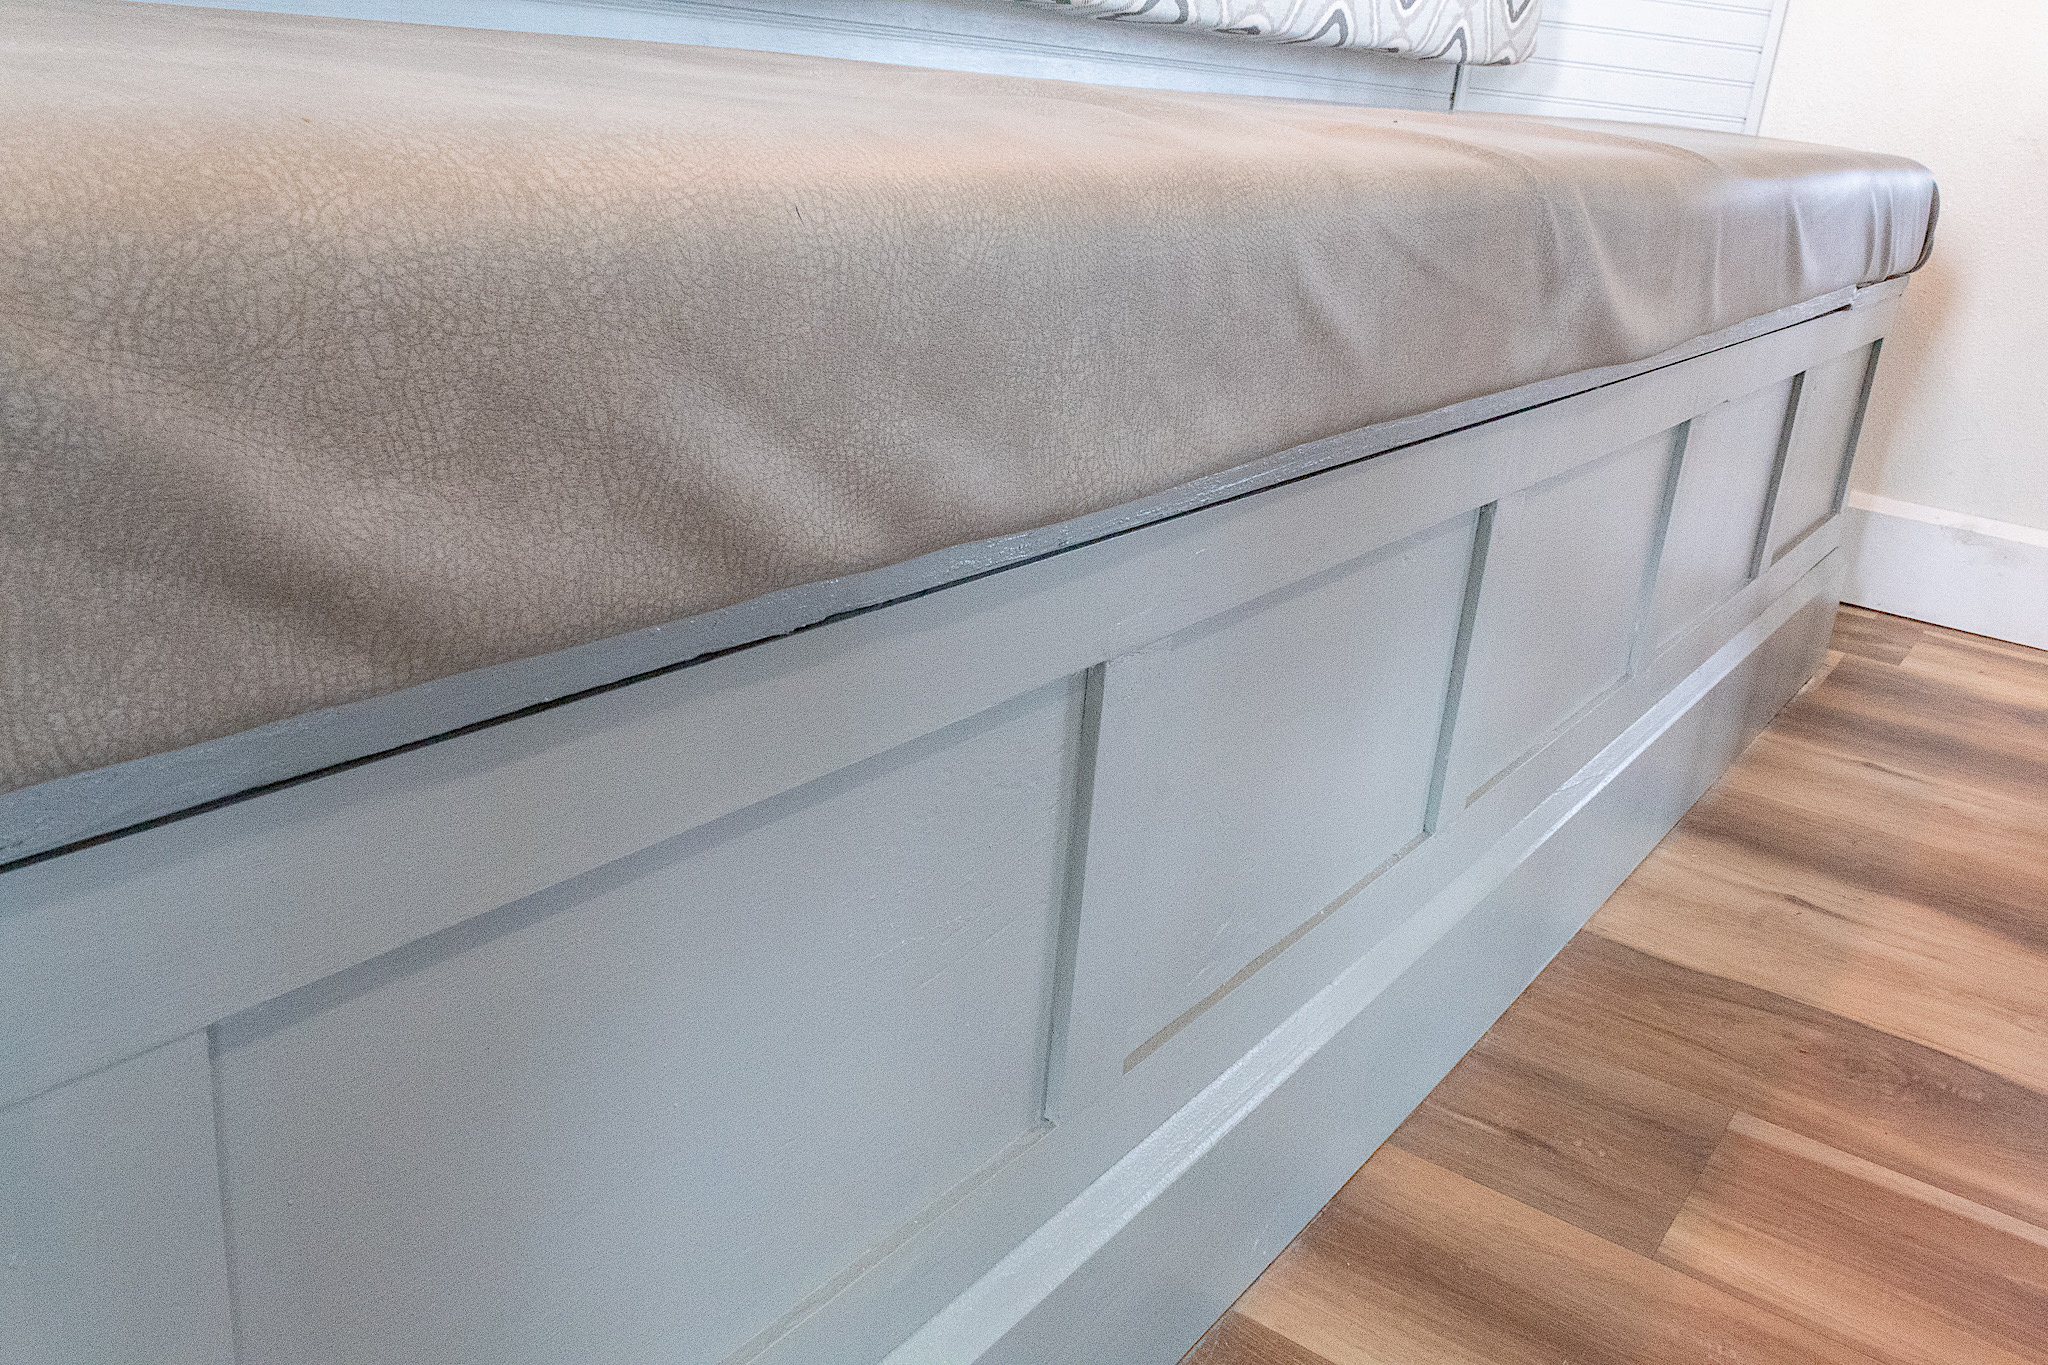


Window Seat Update/Create A Cool Pattern With Trim
55 shares 55 Today we are doing a very cool DIY on our son’s window seat. Some scrap wood, a fun paint color and a little sweat equity and you too can use this
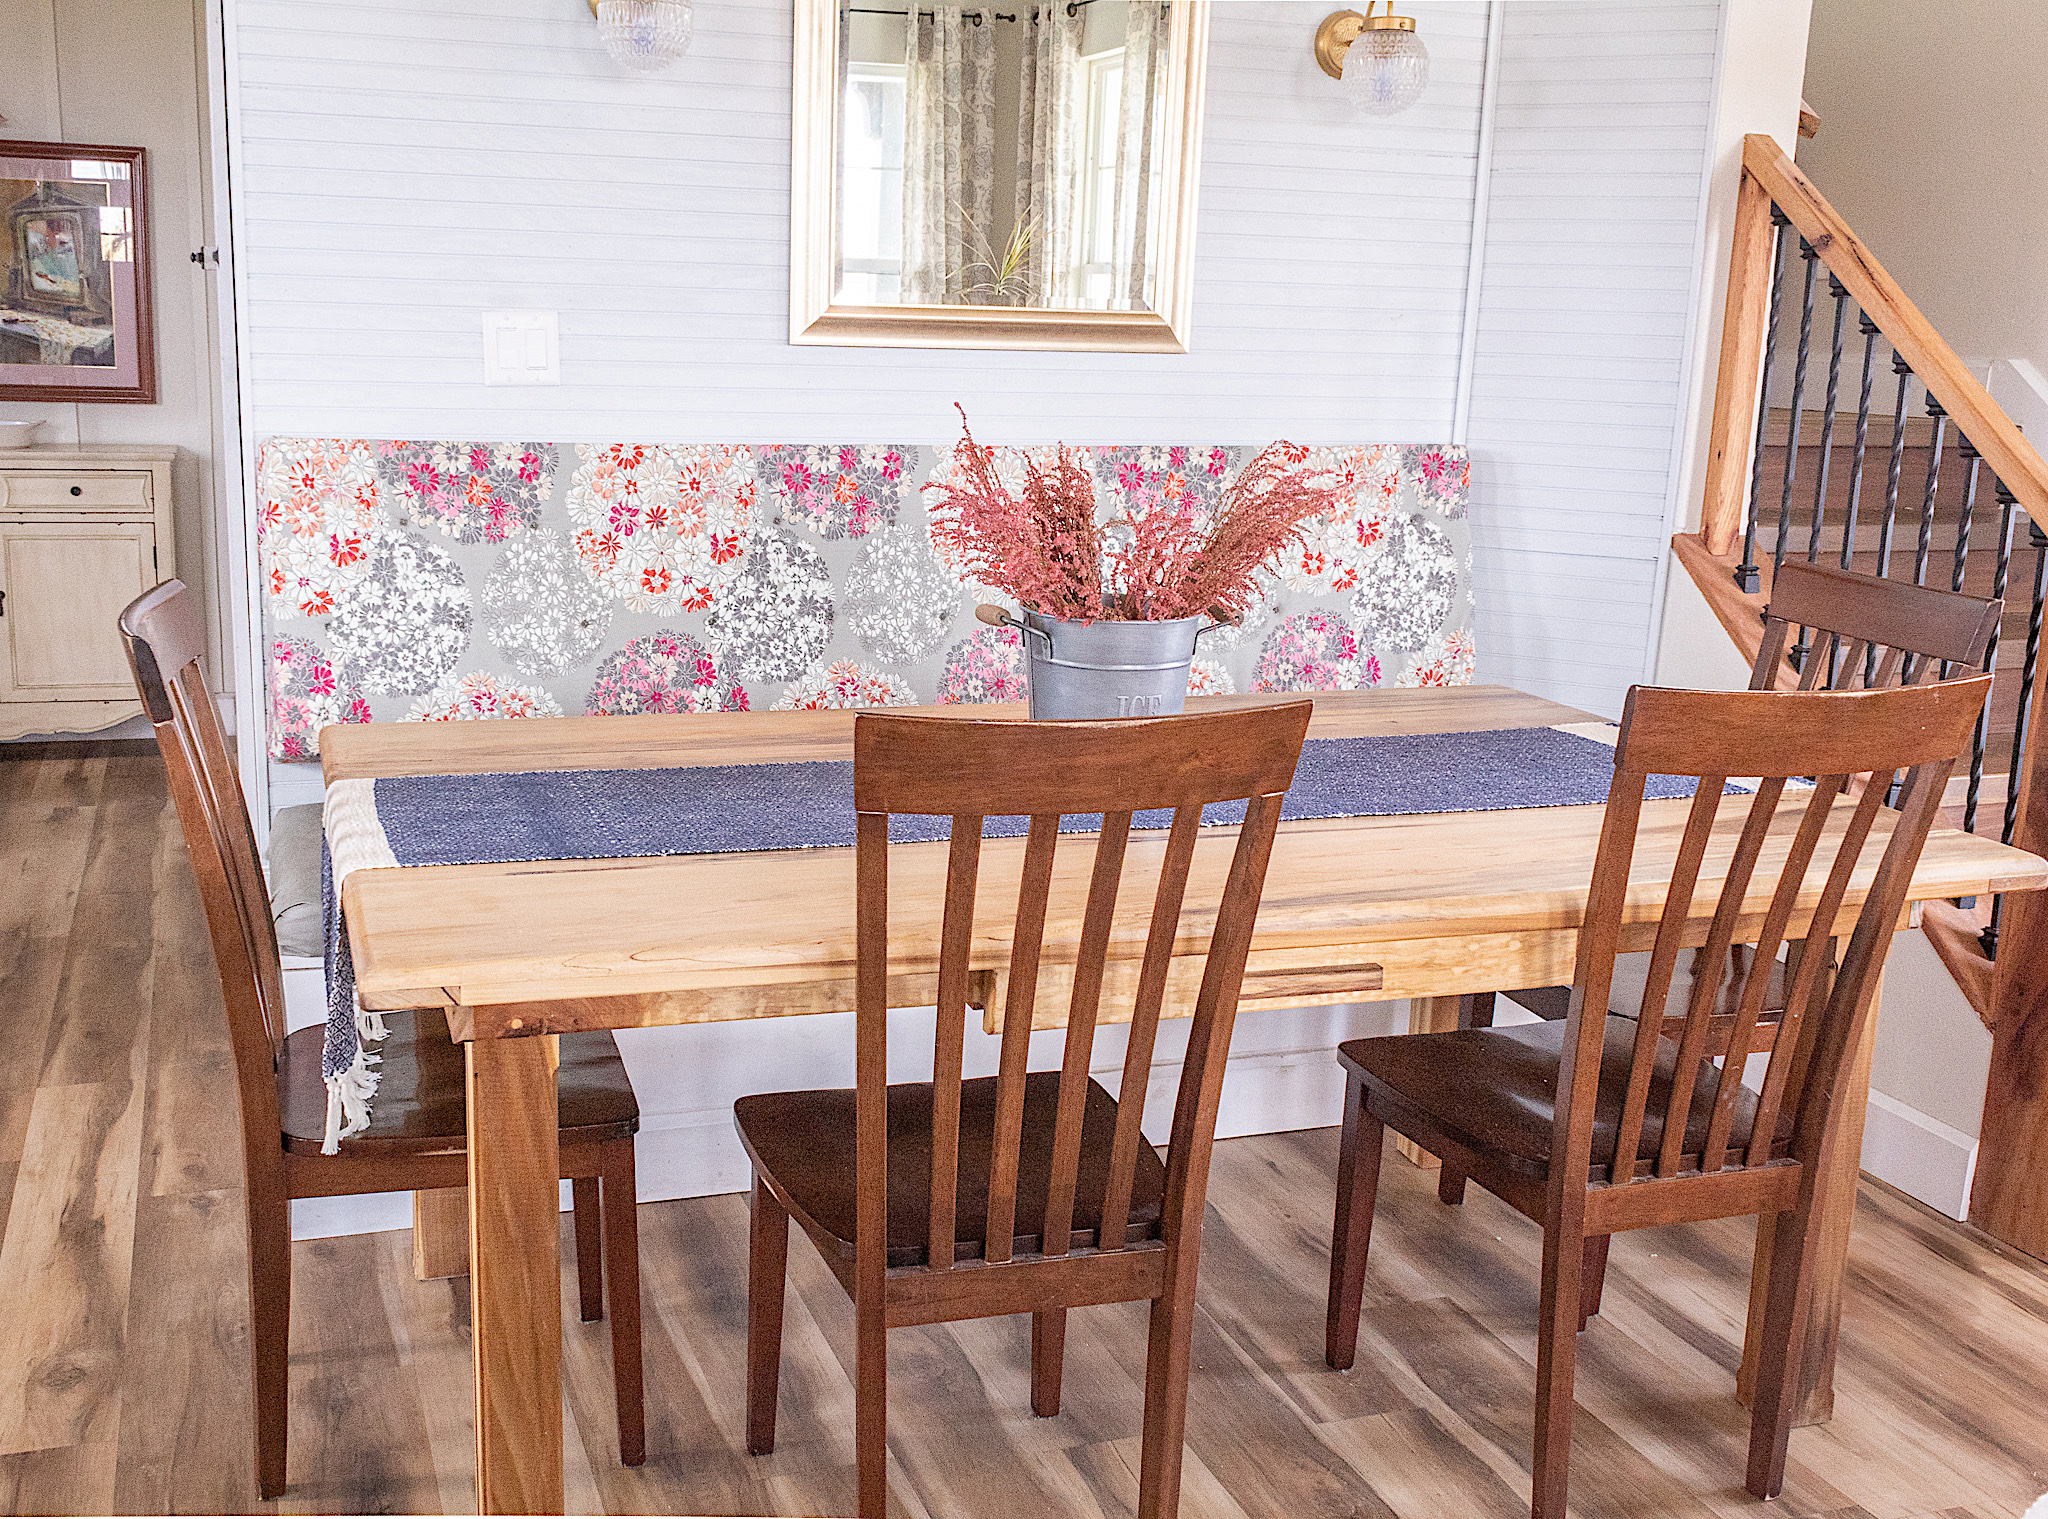
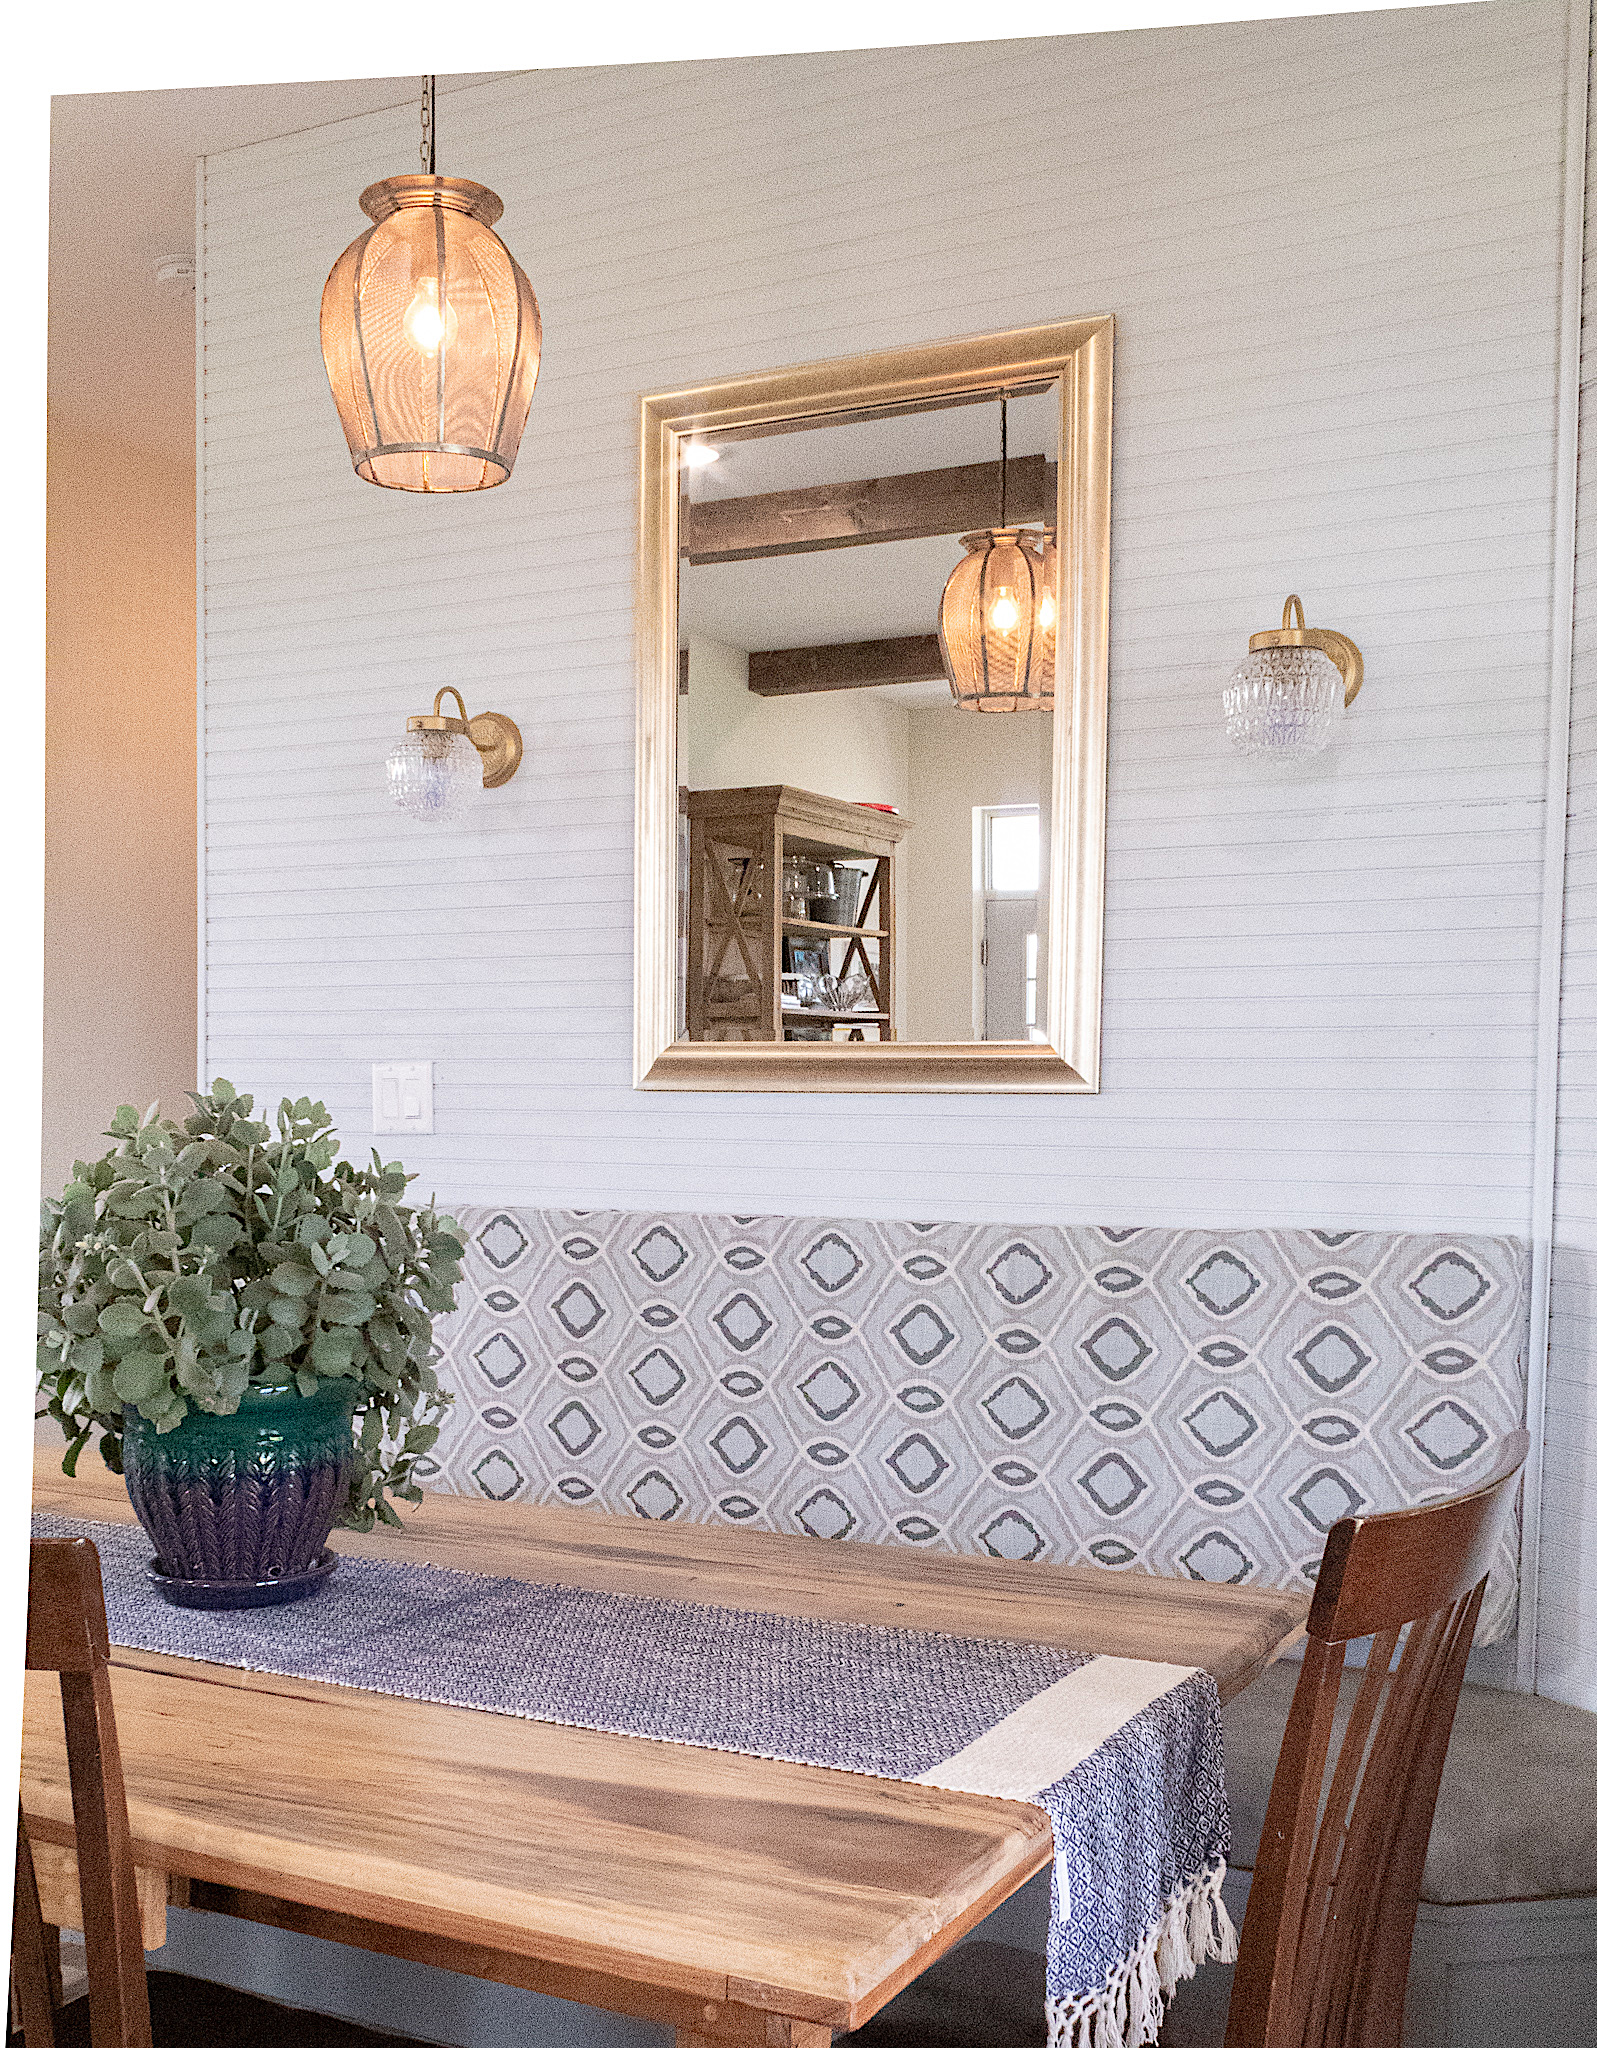
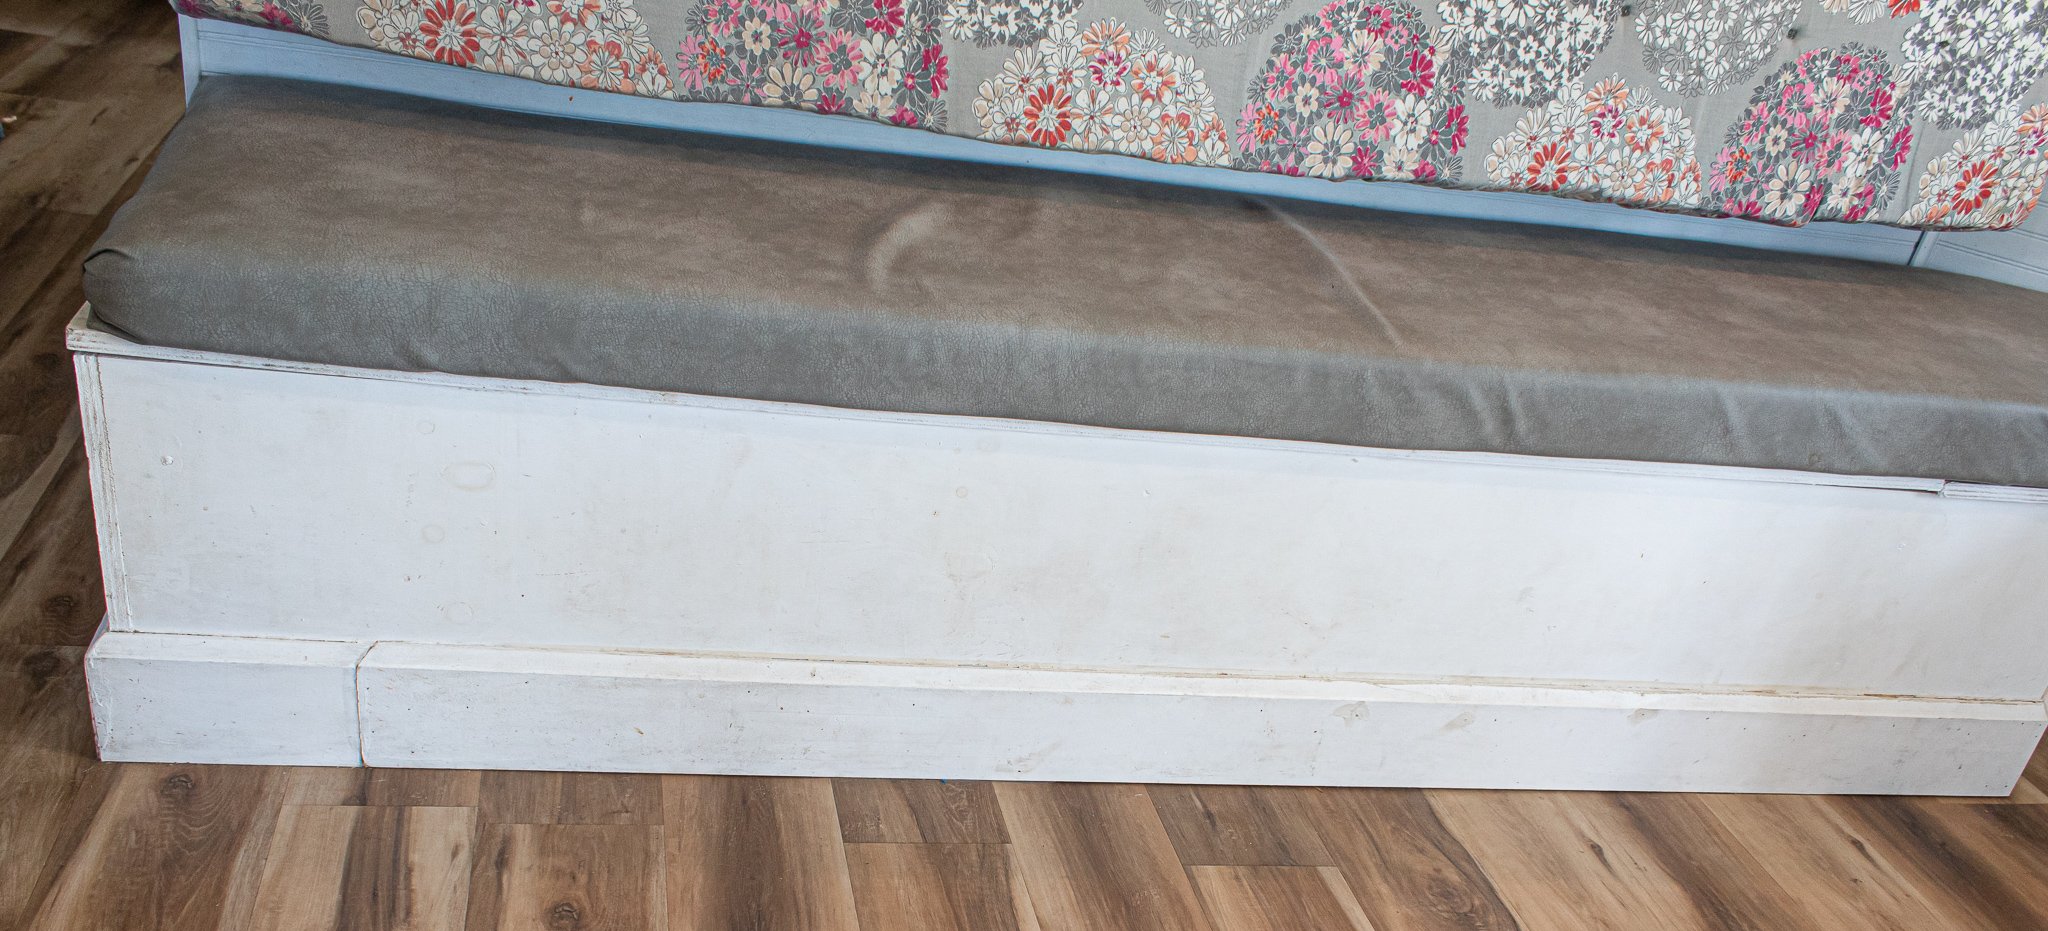
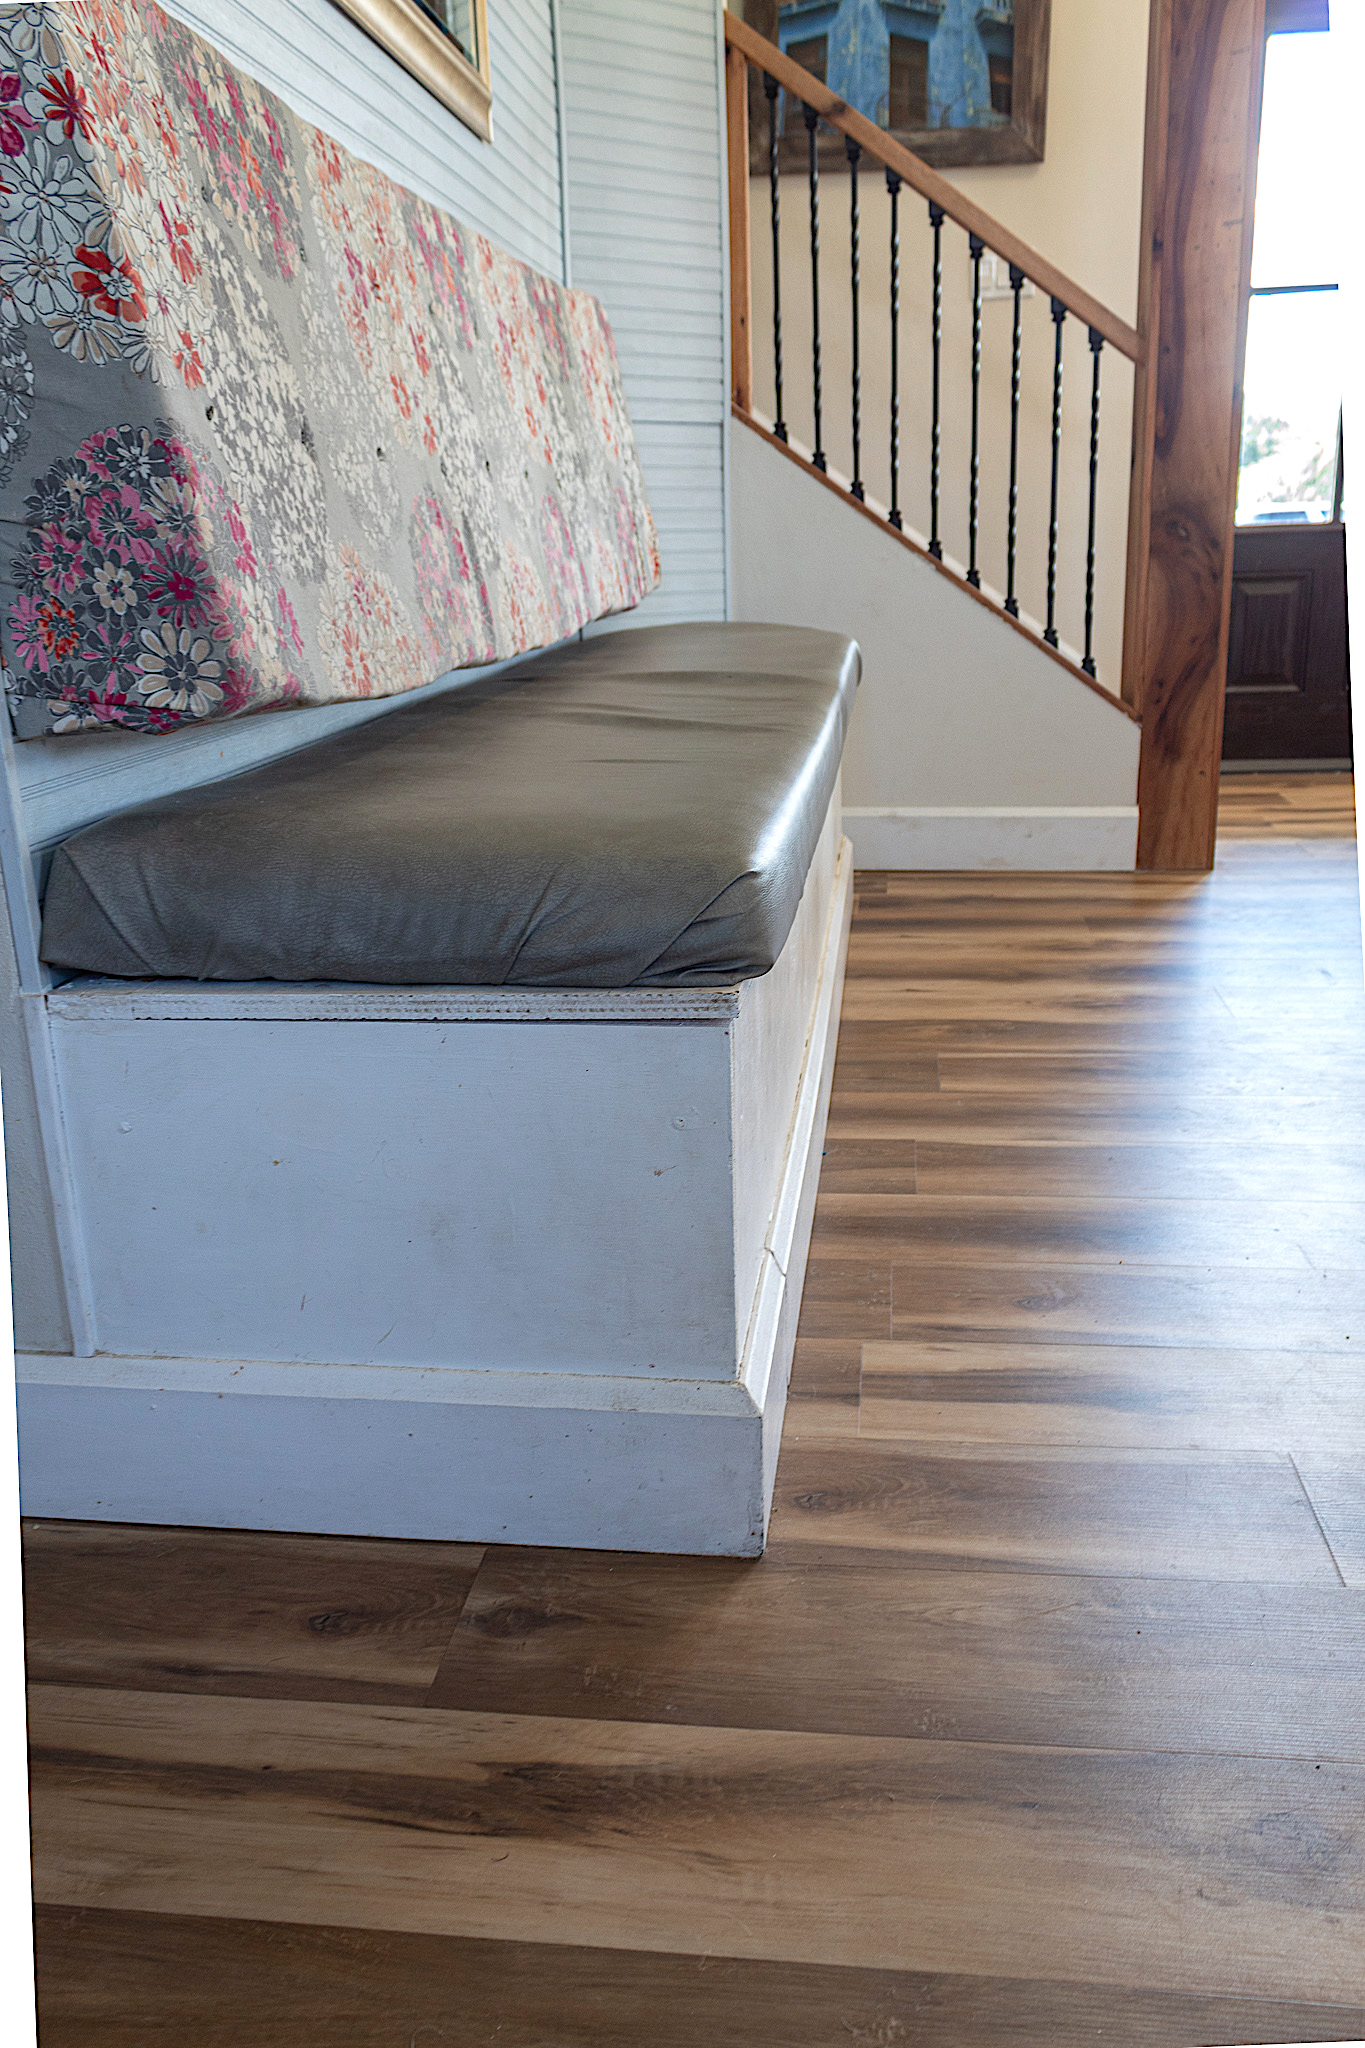
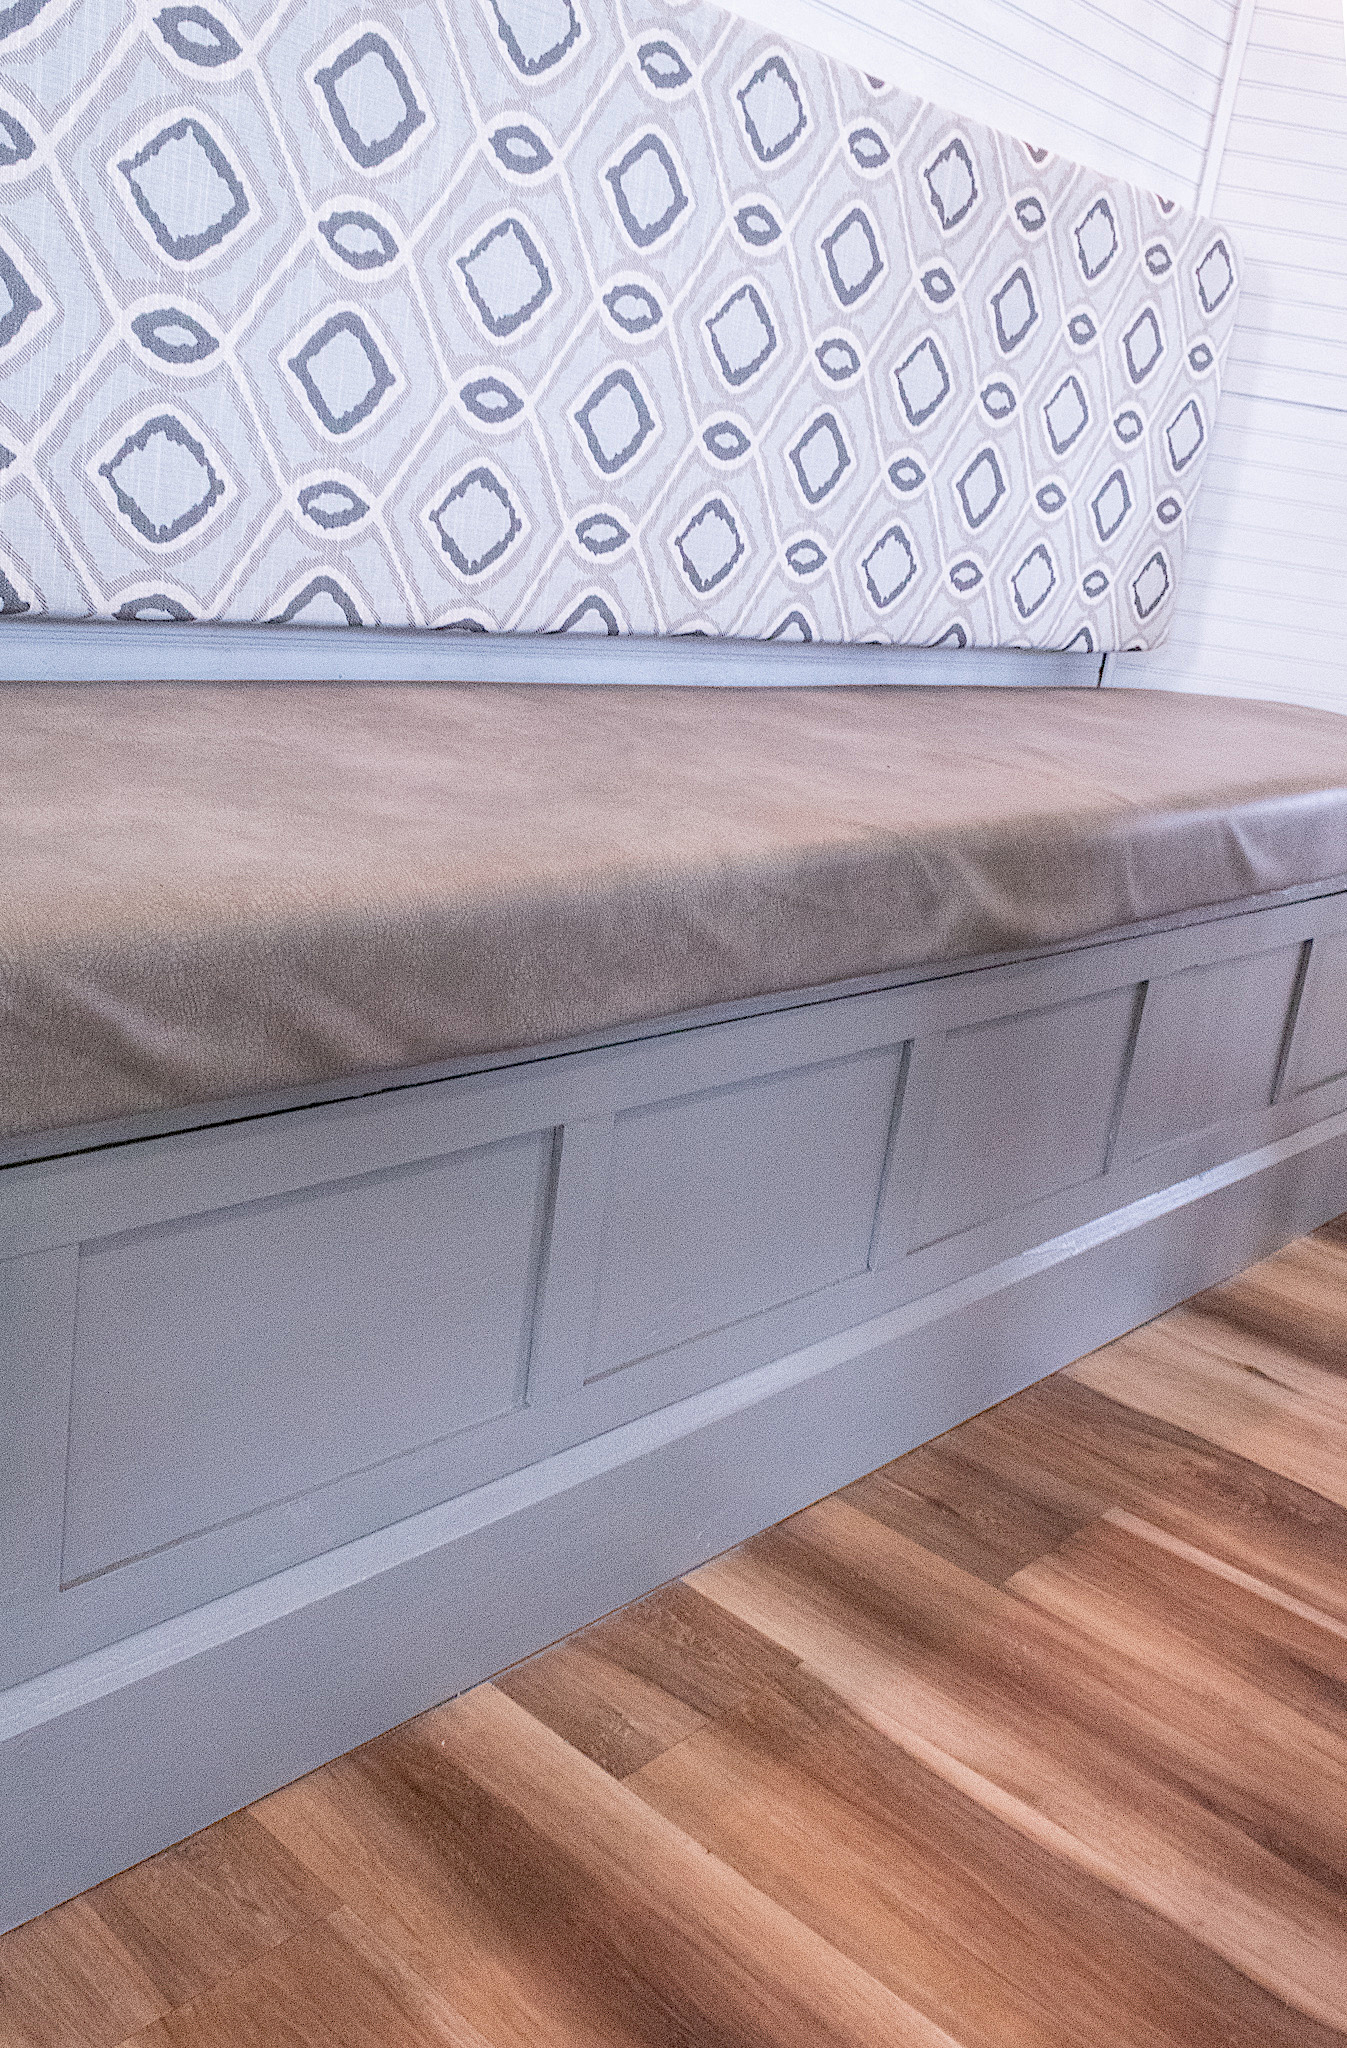
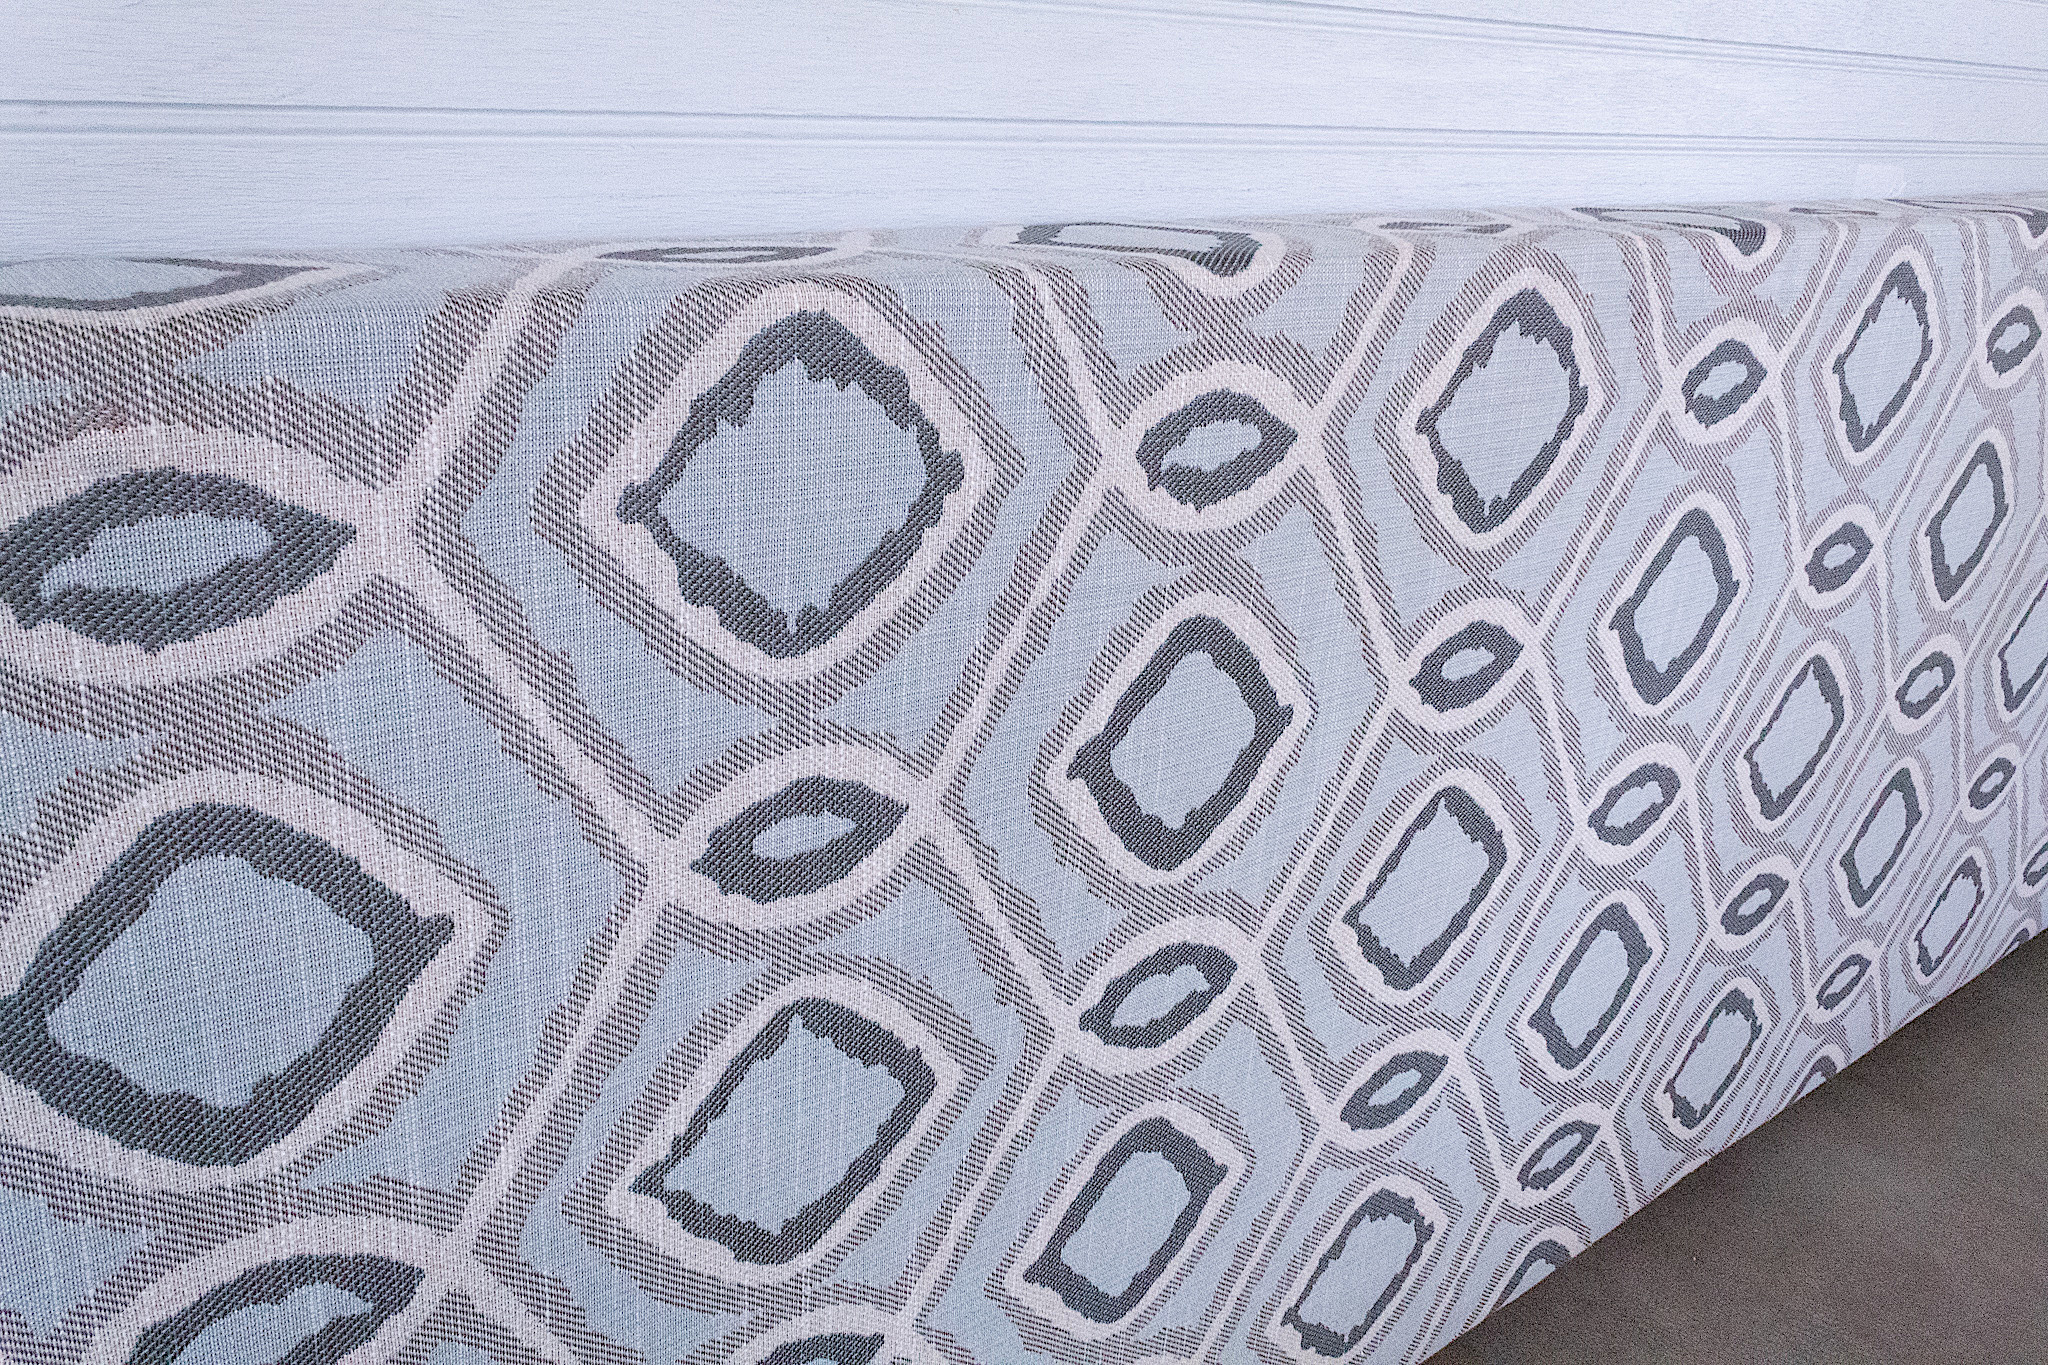
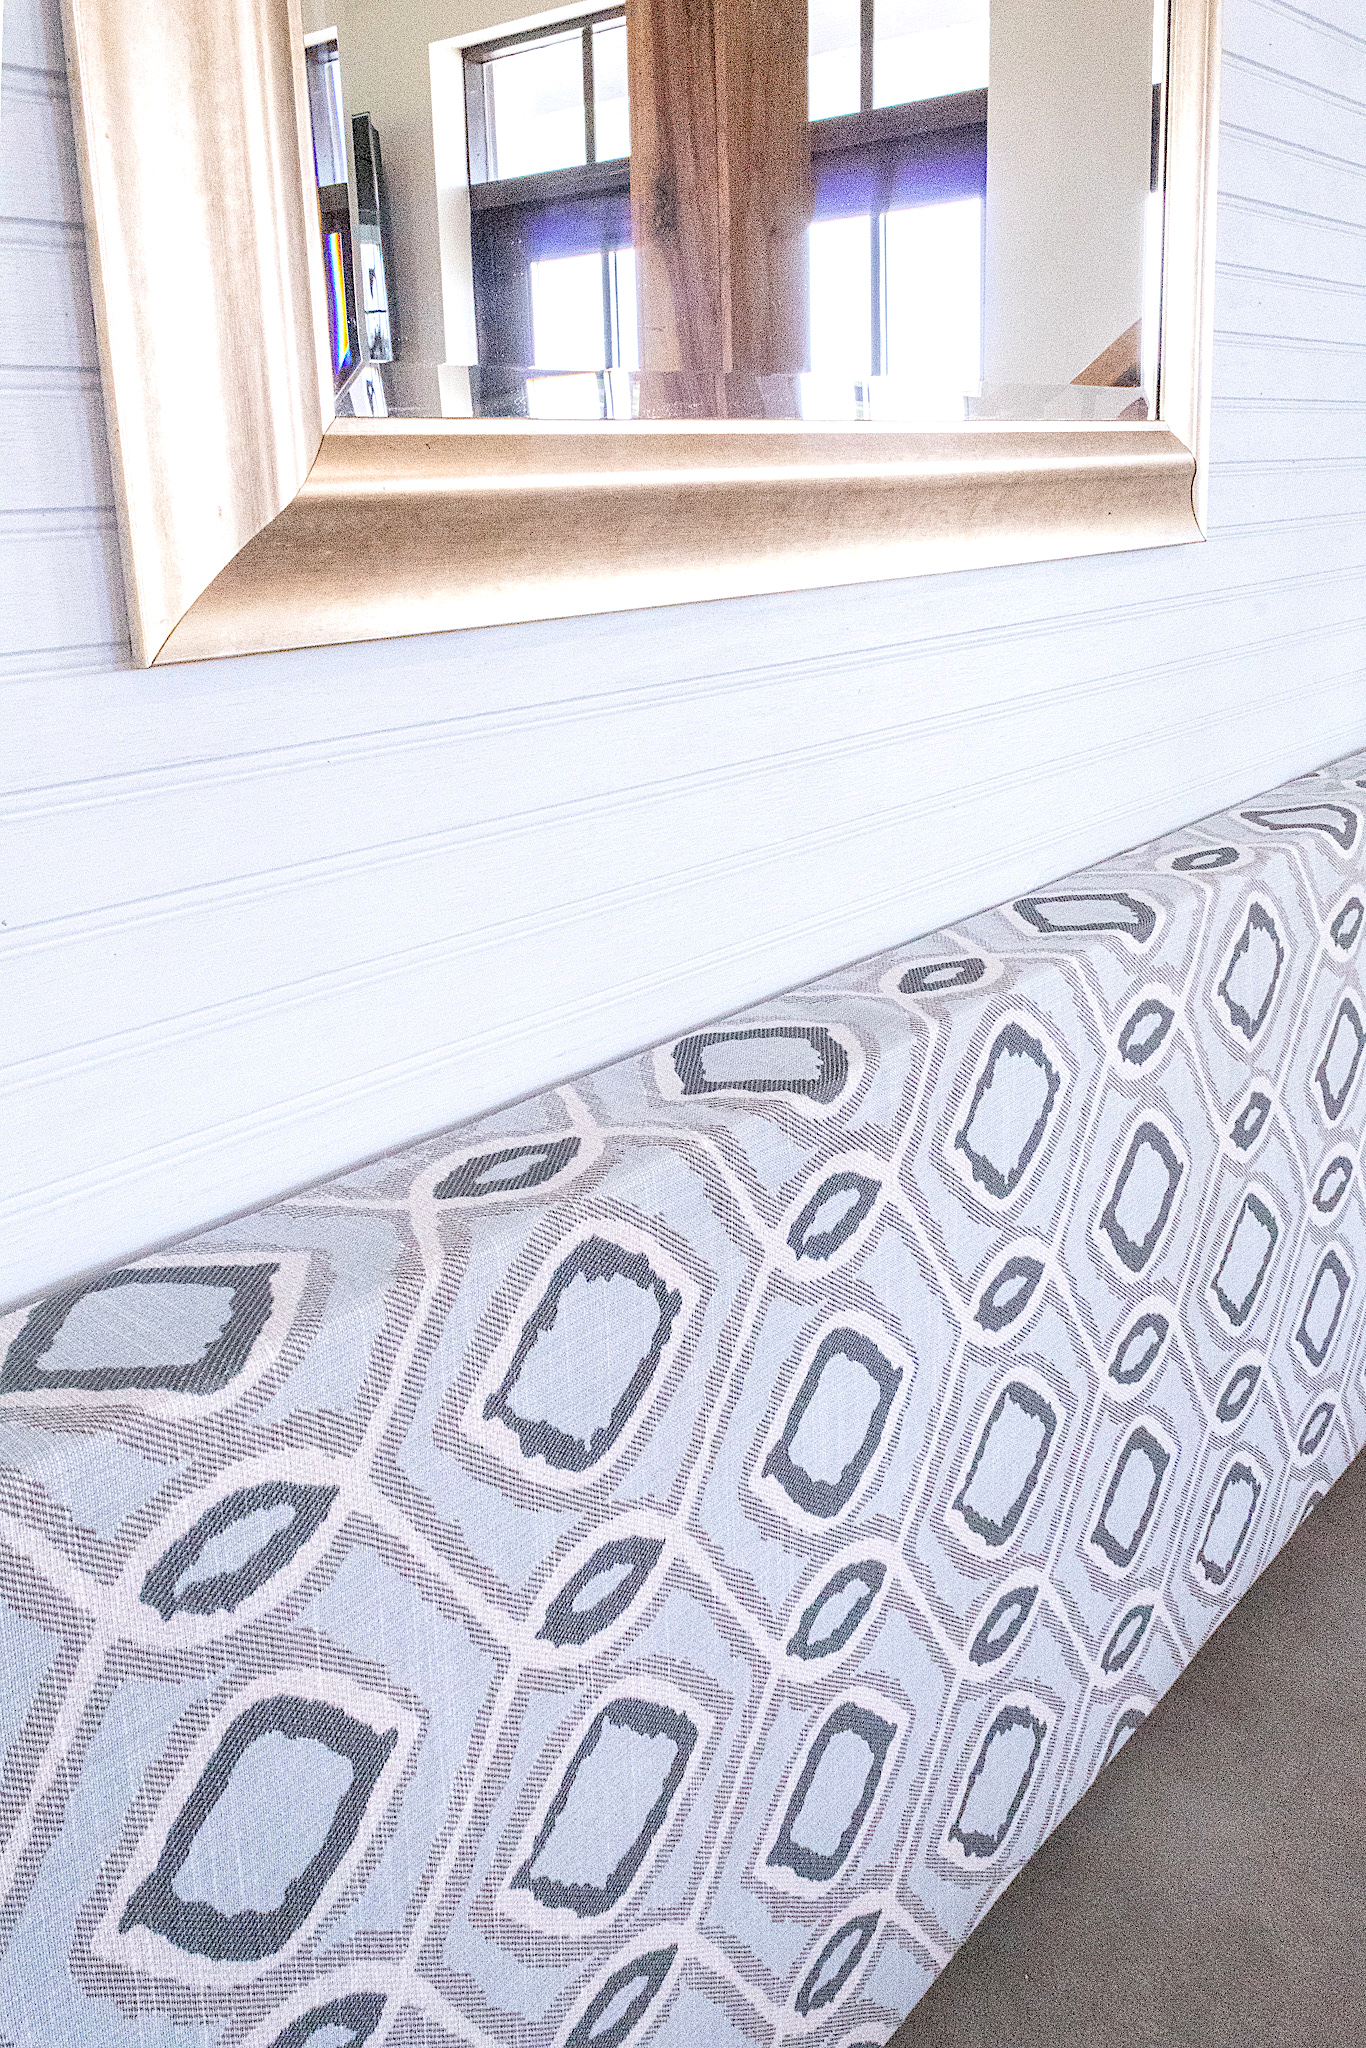
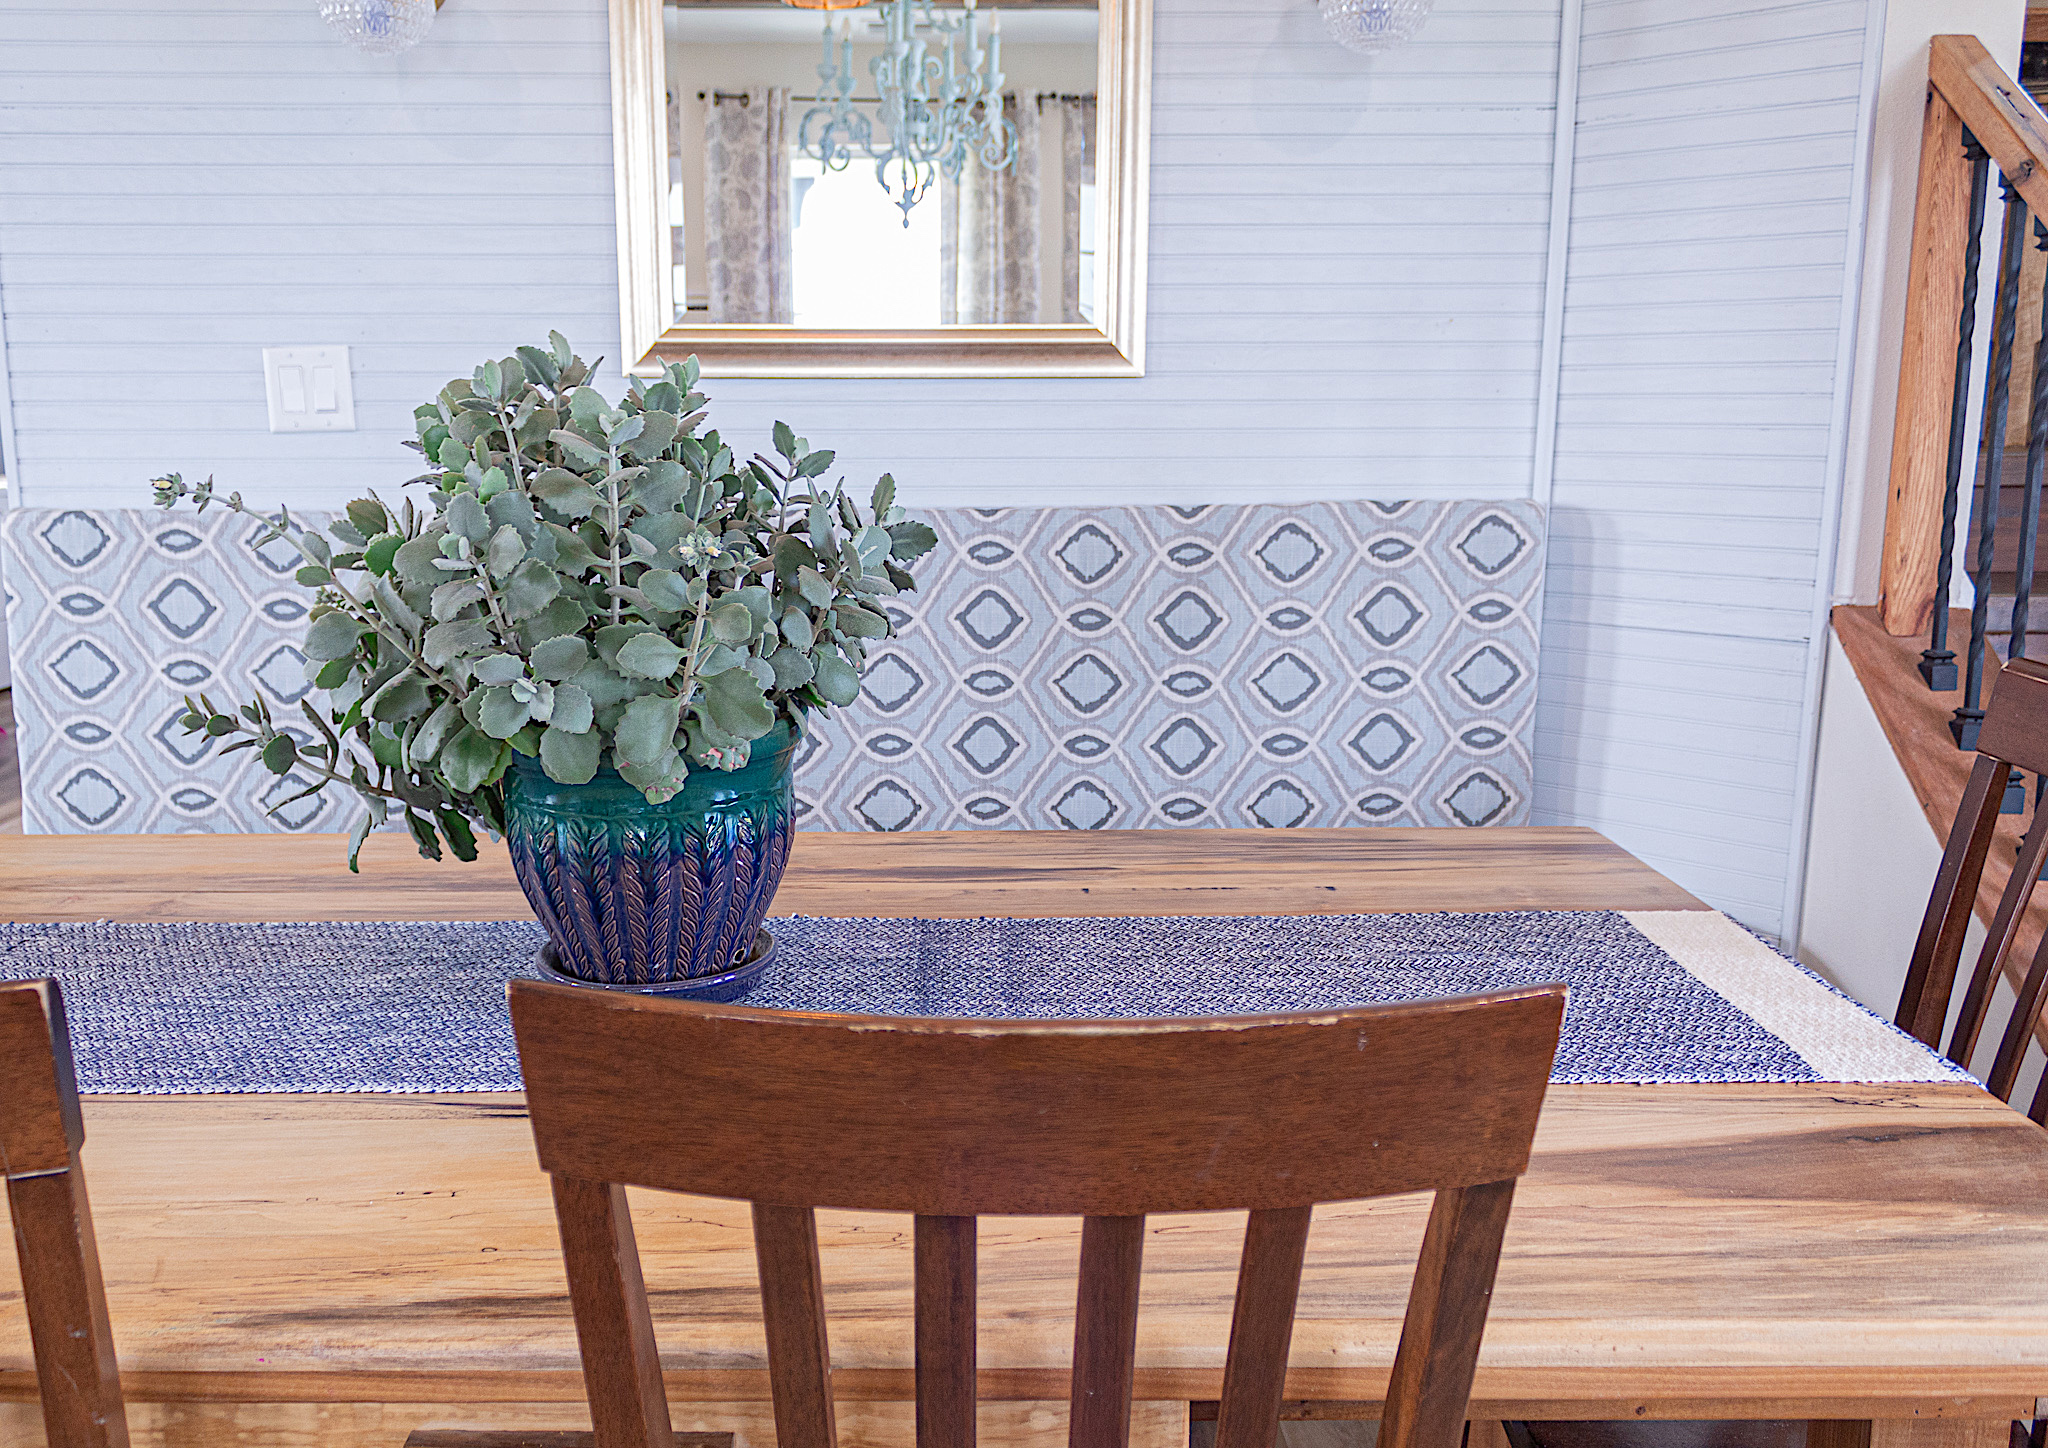
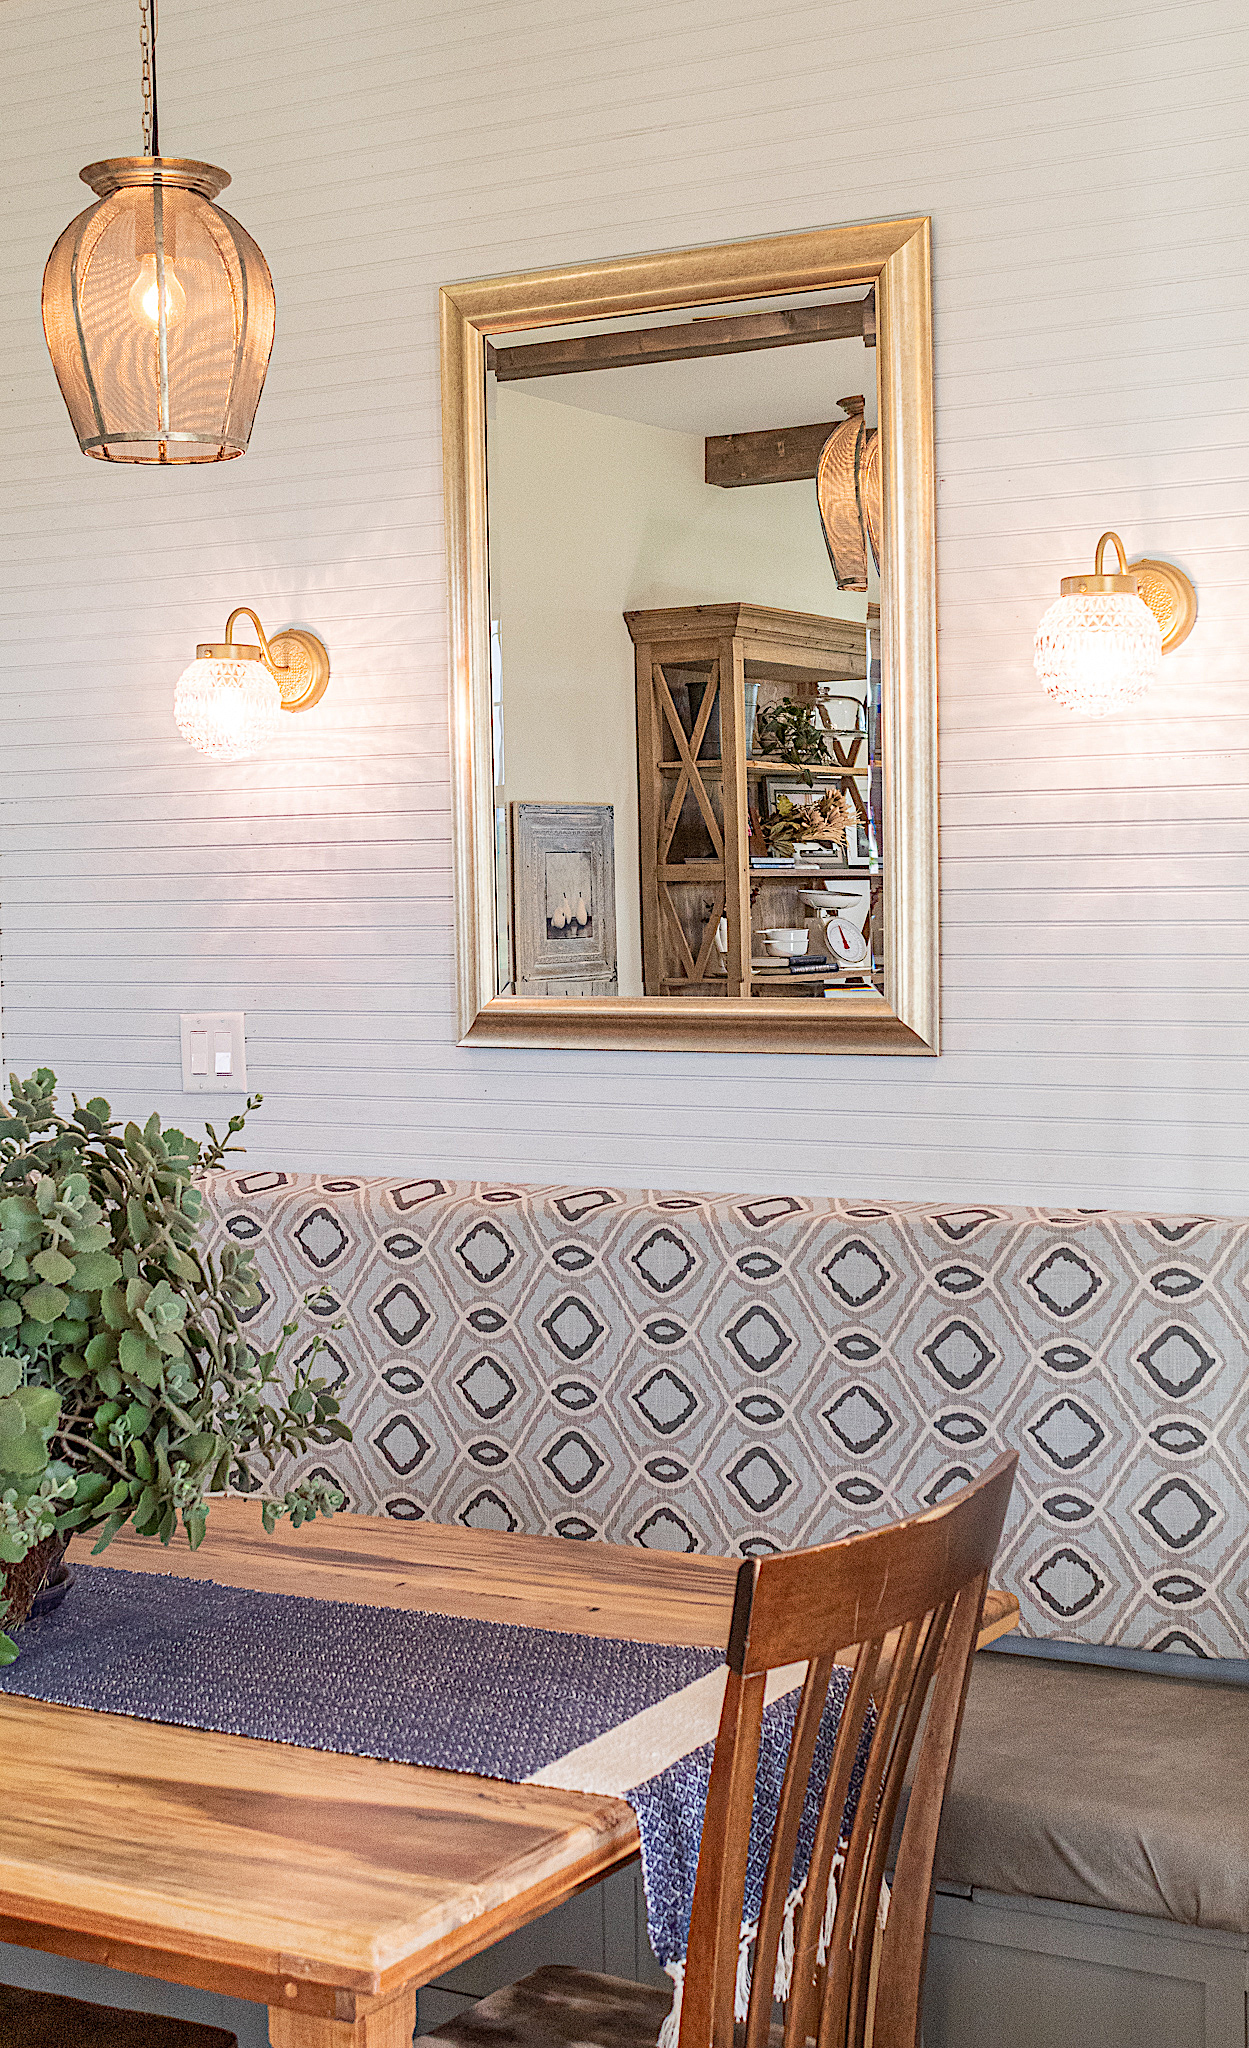
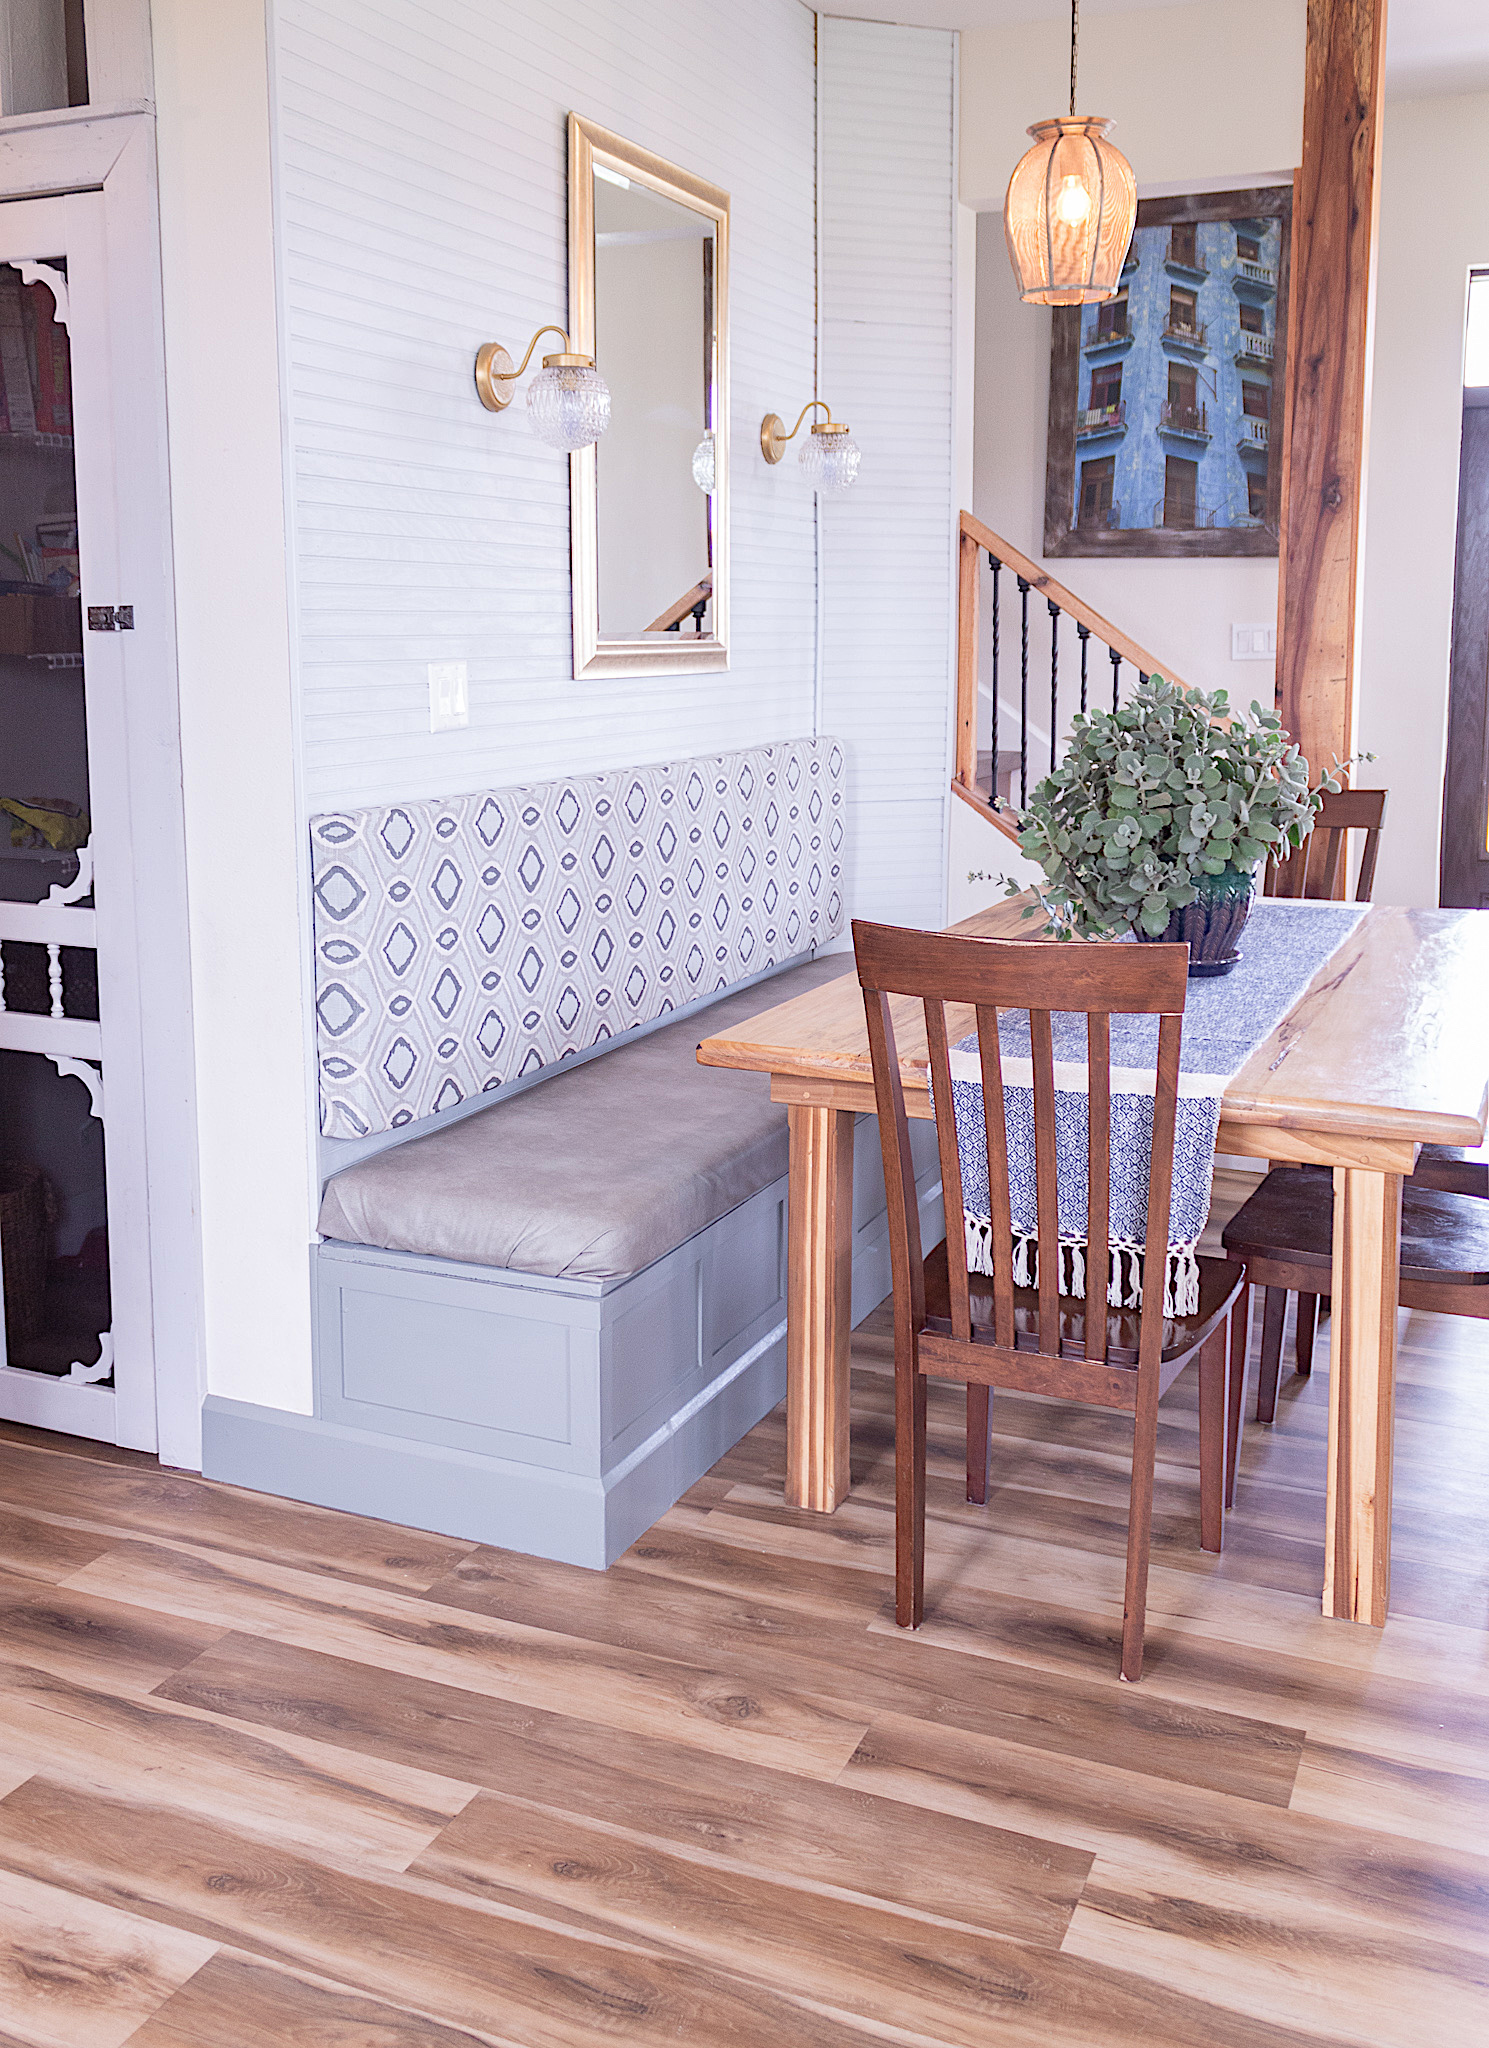
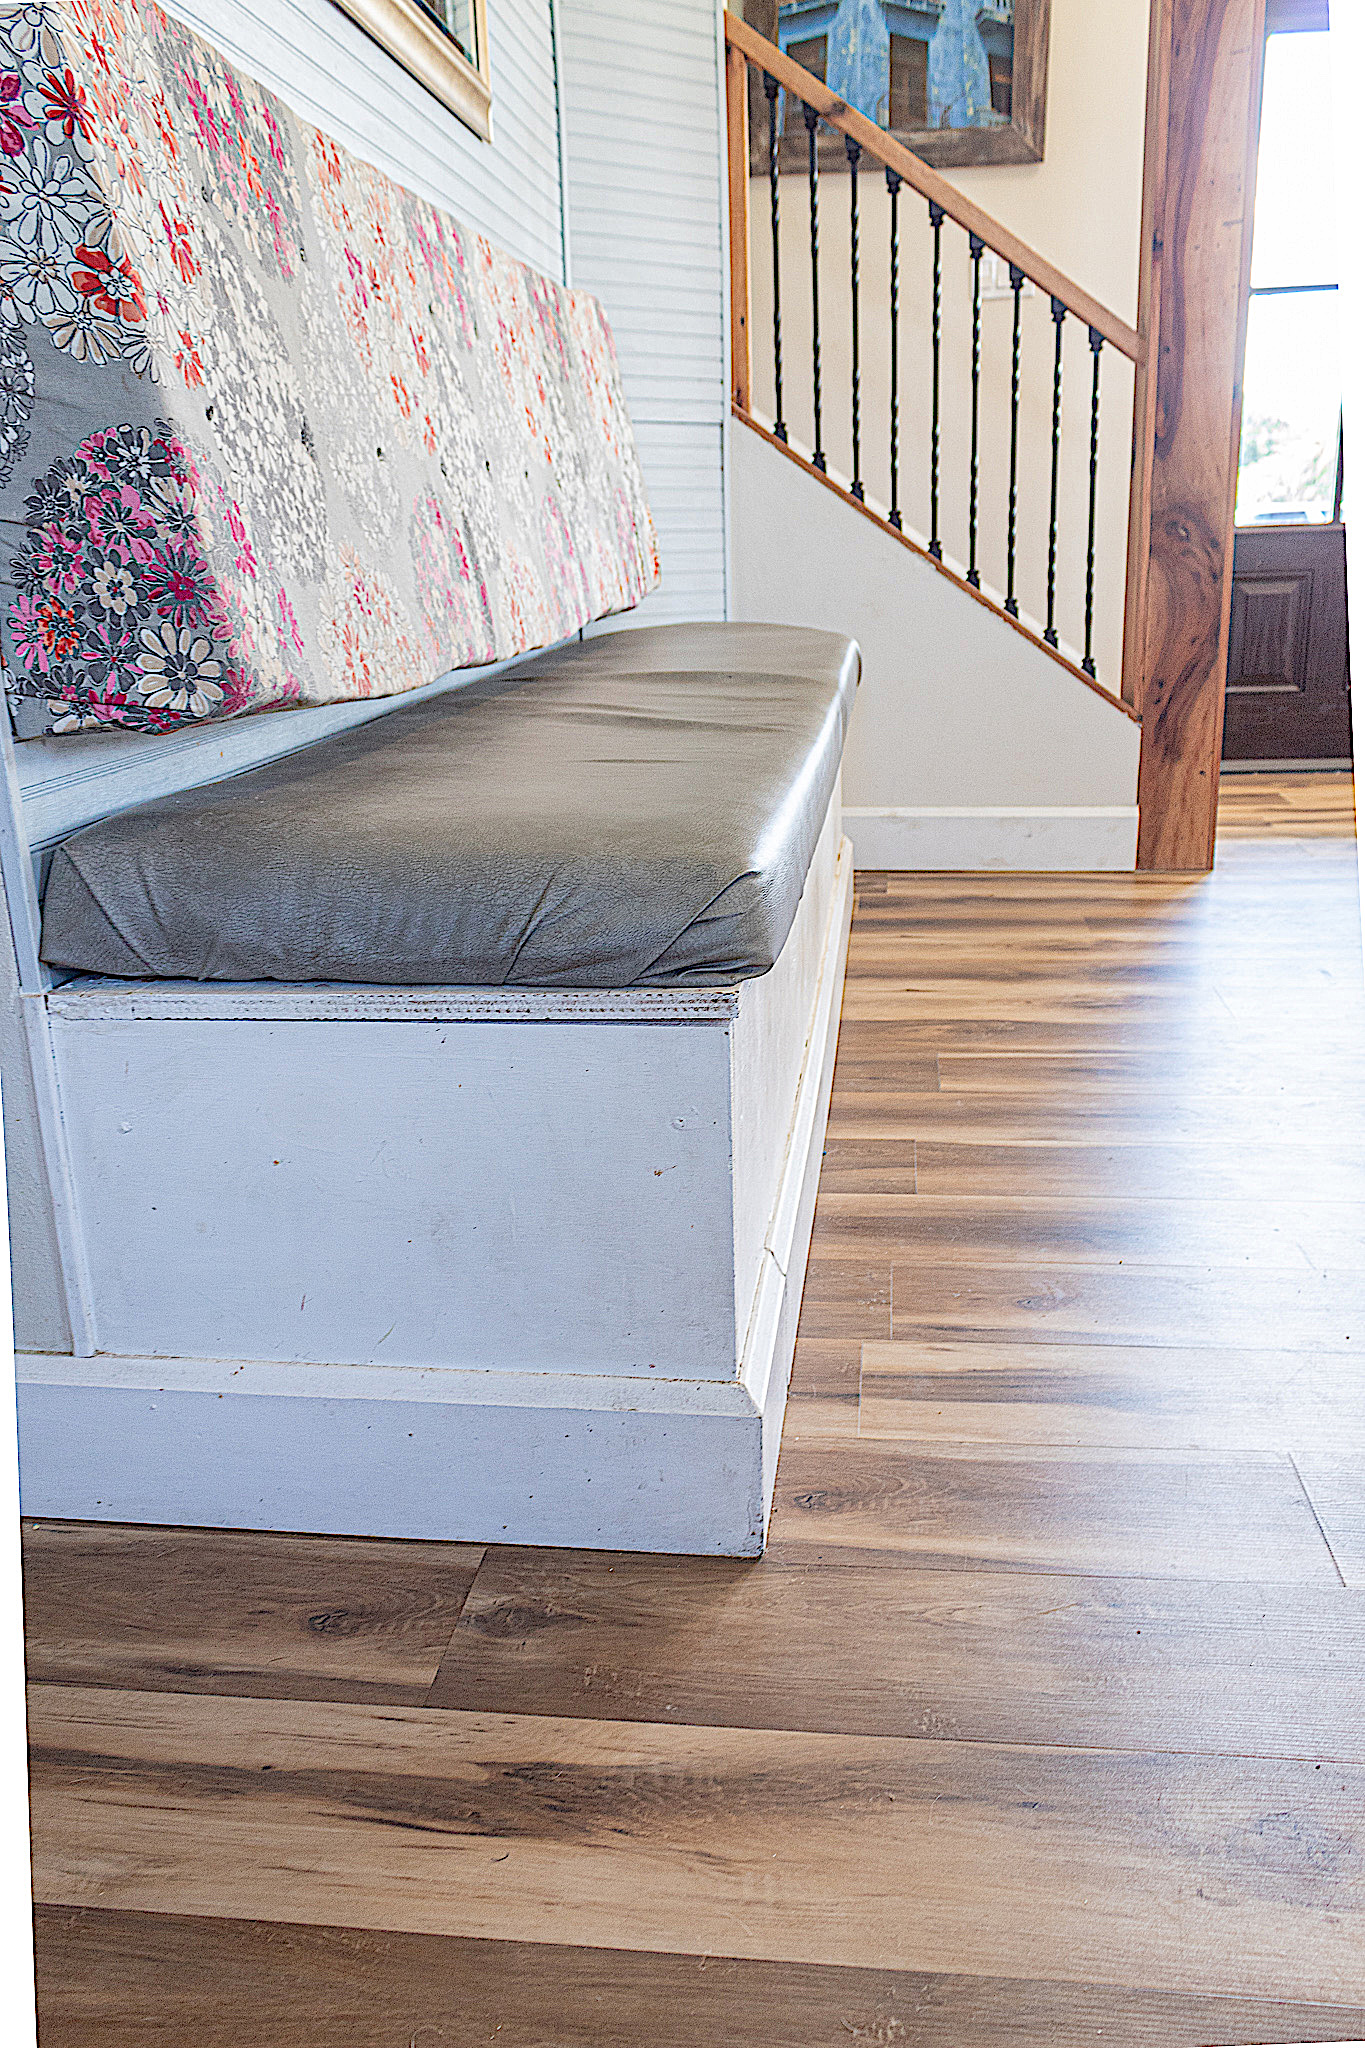
Banquette Back Cushion
HELLO, TODAY WE ARE MAKING A STYLISH BANQUETTE BACK CUSHION. Well before we built our house I envisioned a banquette for our dining nook, one large enough to accommodate a family of six plus

