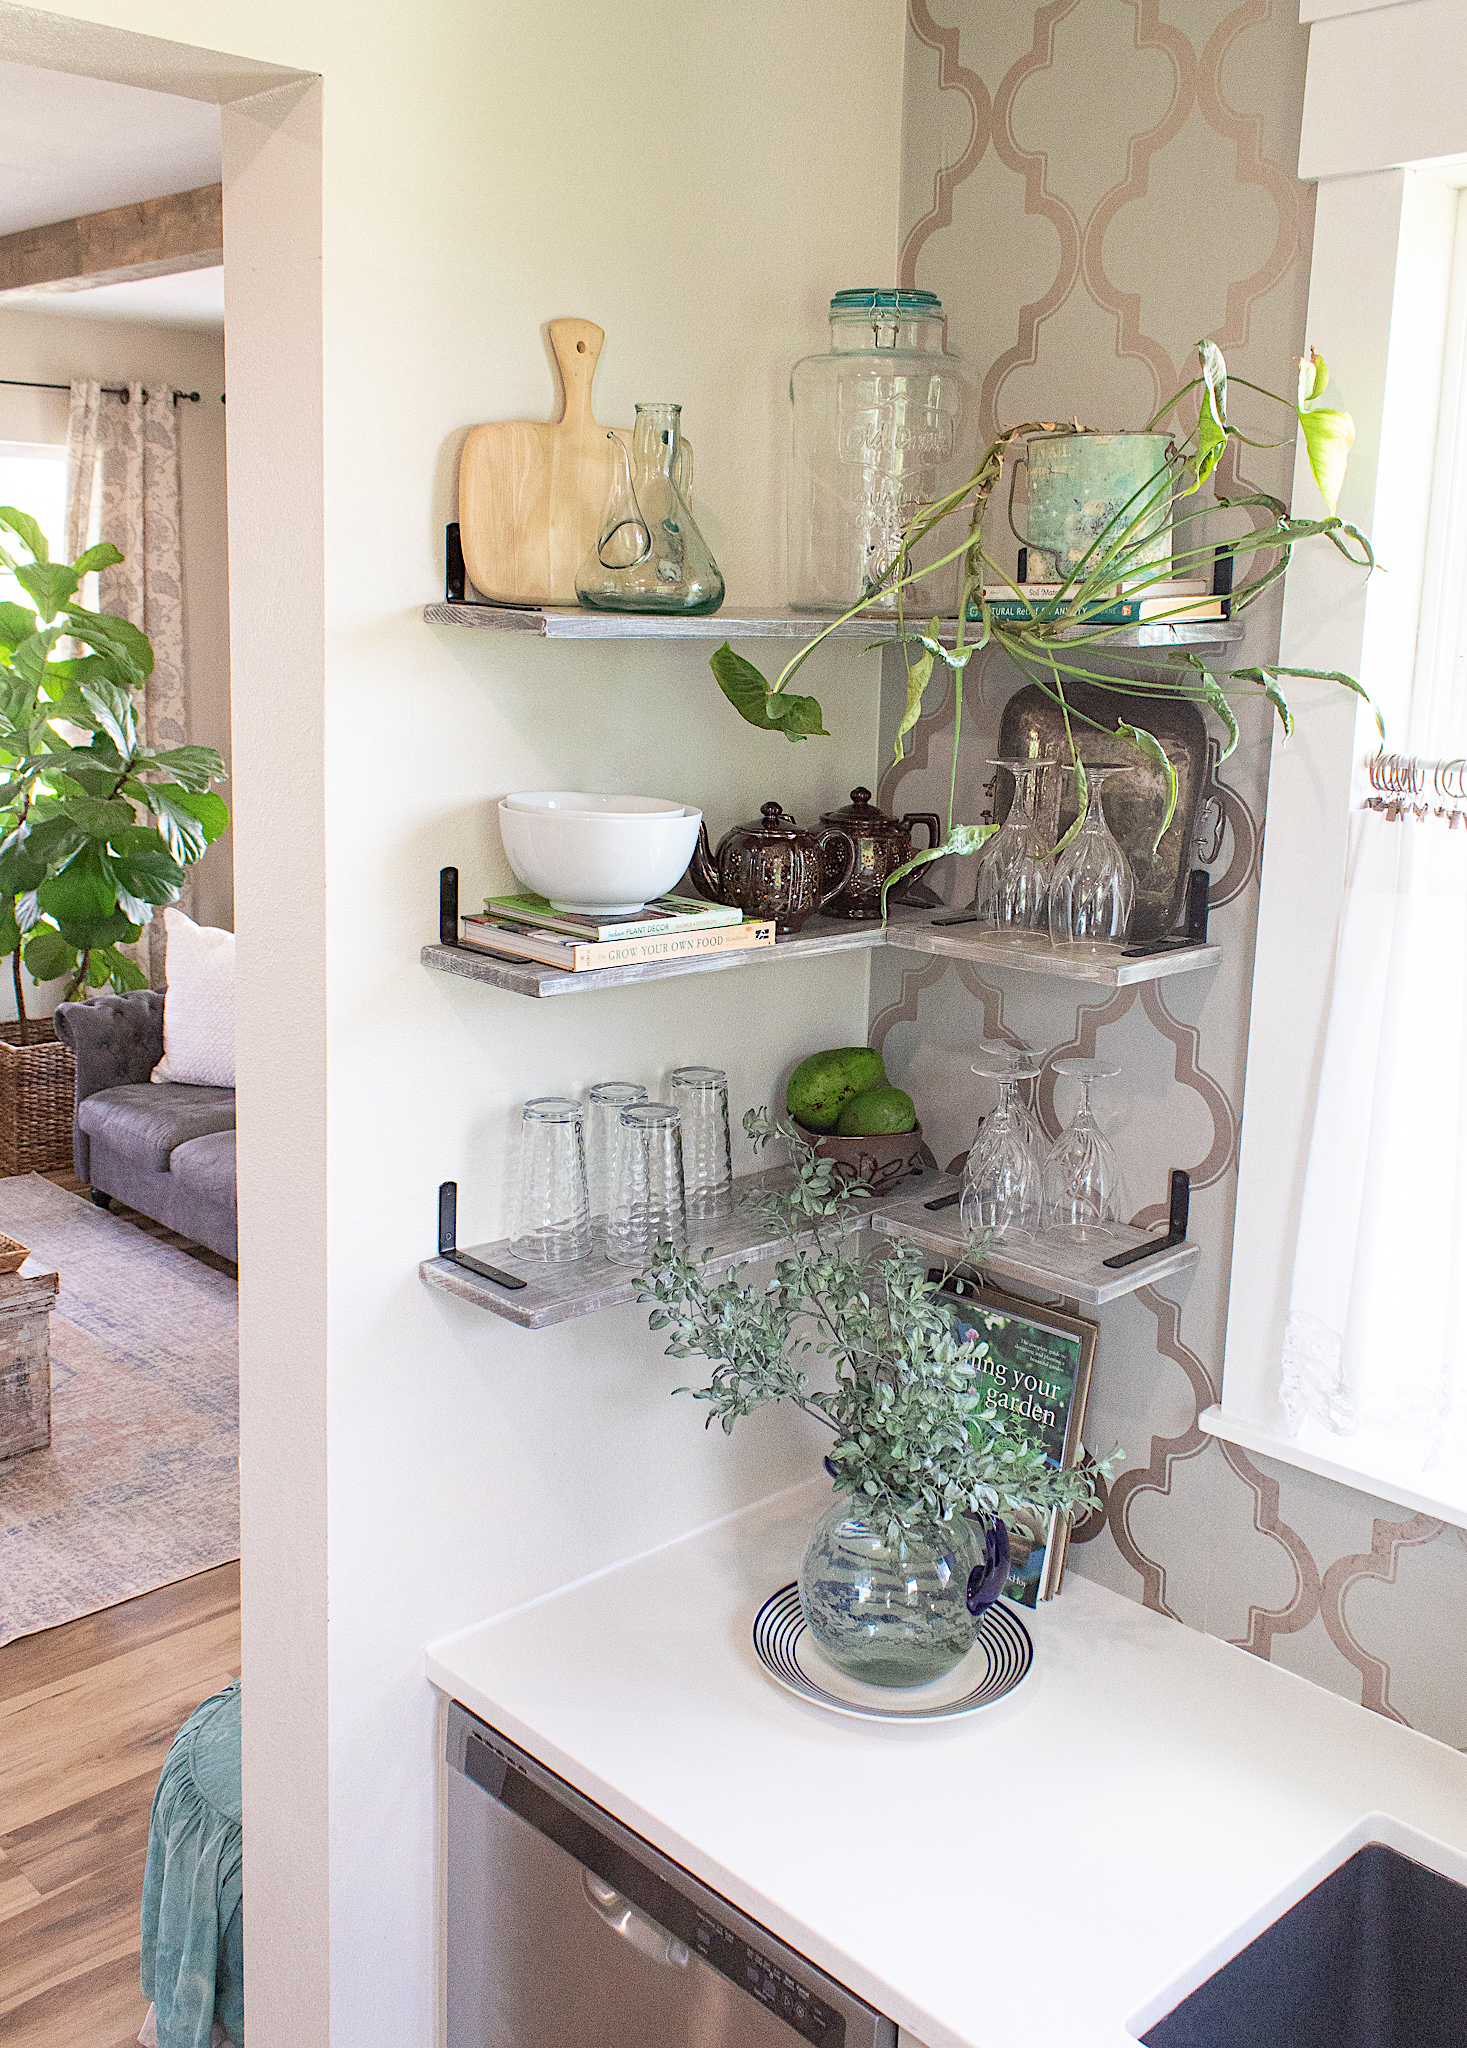
Wall-mounted shelves are a fabulous way to utilize your vertical surfaces. When I did away with upper cabinets in most of our kitchen, the concept of open shelves for form and function was key.
Making these stylish and budget-friendly shelves was so easy and quick. I made them in one afternoon!
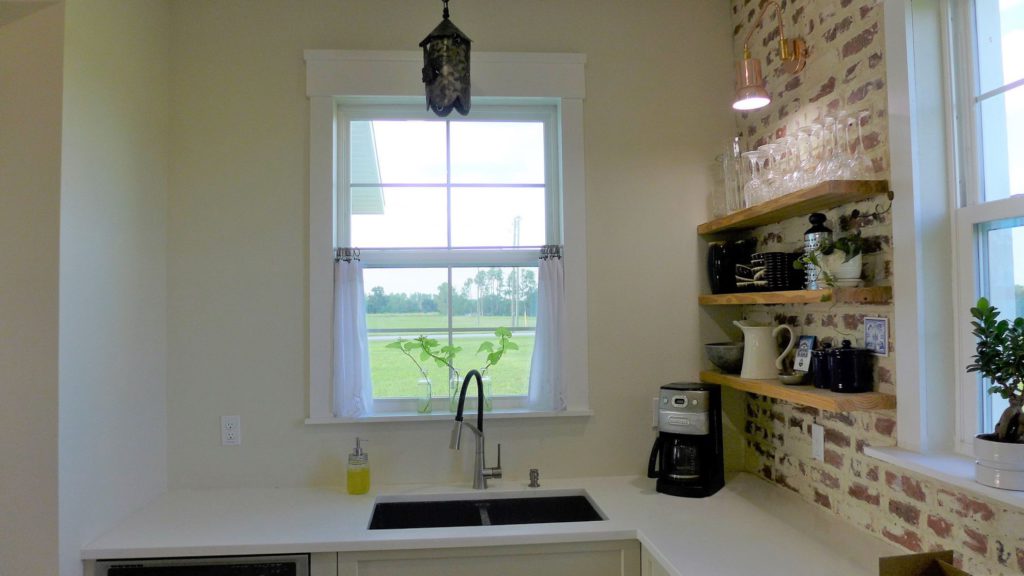
Before
The wall space to the left of our kitchen sink is limited so installing corner shelves was the best use of space. Now let’s get started on building our shelves!
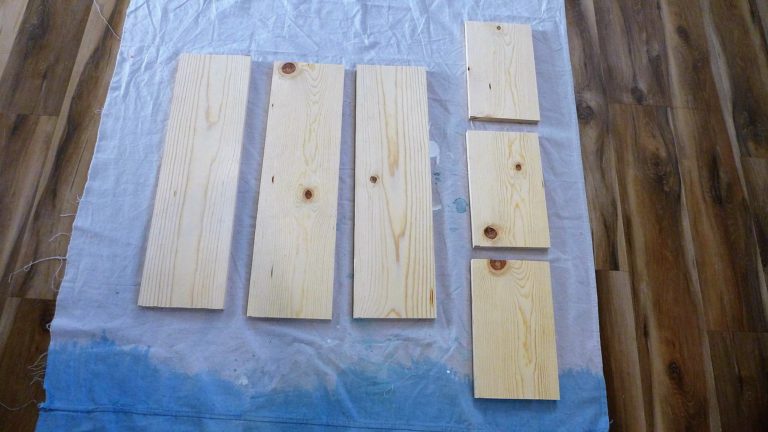
They cut our boards at Home Depot as follows: 3 pieces measuring 26 inches 3 measuring 12 inches
Cut your boards to fill in your space but I like to leave a few inches of wall space on the ends.
Step 2. Sand your boards
I used my orbital sander to give the edges of the boards a beveled look. This is an optional step but I feel it gives the shelves a more professional finish. To create the curved edges, I simply run my sander at an angle along all visible edges.
Disclosure: Some of the links provided are affiliate links. By purchasing through these links you are supporting this family blog and the work we do and there is no extra cost to you. If you would like to read our full disclosure, click HERE.
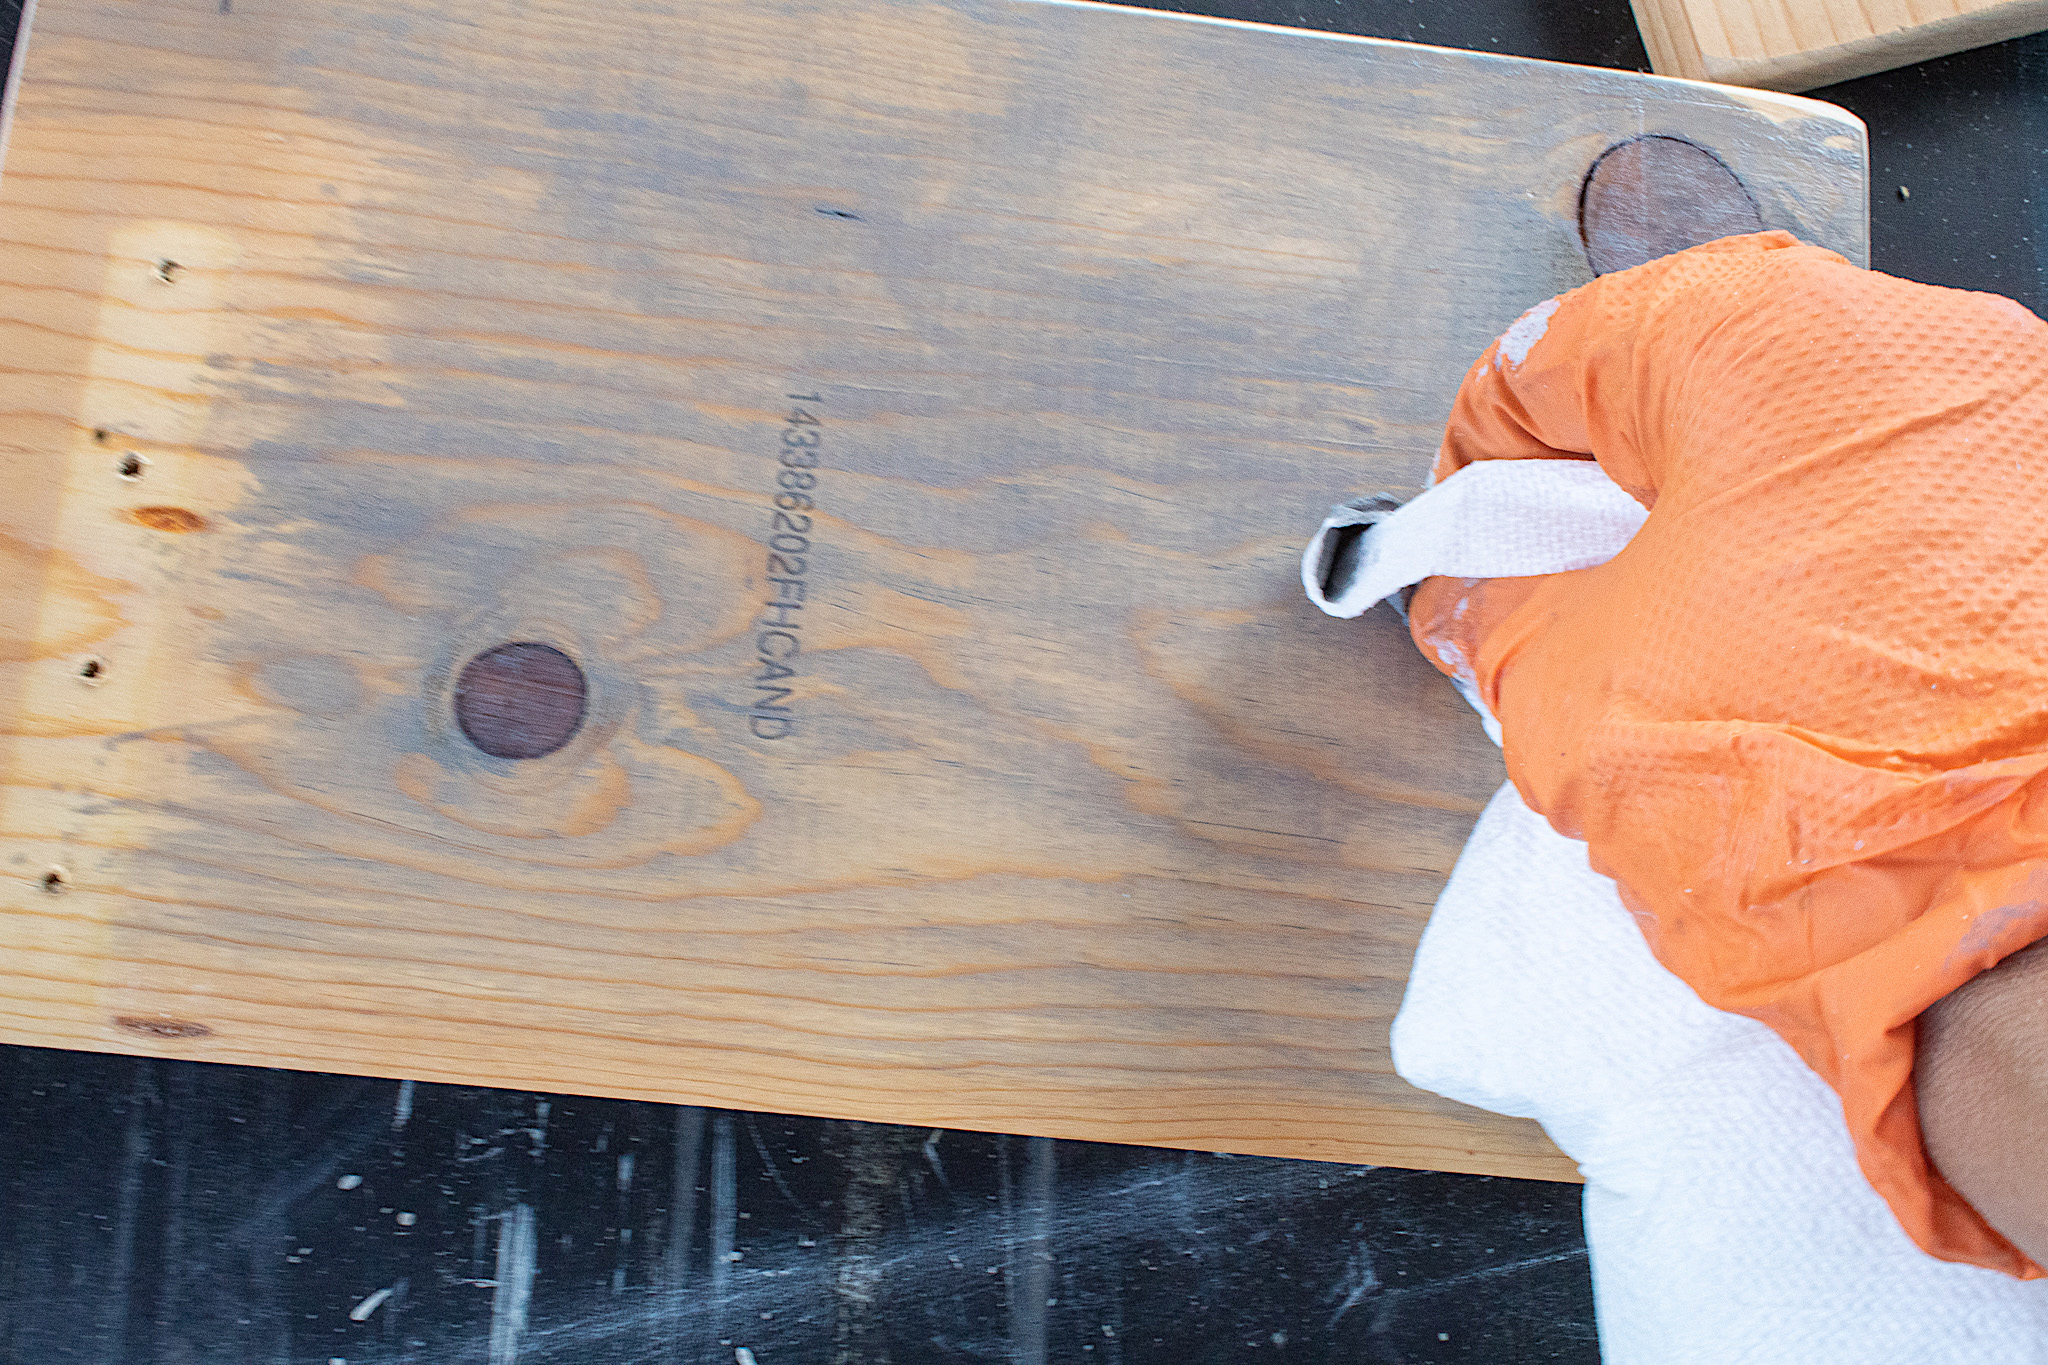
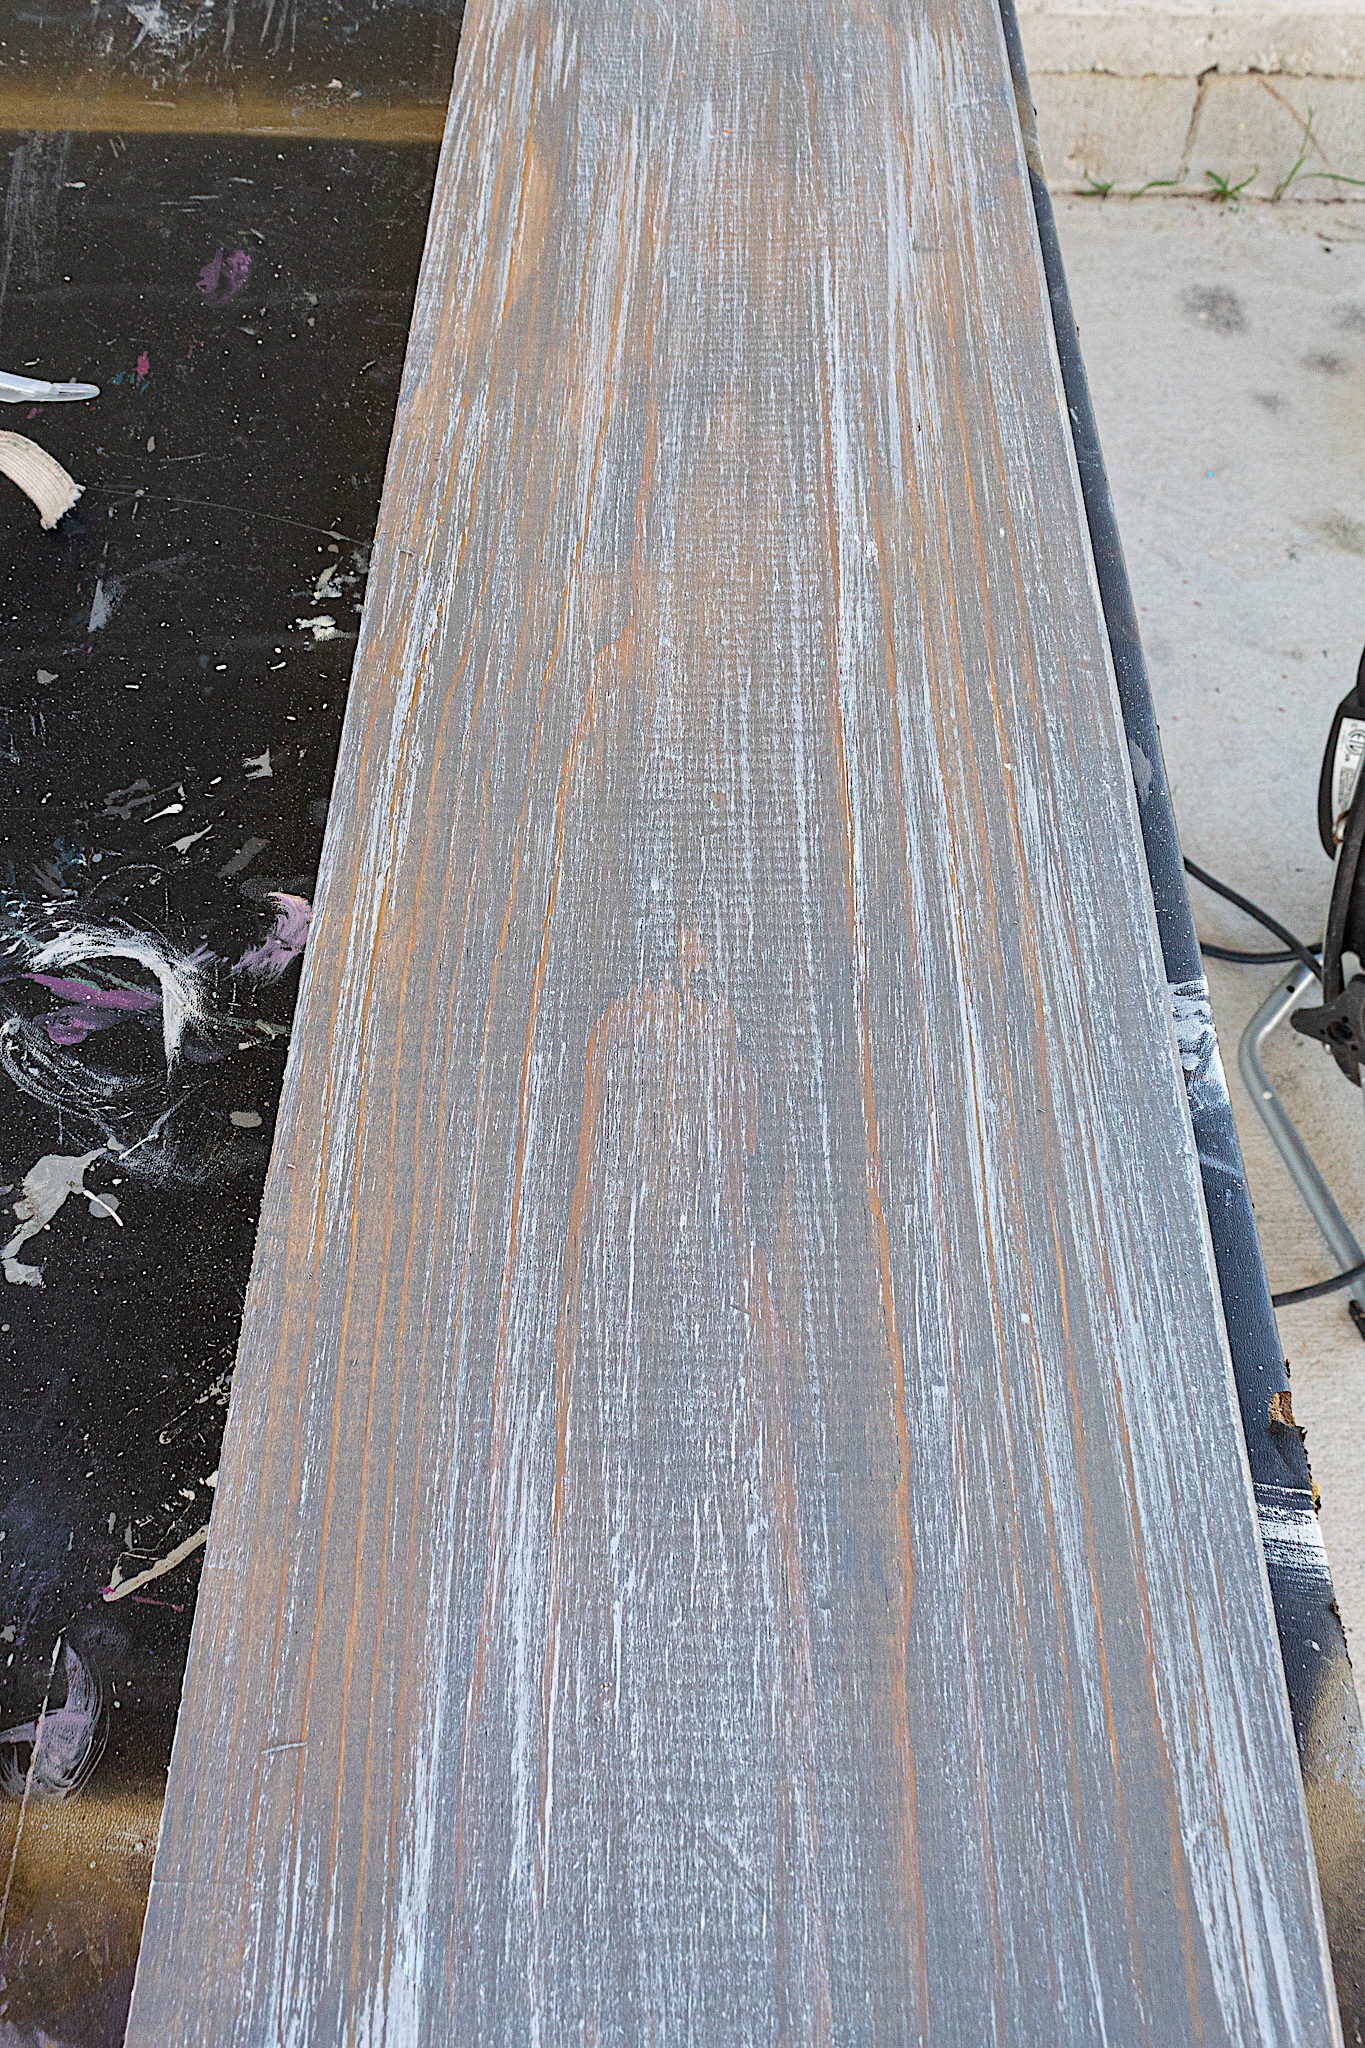
Step 3. Stain and paint
To give the shelves a both modern and rustic look, I used a stain and paint technique. I first stained the boards with a thin coat of Varathane’s Weathered Gray. I simply rubbed it on with paper towels.
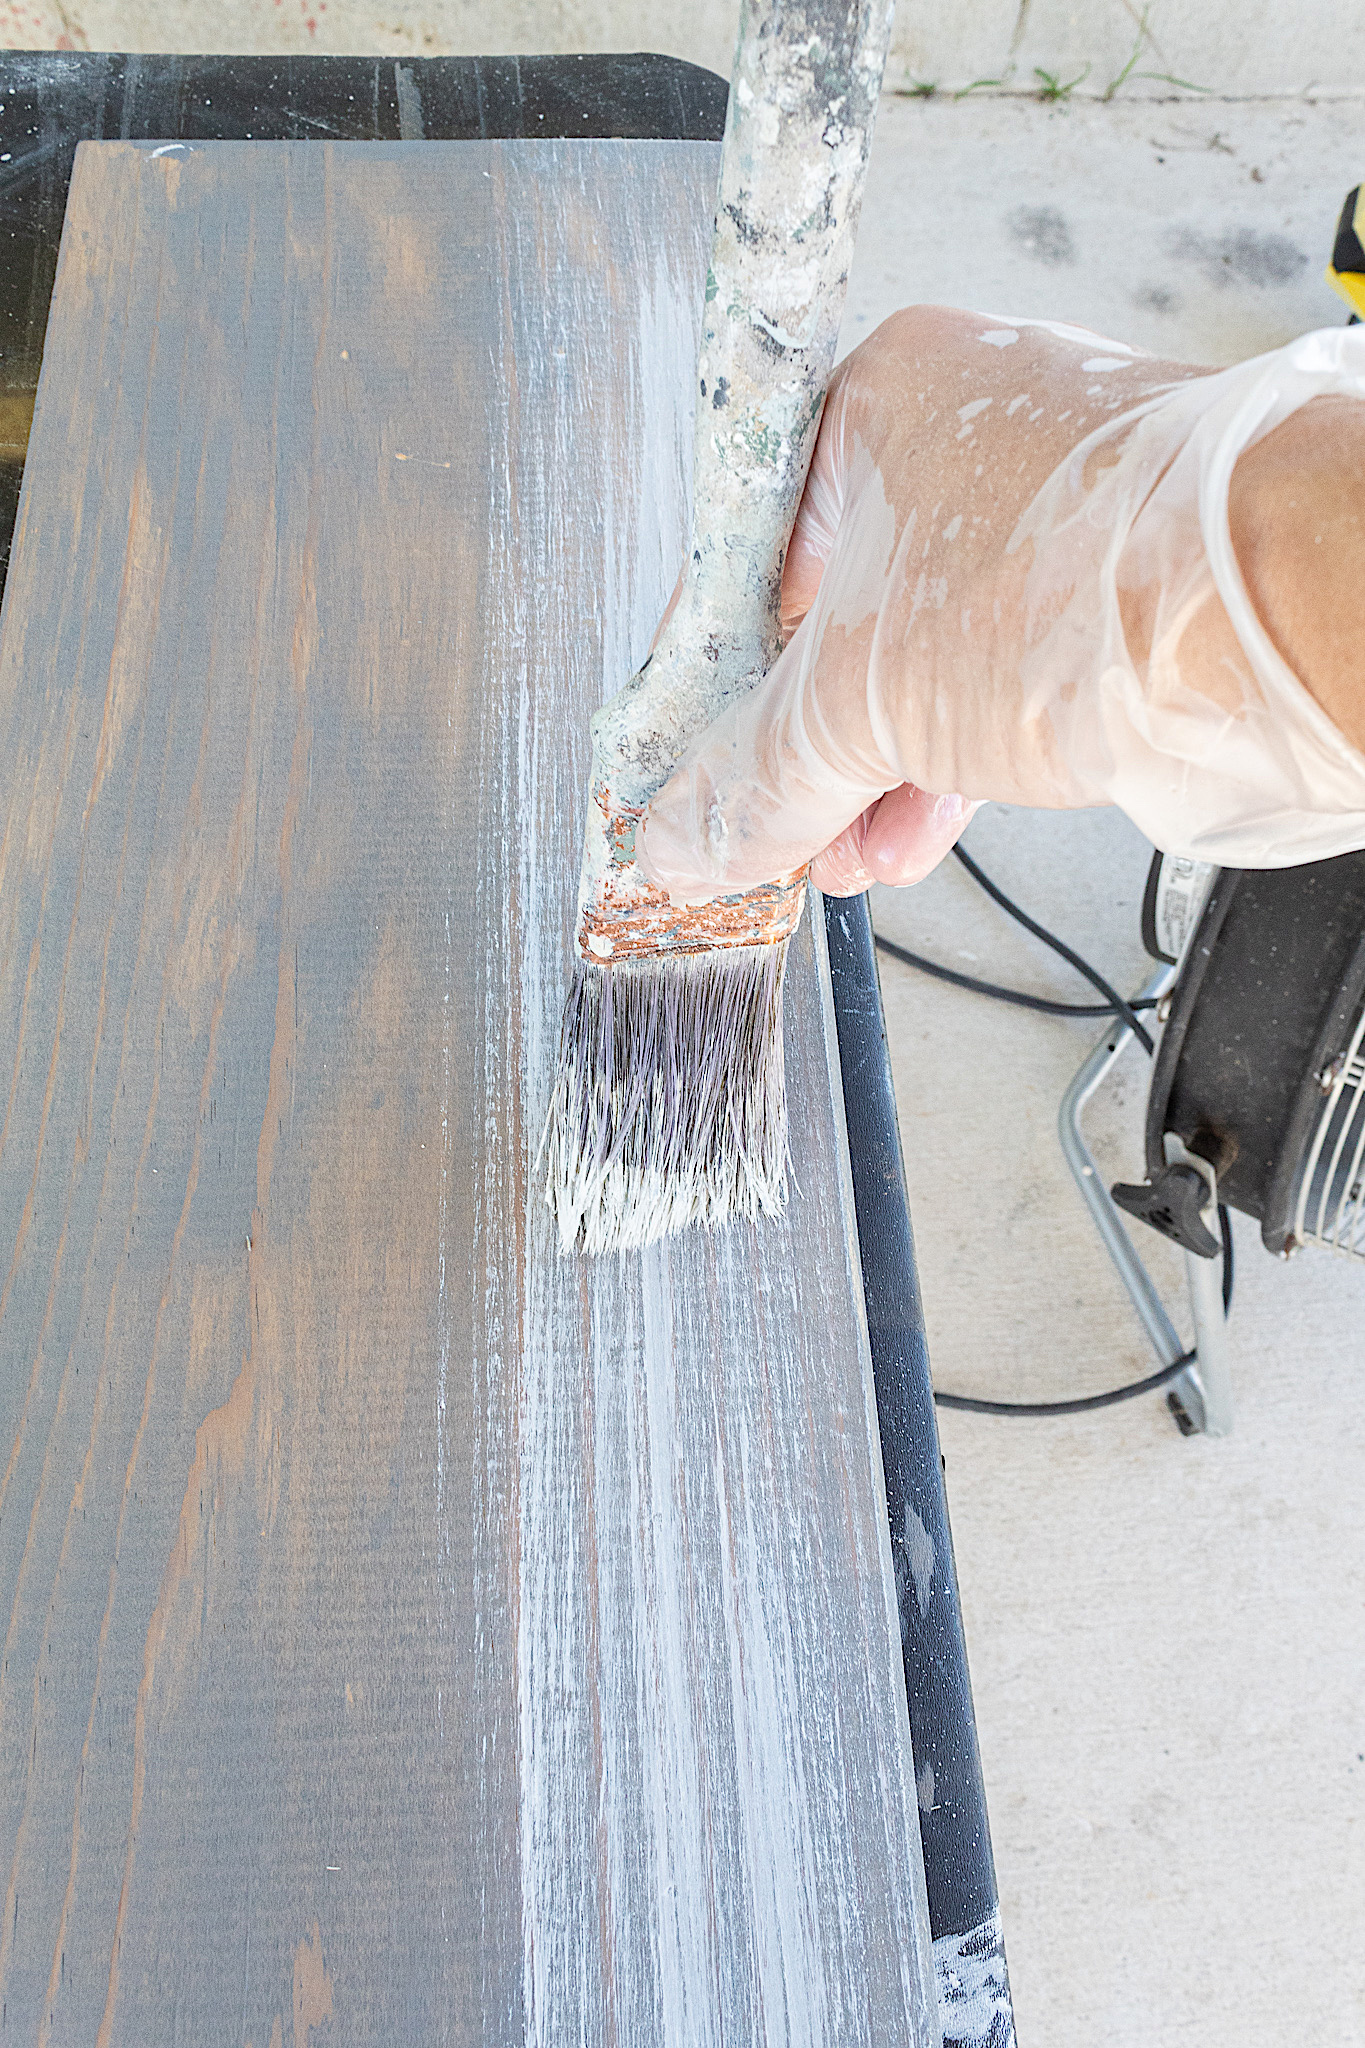
Then I dry brushed my white paint in long strokes using only a little paint on my brush at a time. I worked in small sections. The trick is to keep stroking back and forth over each area without reapplying more paint. Doing this adds texture and blurs some of the appearance of brush strokes.
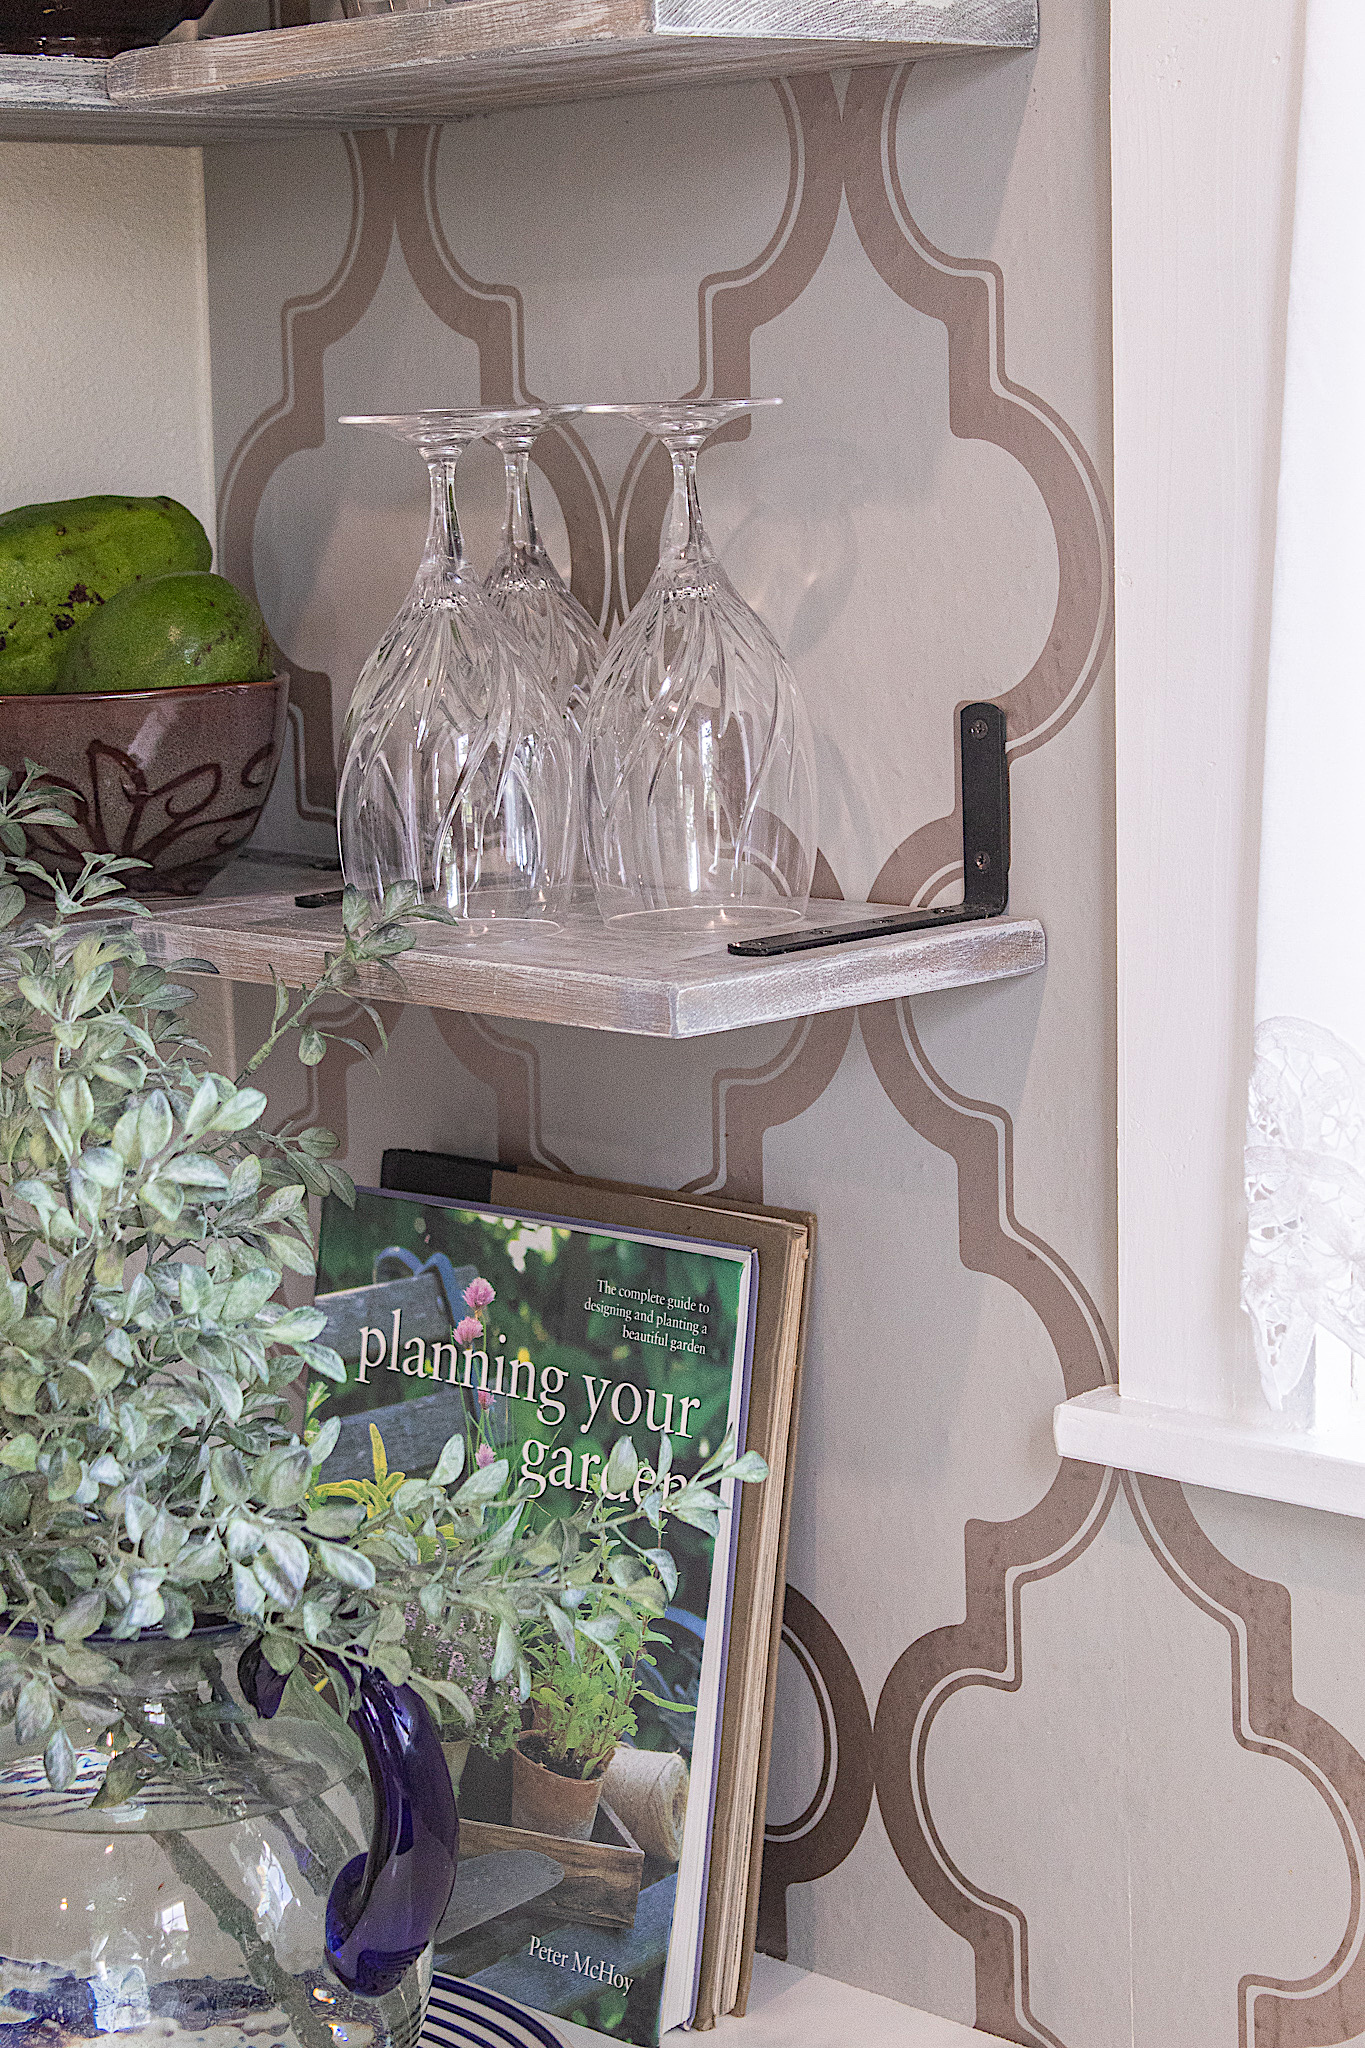
The rich gray with the white highlights creates a modern, almost industrial aesthetic, especially later when we add the black mounting brackets.
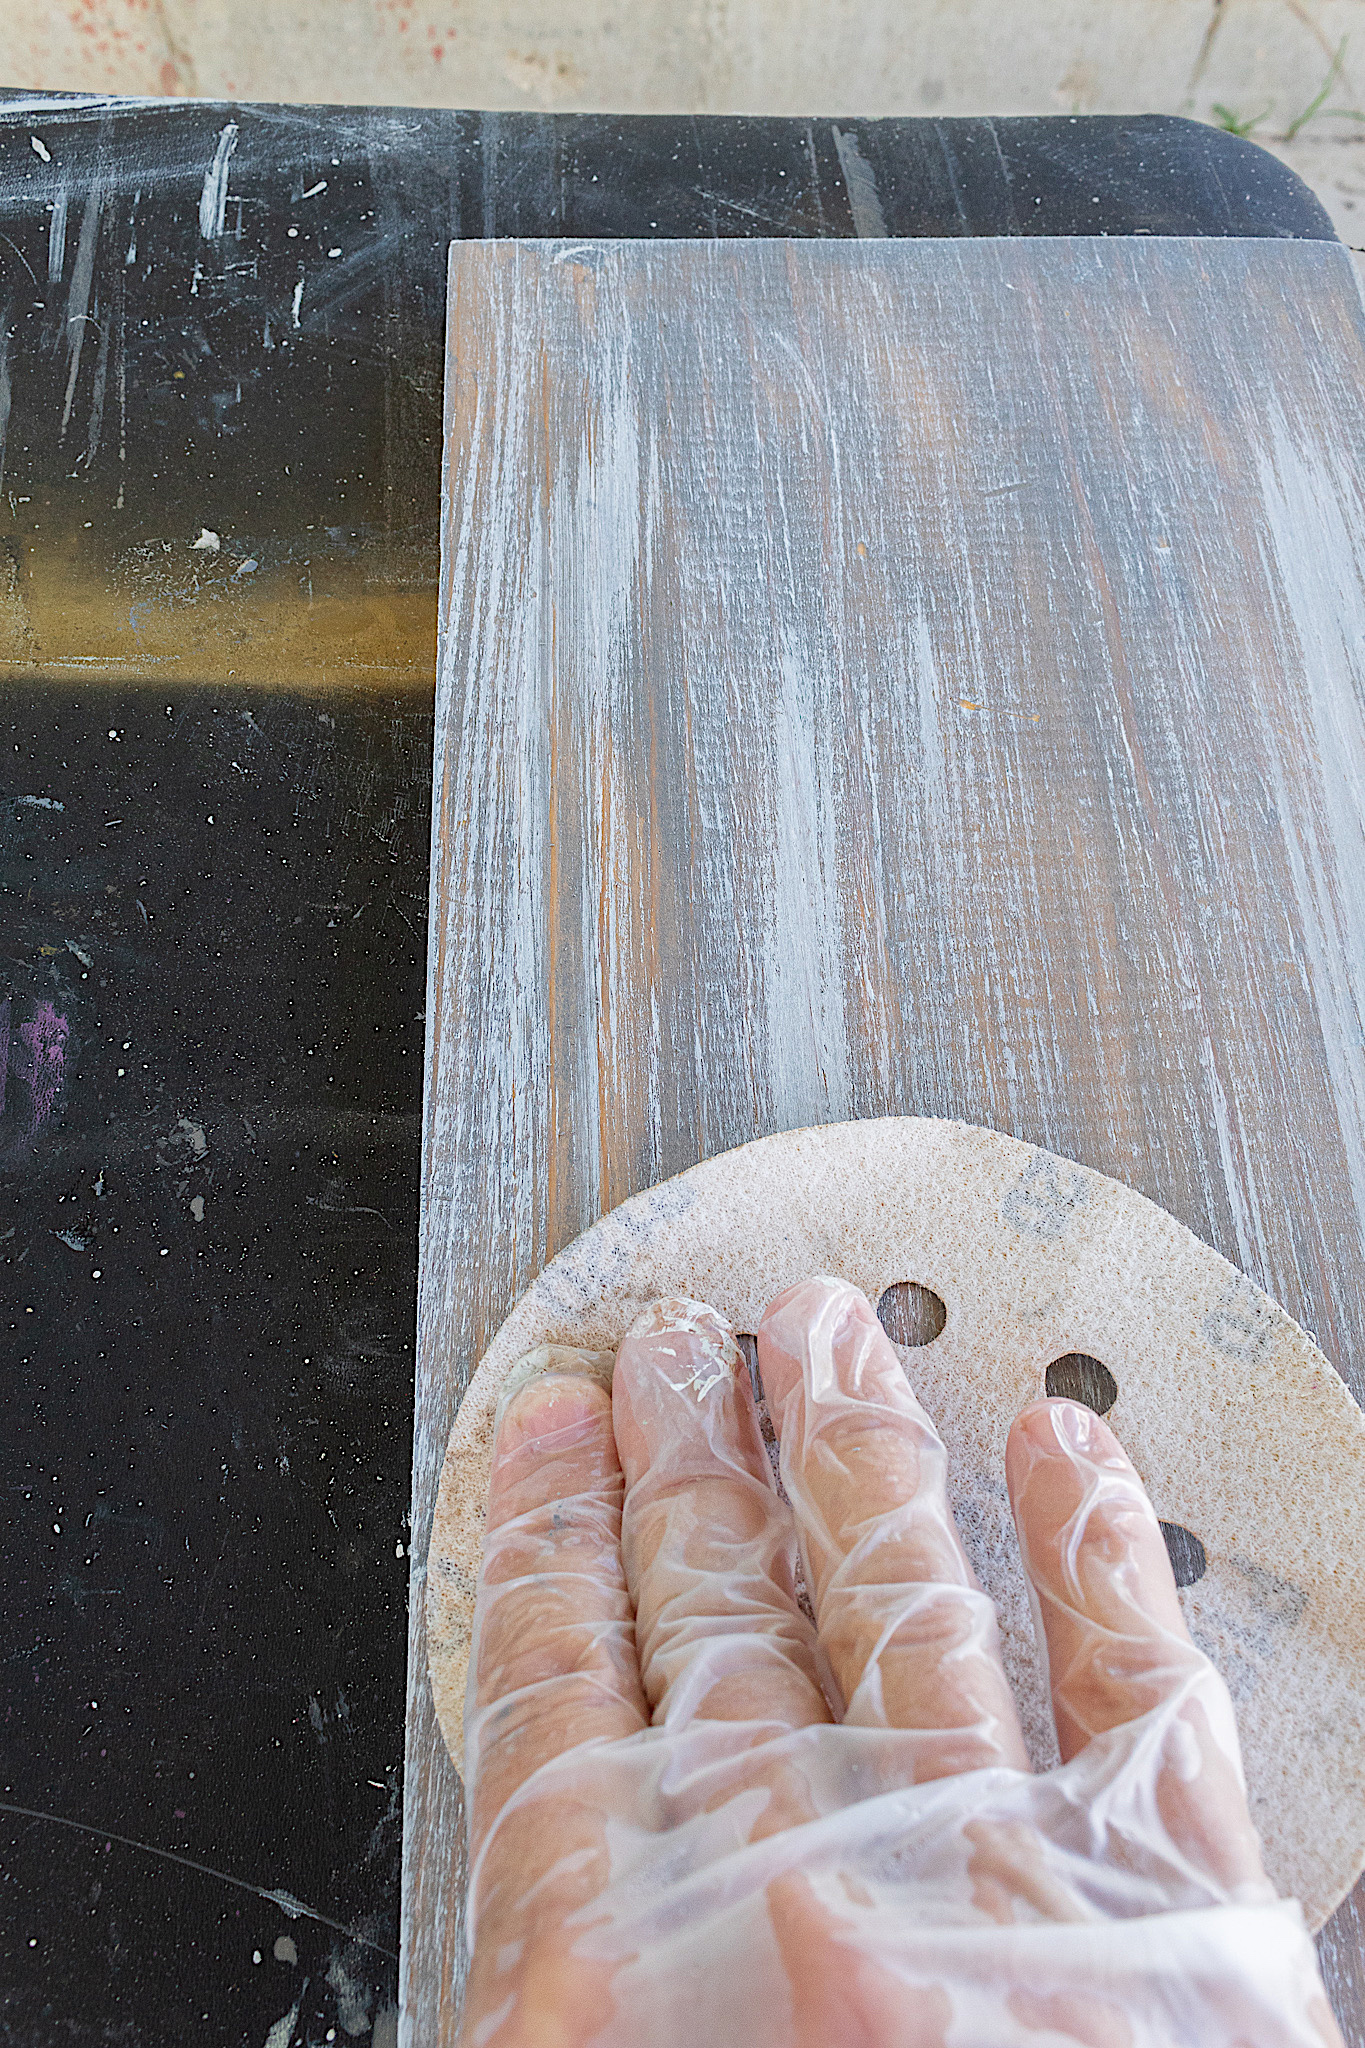
For a rustic touch I distress a little by pulling back over the the boards with a piece of sandpaper.
This is a technique I use often. I just love the results!
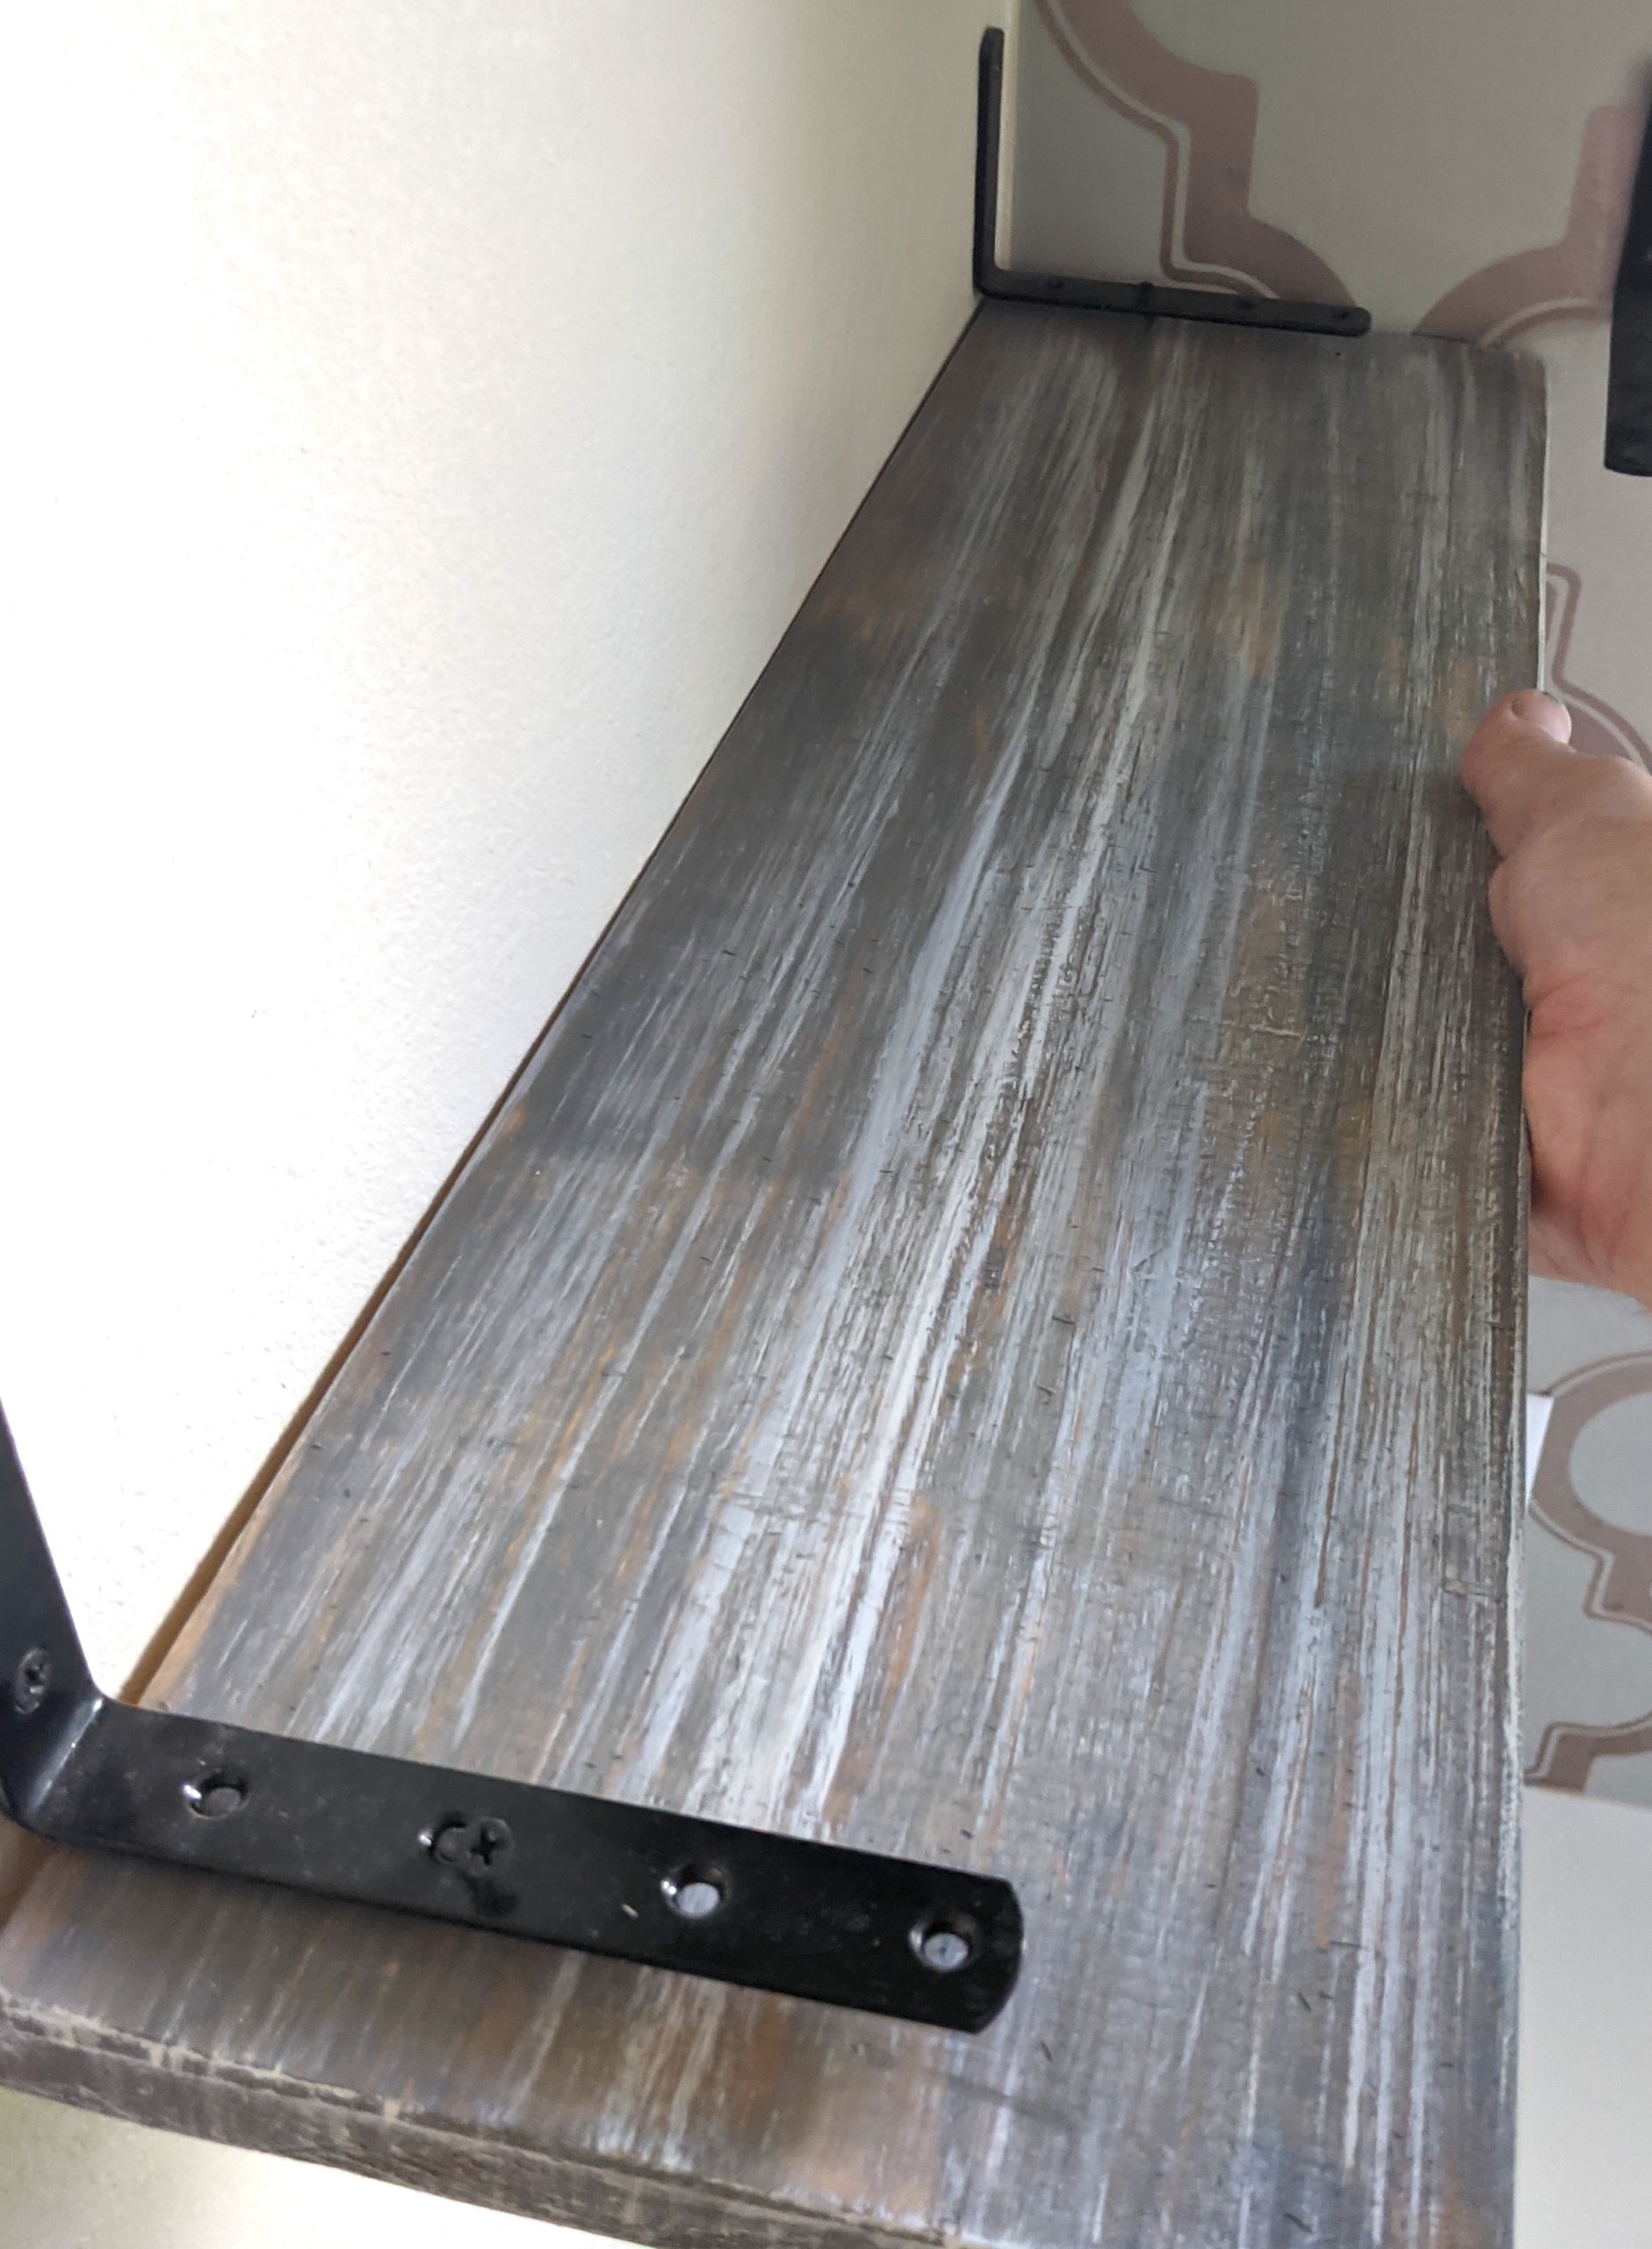
Step 4. Mount your shelves
Next my husband screwed the brackets to the top side of each board with the electric screwdriver. If you’re worried about splitting the wood you can drill pilot holes before drilling in your screws.
When hanging the shelves to the wall, you can use a level before you mark your drill holes. Your stud finder can help you locate studs. You can drill your wood screws directly into the stud (no anchor needed).
If you don’t have a stud where you want to mount a bracket, you can drill an anchor into the wall and then drill your screw into the anchor.
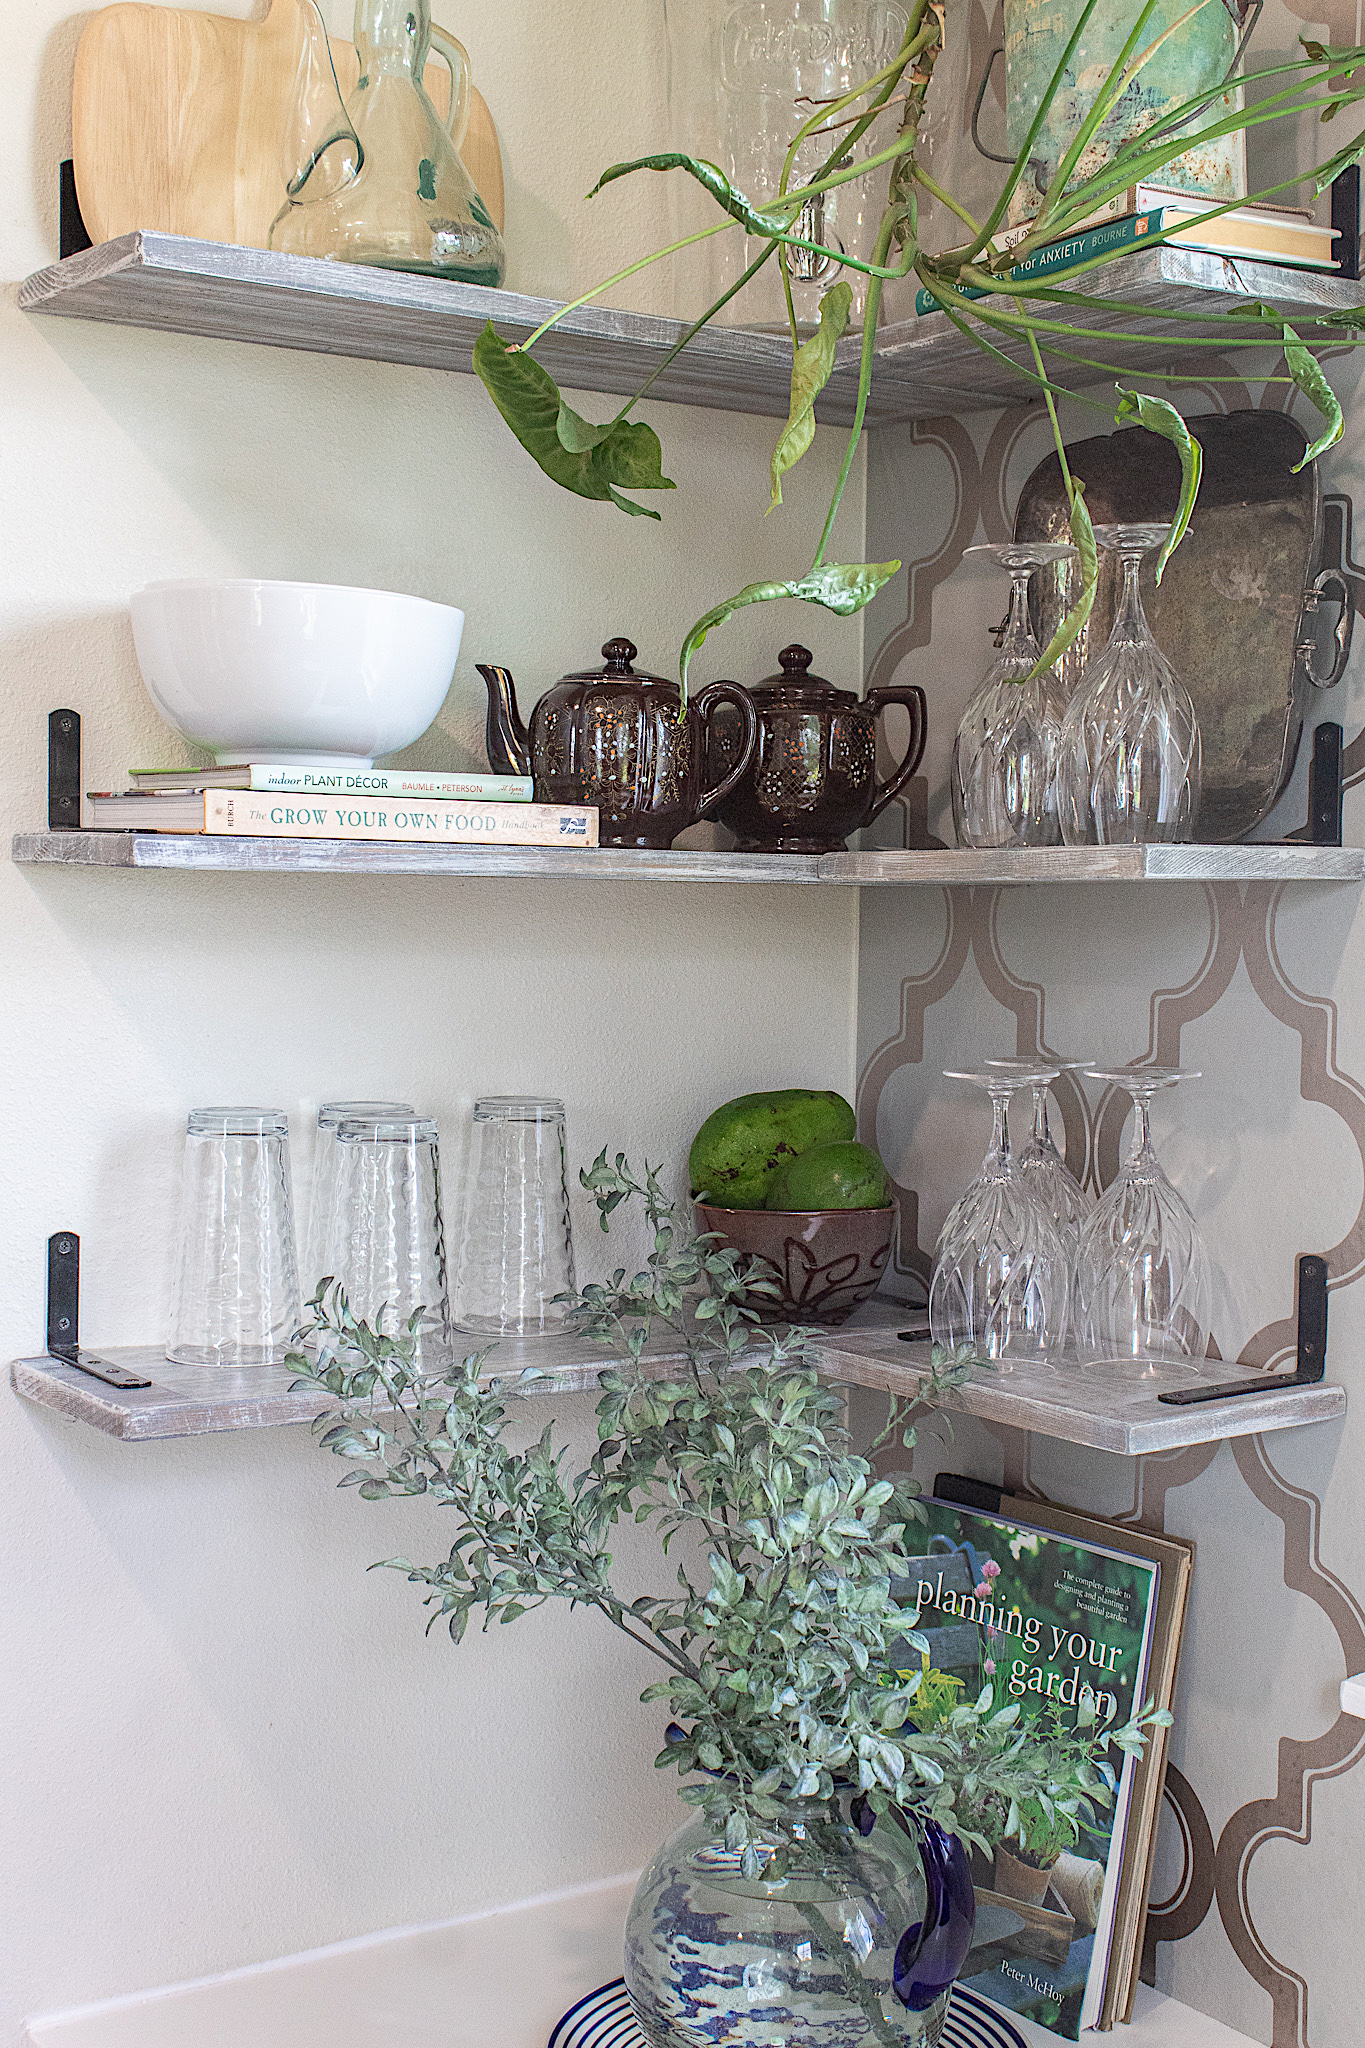
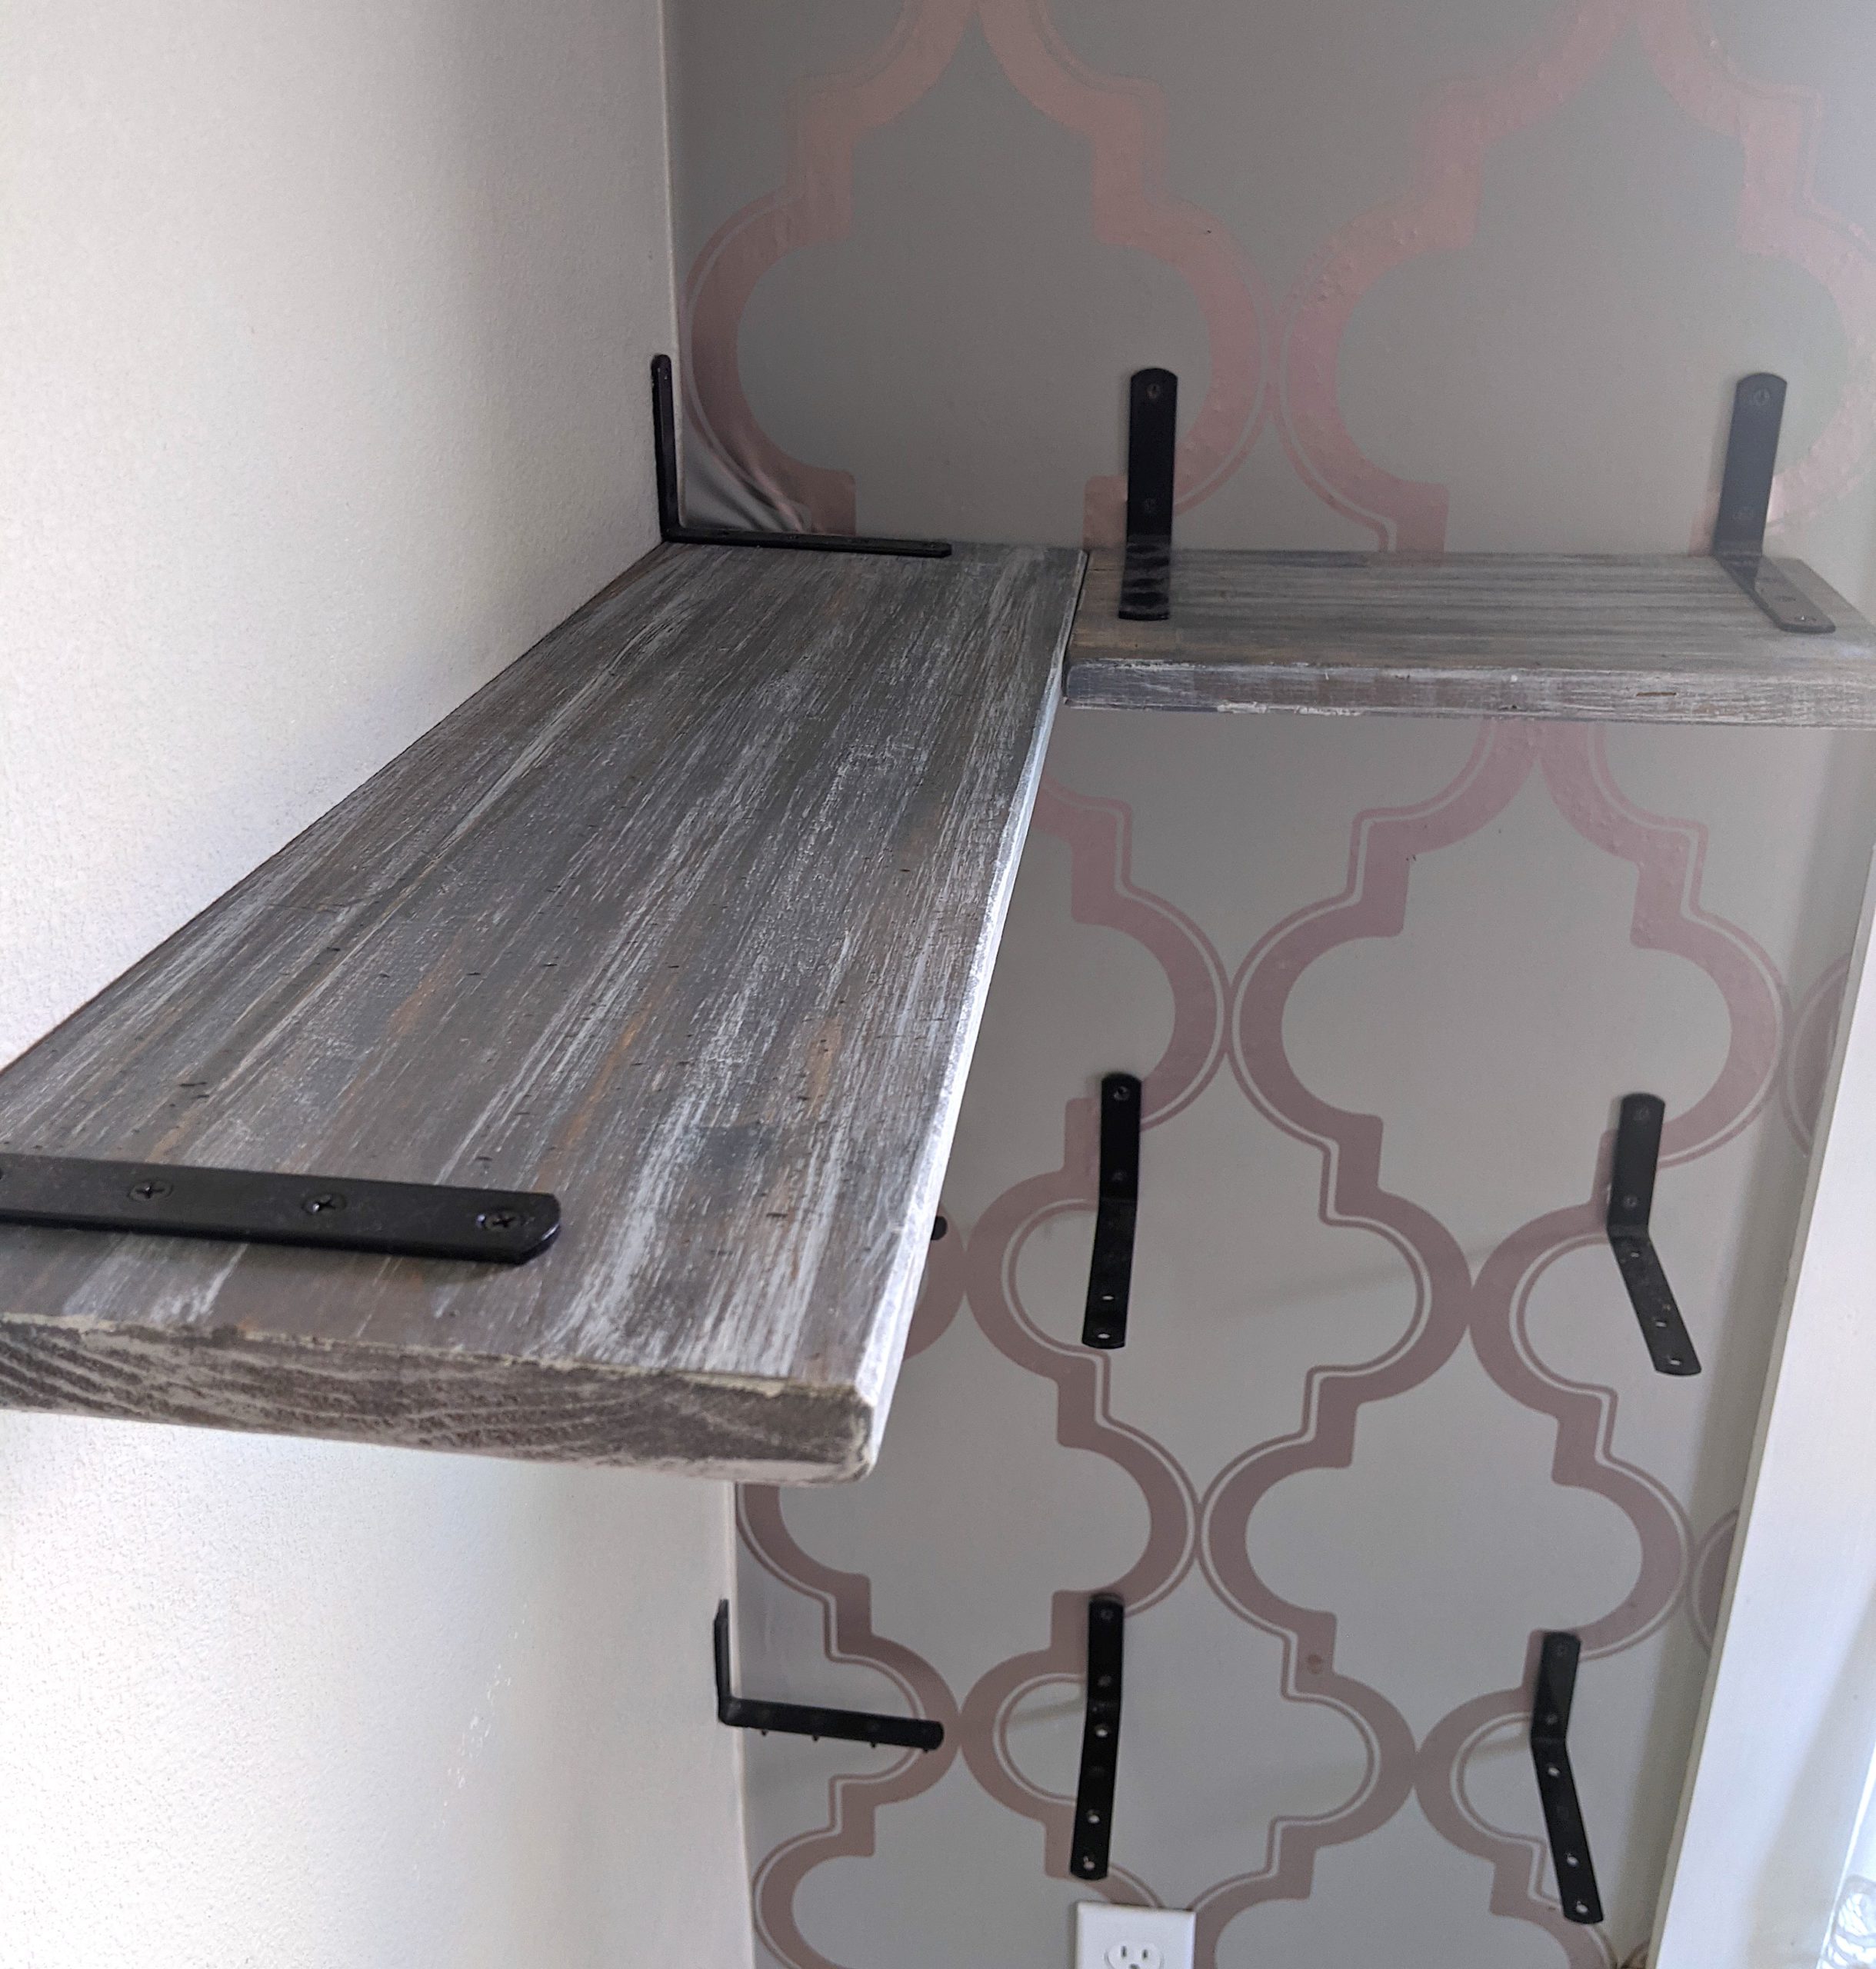
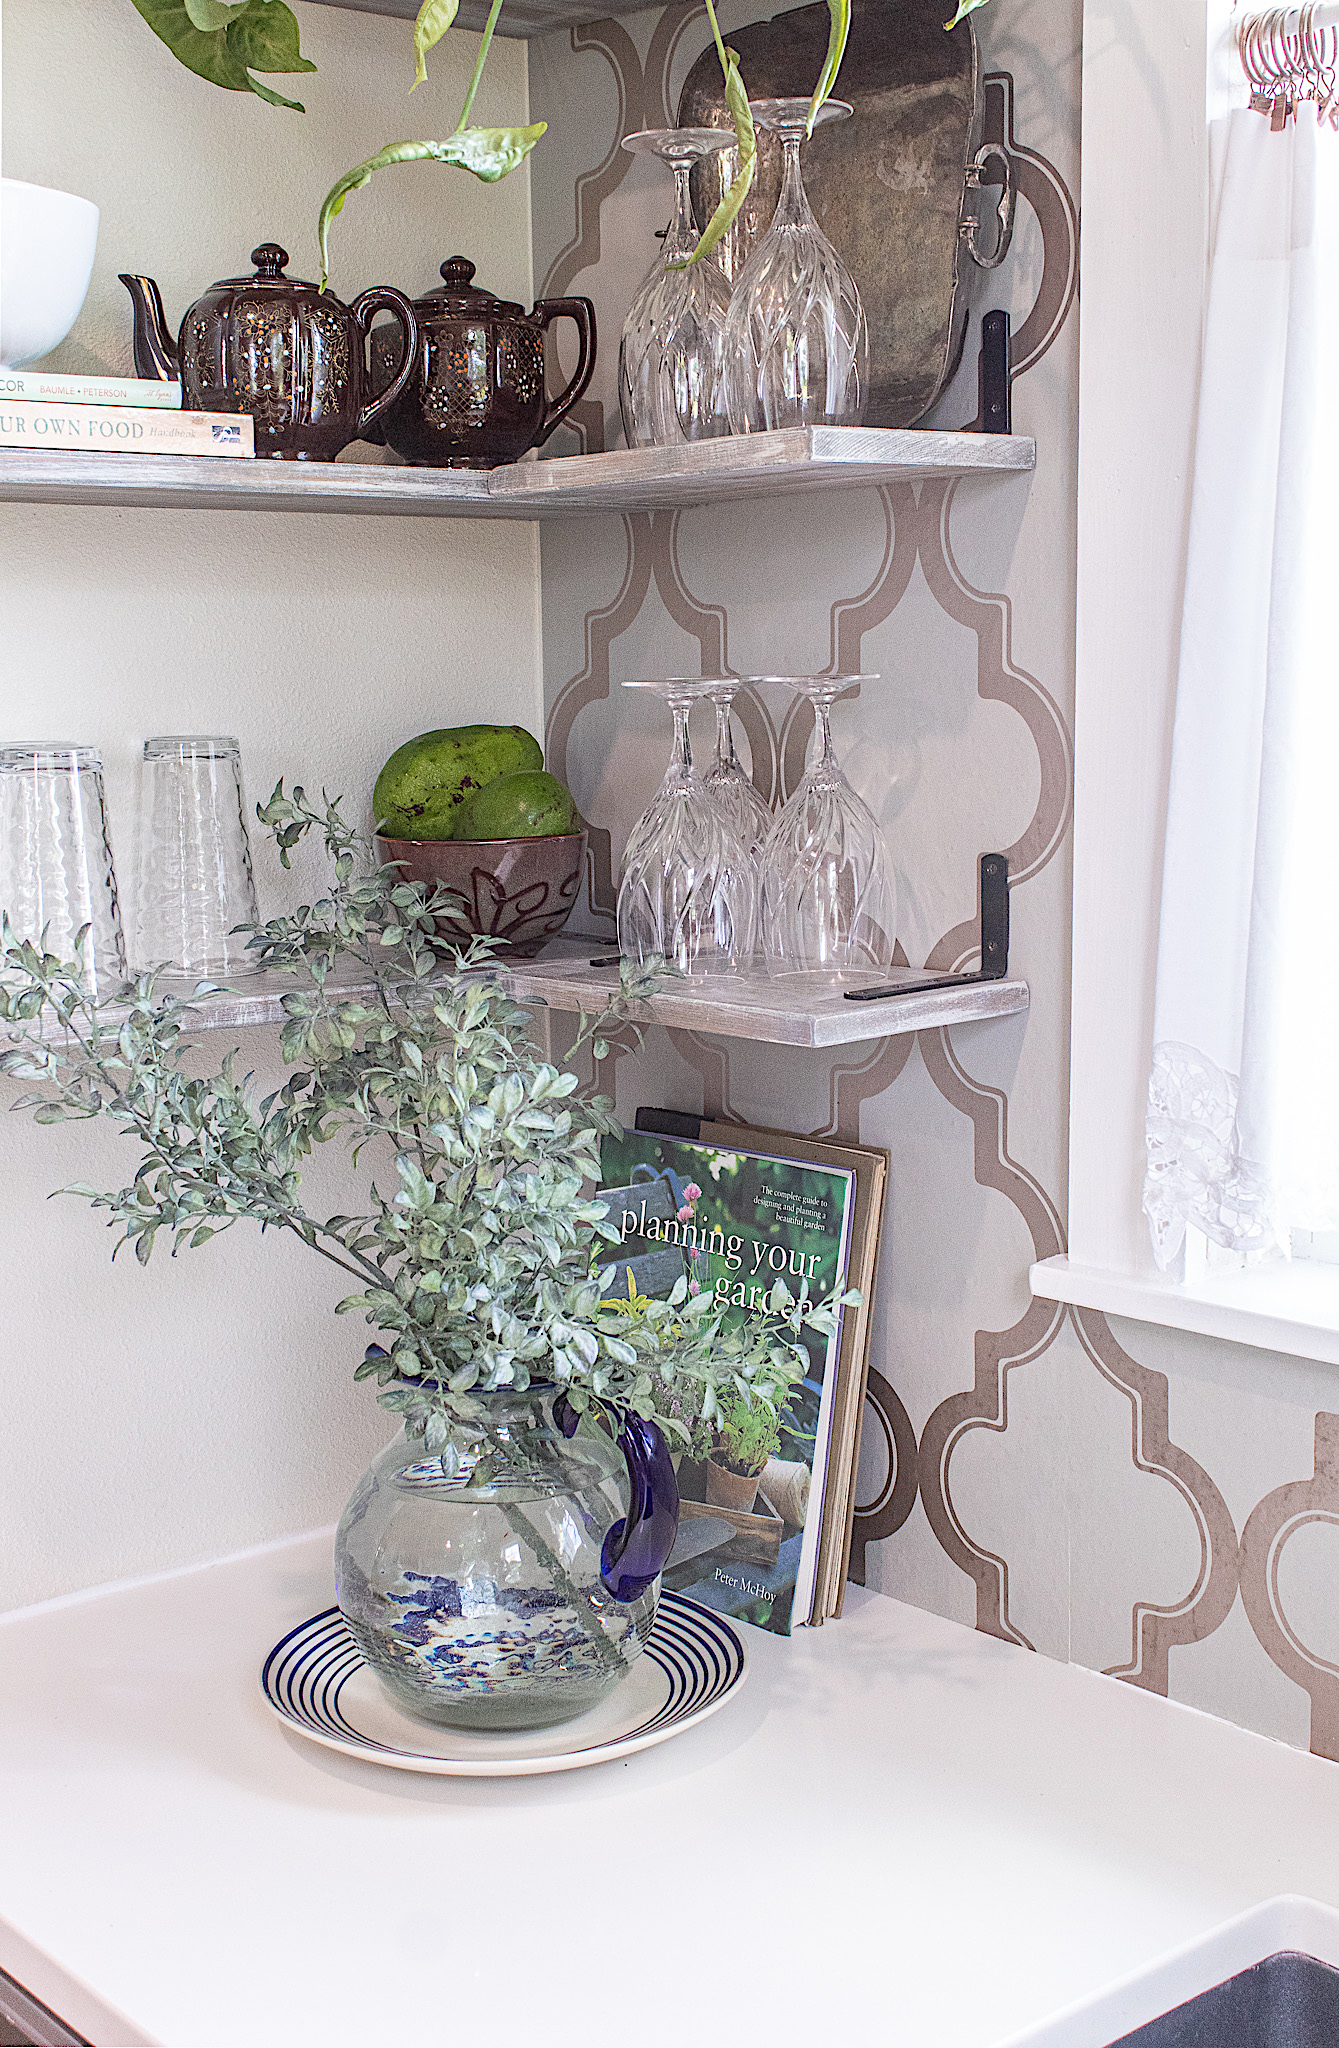
To create the corner shelf concept, we mounted all the small shelves on one wall and butted them against the long shelves on the adjacent wall.
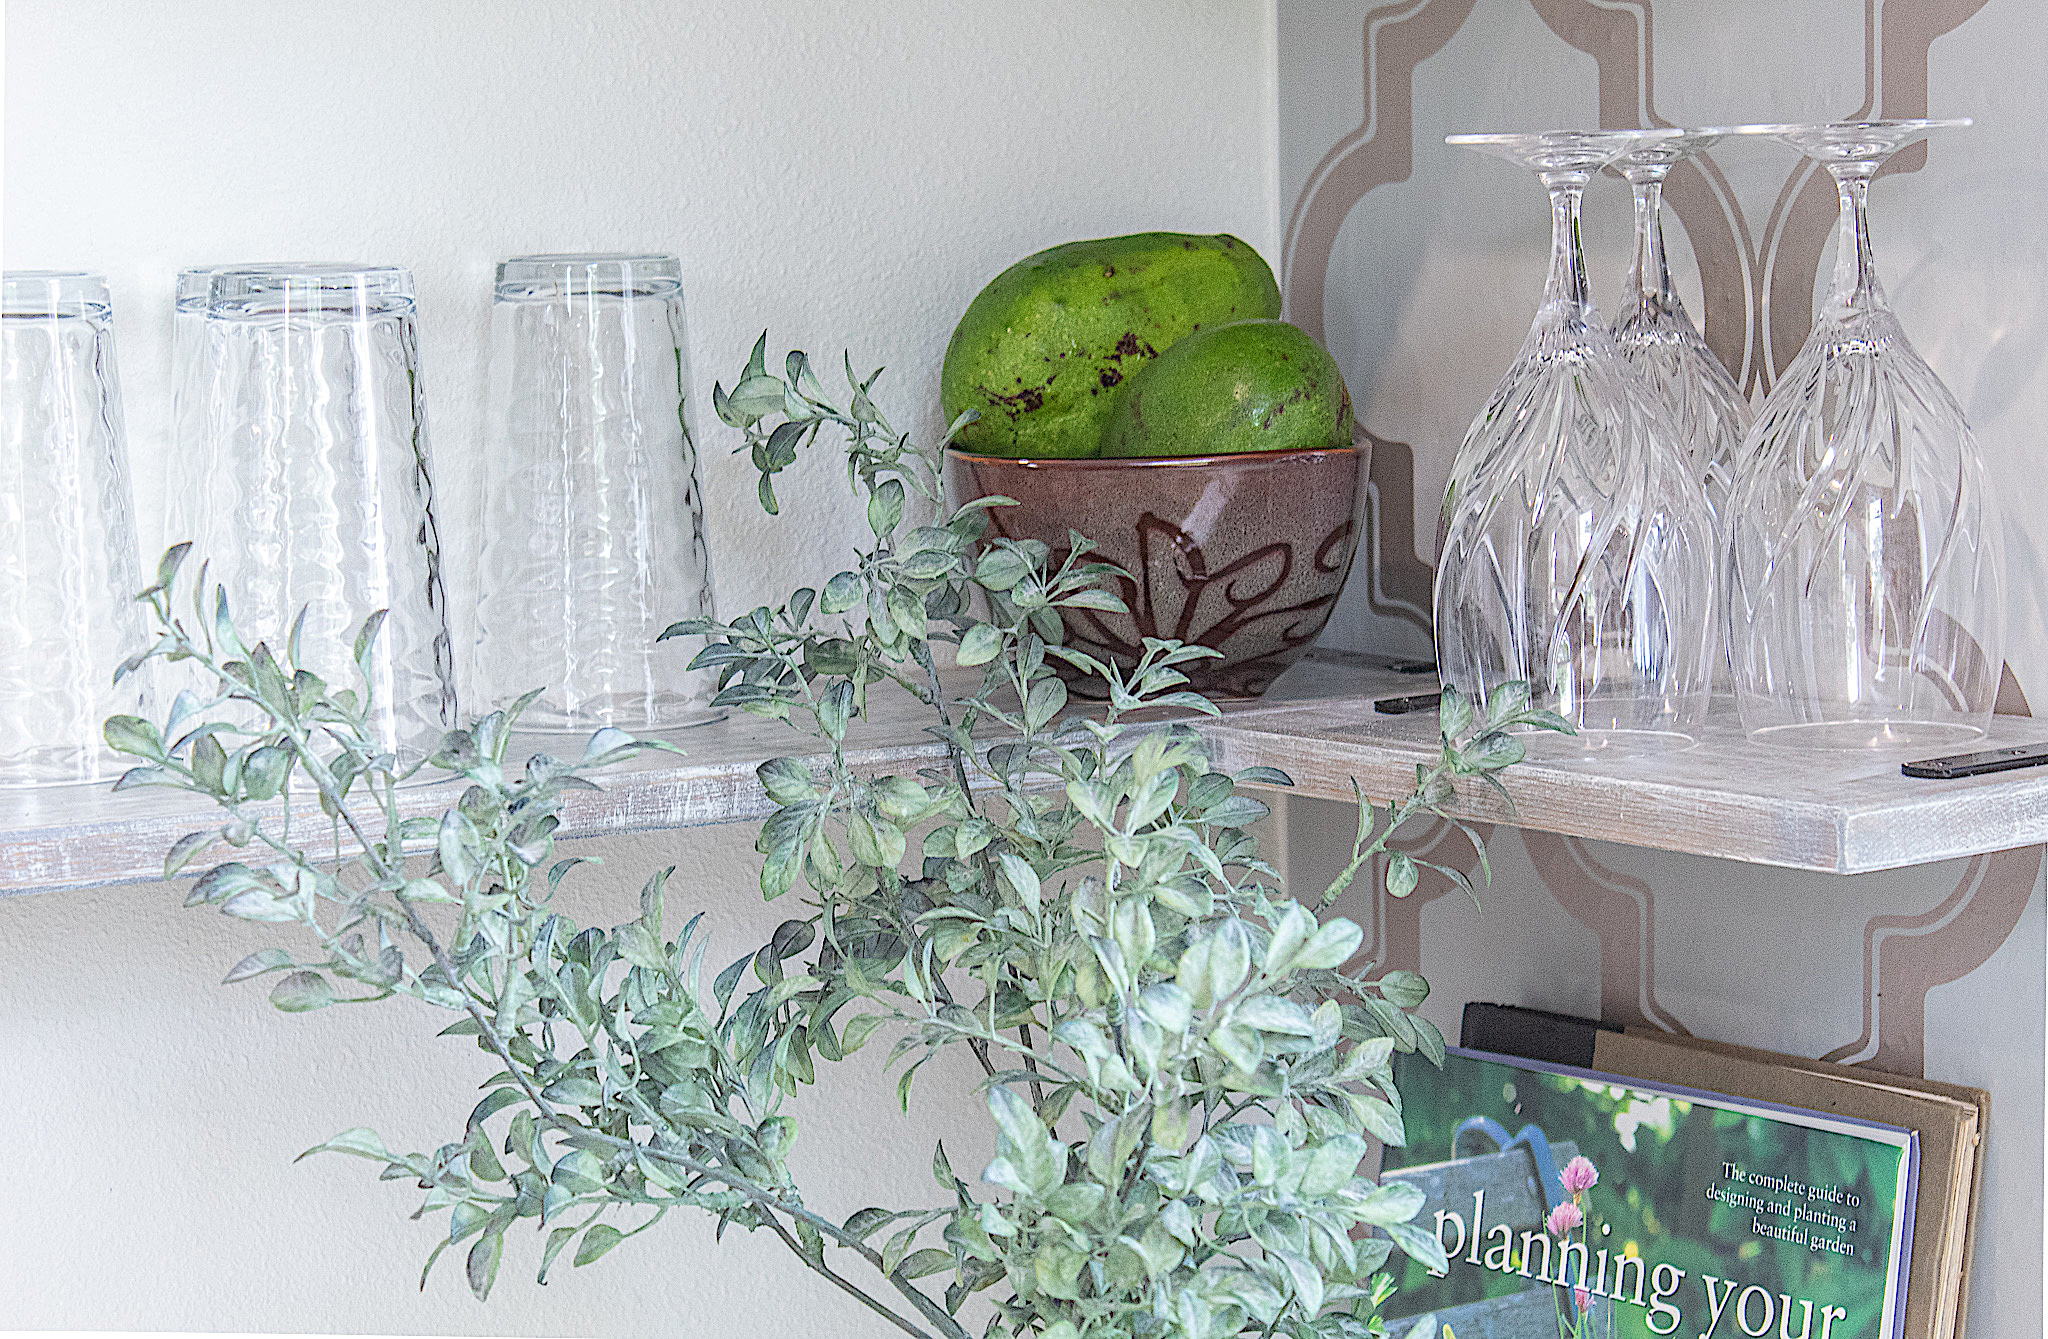
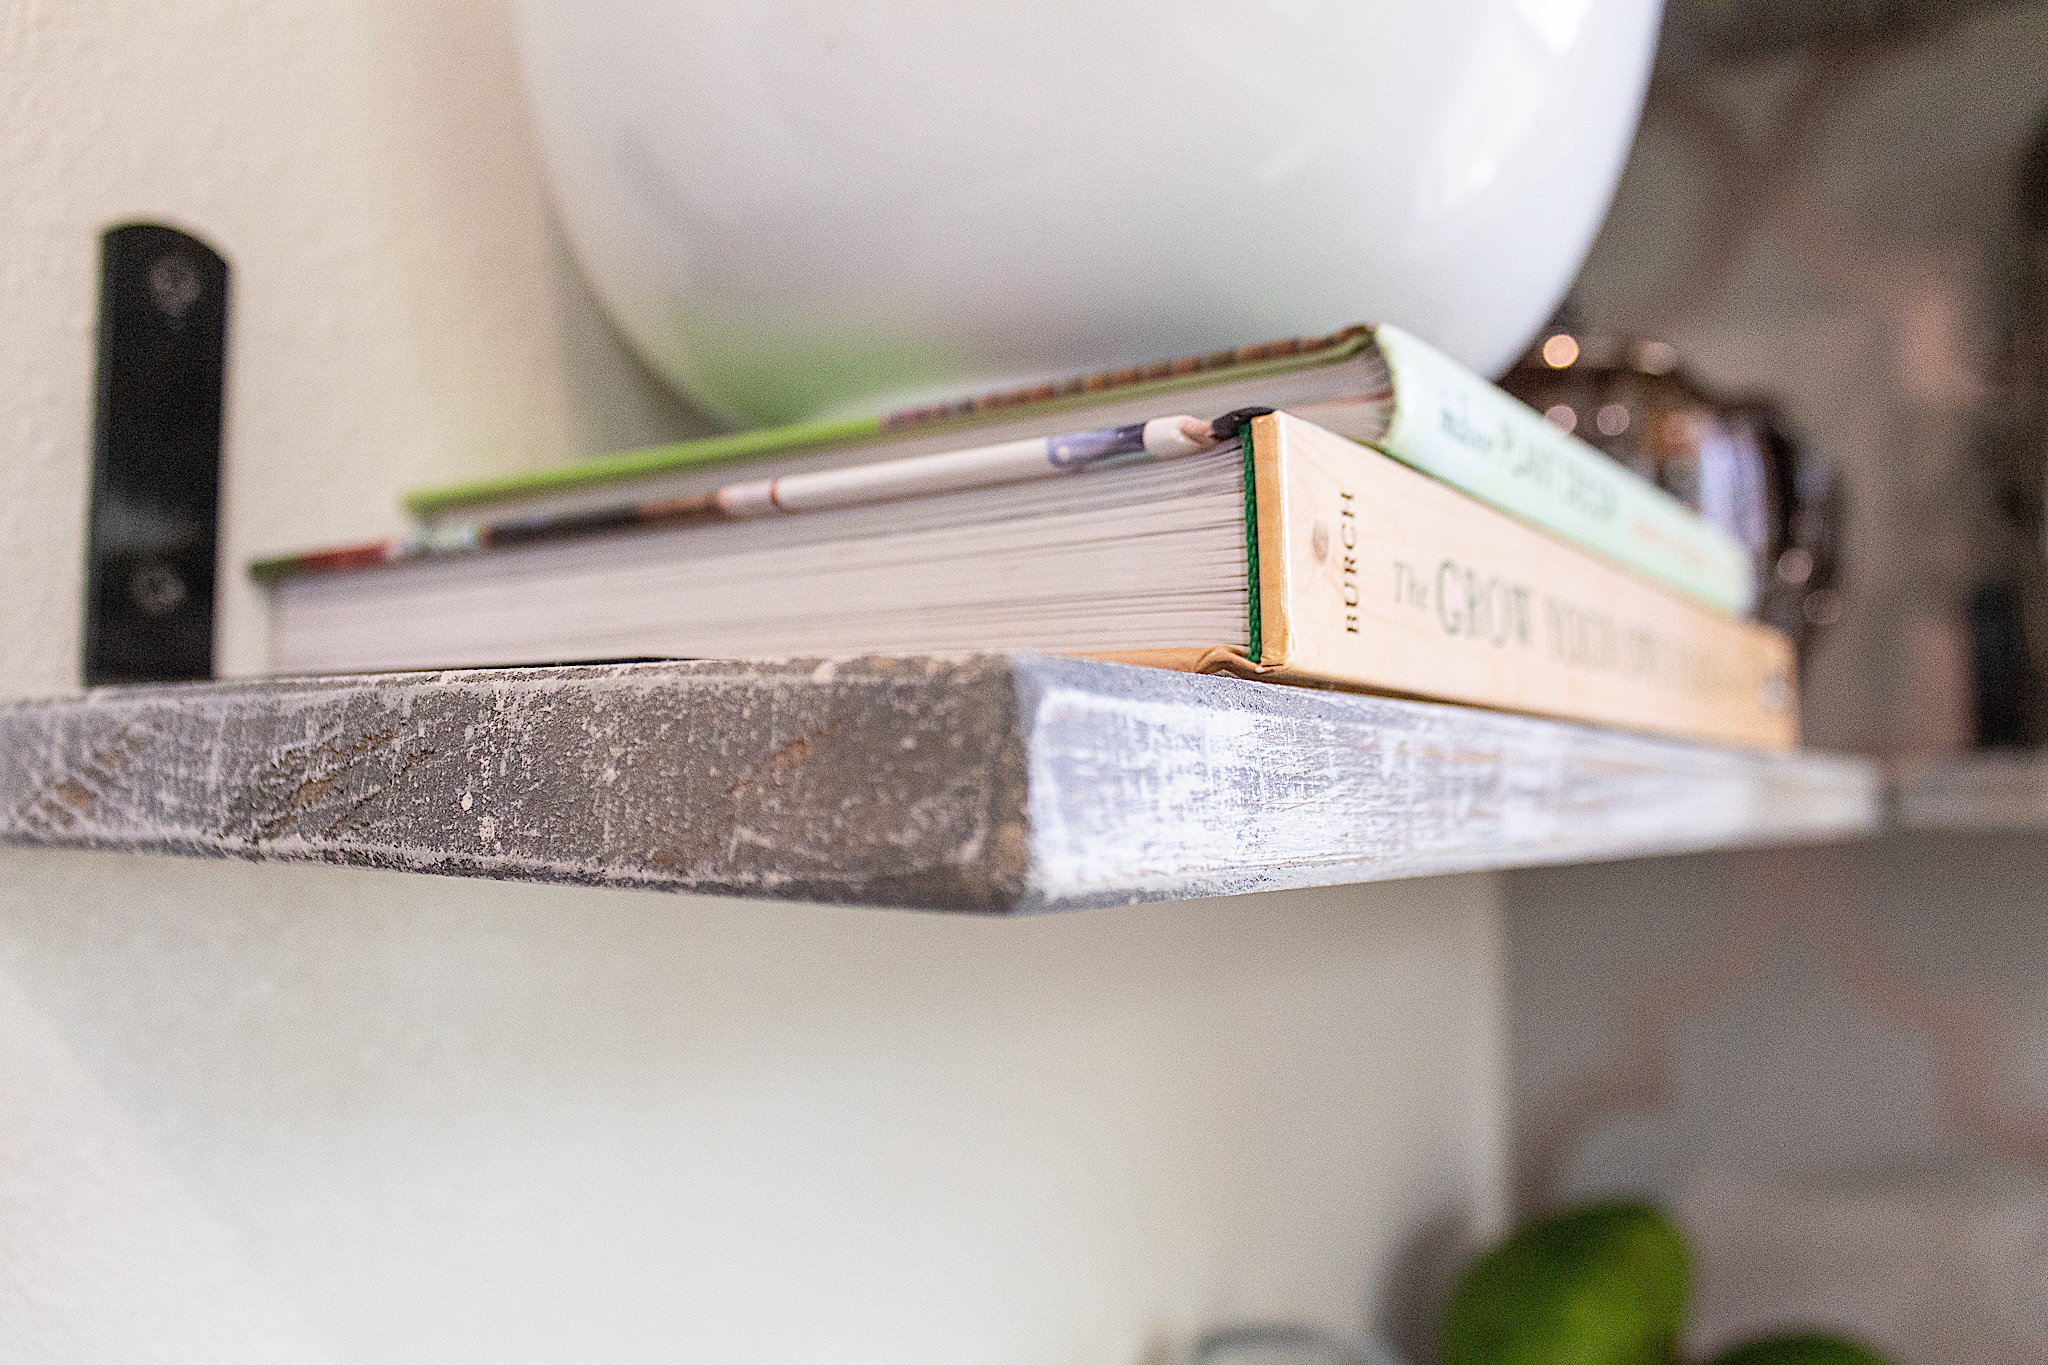
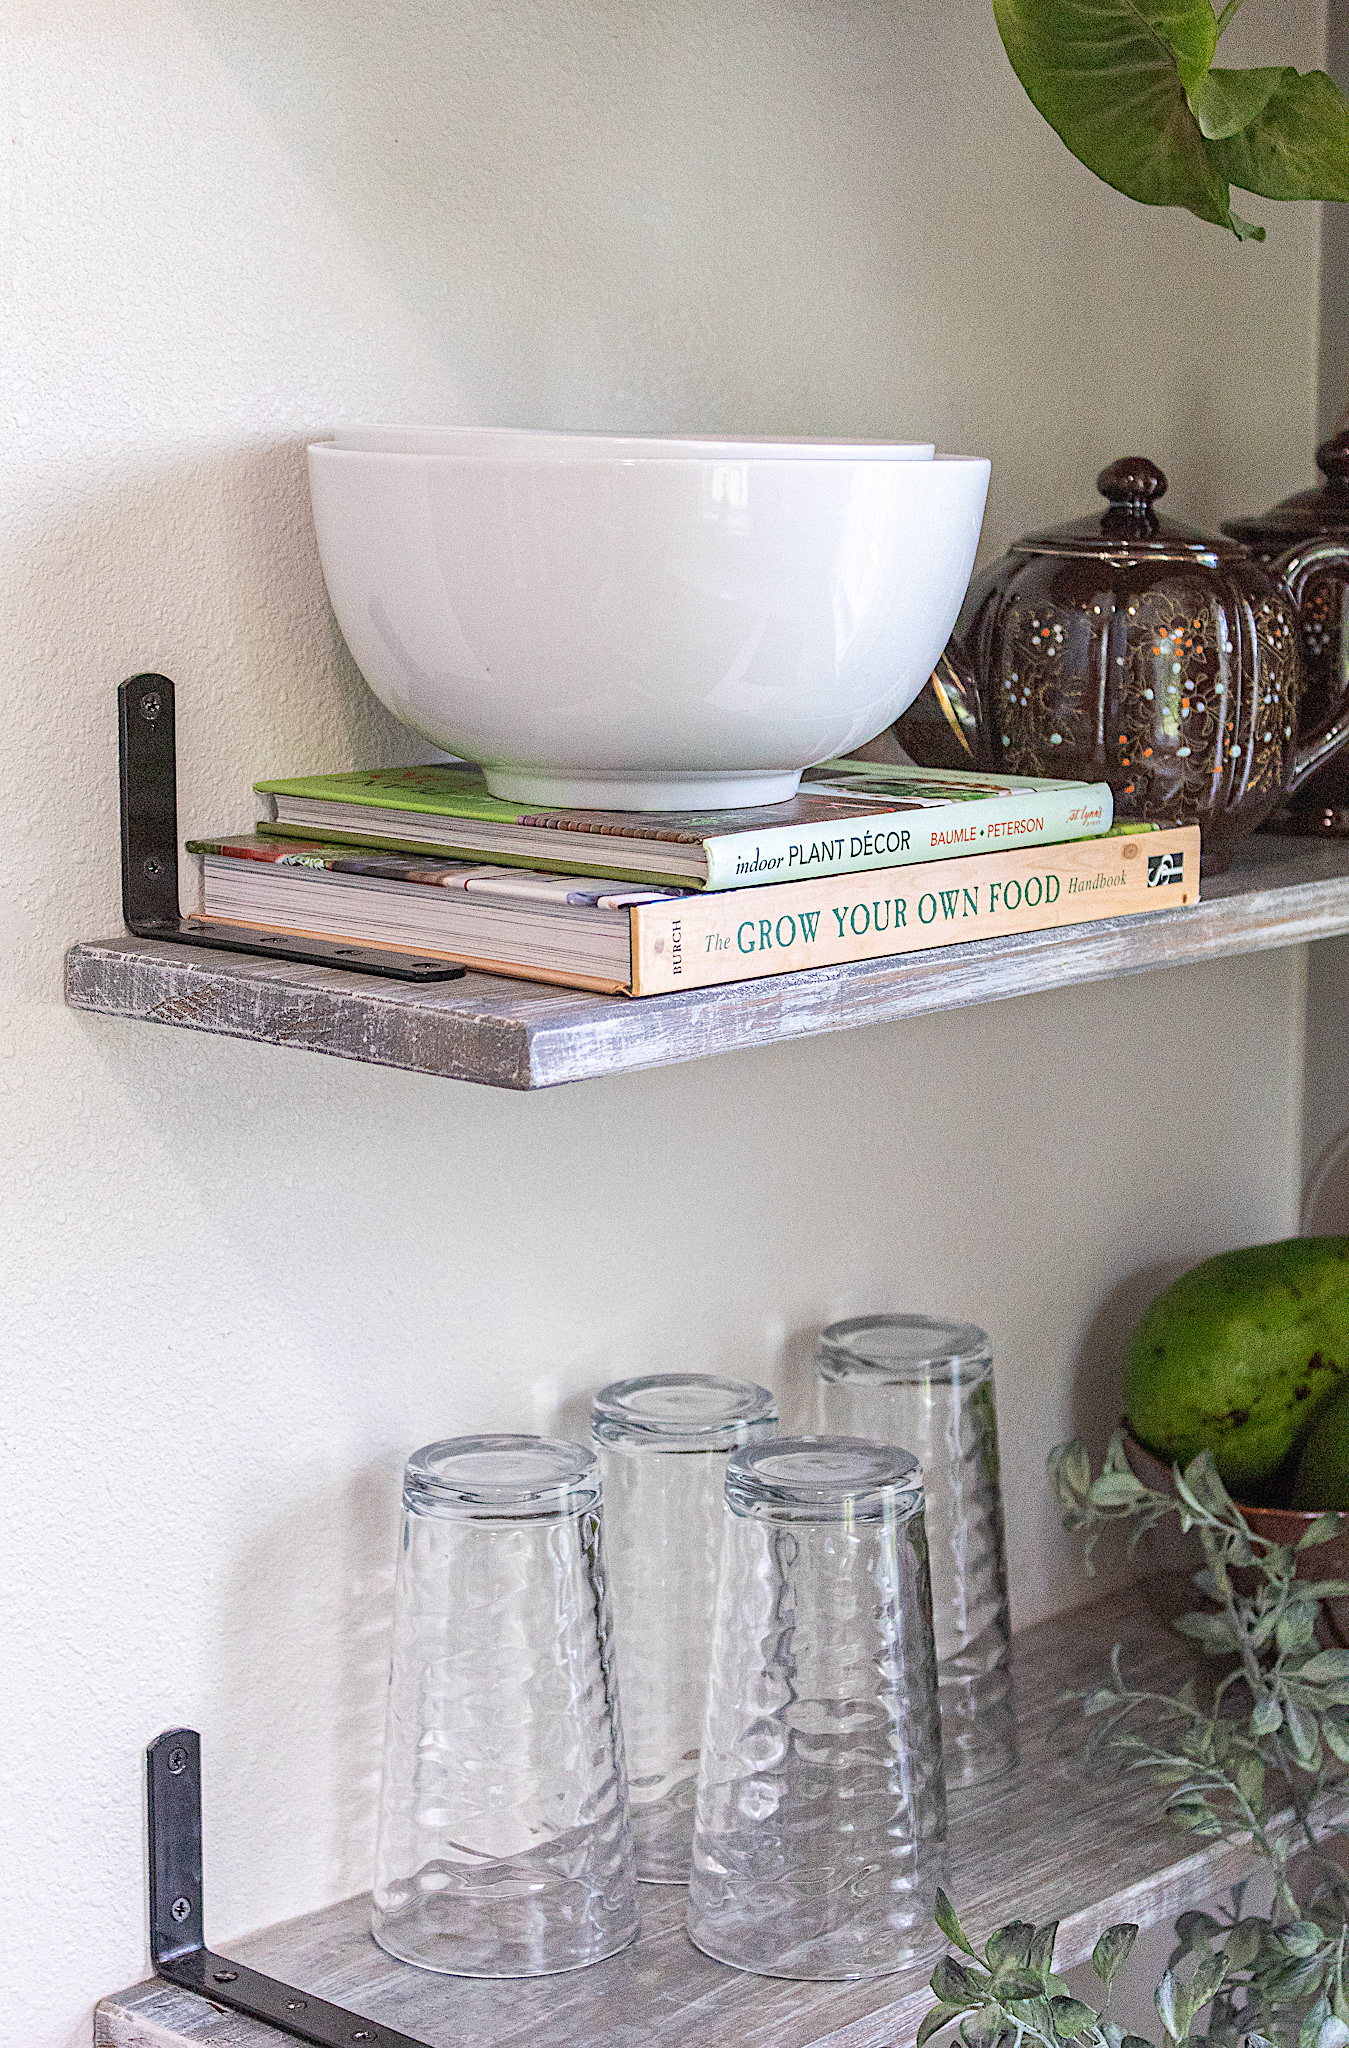
And now for the fun part, decorate and enjoy your new shelves!
So guys, do you have a spot in your home for some cute DIY shelves? Let me know what you thought of this tutorial! And be sure to SUBSCRIBE at the bottom of this page so you don’t miss a thing!