It was worth the wait! Over two years I’ve been waiting to put together this DIY Garden Arbor post for you. I didn’t want to simply present a bare arbor, what fun would that be?
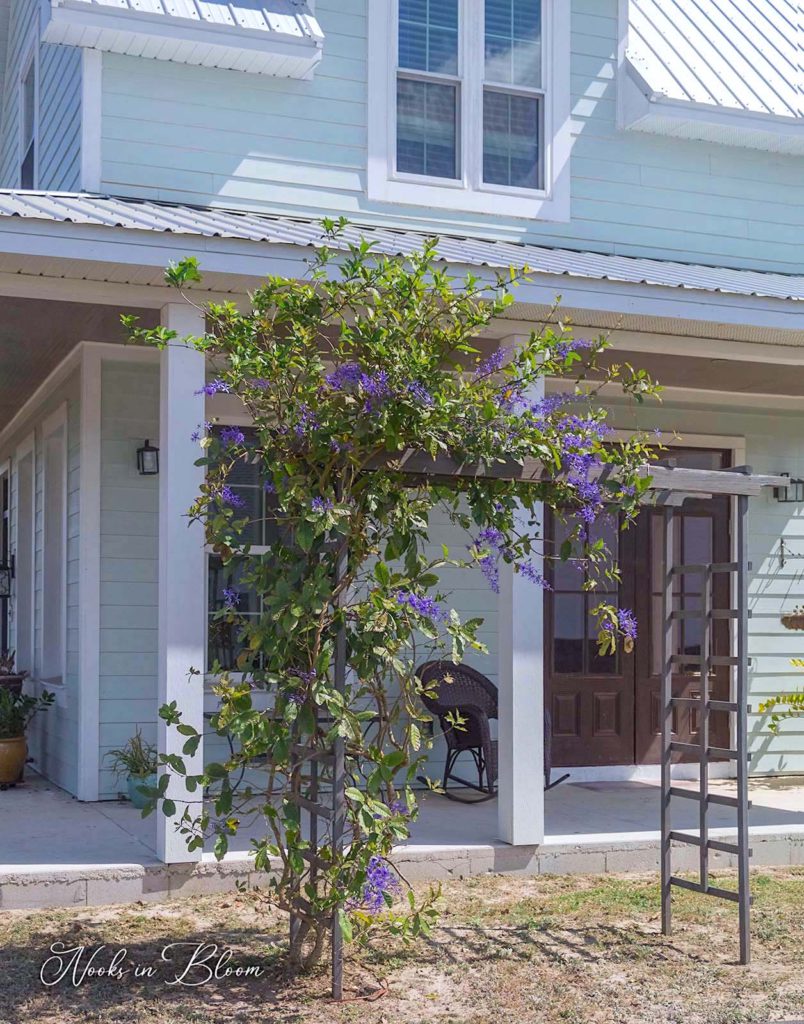
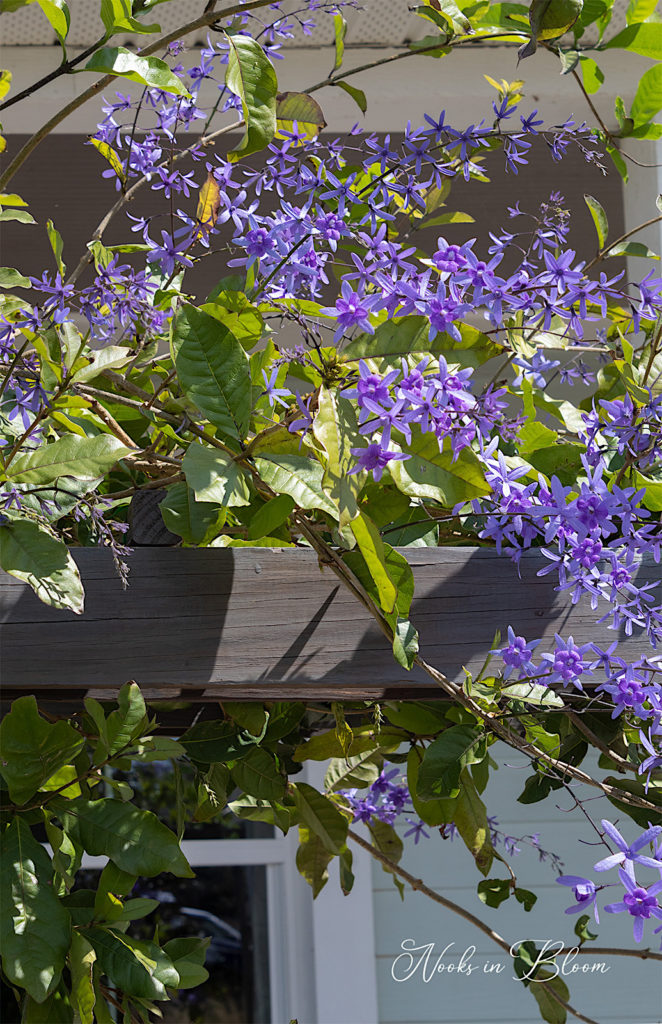
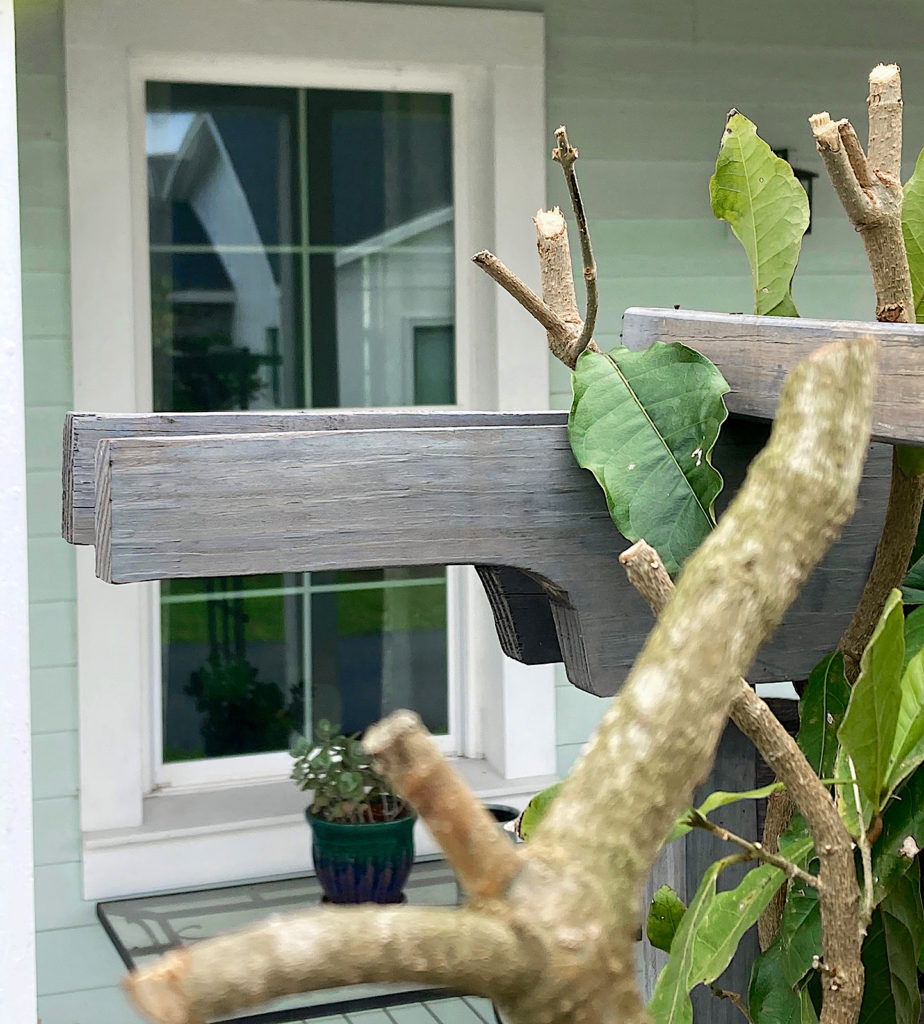
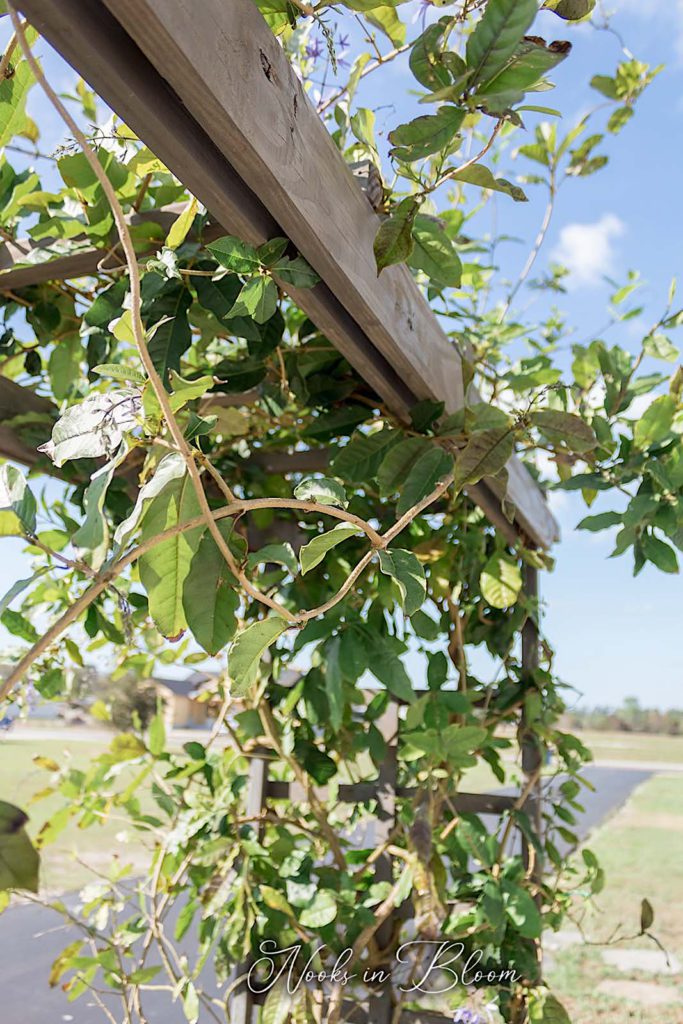
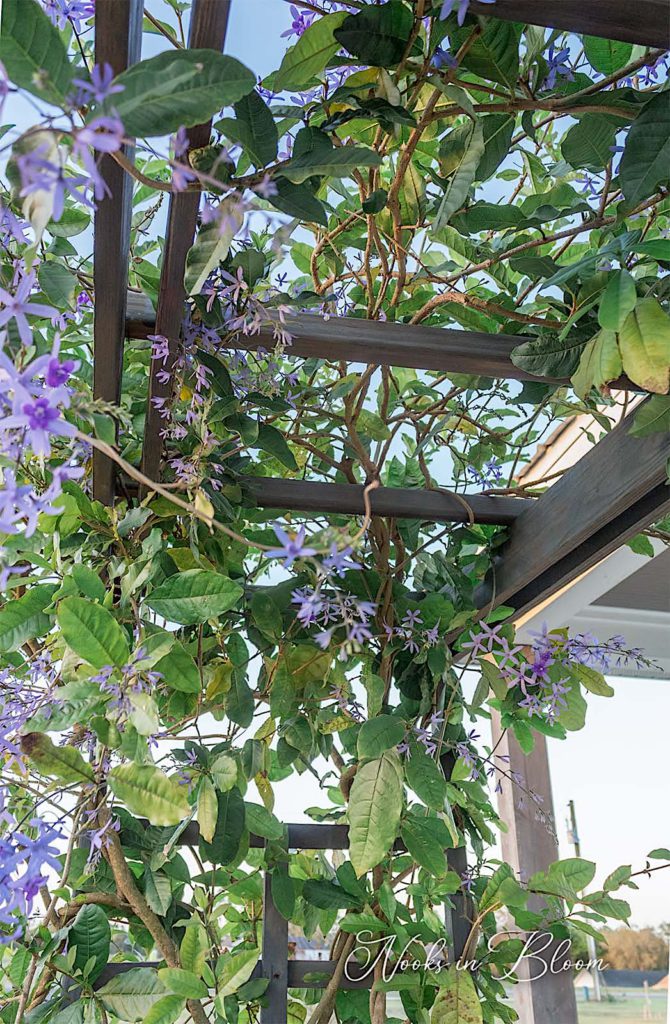
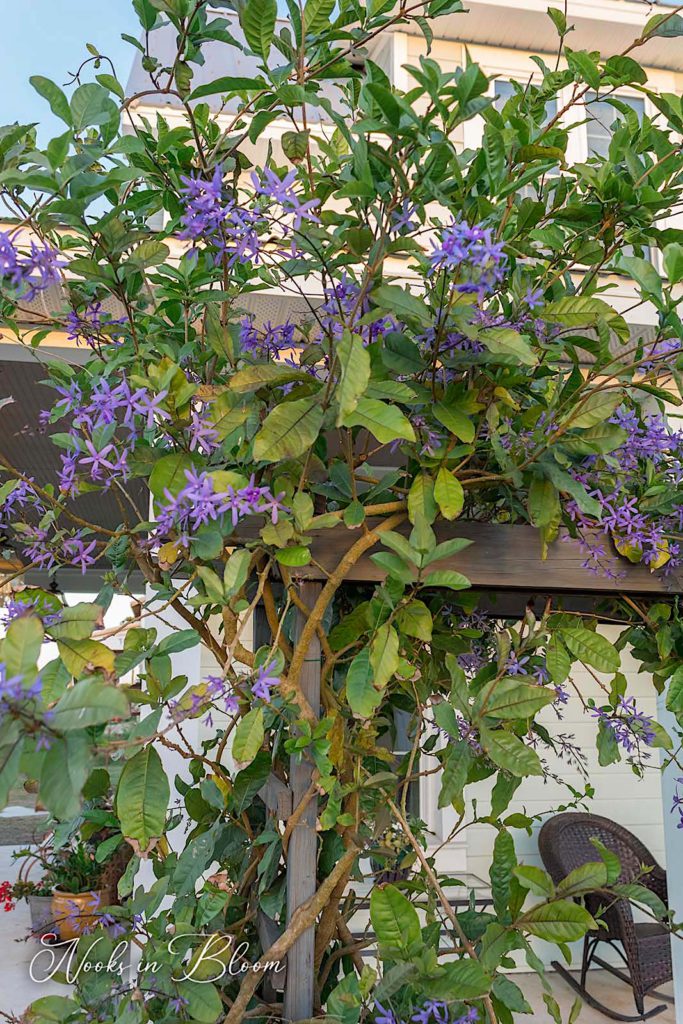
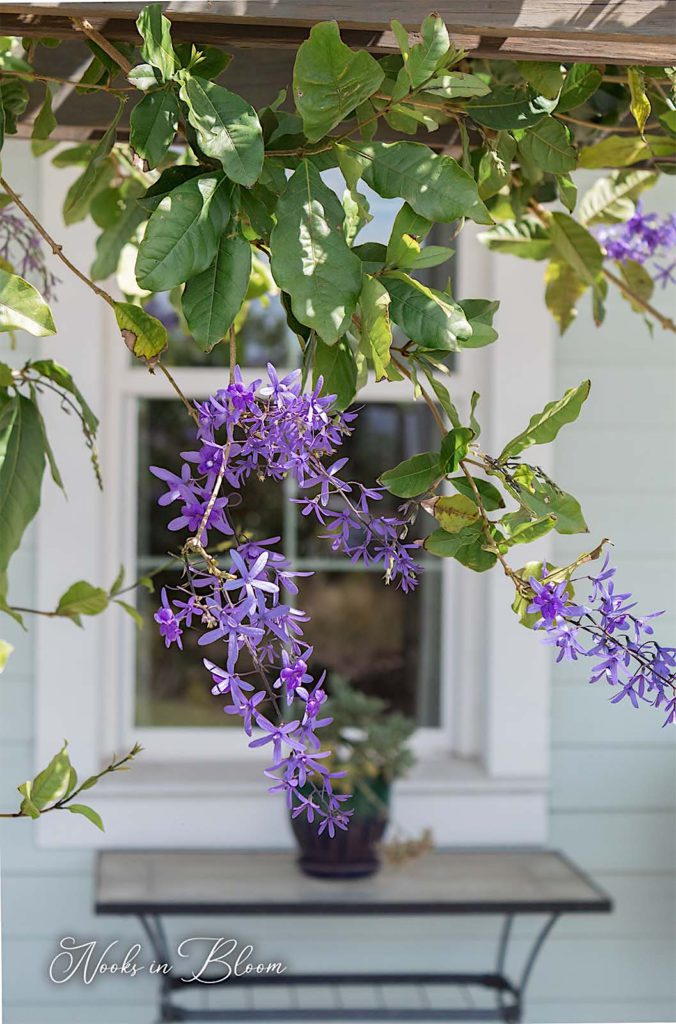
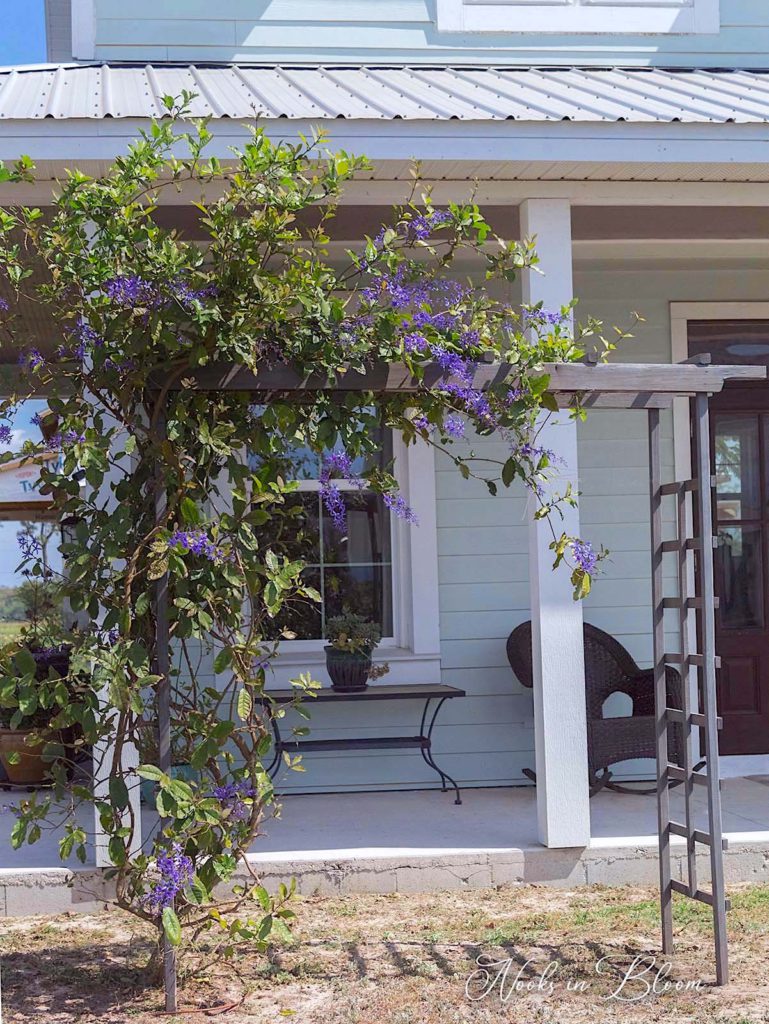
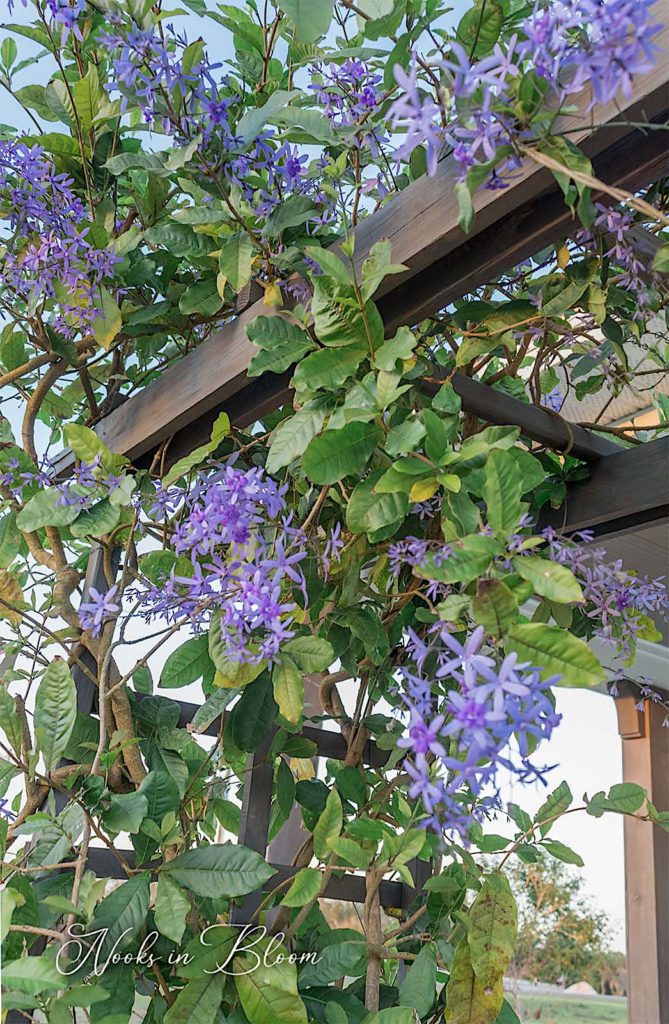
Now that my Queens Wreath Vine has taken off, sprawling beautifully across the arbor, I figured it was time to reveal this fabulous DIY project to you.
Vining plants like Queen’s Wreath, Wisteria, and Trumpet Vine are radiant showpieces to have in your garden. However, they can wreak havoc on your home’s exterior. If you’re not careful, they can quickly overtake the home’s siding and thrust themselves into crevices, plugging up your soffits and fascia and even your roof.
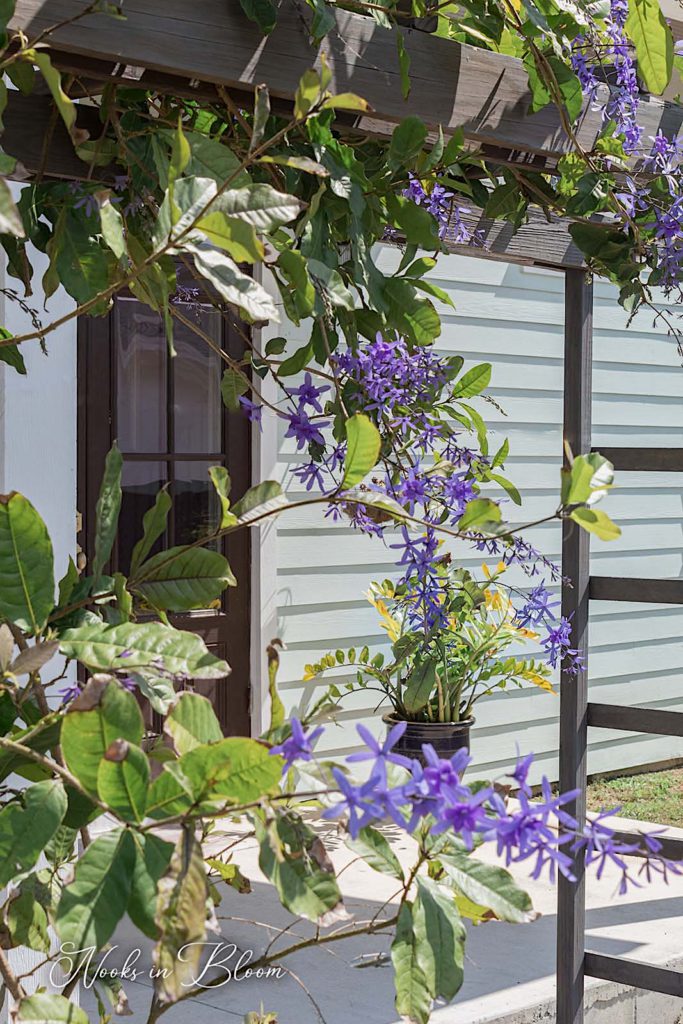
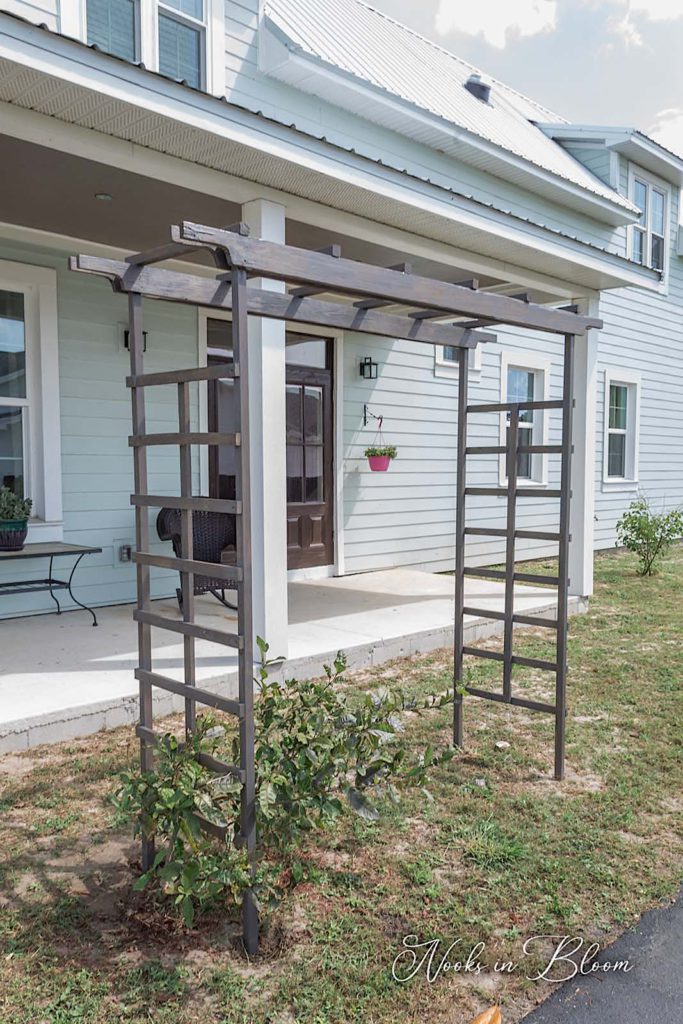
Creating a free-standing arbor keeps vines at a safe distance while enhancing the aesthetic of your yard and home. Come along as I show you how to build this simple, yet stylish arbor in one afternoon.
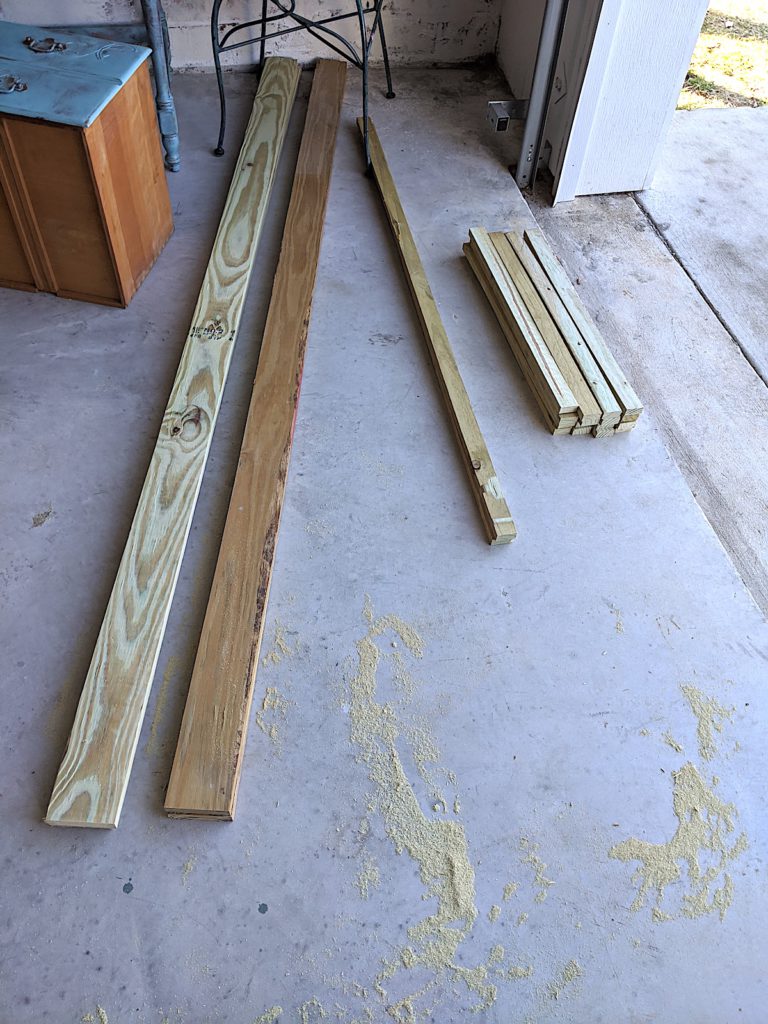
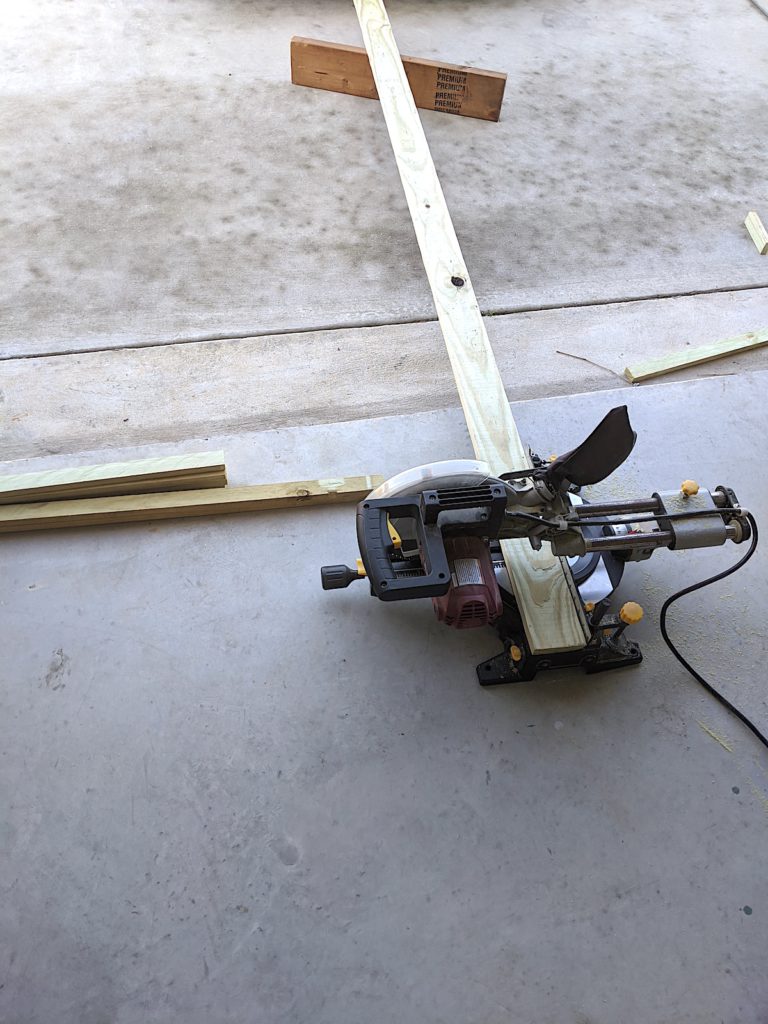
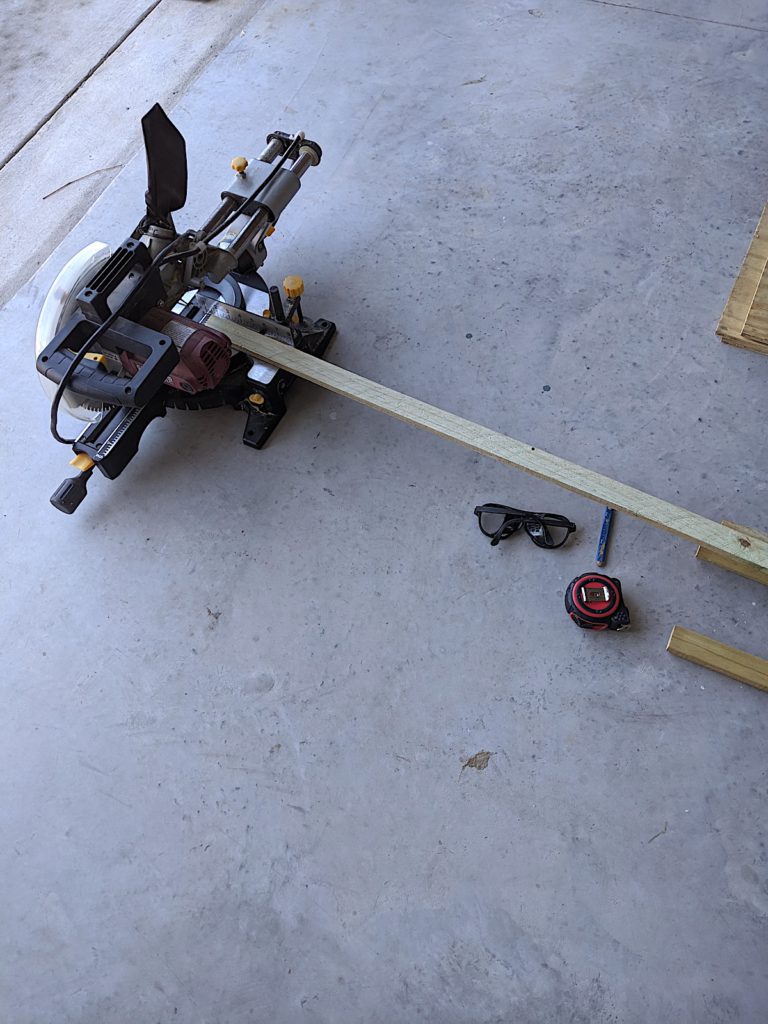
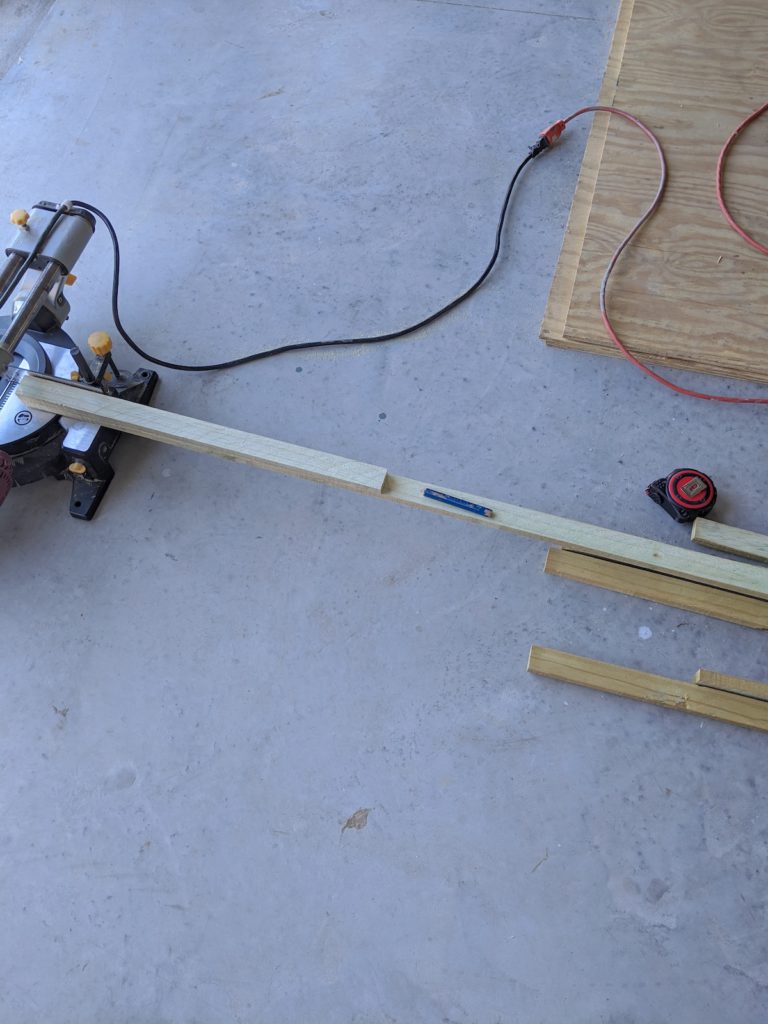
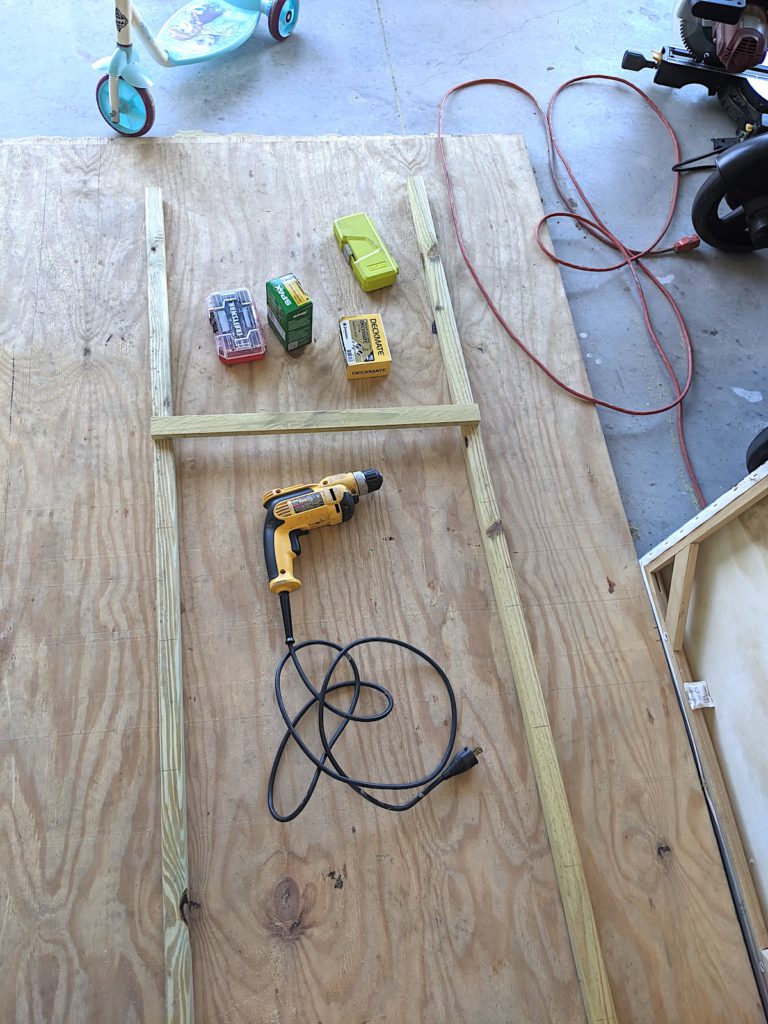
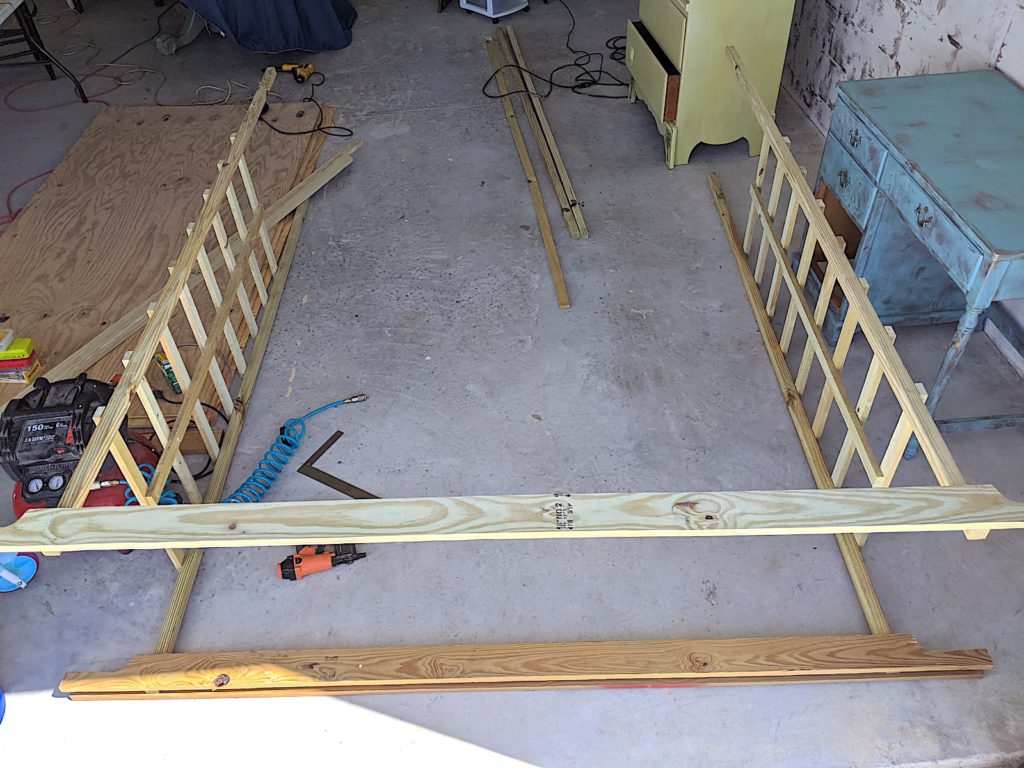
We cut our wood as follows using our miter saw: √ 16 pieces of the 1×2’s, each measuring 2 feet √ 2 pieces of the 1×2’s, each measuring 57 inches √ 4 pieces of 2×2’s, each measuring 8 feet √ 6 pieces of 2×2’s, each measuring 26 inches √ 4 pieces of 1×4’s, each measuring 90 inches
Disclosure: Some of the links provided are affiliate links. By purchasing through these links you are supporting this family blog and the work we do and there is no extra cost to you. If you would like to read our full disclosure, click HERE.
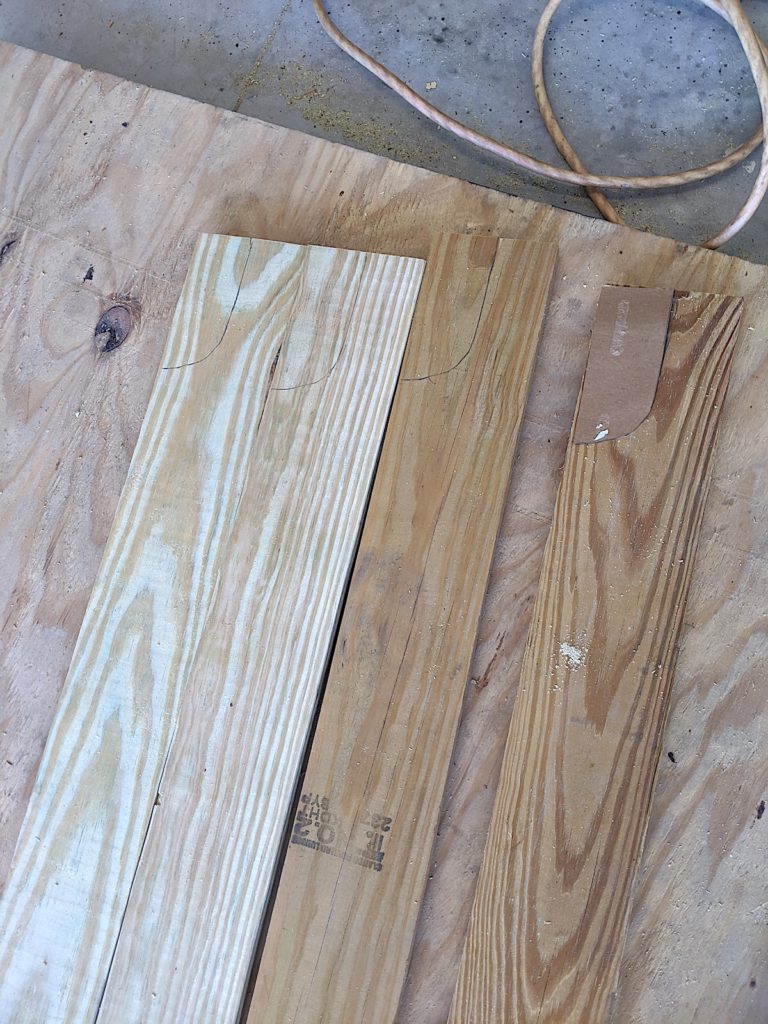
For a decorative touch, we gave the ends of the top boards, the 8 foot long 1×4’s, a curved edge. We cut a template out of a piece of cardboard and used a jigsaw to trim out the curves at each end of the four boards.
Step 2. Assemble
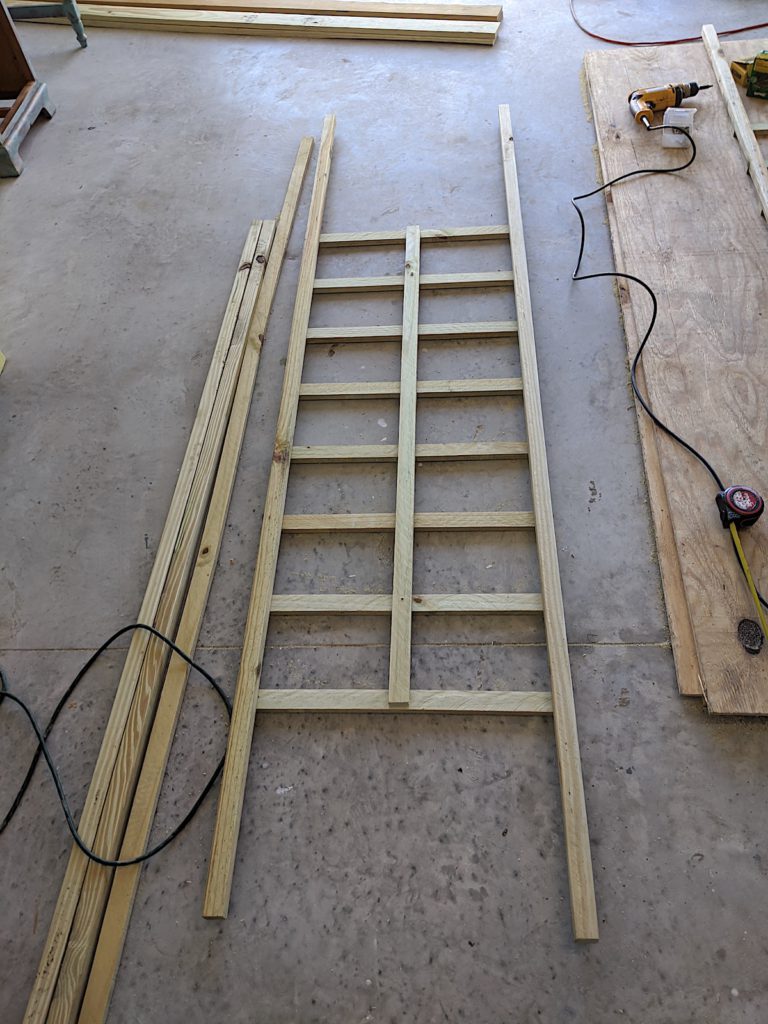
The 1×2’s or furring strips are going to be used in a couple of places. The 2 ft long pieces will be the supports in between the legs of the arbor. 8 will be mounted on one side and 8 on the opposite side. We used the wood screws to attach these. We spaced them out evenly across a distance of 57 inches.
Once all the 2 ft pieces are screwed onto the 8 ft long 2×2’s, a 1×2″ measuring 57″will be then screwed over the 2 ft long furring strips (centered) for extra support.
Repeat the same process to create the opposite side.
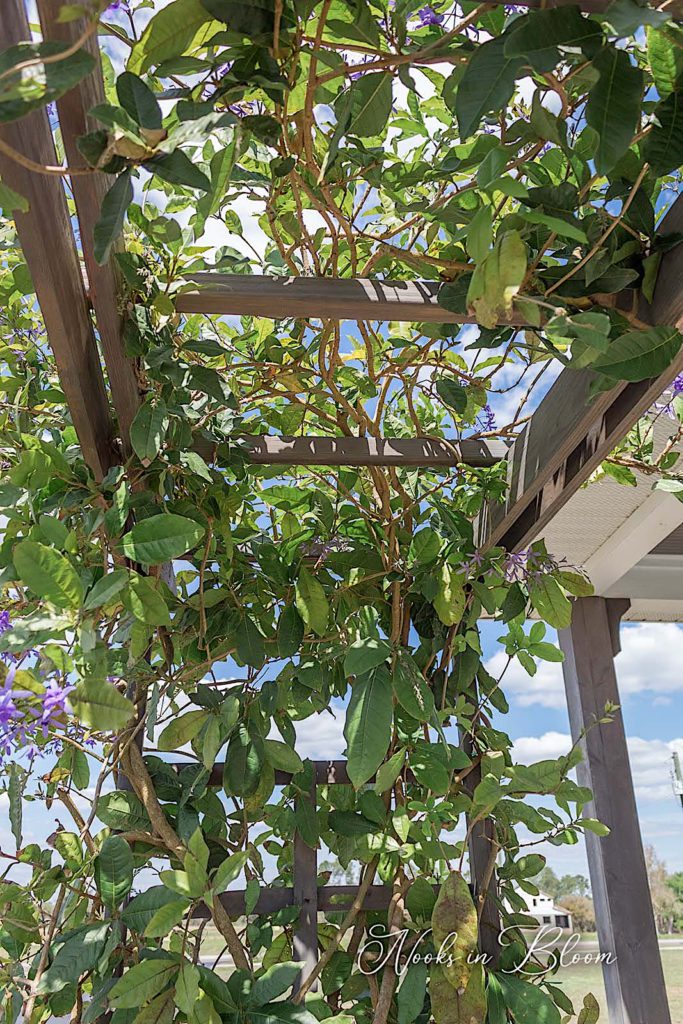
Now that both legs are assembled, we can begin mounting our top boards. The 1×4’s are going to straddle the arbor legs. We used the nail gun to attach the 1×4’s to the 2×2’s.
Using the nail gun, attach the six 2×2’s that we cut to 26 inches to the top of the arbor. Nail them perpendicular to the 1 x 4 pieces.
Step 3. Finish
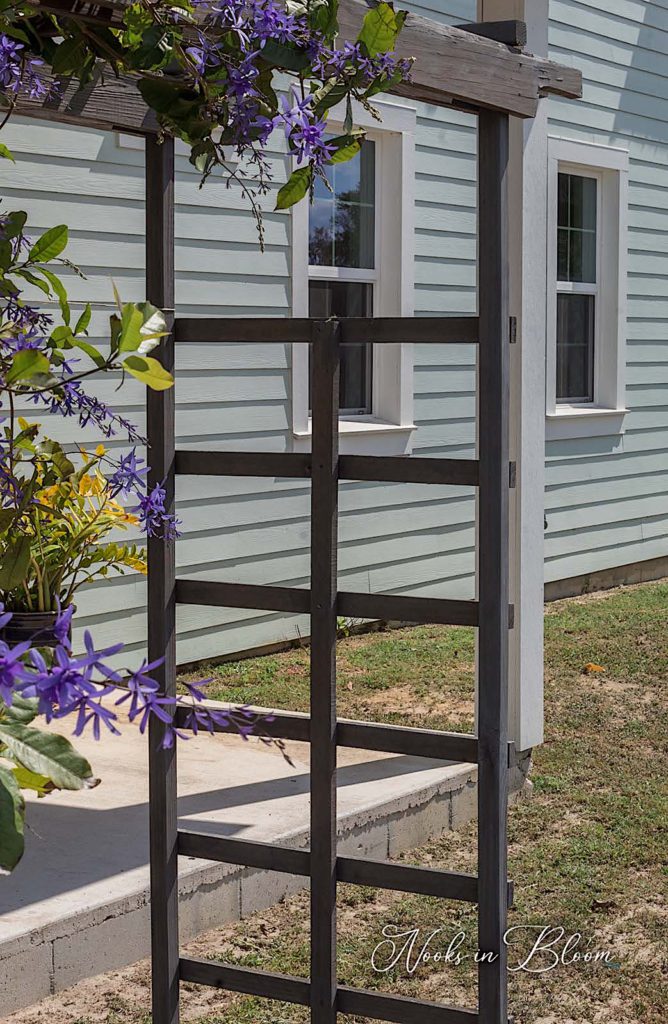
I applied my favorite stain color, Briarsmoke, to the wood by rubbing it on with a paper towel. It’s been about three years and the stain has held up rather well in the Florida weather. It could probably use another application at this point, but I’m also enjoying the rustic look of the wood.
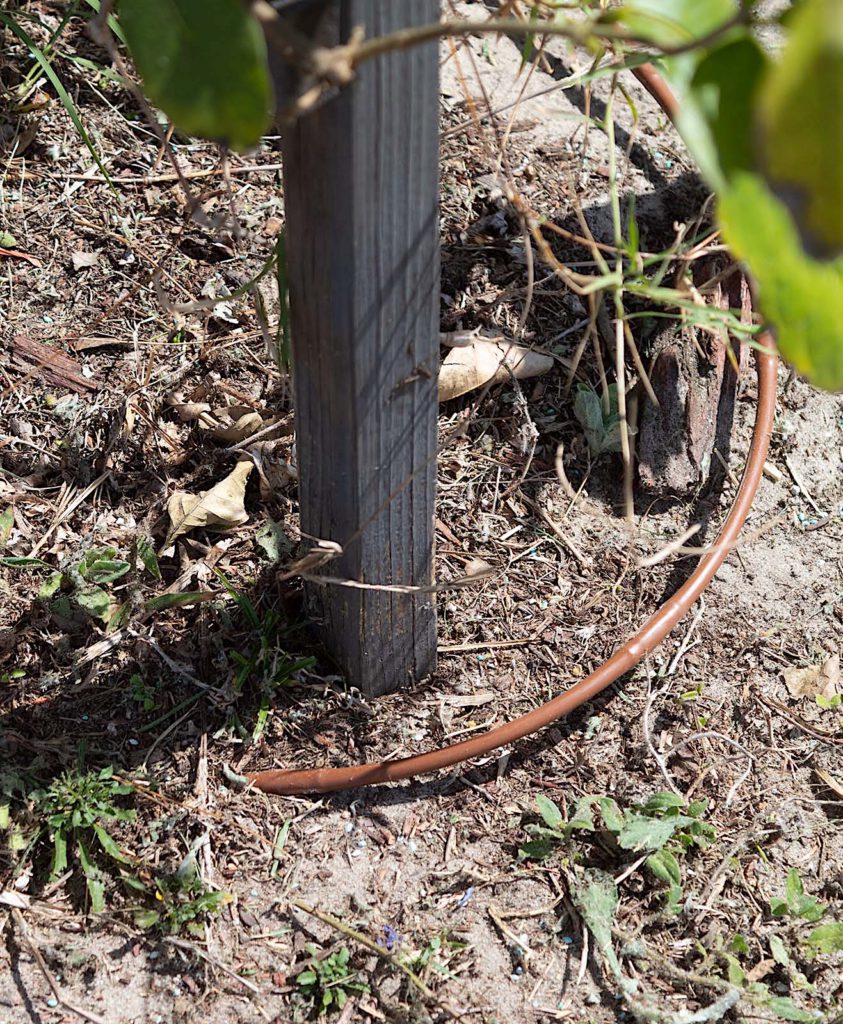
We dug 4 narrow holes for the legs of the arbor approximately 18 inches deep into the ground. Then we pushed each leg snug down in each hole and filled the holes back up with dirt.
We ran a drip line to the arbor for irrigation. You could also manually water your plant until it gets established.
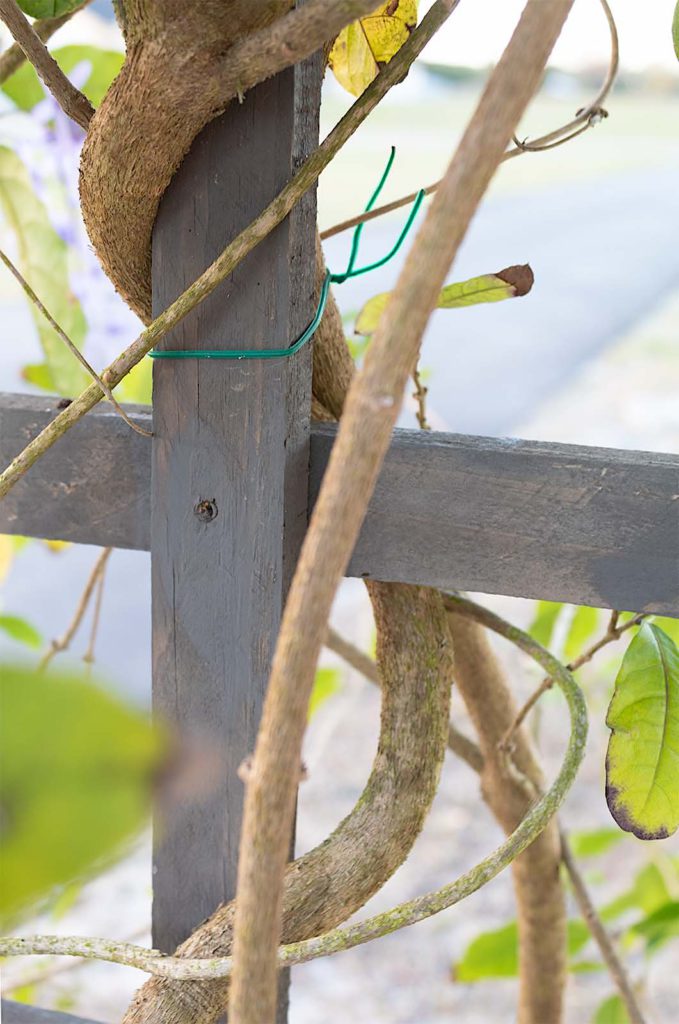
Now all you need to do is plant your vine next to one of the legs of the arbor and watch it grow. I like to train my plant by using twist ties as the plant grows. I also prune a couple times a year to manage excess growth and to promote full foliage.
Any that’s it guys! I hope that you enjoyed this tutorial. Let me know if you have any questions. I’d love to hear your thoughts on this lovely garden addition.
Scroll below to see how things looked when we started out with our vine.