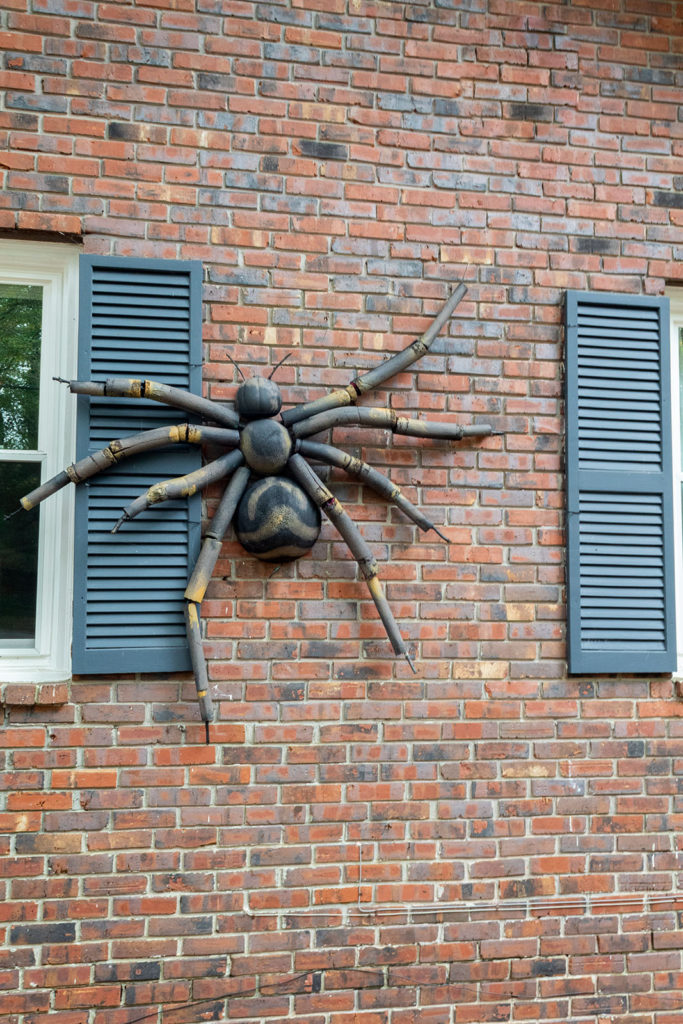
How are you on your Halloween decorating this year? We just had a few pumpkins in place and the kids were asking for more. So today we are creating a giant spider for your viewing pleasure—hopefully one worthy of crawling up your wall!
Disclosure: Some of the links provided are affiliate links. By purchasing through these links it supports this blog and the work we do and there is no extra cost to you. If you would like to read our full disclosure, click HERE.
This Spider craft was an impromptu idea. I woke up one morning with the idea, a couple pinterest inspo pics, and newfound enthusiasm. I surprised the kids after breakfast with the news. They love making crafts and I seized the opportunity to make my morning routine easier. It’s amazing how quickly they can clean, dress, and brush their teeth when they want to!
Off we went to Michael’s…
Step 1. Prepare -n- Gather
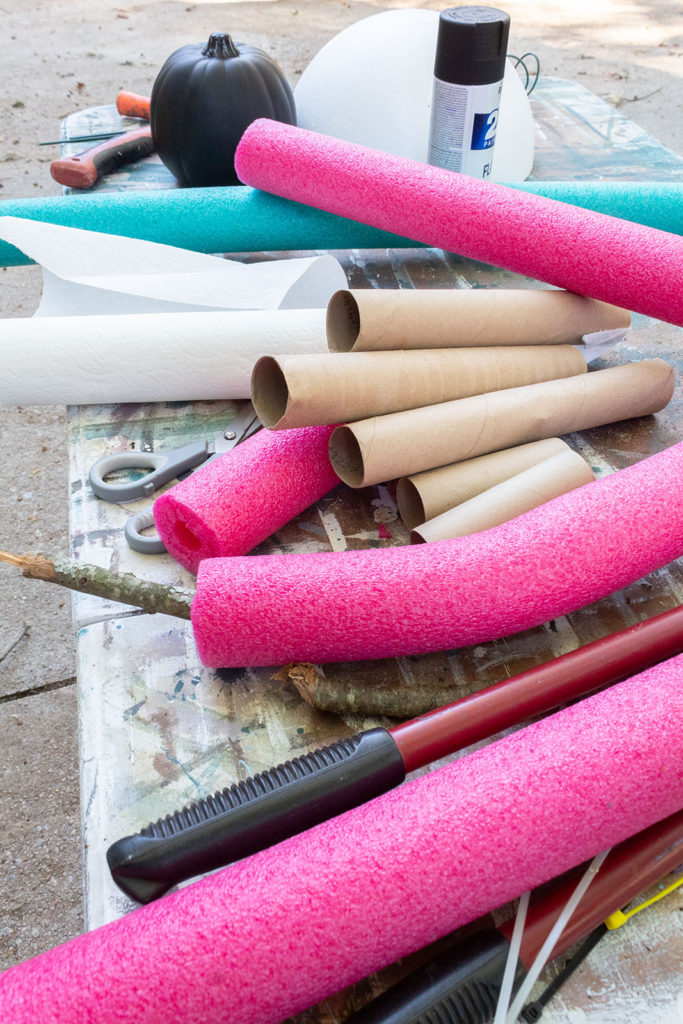
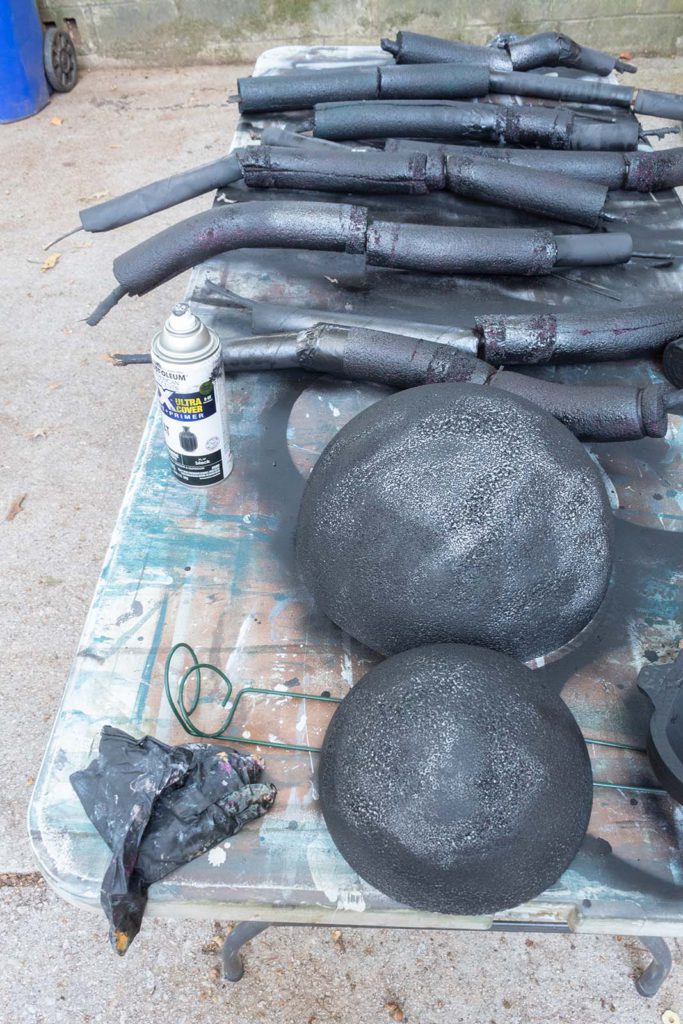
Gather all your materials. There are multiple ways you could achieve the look of a spider. I thought about a 3-part body using sphere shapes or ovals. Michael’s had hollow half circles which were ideal since I wanted the spider to go flat against the wall.
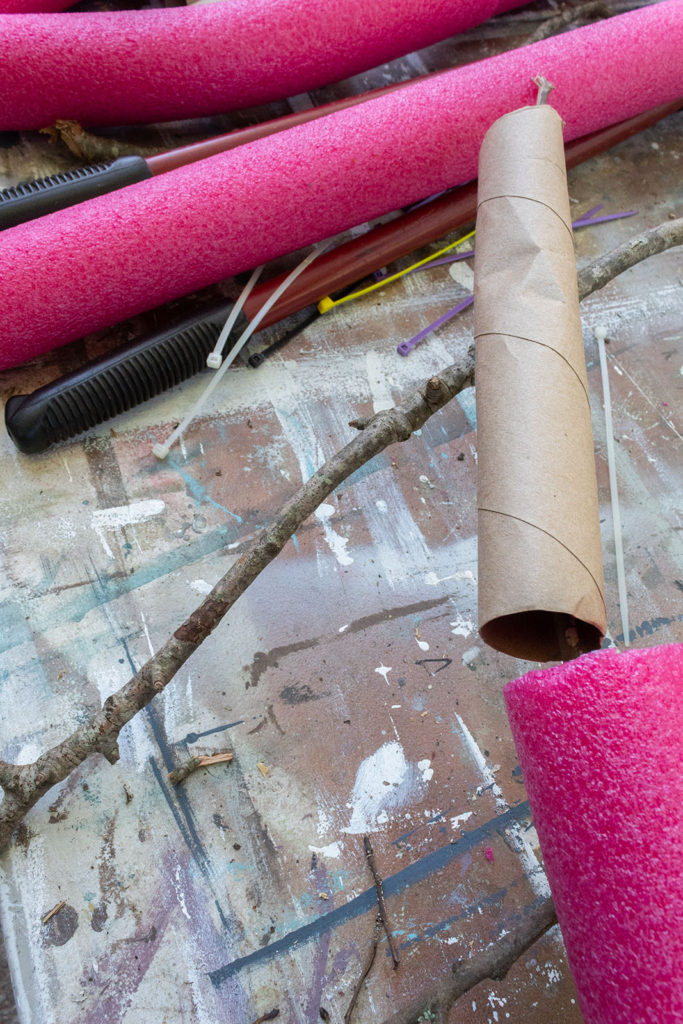
Pool noodles and twigs or tree branches is what came to mind for the legs, with occasional paper towel or toilet paper tubes.
For those arachnid experts out there, please don’t judge my non-anatomically correct spider!
Step 2. build the legs
Let me warn you the legs of the spider are no easy feat. This is where the bulk of your time will be spent. But it is also the part of the project that is the most fun to do with the kids.
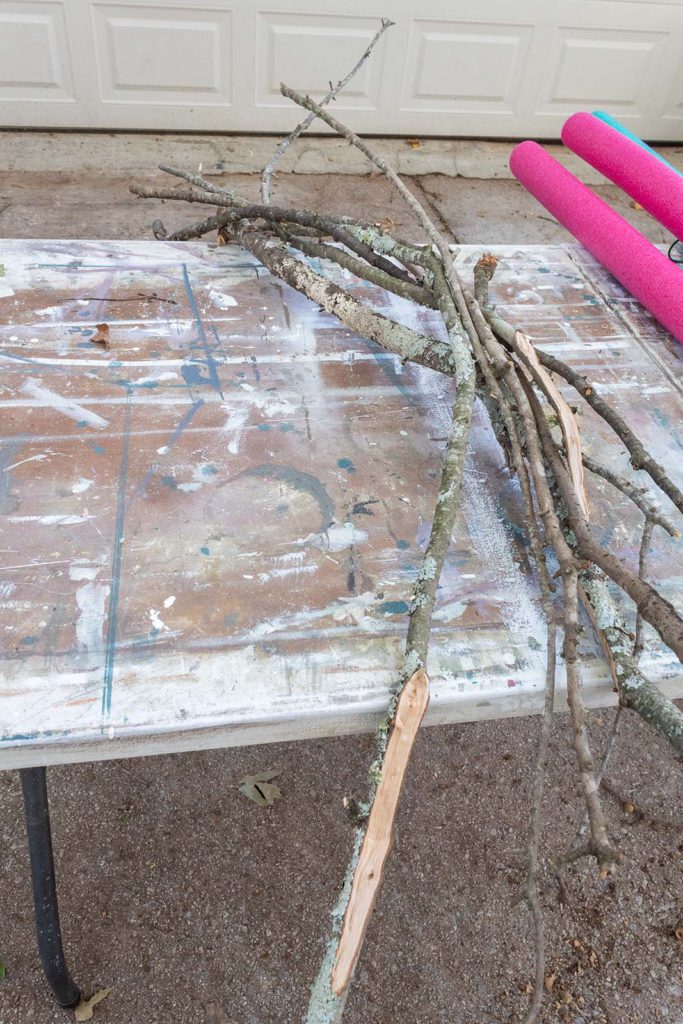
My kids had a blast hunting for just the right thickness and length of twigs in the yard. You can get really get creative with how your legs are going to look. Make sure you trim off as many nubs or side branches poking off of your twigs. This way your noodles can easily slide over or wrap around the twigs.
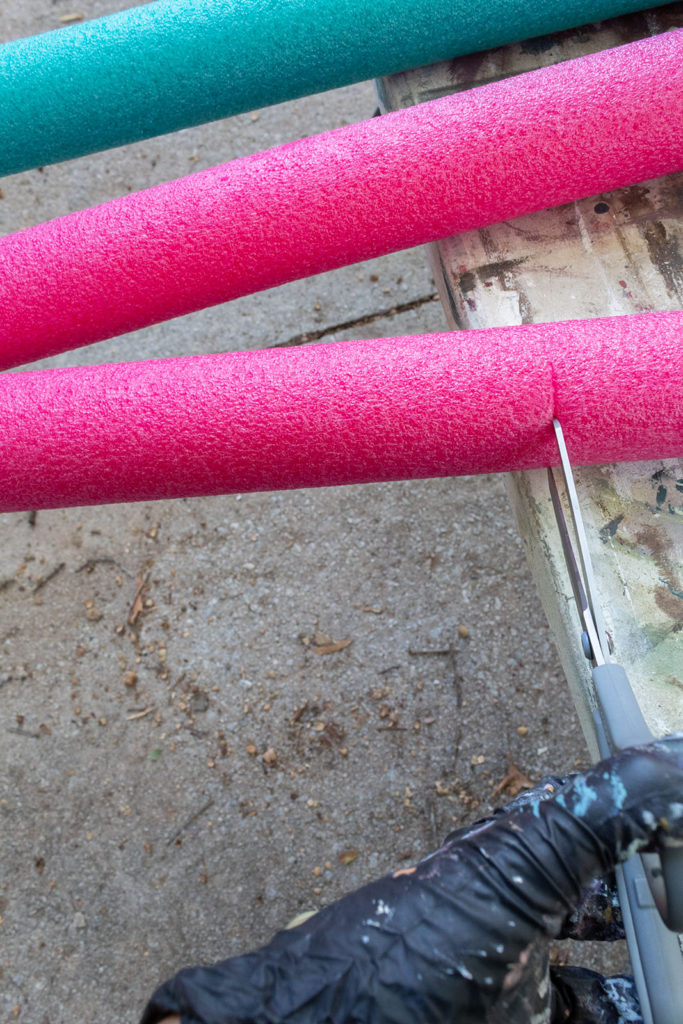
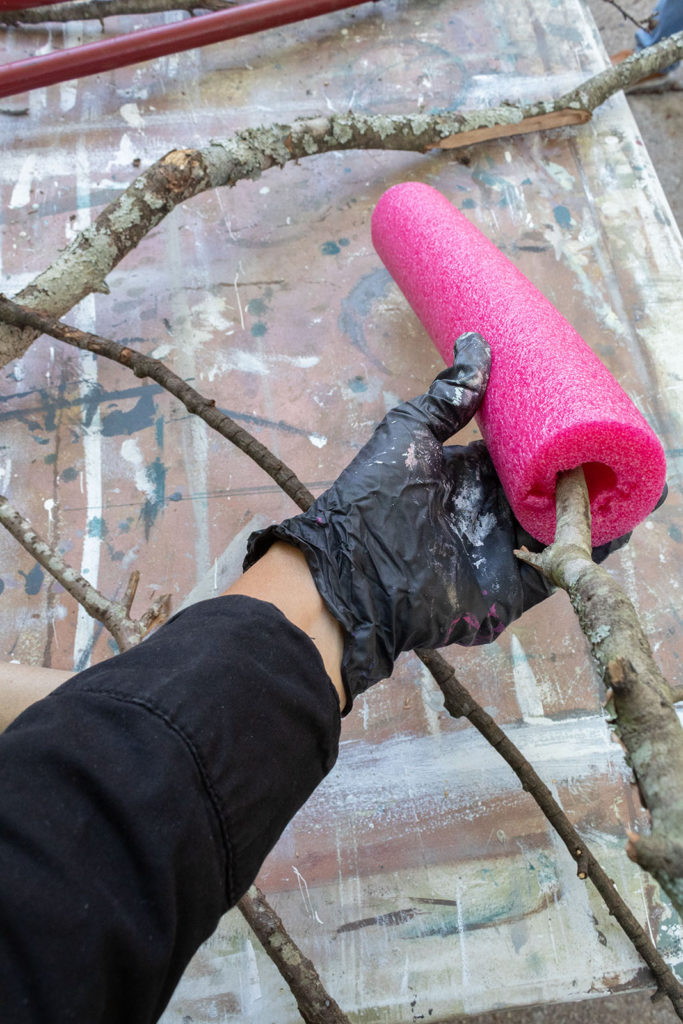
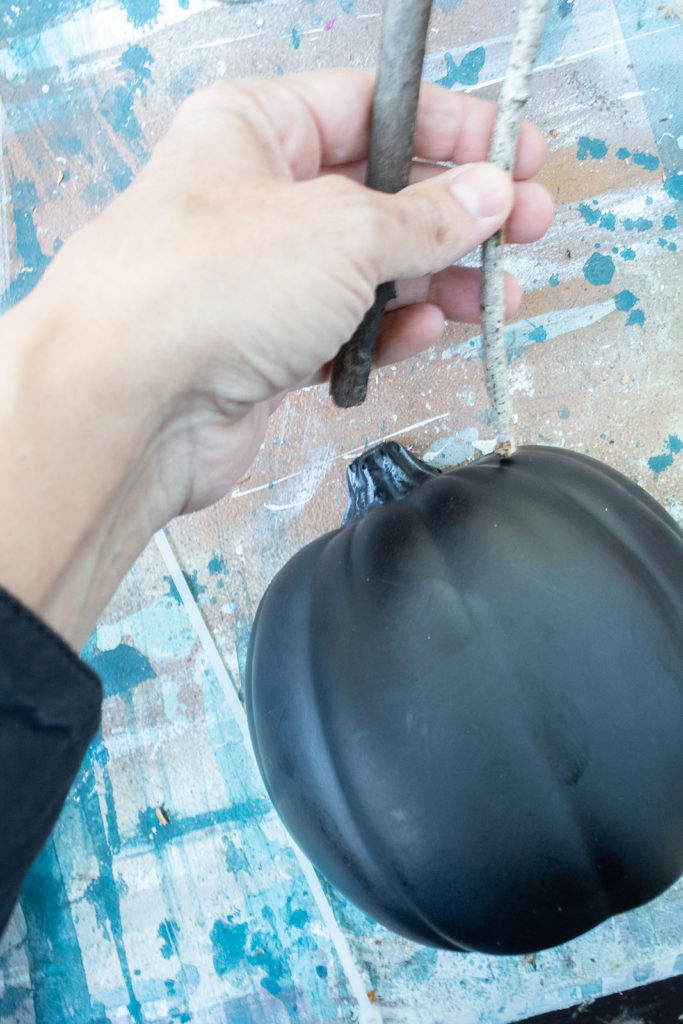
I cut our noodles in random lengths using scissors. I started sliding noodles over the first branch. Wherever it was hard to get over a nub, I would simply slice the noodle piece down the middle with scissors. Then I could easily wrap the noodle around the twig like in the picture below.
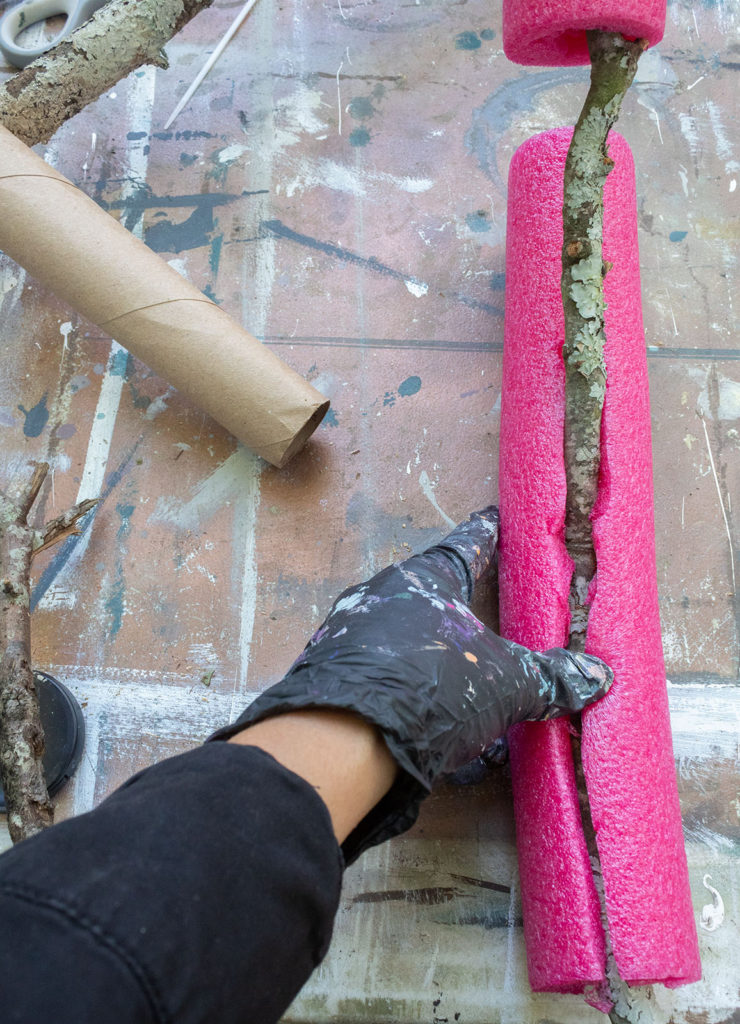
I worked my way down the branch with pieces of pool noodles. I would leave room at the beginning for a toilet or paper towel tube. This would give the appearance of the part of the leg closest to the foot (?) a little thinner. Since the tubes are thinner than the noodles, I thought it would help in creating different dimensions.
I left 3-4 inches of twig exposed for the feet. I also left 1.5-2″ of twig exposed on the opposite end. This is very important to do as you will use this twig part to insert the leg into the body of the spider.
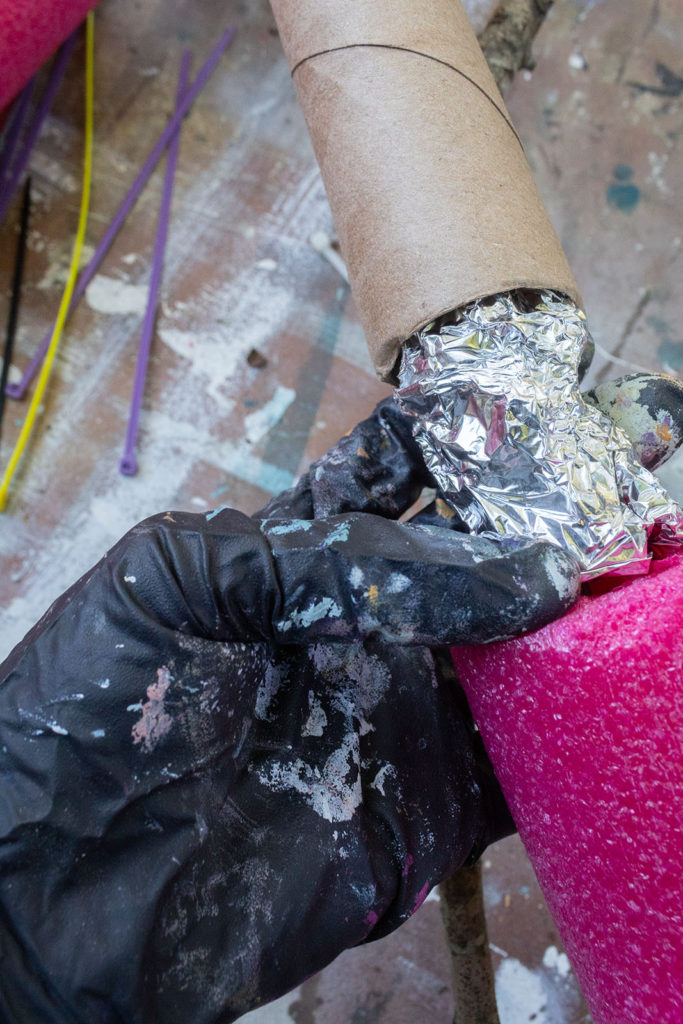
I wrapped aluminum foil around the branch at the seam between a paper towel tube and a noodle. Then I slid the tube over the foil to hold it in place. Since the tube had a bigger opening, the foil helped to create something more elevated for the tube to grasp onto.
You’ll notice the completed legs in the next picture with taped segments. I initially used tape to try to create a look of “nubby joints” in the legs. But later when I painted the legs, the wrinkled parts of the tape did not add spider appeal. It looked more like crinkled plastic. I wasn’t loving the look, so I removed the tape.
Step 3. Paint the Legs
I first spray painted all the parts of the spider black. I later touched up any white areas.
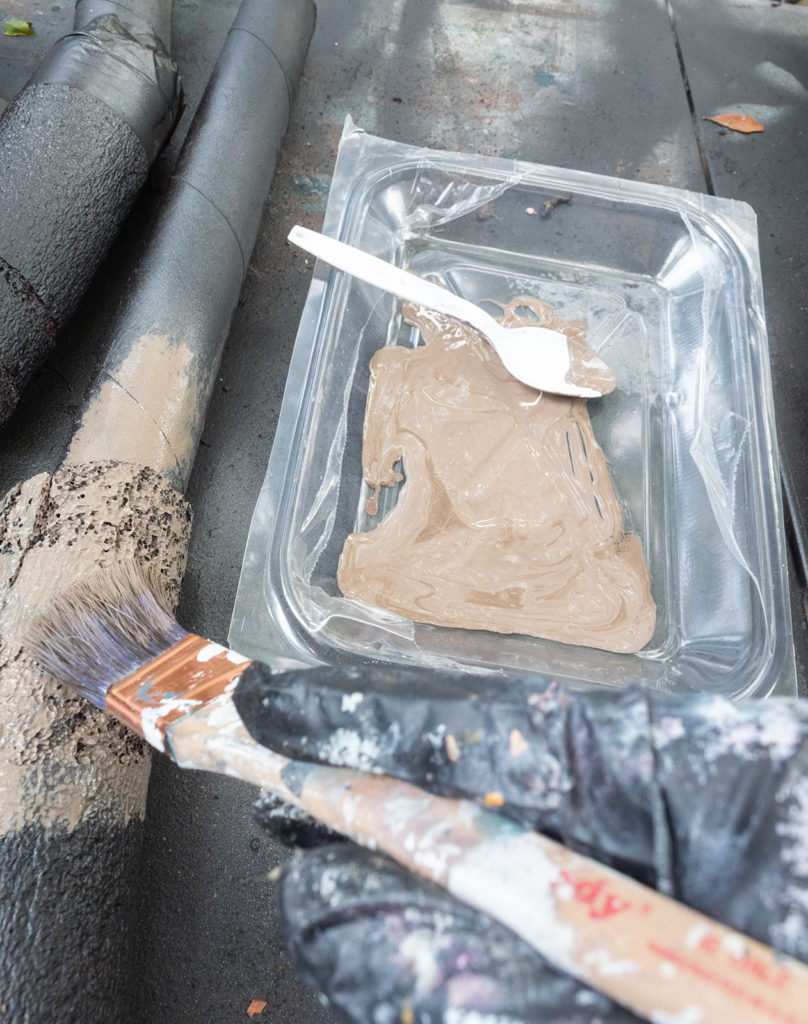
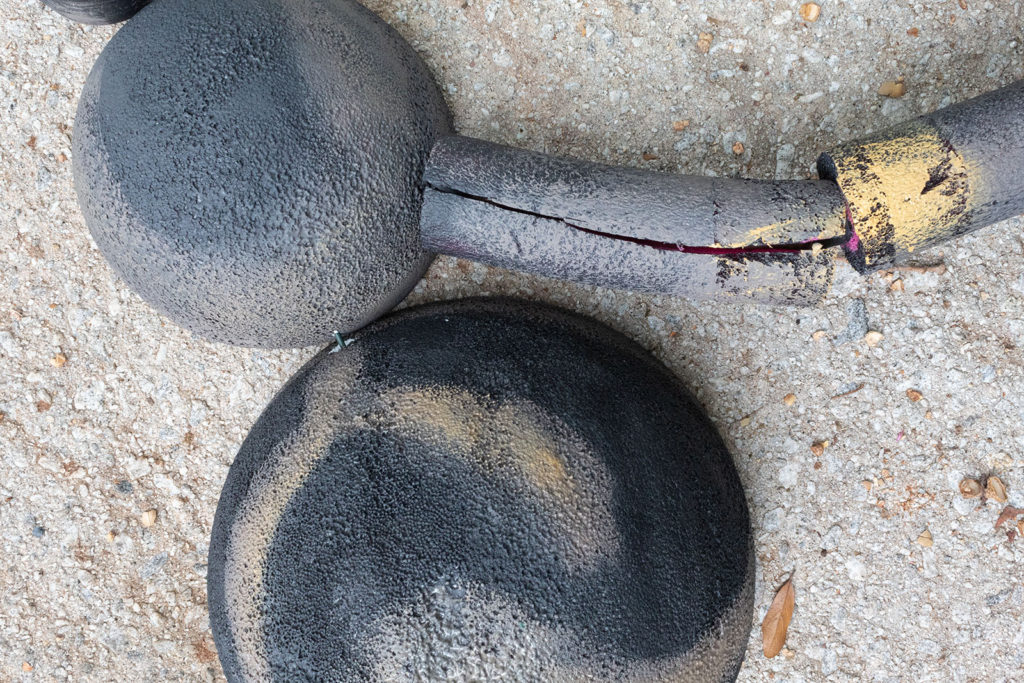
Next I added light brown paint to the majority of the legs, leaving a few black parts visible.
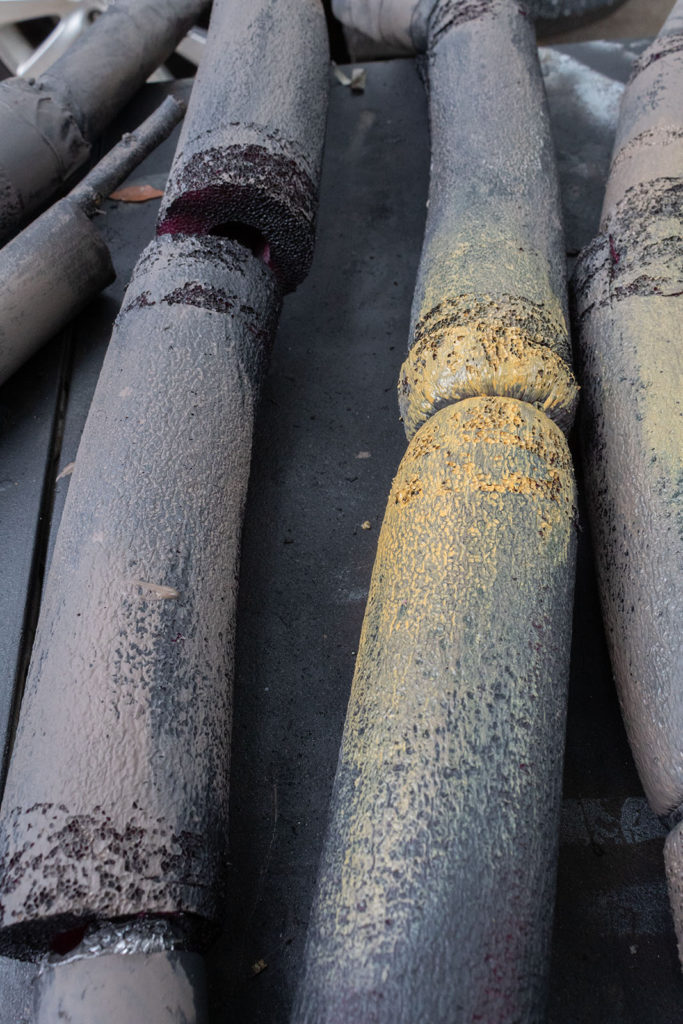
Finally, I applied some yellowish-orange paint to the joint sections of the legs to give them additional character.
I painted some patterns over the circles of the body of the spider. You can get creative with this part. Maybe look for ideas from internet pictures of spiders.
Step 4. Assemble Your Spider
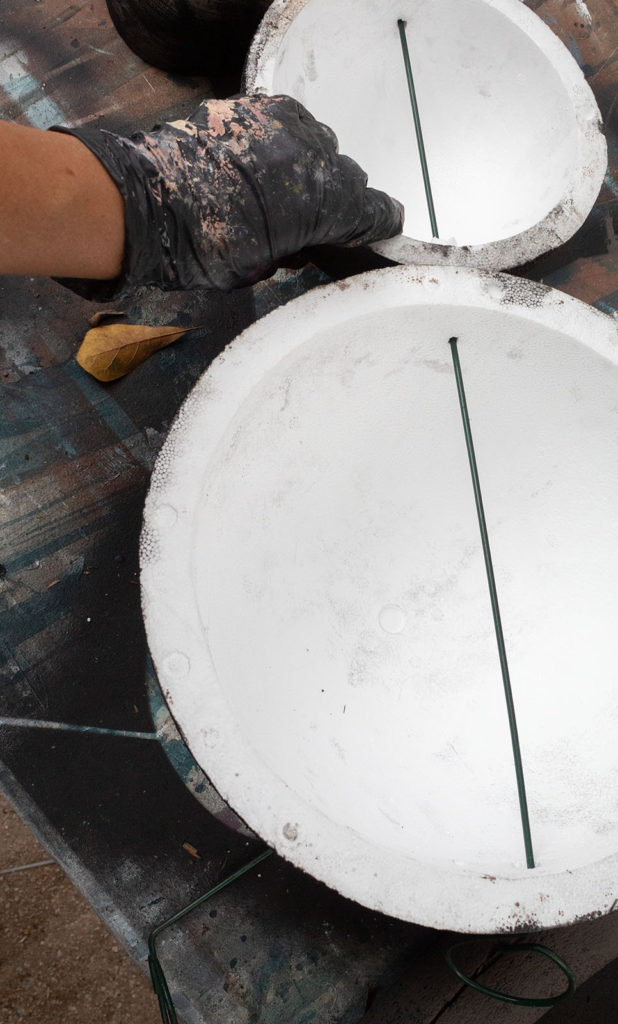
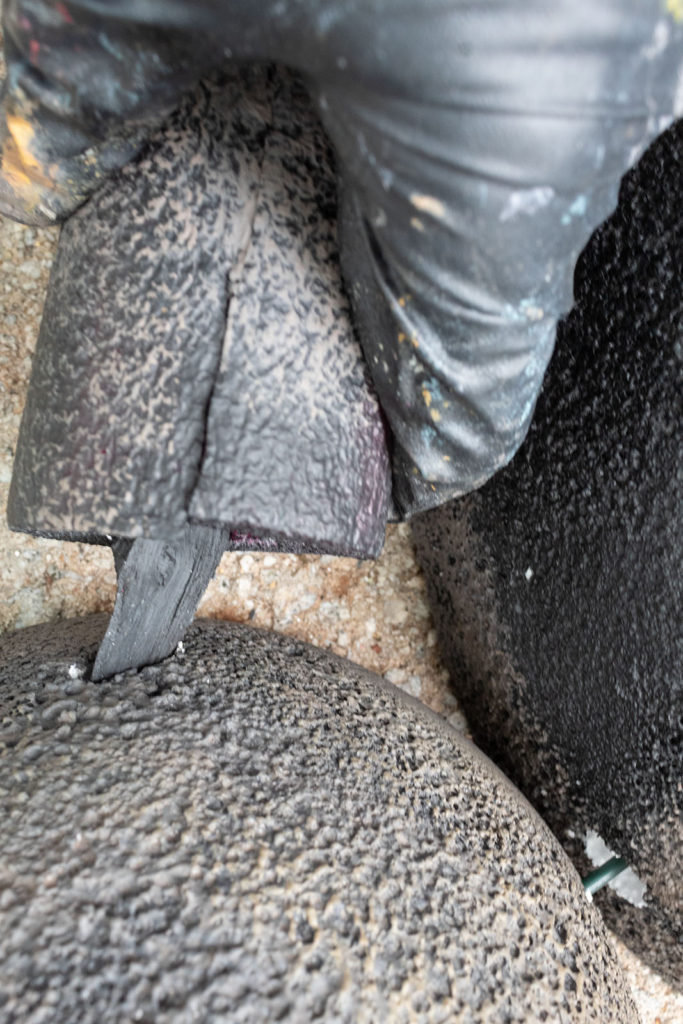
To assemble the body of the spider, I first punctured the bottom of the spider, the biggest circle, with the garden stake. I positioned the stake in the center of what would be the rear of the spider. Then I slid it through until it poked out the other end.
Next I secured the 6 inch circle to the 12 inch circle by continuing to pierce the stake through the 6 inch circle.
Finally, I did the same with the head of the spider. The stake was long enough to make it through all 3 pieces.
Fair warning that this is a makeshift spider invented by me that in many ways may fall apart and require a few tinkering attempts! This arrangement worked for our easy, quick and fun craft, but if you’re concerned with the solidity of the product, you may need to come up with more advanced engineering tactics!
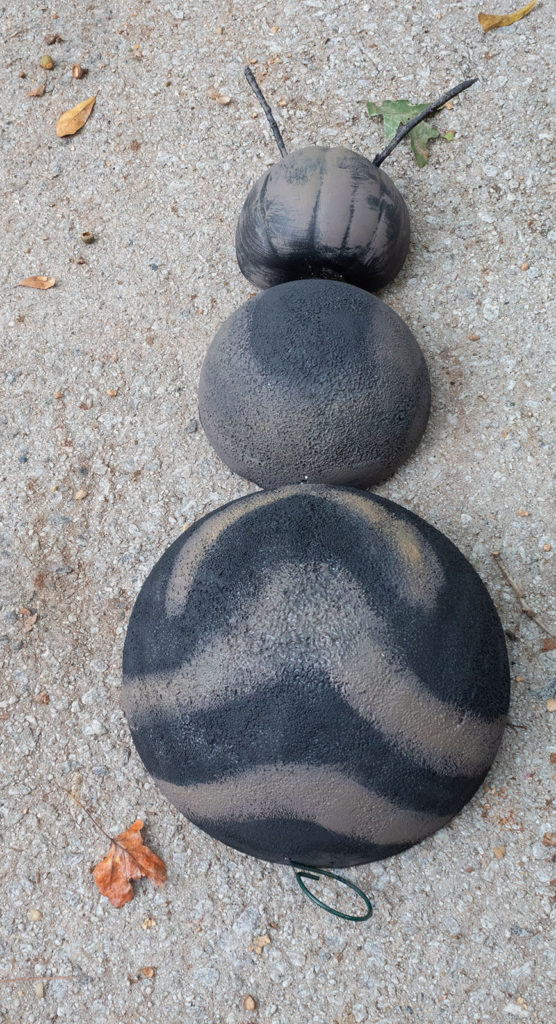
I inserted a couple of small twigs into the pumpkin head for antennae effect. Only to later learn from dear Mr. Google that spiders don’t in fact have antennae. Since the spider was already up and hanging at this point, it was decided that the antennae would remain, possibly inspiring a new breed of arachnids!
The next picture shows our spider looking more like the offspring of a butterfly and a lady bug…but I’m still holding faith that the legs will make all the difference in giving the so called spider some well-deserved dignity.
Remember how I mentioned leaving about 2 inches of branch visible at one end of the leg? Those parts of the branch is what I used to attach into the middle circle of the body. I pushed these into the styrofoam and wiggled them into place.
This is the first leg. You can adjust the noodles and tubes after you attach all the legs so that the cut parts of the noodles are facing down.
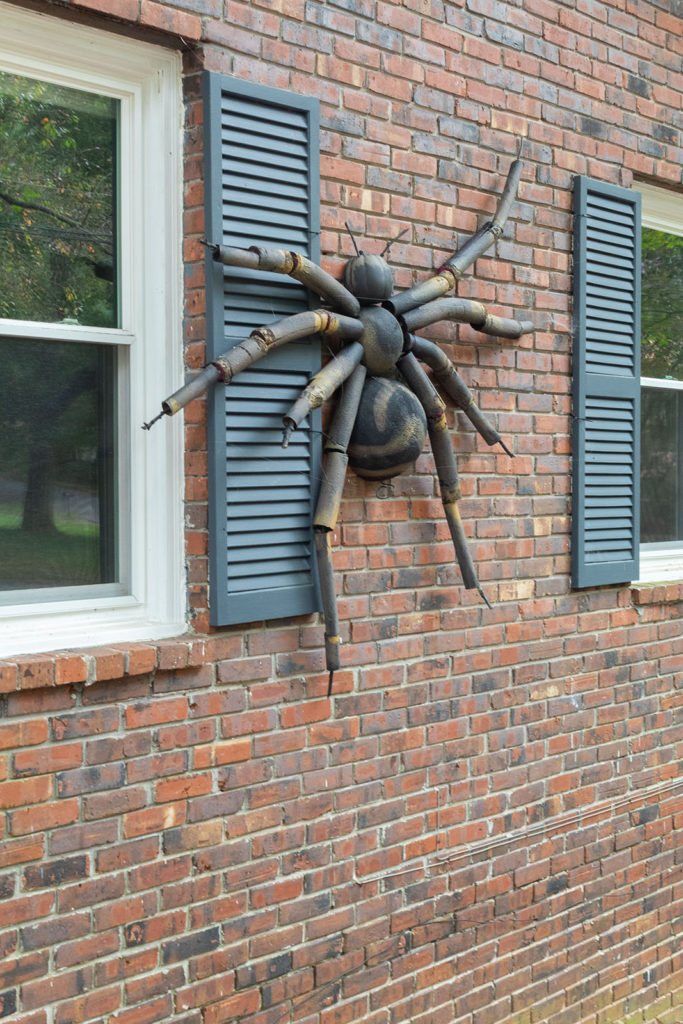
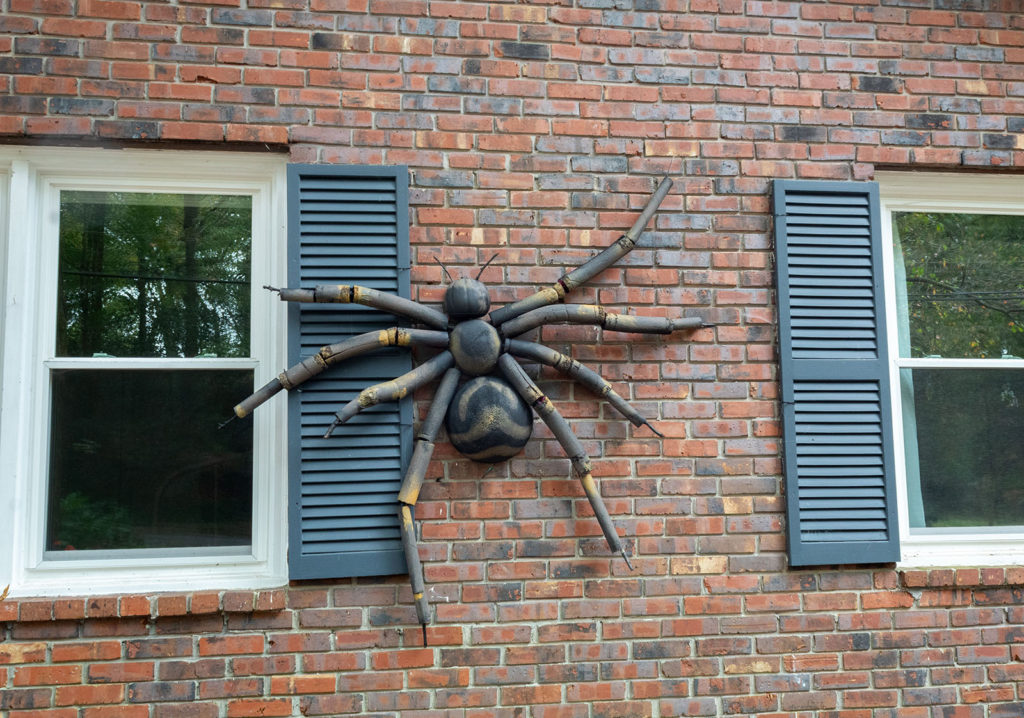
I enlisted my husband for the hanging task. He used fishing to minimize visibility and to give the illusion of the spider crawling up the house.
The whole family is enjoying the spider on the house this Halloween season. Especially when we observe it from the street, it looks rather cool.
I hope you enjoyed this tutorial and I’d love to hear what Halloween decor your mustering up in your home this year!