Sweet friends, today I’m sharing a furniture renovation technique that never goes out of style! Who doesn’t love a beautifully distressed look? Well, maybe it’s not for everyone, but I simply cannot resist the relaxed and inviting feel of a piece rich in aged character. It makes me dream of cozy cottages and European decor.
Today I’m going to show you how to distress a furniture piece in one of the most simple ways. We are going down to the basics and I’m going to walk you through each step needed to create a gorgeous and durable finish. Let’s get started!
Disclosure: Some of the links provided are affiliate links. By purchasing through these links you are supporting this family blog and the work we do and there is no extra cost to you. If you would like to read our full disclosure, click HERE.
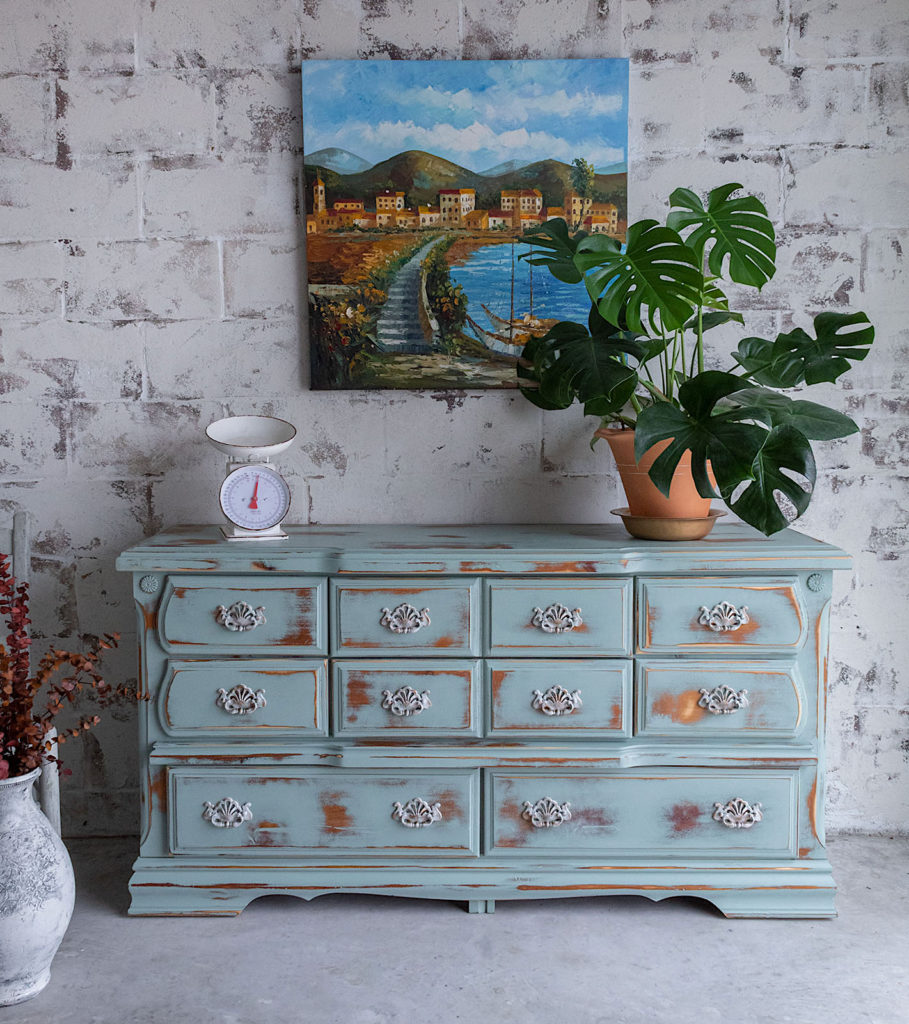
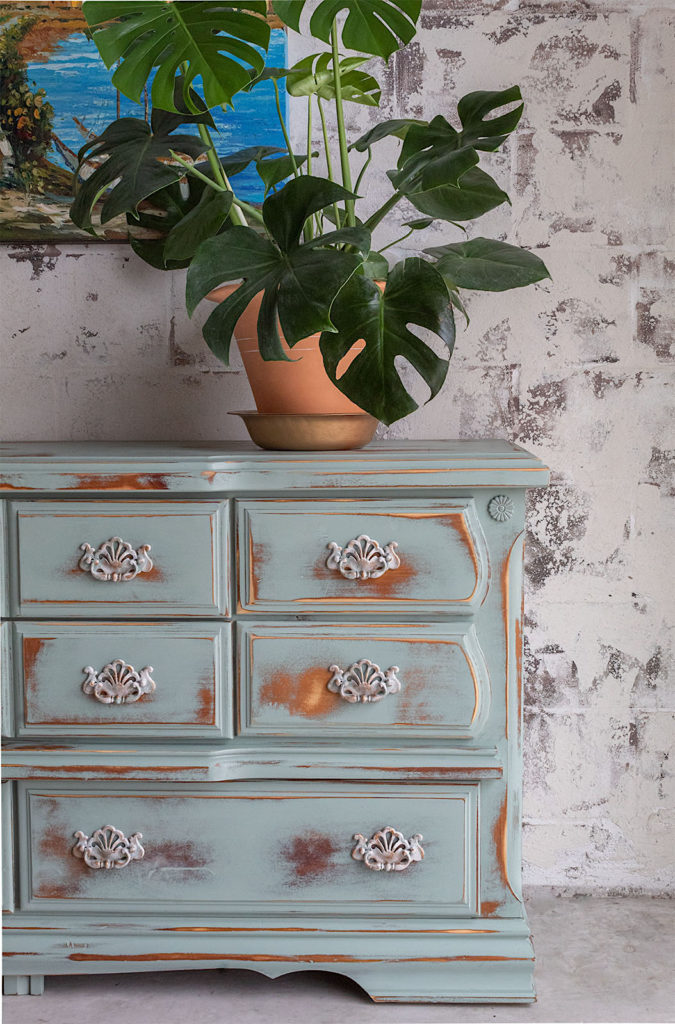
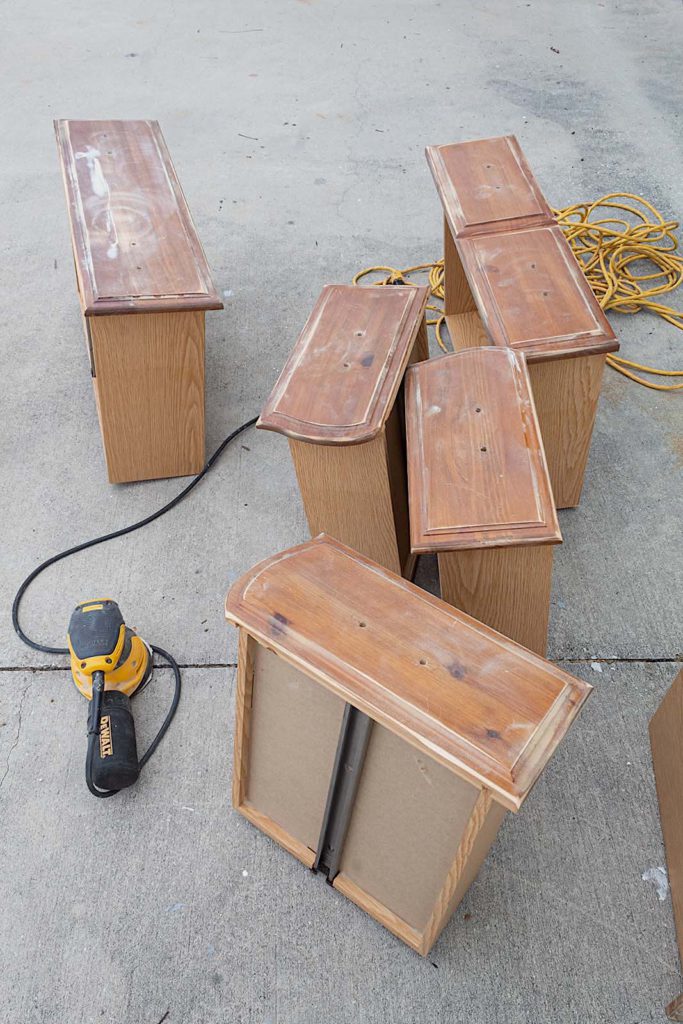
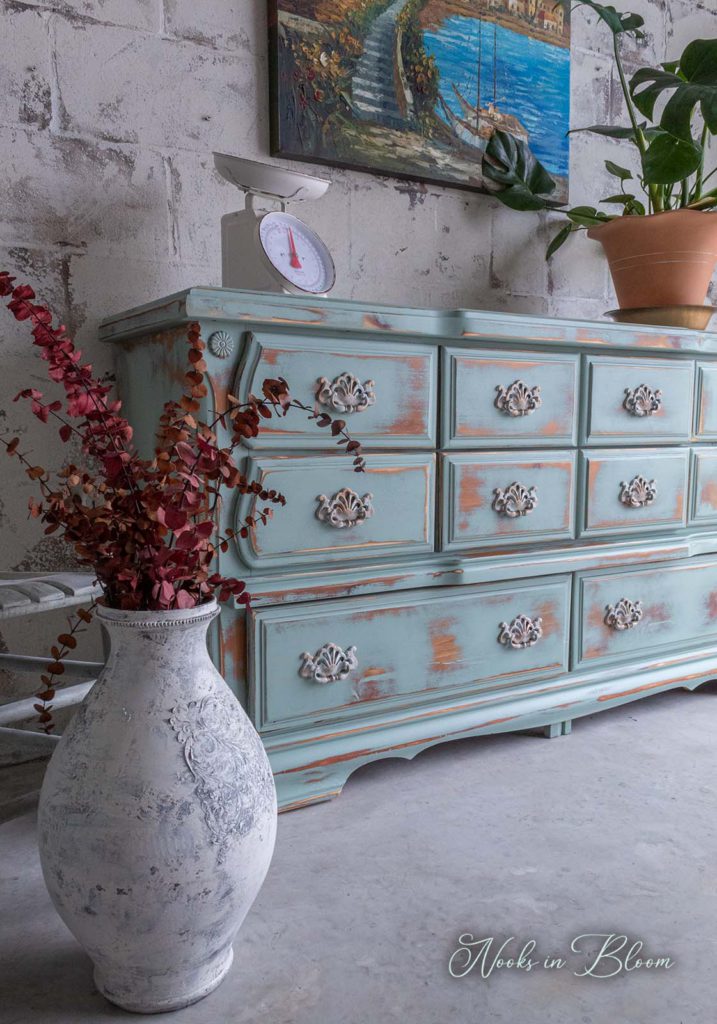
This curbside pickup needed quite a bit of TLC. And it was rather orange. But I knew I could work with the color of the wood. I envisioned a distressed, farmhouse feel for this dresser.
There are many ways to achieve a distressed or worn look on a furniture piece. You can distress through paint layering like I share in my Secrets To My Best Selling Look post. In my French-Inspired Chairs Makeover I use a wet-distressing technique. Cracked Patina leaves a gorgeous, distressed finish. And the list goes on. But today we are simply sanding to distress.
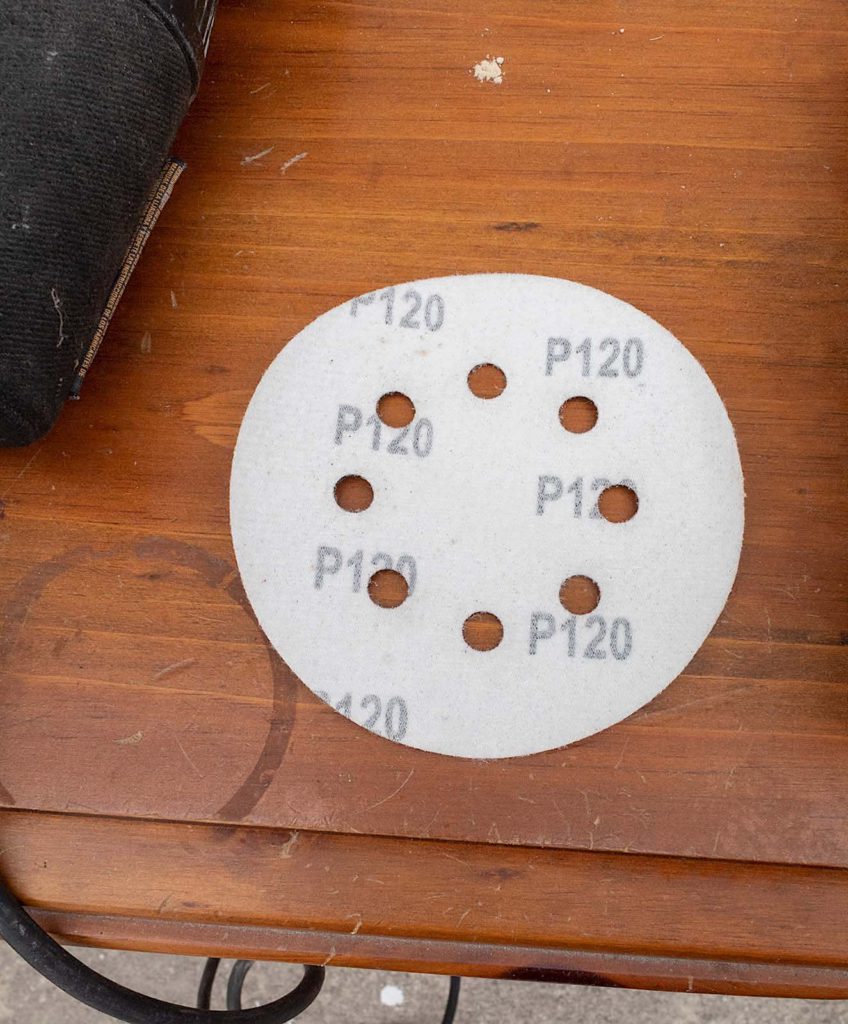
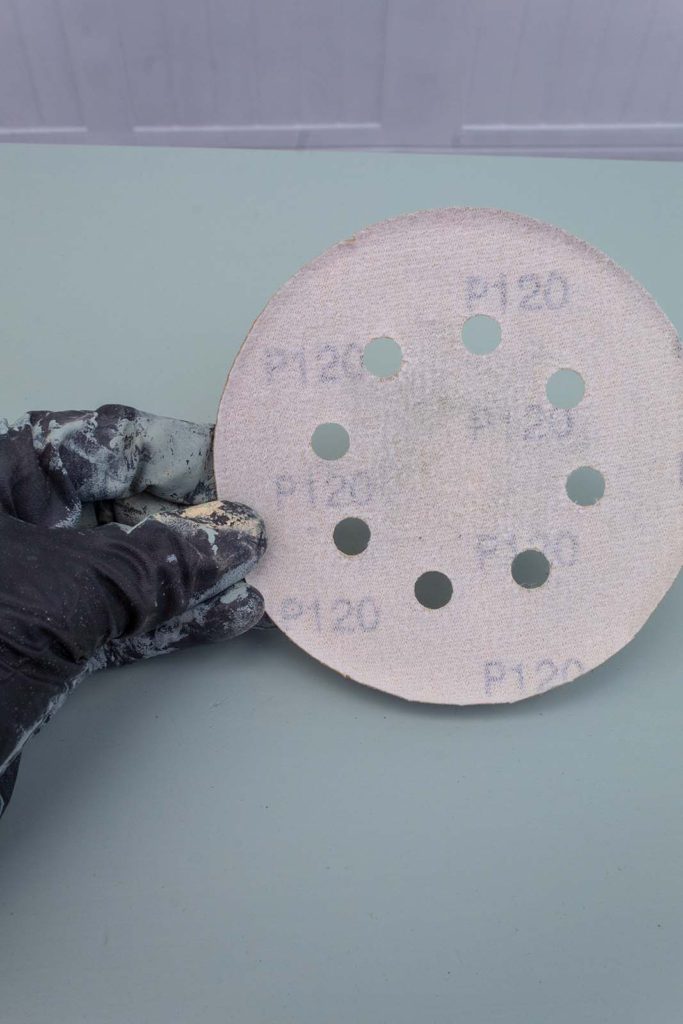
1. Sand and Prep
To begin I use my orbital sander and 120 grit sandpaper to give the entire piece a rough sanding. This step is quick and easy. Don’t spend a lot of time on this step. We’re just giving the paint a little extra grit and knocking off any debris.
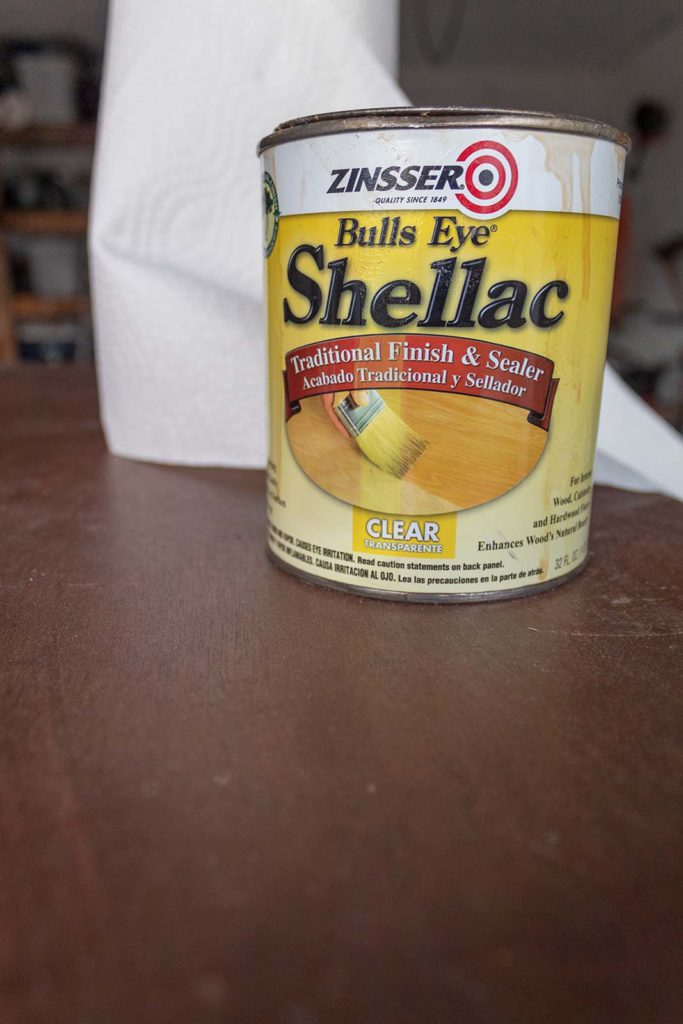
Step 2. Prime
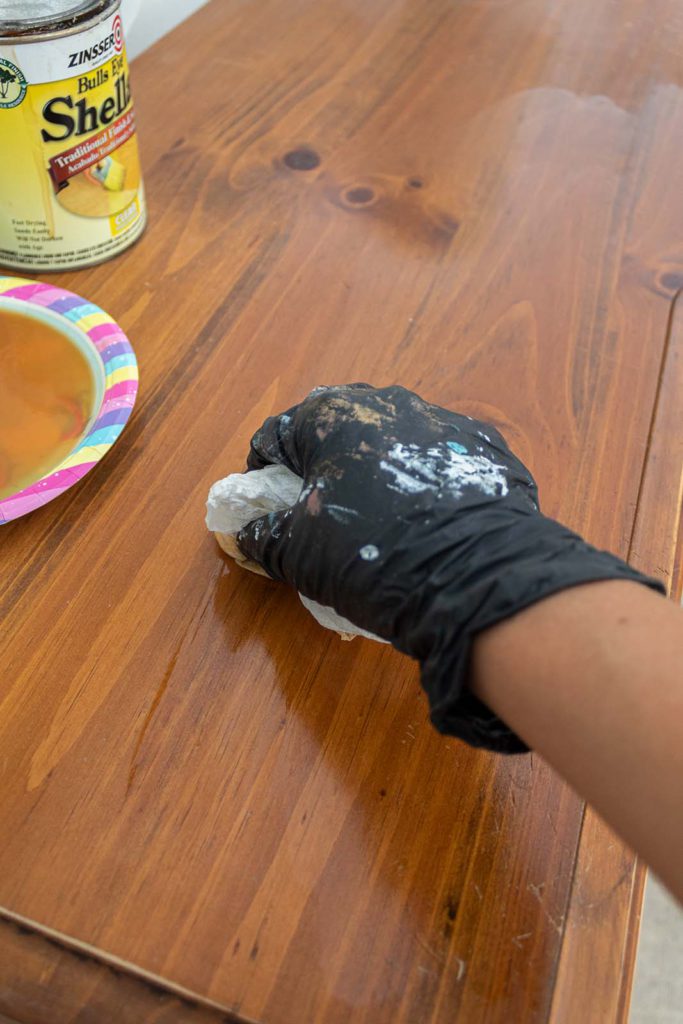
Today I’m going to use Shellac as my primer. I could use paint primer but since I want the wood color as part of my aesthetic, I don’t want to paint over it.
Shellac is great for priming and preventing wood bleed through. It is a chemical product so I recommend using a proper respirator maskwhenever working with products containing chemicals. To apply I simply wipe the Shellac on with paper towel.
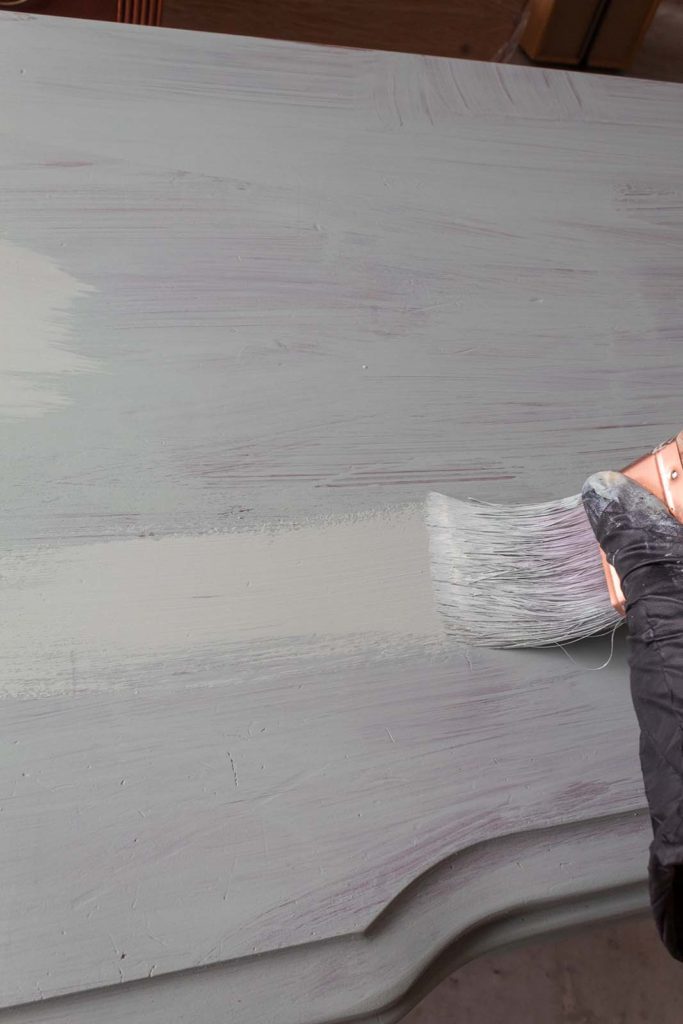
Step 3. Paint
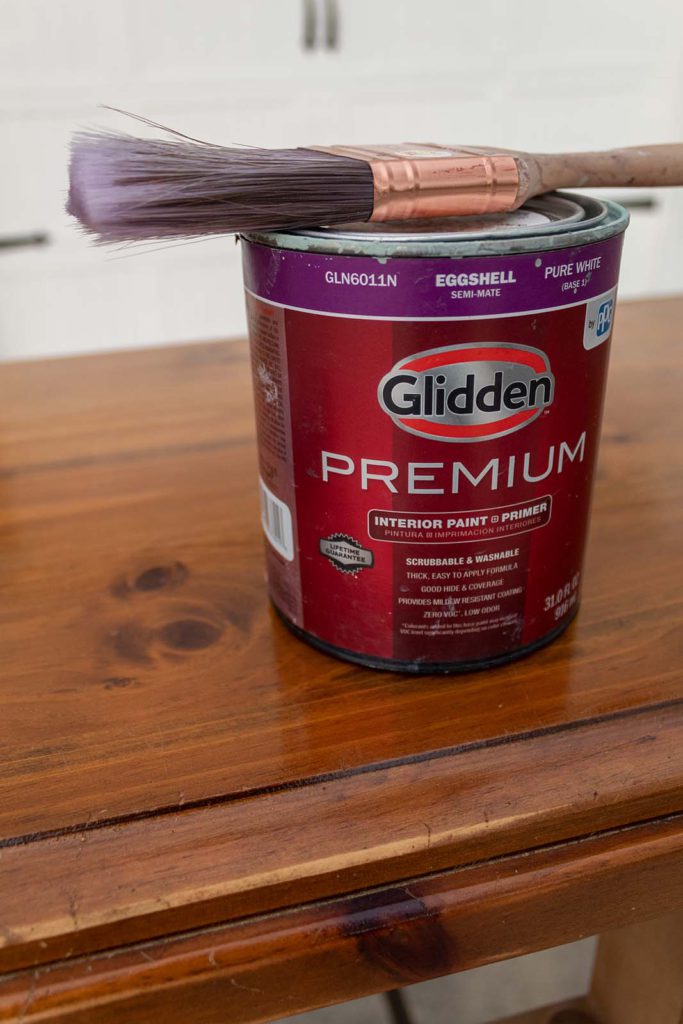
I chose Behr’s Green Balsam for my paint color. I love how mint greens, grays and whites look with a distressed look. If you’ve been following me for a while you may know I like to make my own chalk paint. I use this recipe which always leaves my paint wonderfully chalked. Making your own chalk paint has many advantages. I like that it saves me money and my paint goes a long, long way.
Using my purdy brush, which by the way is my favorite brand for working with chalk paint, I begin applying my first coat of paint. I use my misting spray bottle to keep the paint moving. Chalk paint dries quickly especially if you’re working outdoors. Keeping your paint slightly moist with a fine mister gives you a smooth coverage and reduces the amount of paint you use.
I let the Shellac dry about an hour. The Shellac does such a wonderful job of sealing the wood that you should not see any bleed through whatsoever once you begin painting.
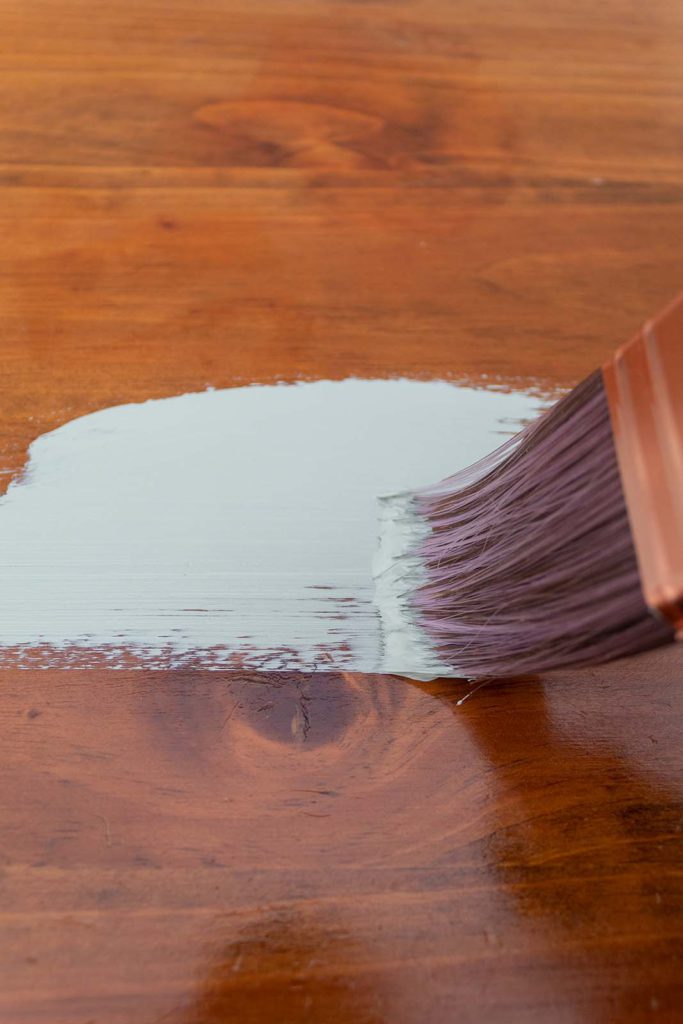
The first coat will be a bit blotchy (see below) but not to worry. The second coat will even things out.
Once the first coat is dry, (it shouldn’t even need an hour to dry if you have good ventilation), you can begin applying your second coat.
As I begin applying my second coat, I notice the minty paint glides across the furniture like silk. These are satisfying moments in the renovation process!
"Art enables us to find ourselves and lose ourselves at the same time".
~Thomas Merton
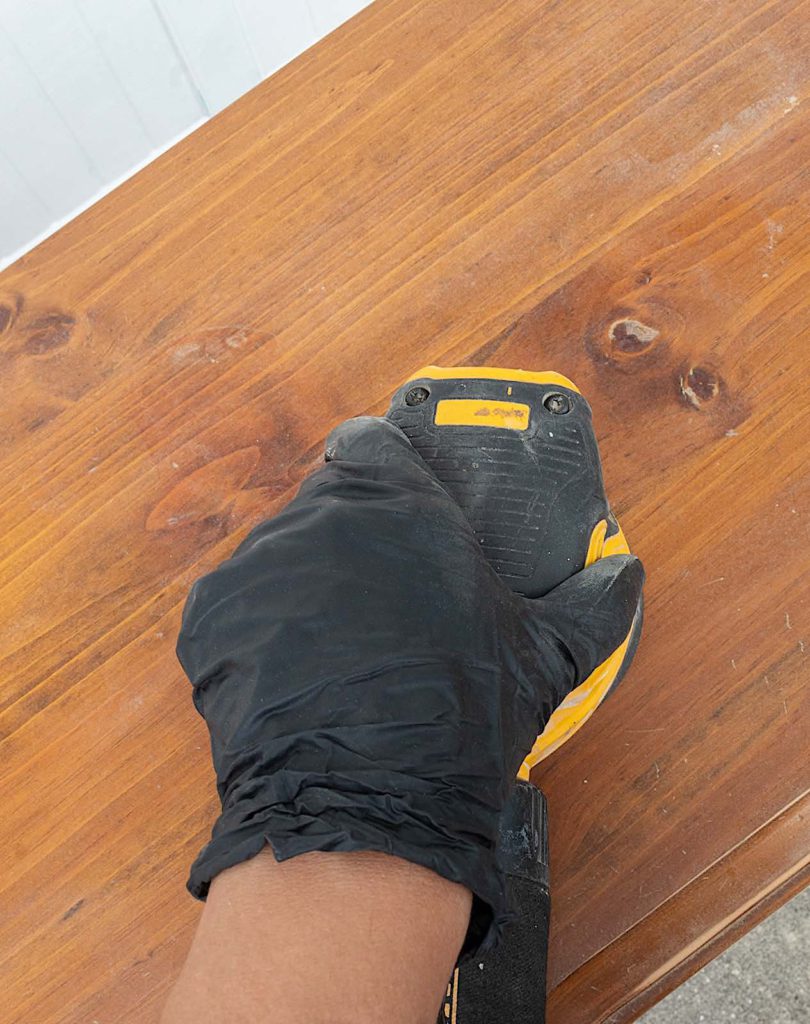
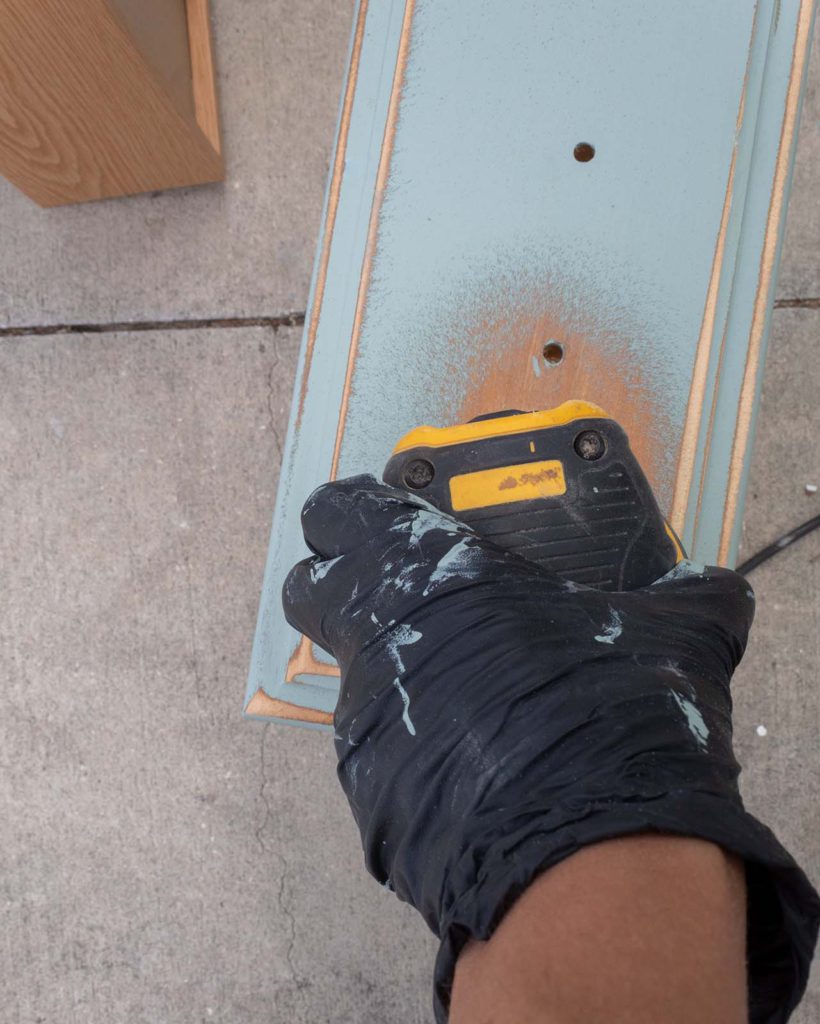
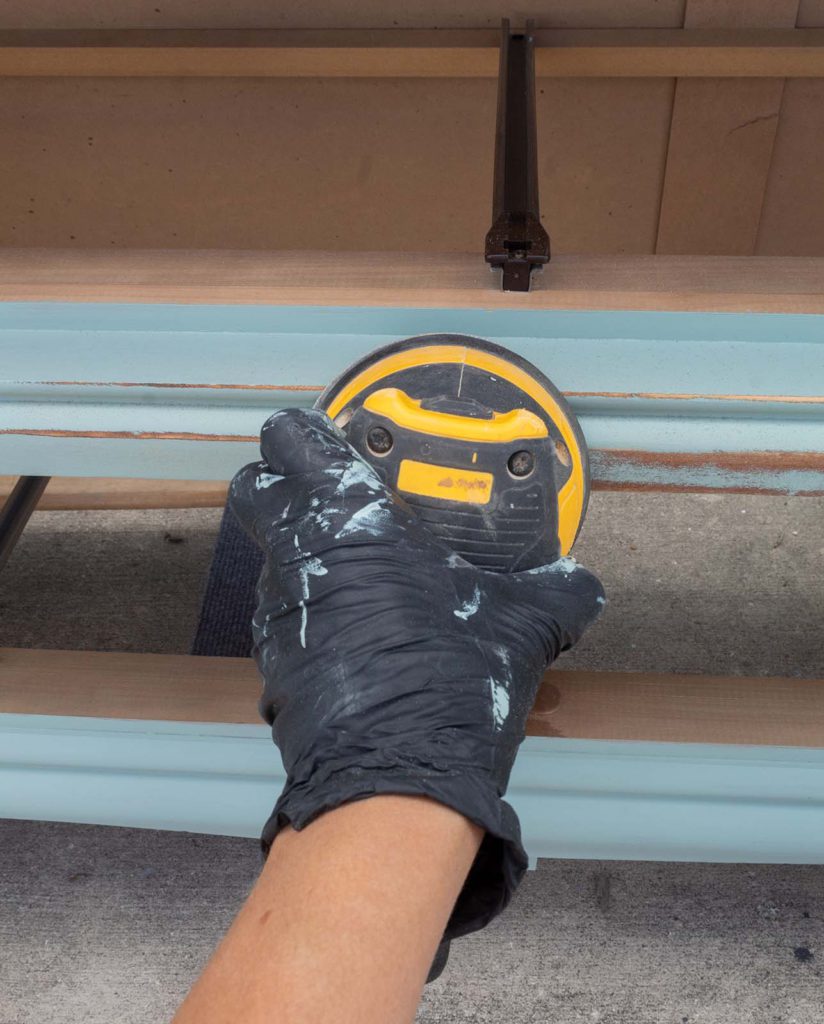
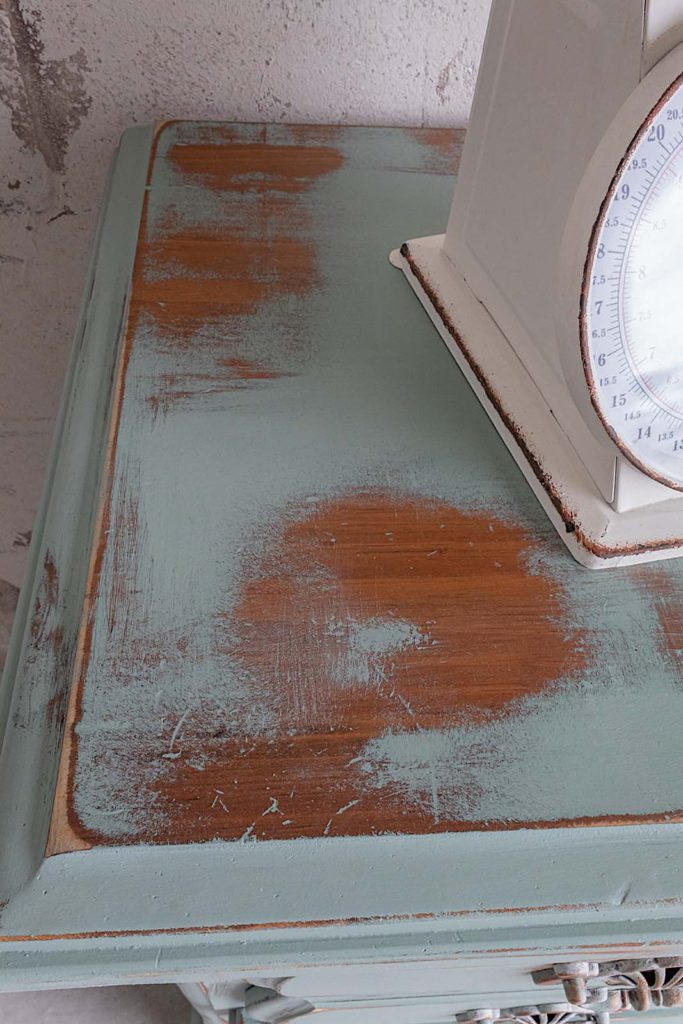
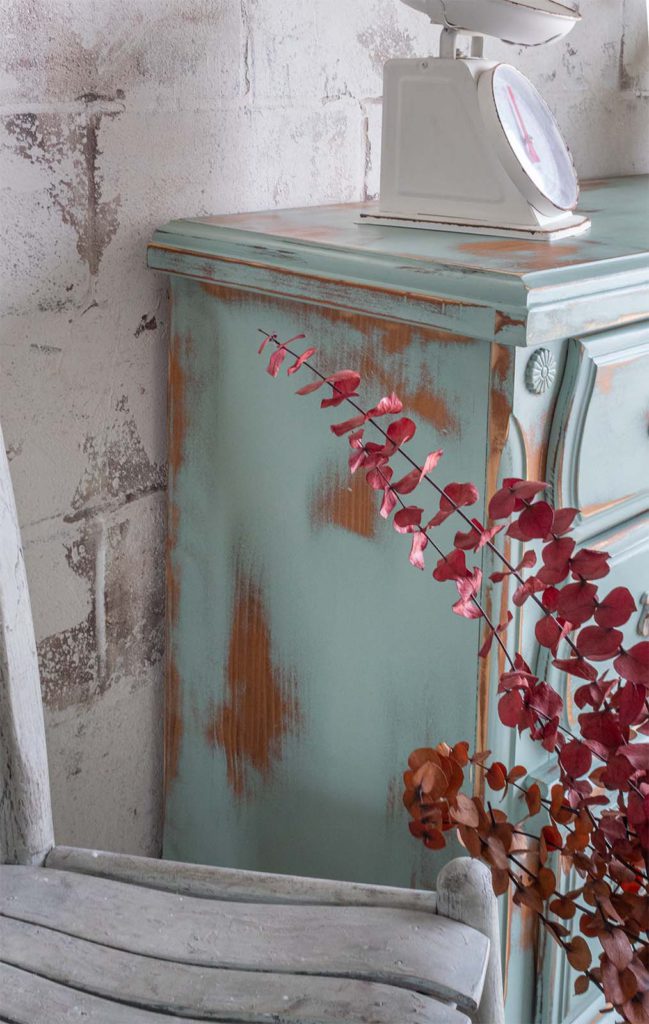
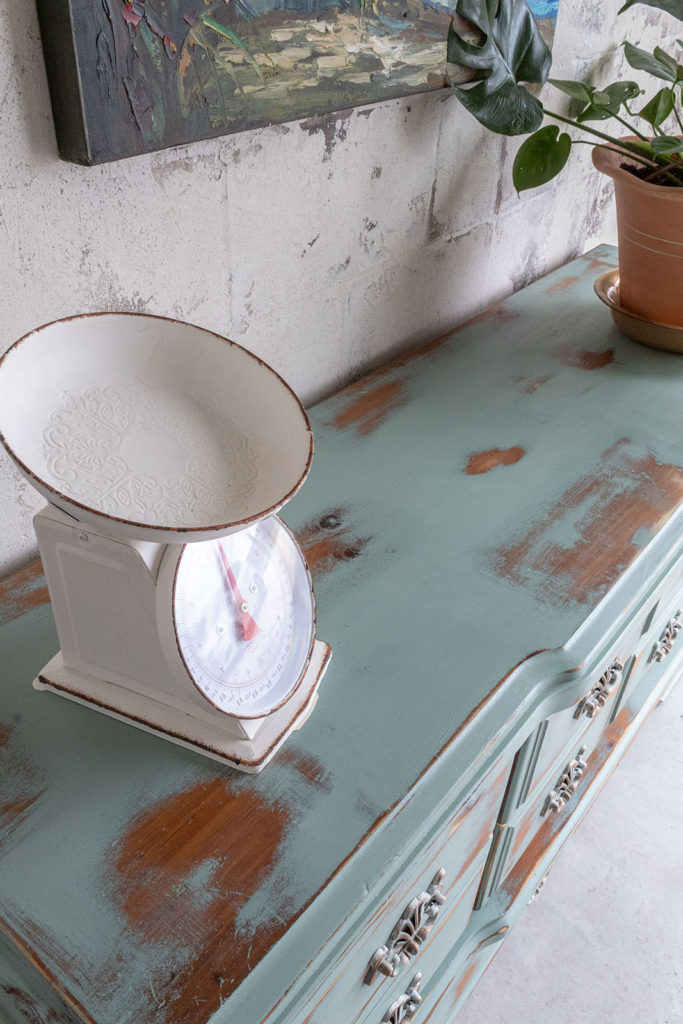
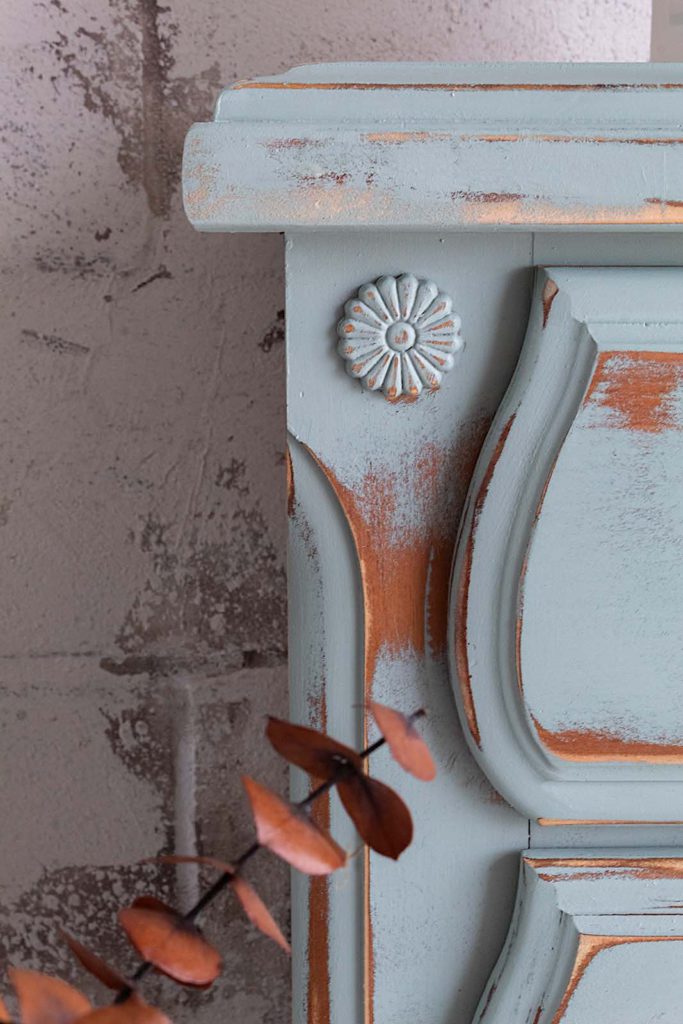
Step 4. Distress
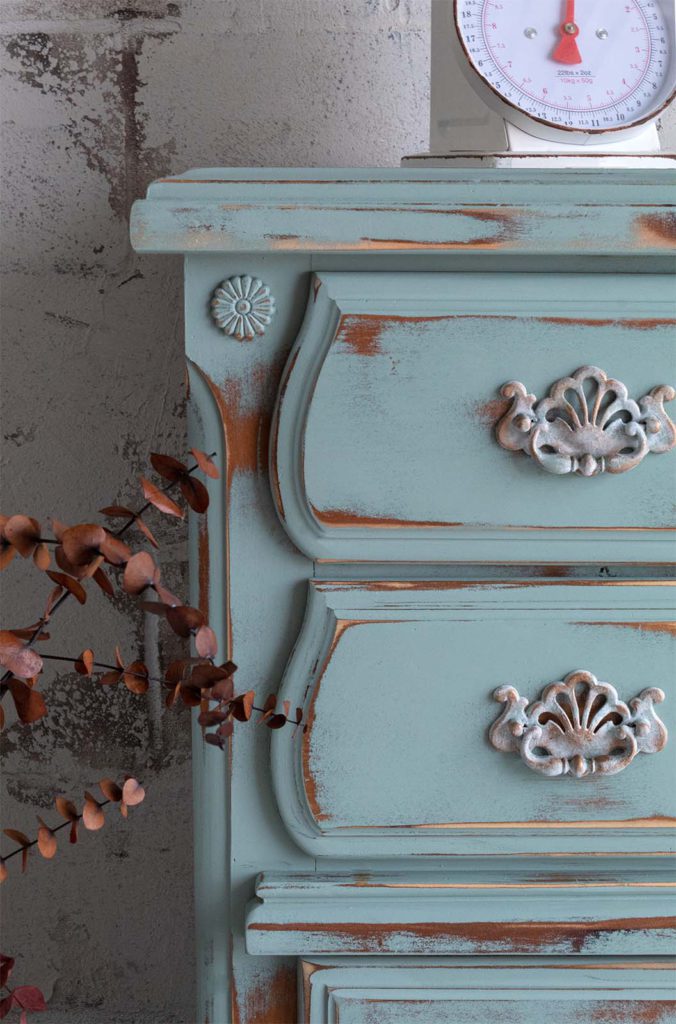
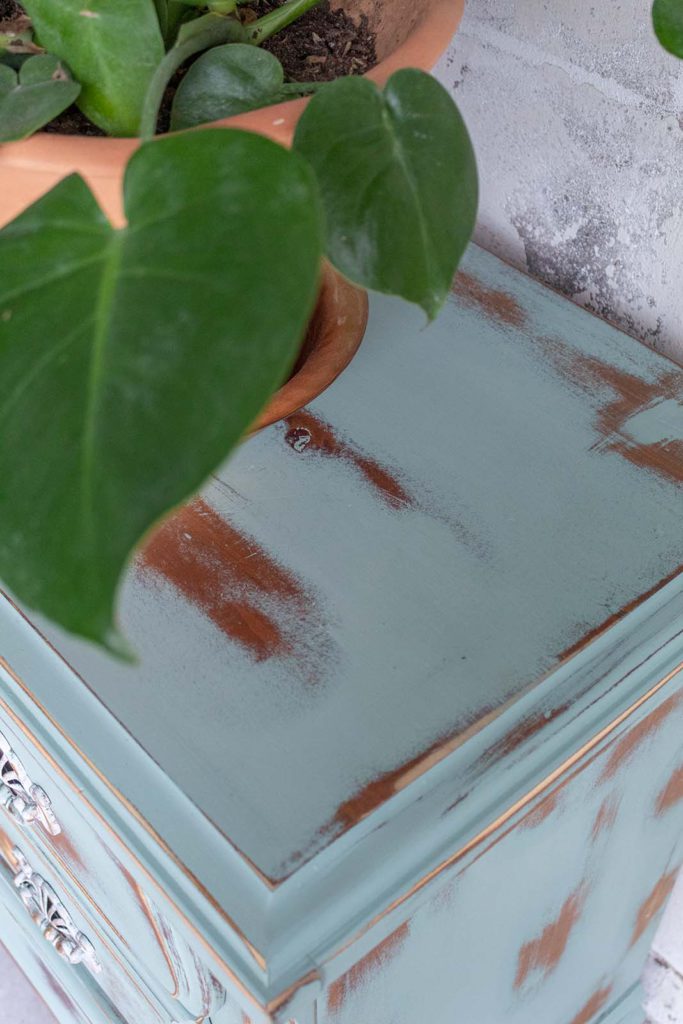
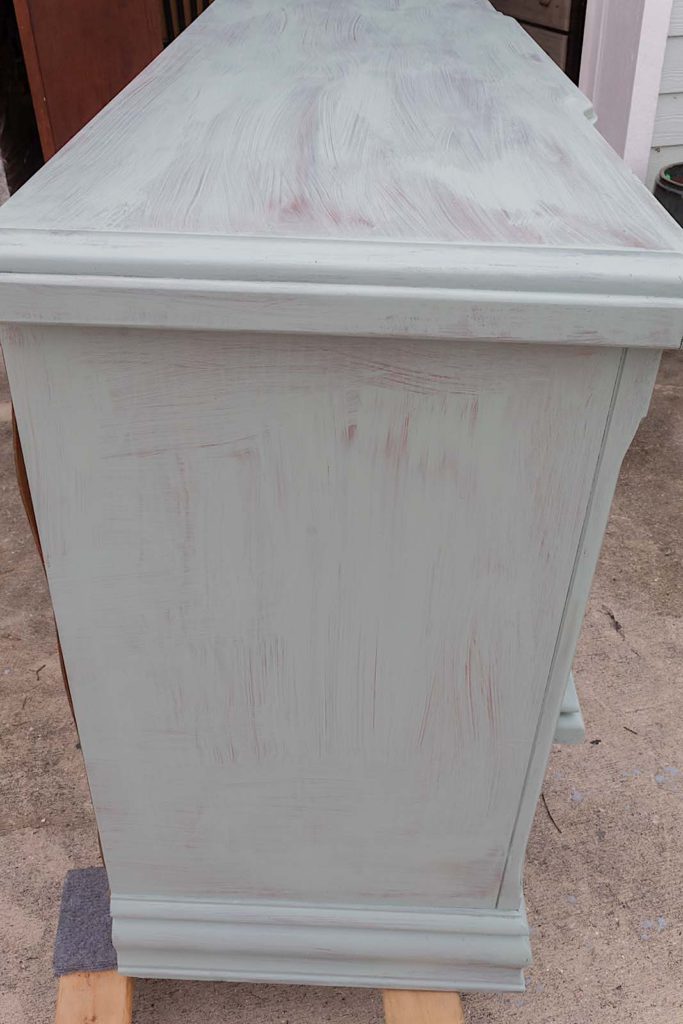
Once our second coat of paint is dry, we can begin distressing. This is my favorite part of the renovation. I so enjoy seeing the piece take on character and transform into an artistic, weathered beauty.
For starters, I would recommend using 120 grit sandpaper or close to it. I find using lower grit tears into the wood too strongly. Anything with higher grit may disrupt the painted finish too much in an attempt to expose the wood.
You can watch the video (I’ll be uploading soon) at the end of this post for a better visual, but the technique I like to use for distressing is simple: quick and light with the orbital sander.
I go along edges quickly and in random parts over the larger surfaces. Pressing down too hard may dig too deep into the wood. And spending too much time in a section can do the same. If you happen to over-distress, you can always paint back over the area.
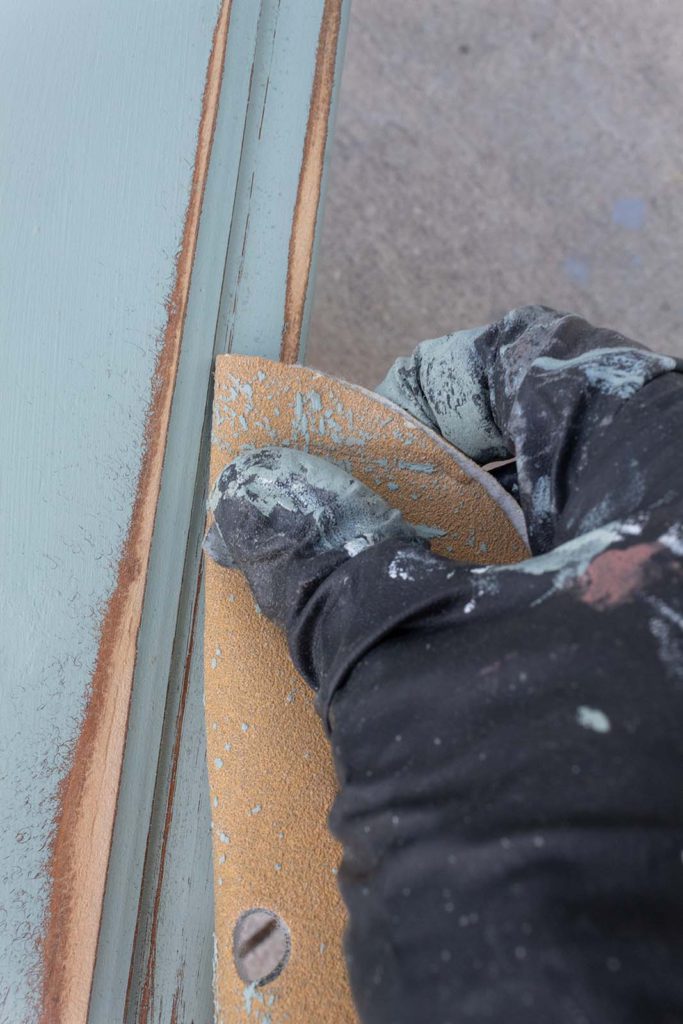
For hard-to-reach crevices, I fold the sandpaper and distress by hand.
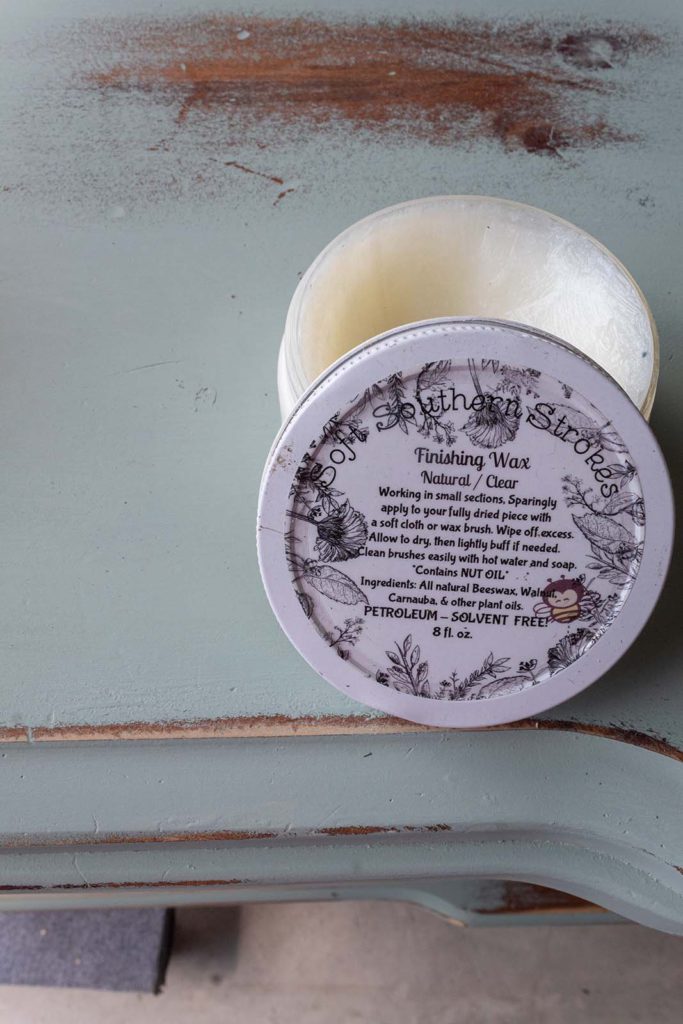
Step 5. Seal Your Furniture
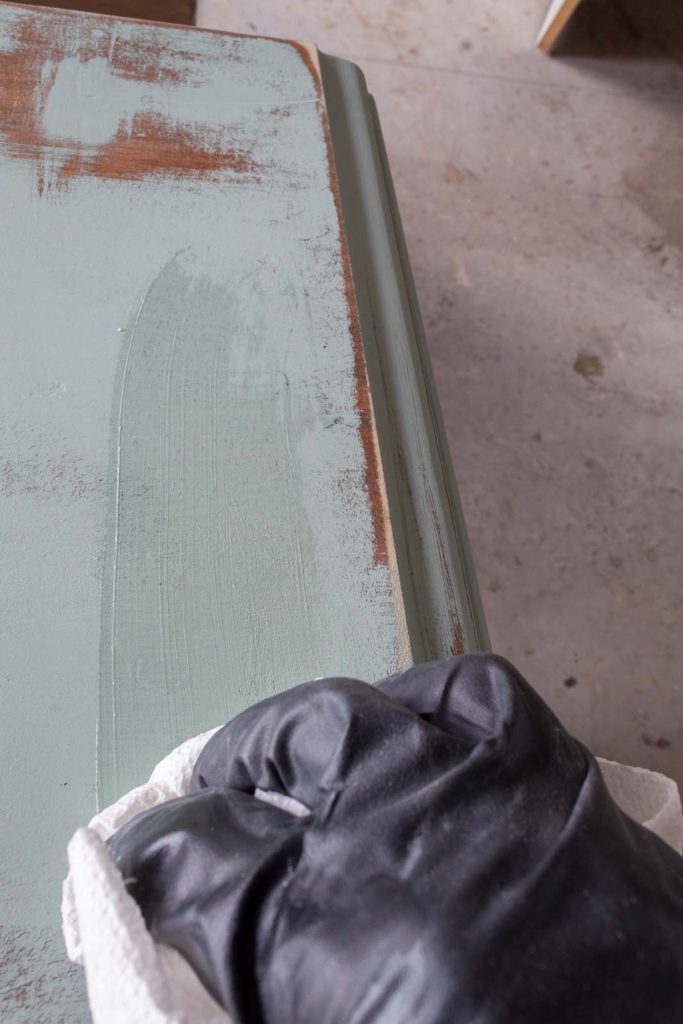
To seal the dresser I use my favorite finishing wax. It is non-toxic and smells delicious. Once it cures it provides a very durable finish.
I use a paper towel to apply my wax. Can you tell I use paper towels for everything! Using mainly circular motions, I give the dresser a nice solid coat of wax. About an hour later I come back with a lint free cloth and lightly buff the finish.
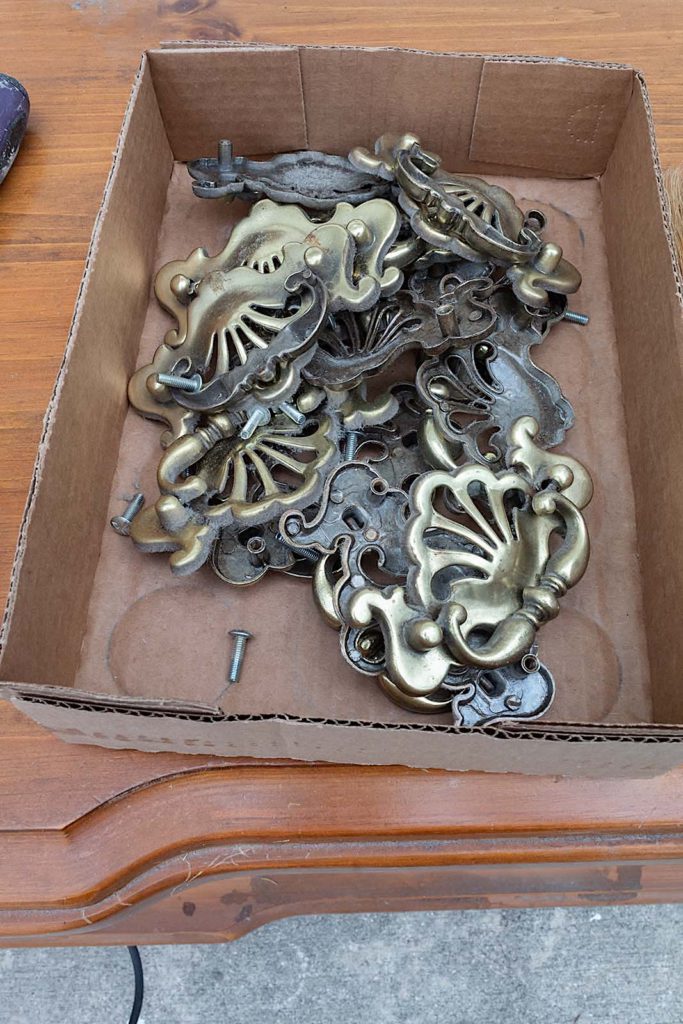
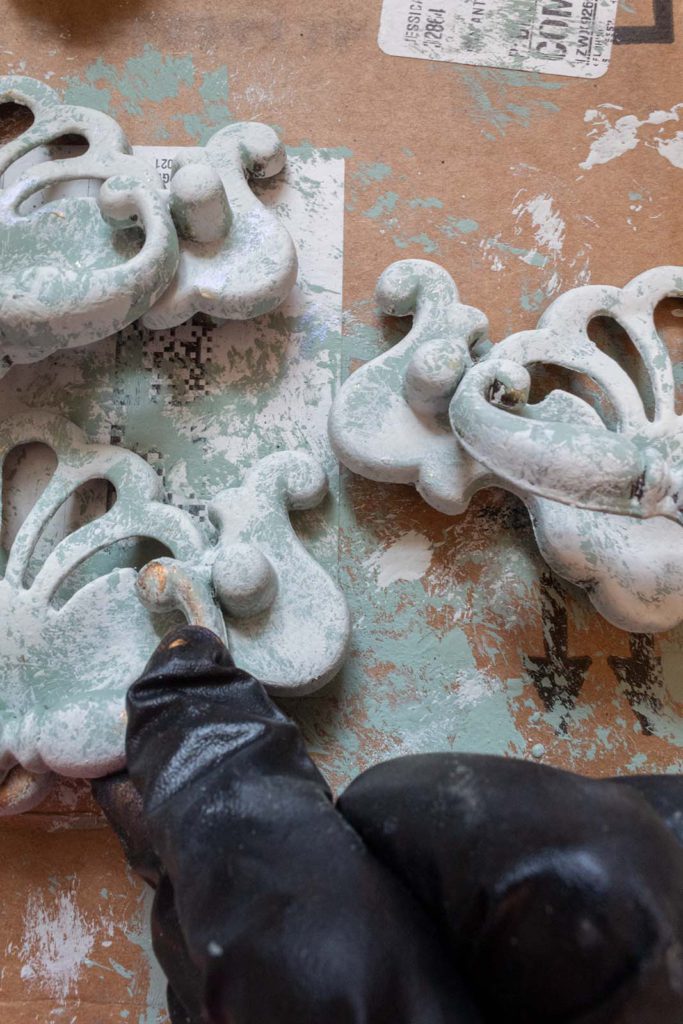
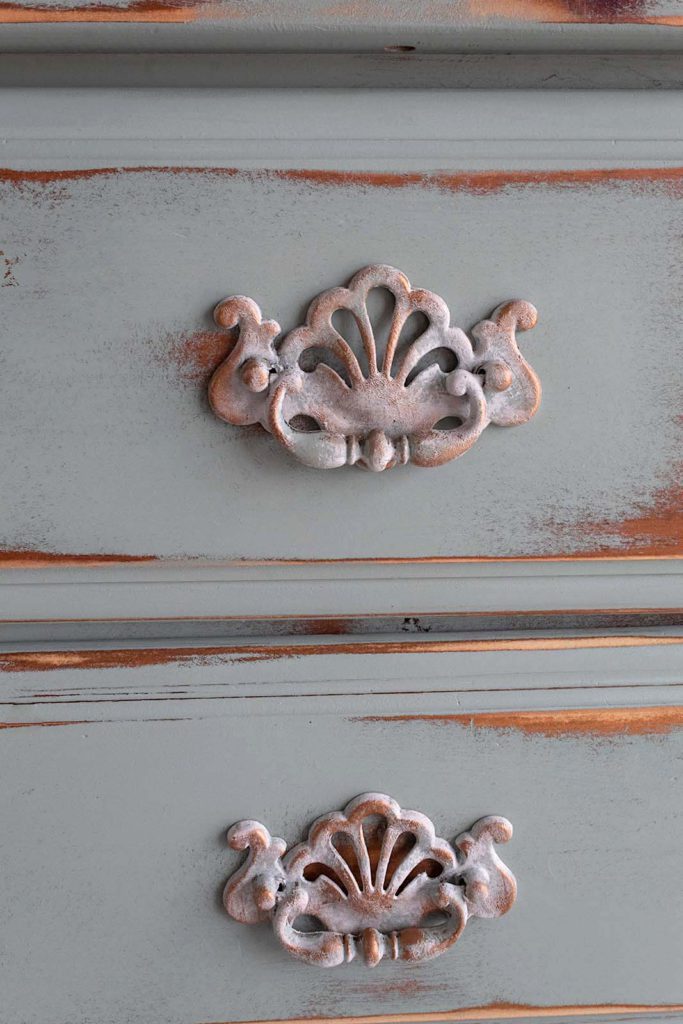
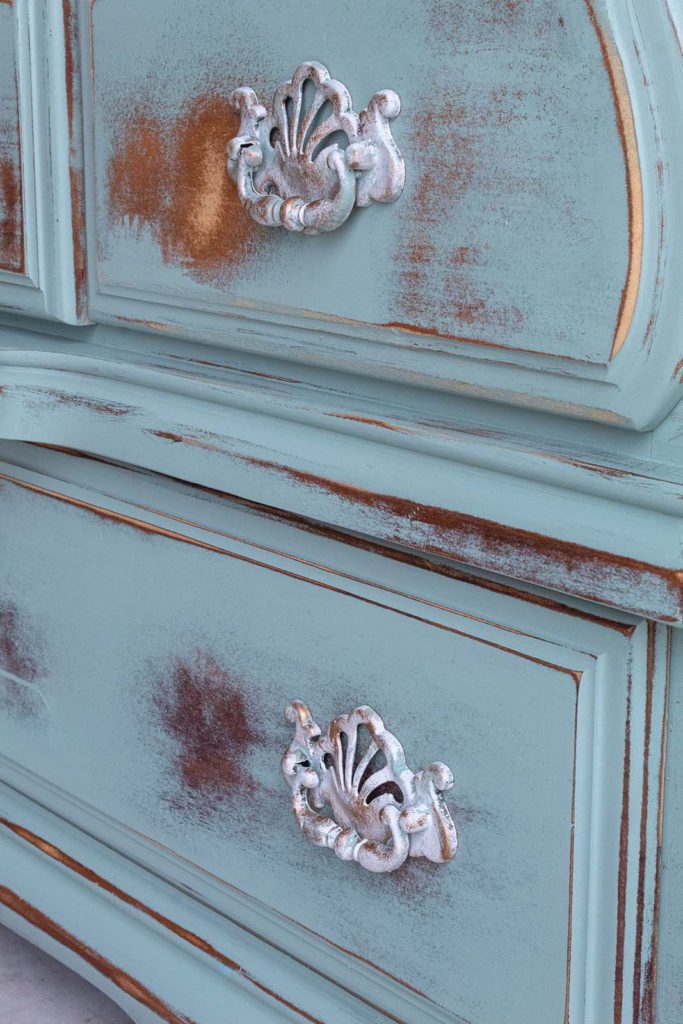
Reviving The Hardware
I like to preserve original hardware as much as possible. The ornate details in these fixtures were lovely, but they needed some updating.
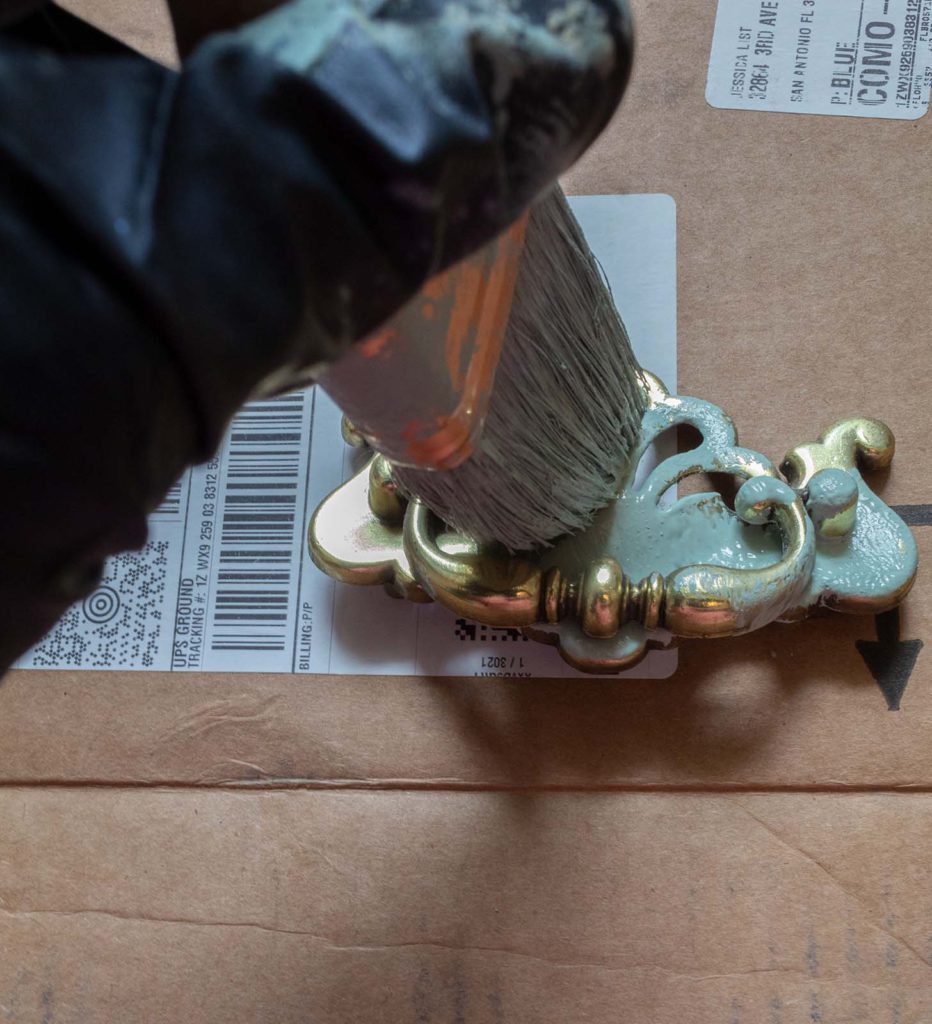
First I hand washed each fixture using water and soap. Then I applied a coat of the Green Balsam paint. I dabbed my paint brush up and down to add texture to the finish.
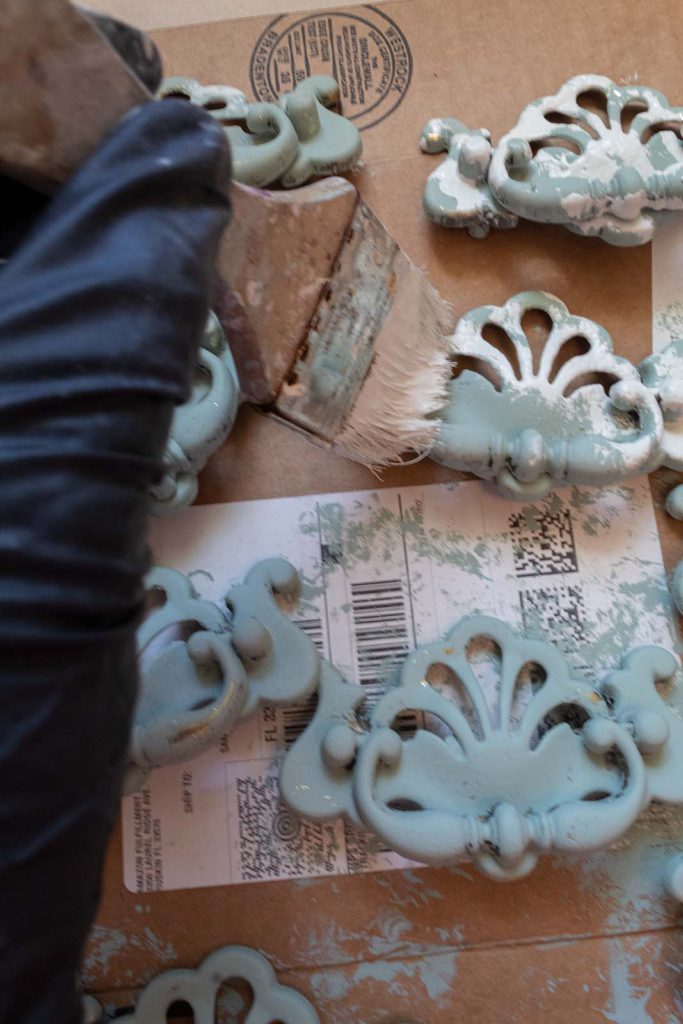
After the green dries, I sporadically apply some Behr’s Weathered White, leaving some of the green parts exposed. In a way we are mimicking a distressed look with this technique.
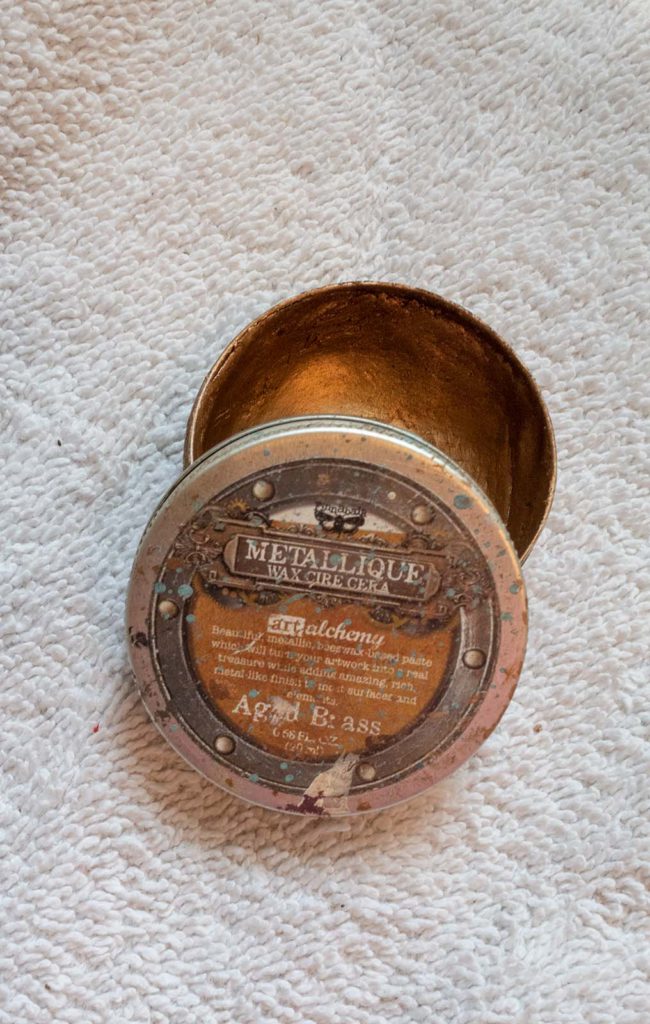
With my gloved finger I rub small amounts of the wax onto the hardware. I use the wax to subtly highlight details on the fixture. The wax adds another level of dimension and weathered character.
And that is it for this renovation. I’m so loving the timeworn look of this dresser!
So friends, let me know if you have any questions in the comments below and let me know what you think of this look. Be sure to SUBSCRIBE at the bottom of the page so you don’t miss any future posts!