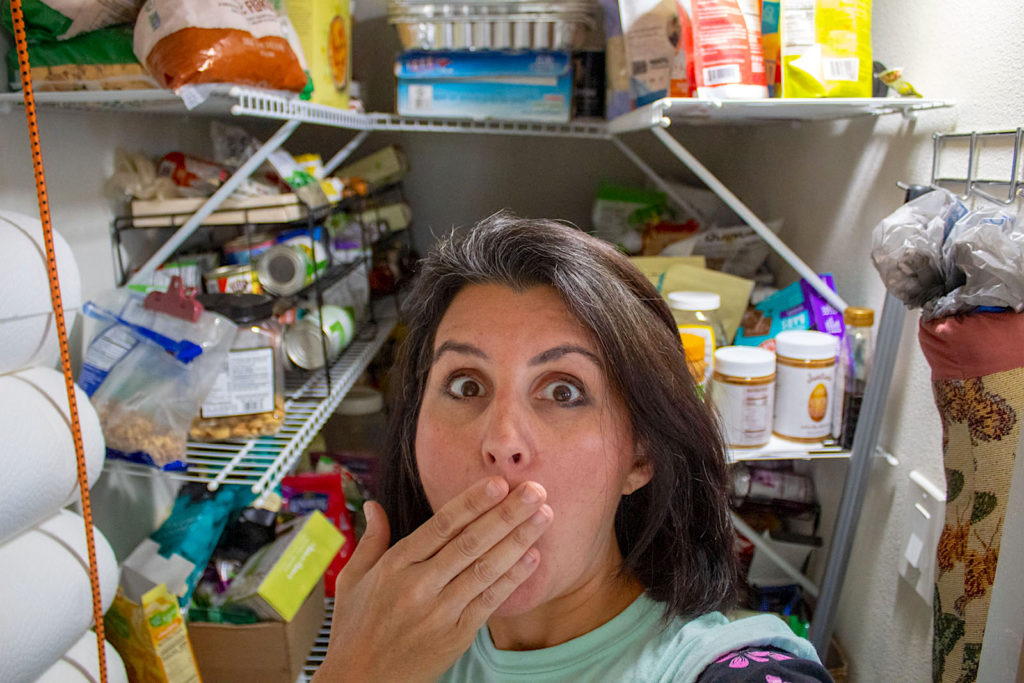
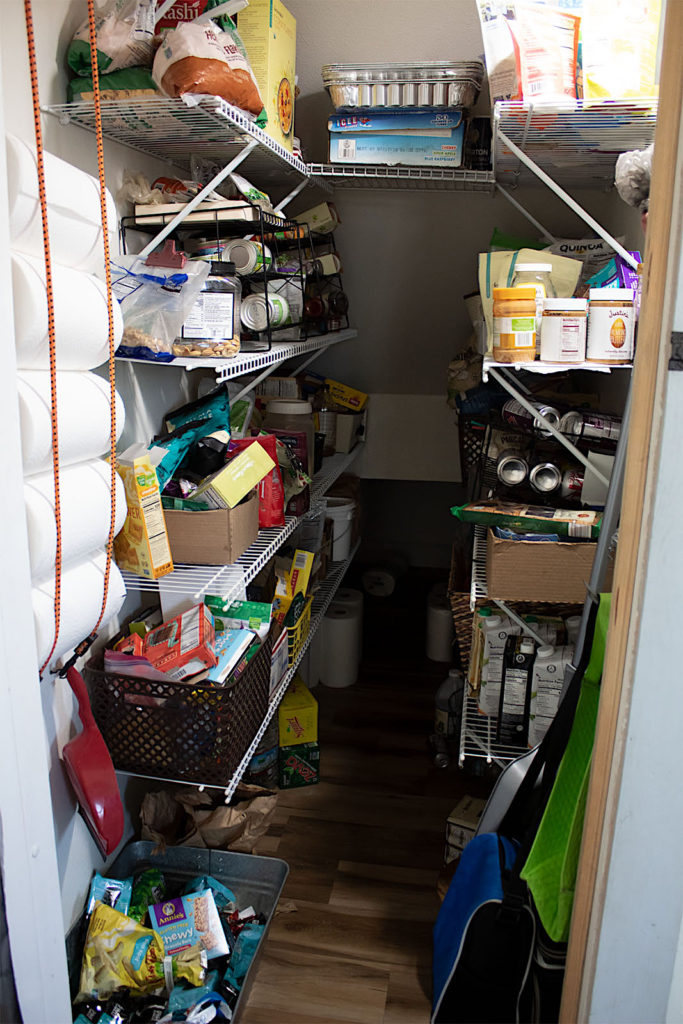
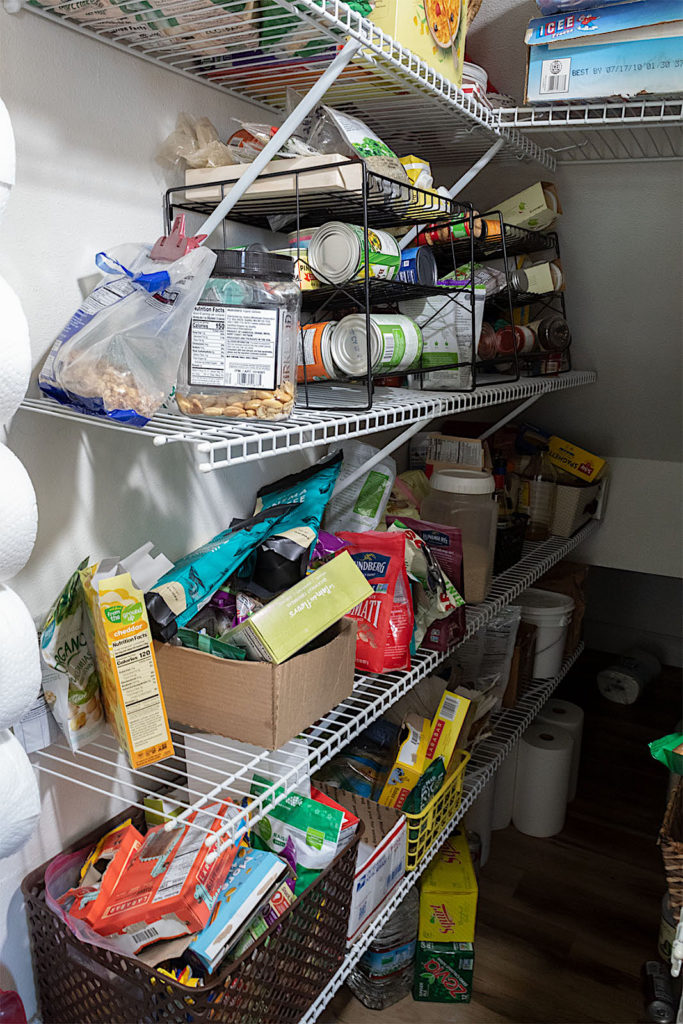
Happy February friends! Well, the cat is out of the bag or rather it seems like several feral cats have been let lose in our pantry—the mess is real folks! In this post I’ll let you in on my dirty little secret… On the reality of our pantry. The clutter. The cardboard box containers. The dark, narrow alley in our home that so desperately cries for help.
I liken our pantry to Grand Central Station. It is the most visited locale in the home on a daily basis and it shows.
I’m in there constantly for cooking ingredients. The kids should just roll out a sleeping bag since they live in there. And hubby, well, he’s no stranger to the pantry, often spotted rummaging for snacks in between work meetings.
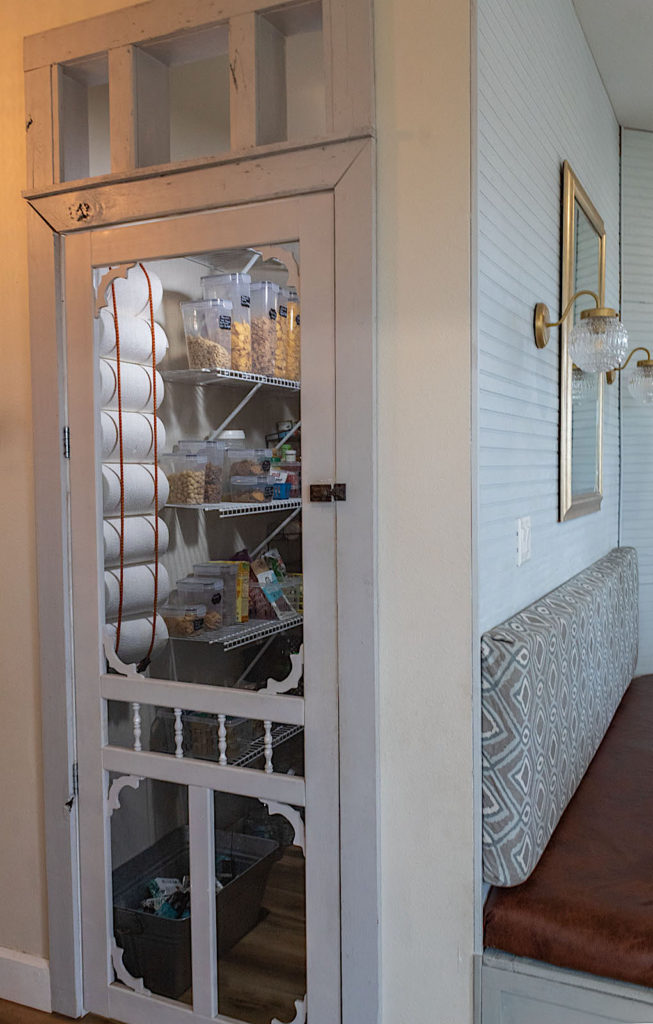
This cavernous pantry was carved out as a space under our stair well when we built our home. It is deep but all too narrow. This is one area in our home we regret not having made somewhat wider.
But nevertheless, with Spring around the corner I decided to tackle this food-laden beast and get my organization on. Take a look at how I transformed our pantry from scary to show-worthy.
If you’re looking for a proud moment in your pantry, I suggest treating it like you would any other area on display in the home. That means ditching the random cardboard boxes and hodgepodge of miscellaneous plastic remnants doubling as containers.
Setting up the pantry as a place of ease, organization and attractiveness will make your daily routine less chaotic and more enjoyable.
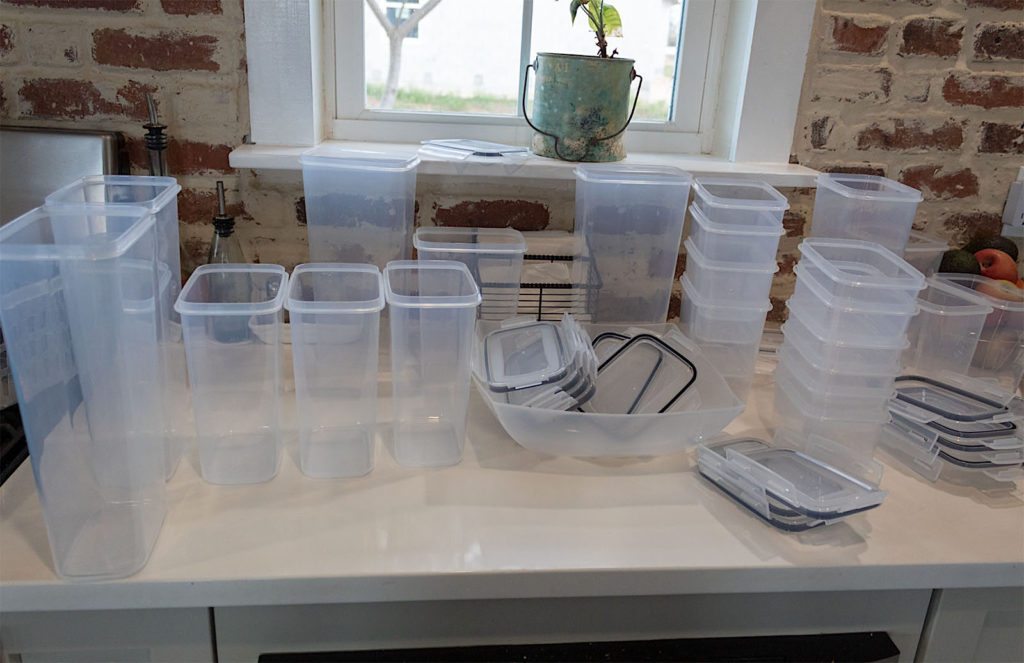
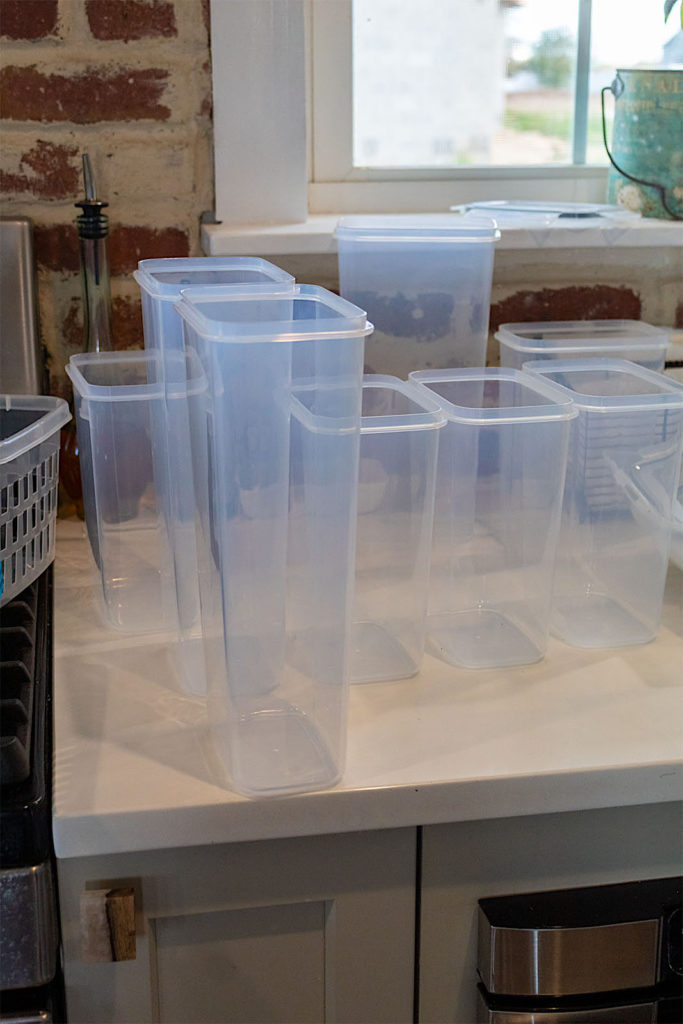
Purchasing a varied set or two of food storage containers will keep things uniform and aesthetically pleasing. I purchased a few sets of clear containers. They all work great, however, these were my favorites because the lids lock and unlock so easily.
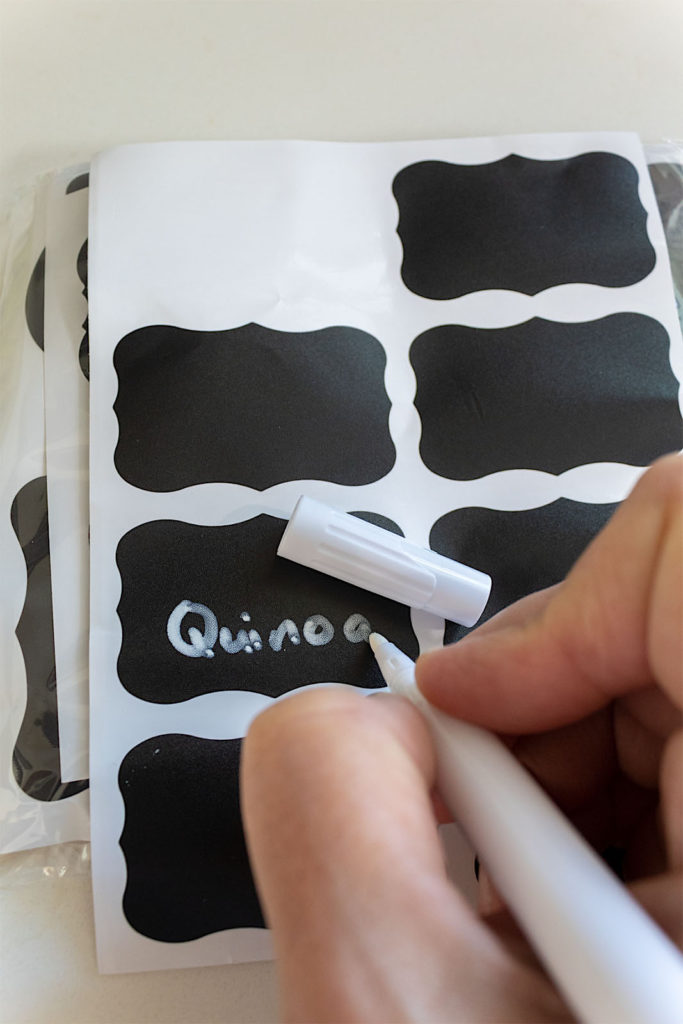
All the containers I bought (except Dollar Tree) have plastic that is BPA-free, reducing toxicity levels that can get in your food. I liked how the containers were thin, but tall, making them less bulky on the shelves. The lids lock keeping things air tight and some came with handy labels and a marker that is erasable with windex.
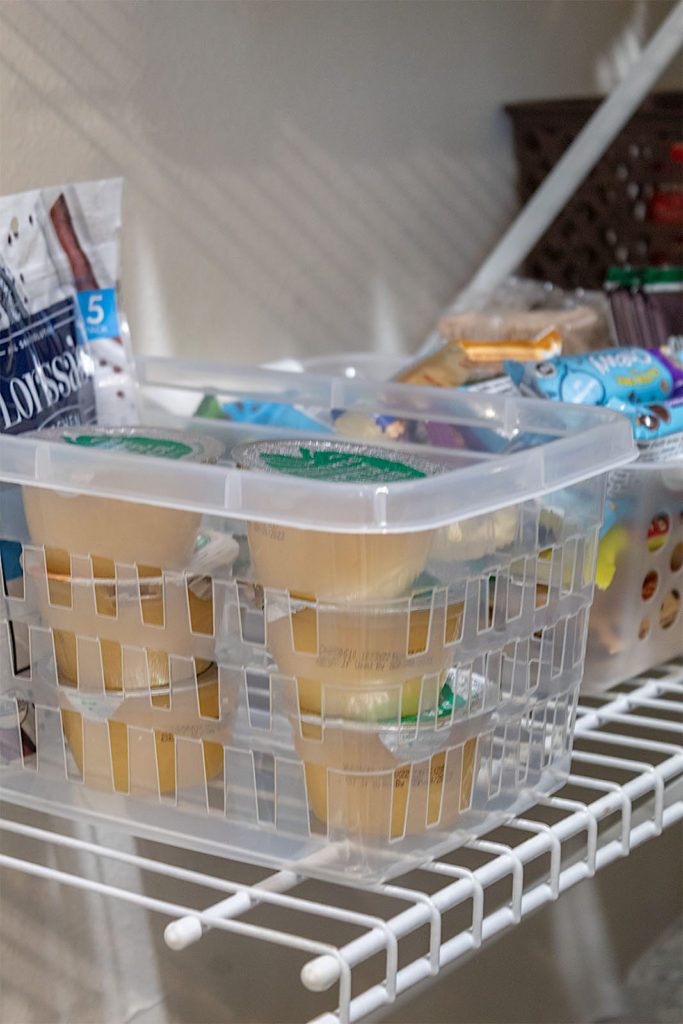
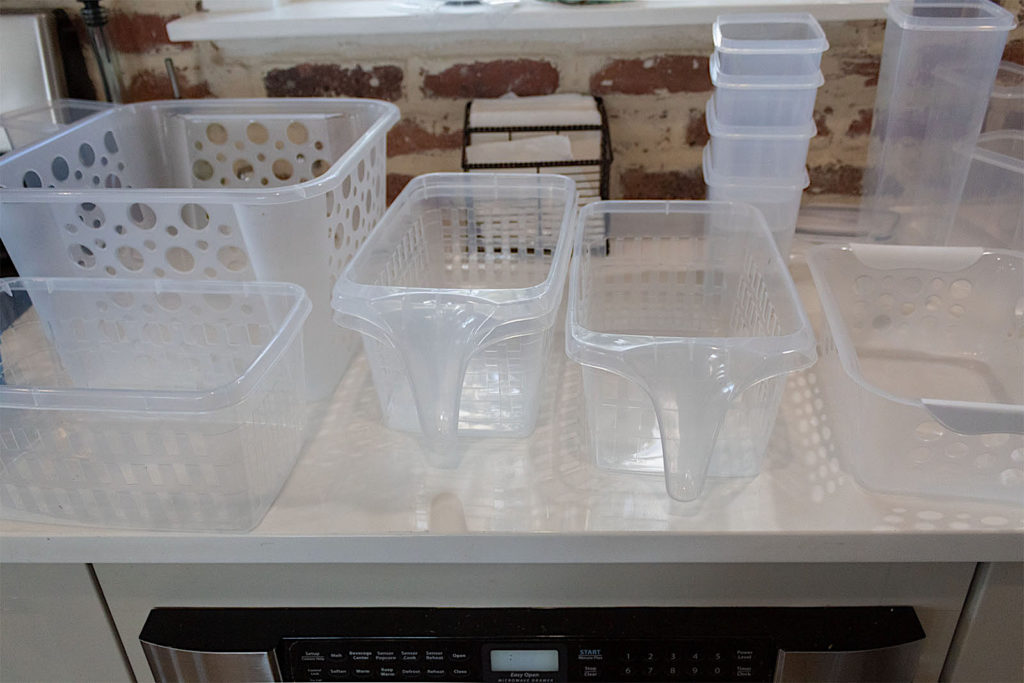
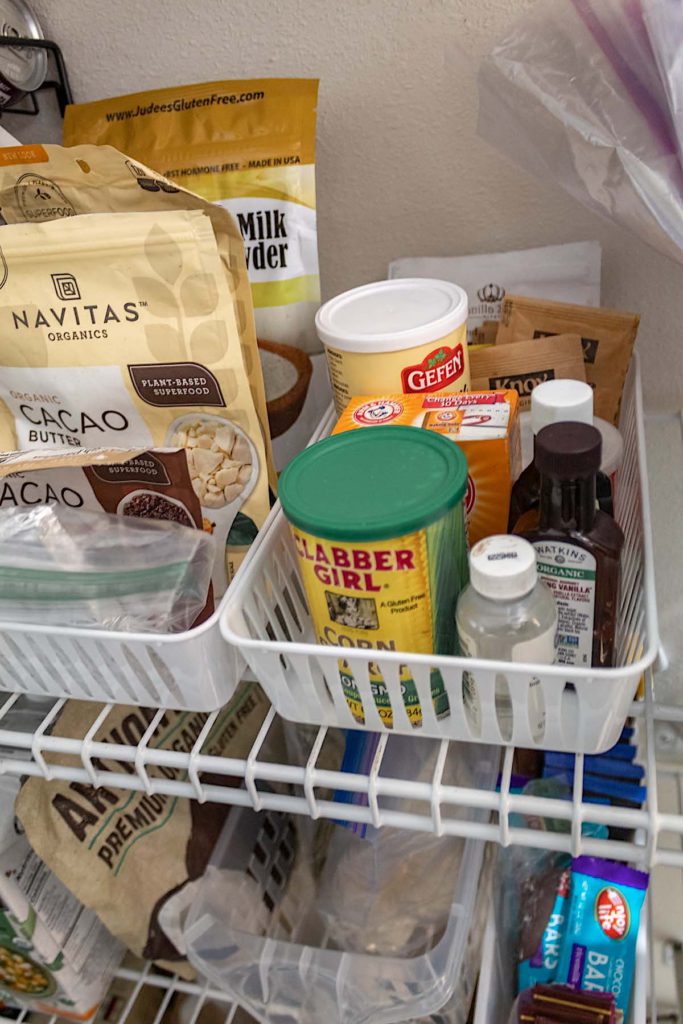
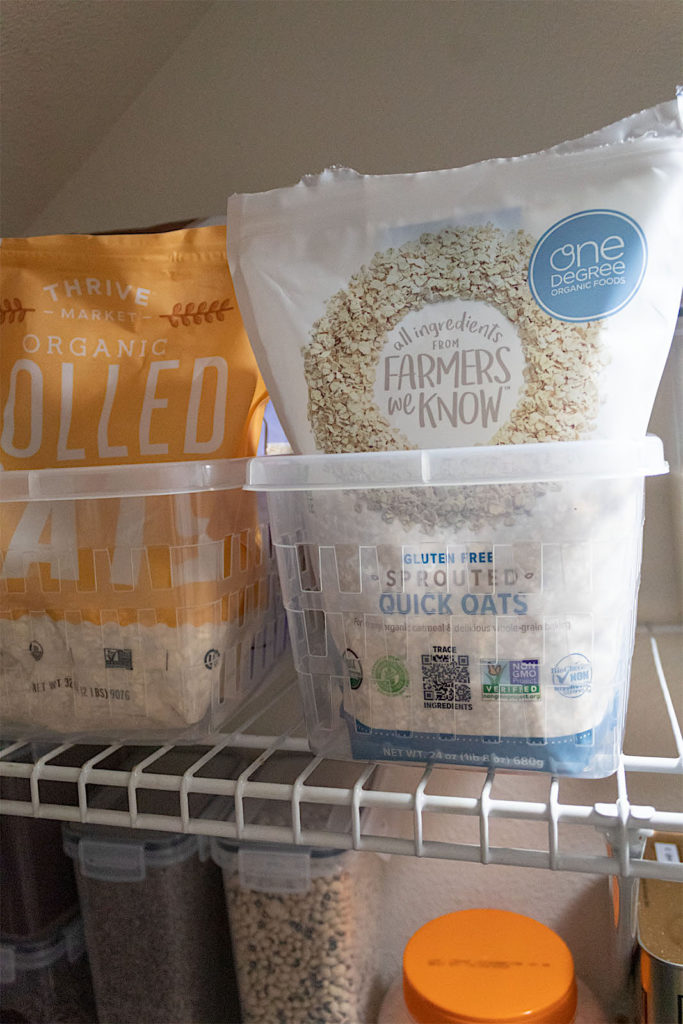
I also headed to Dollar Tree for some additional baskets and bins. For food I plan to keep in their original packages, (rather than transferring the contents into containers) these bins will come in handy and are affordable. I recommend clear containers when possible for easy of visibility.
Transfer and Purge
The process of organizing the pantry was a larger undertaking than expected. It was also surprisingly therapeutic. Purging old, expired or no longer useful food felt good and began to thin out the cluttered chaos. You can also give things to neighbors and friends so you don’t have to feel like your wasting them.
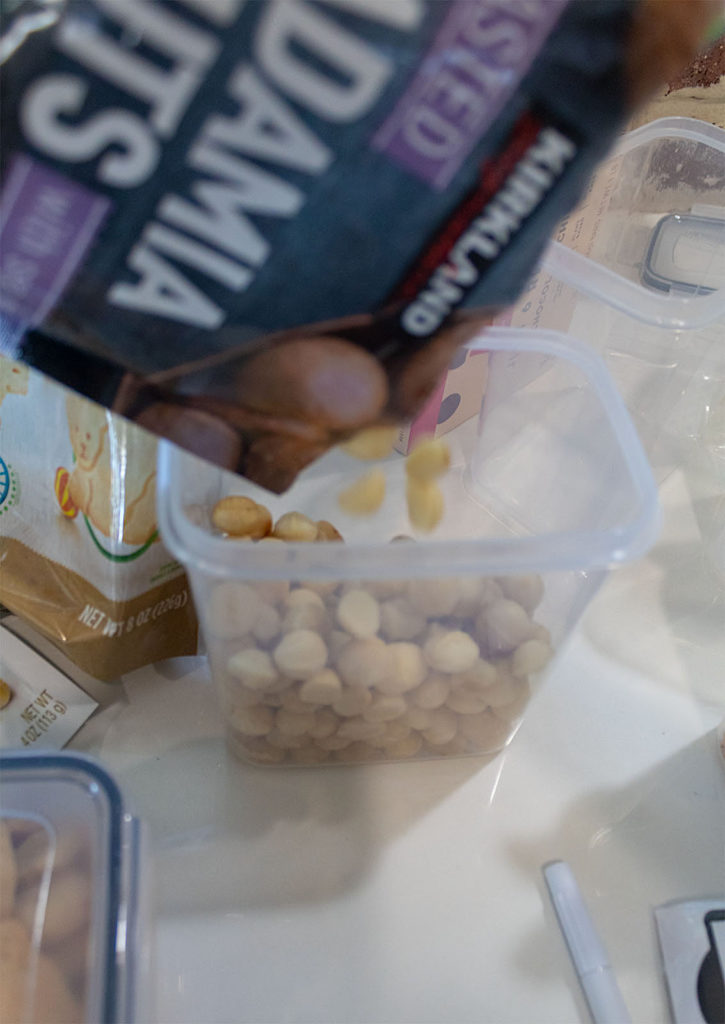
Then came the process of transferring food into containers.
“Out of calmness comes clarity.”
― Trevor Carss
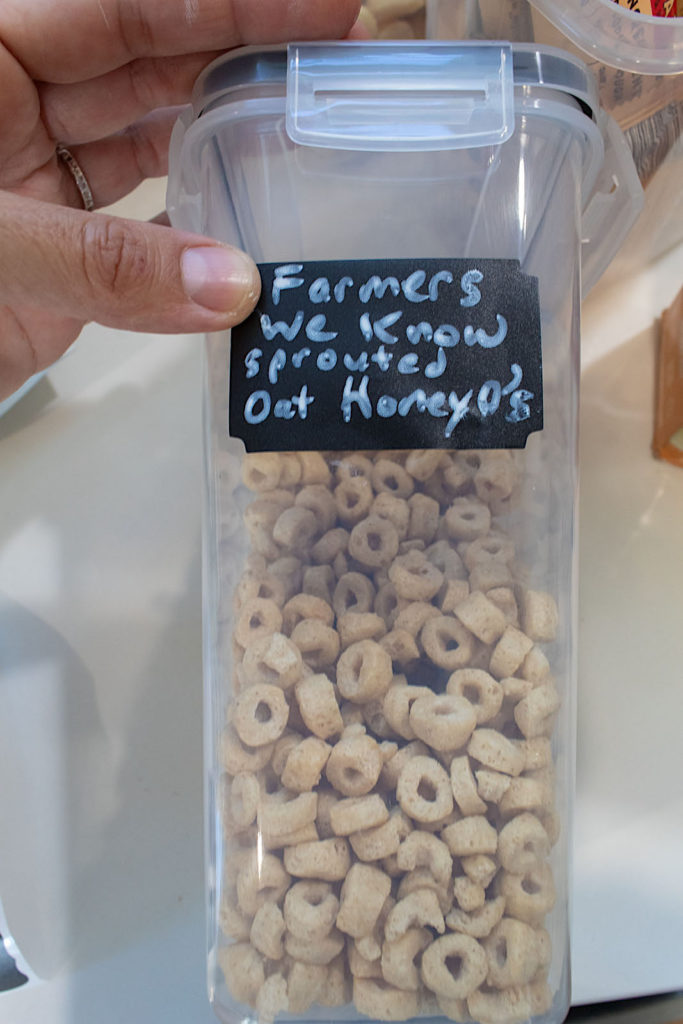
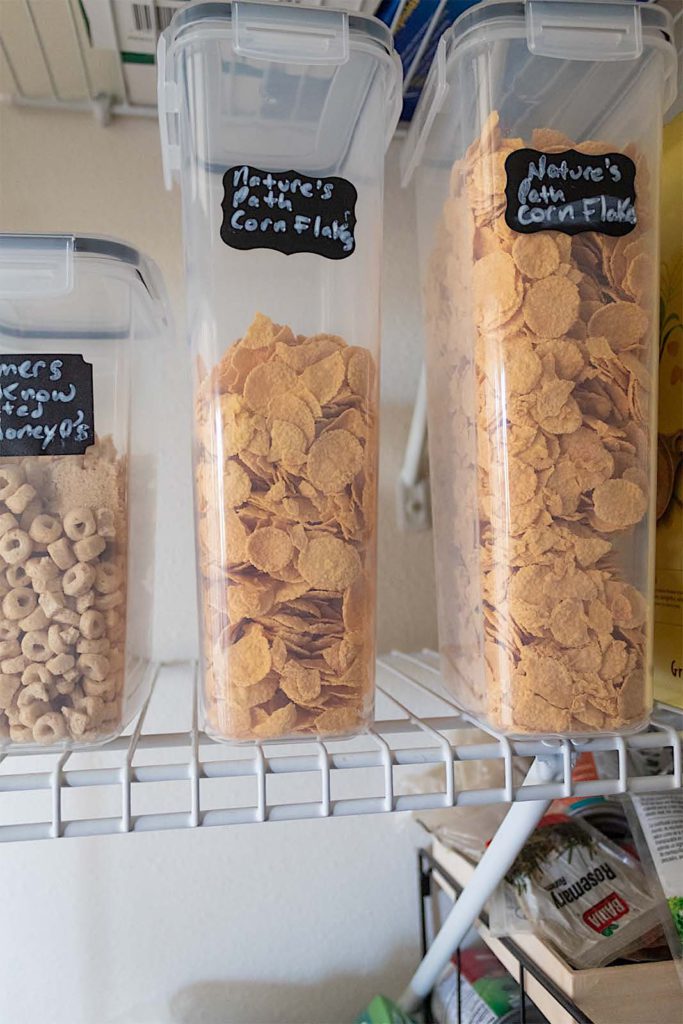
As I poured packaged contents into containers I realized just how much space bags and boxes take up on the shelves. It felt good to get rid of these and to see pretty vessels full of cereal, nuts, grains, and baking ingredients. What a visual difference already!
It’s important to label your containers. You don’t want to later mix up your sugar with your salt. Trust me, I almost did!
I added names of brands on some labels in case I later wanted to look up the ingredients lists. With varying food sensitivities in the family it’s always helpful to check.
I also saved a select few of the emptied packages for label reference in one box in a non-visible part of the pantry.
Consolidate When Possible
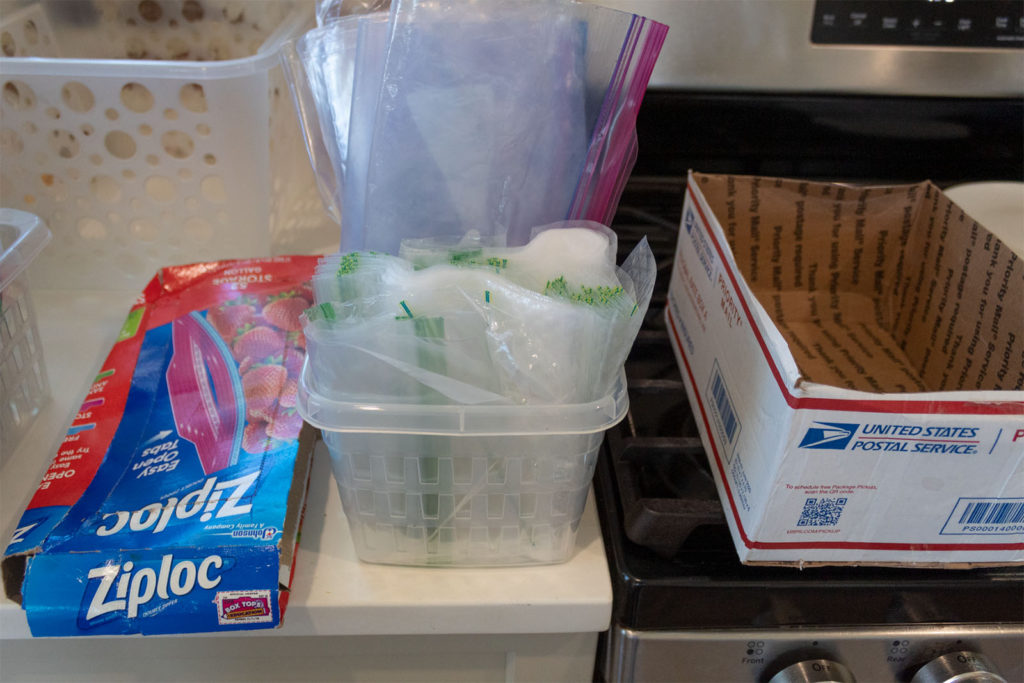
Combining similar items and snacks in bins was a huge space saver. I consolidated sandwich bags with large freezer bags into one container and said good bye to two large cardboard boxes.
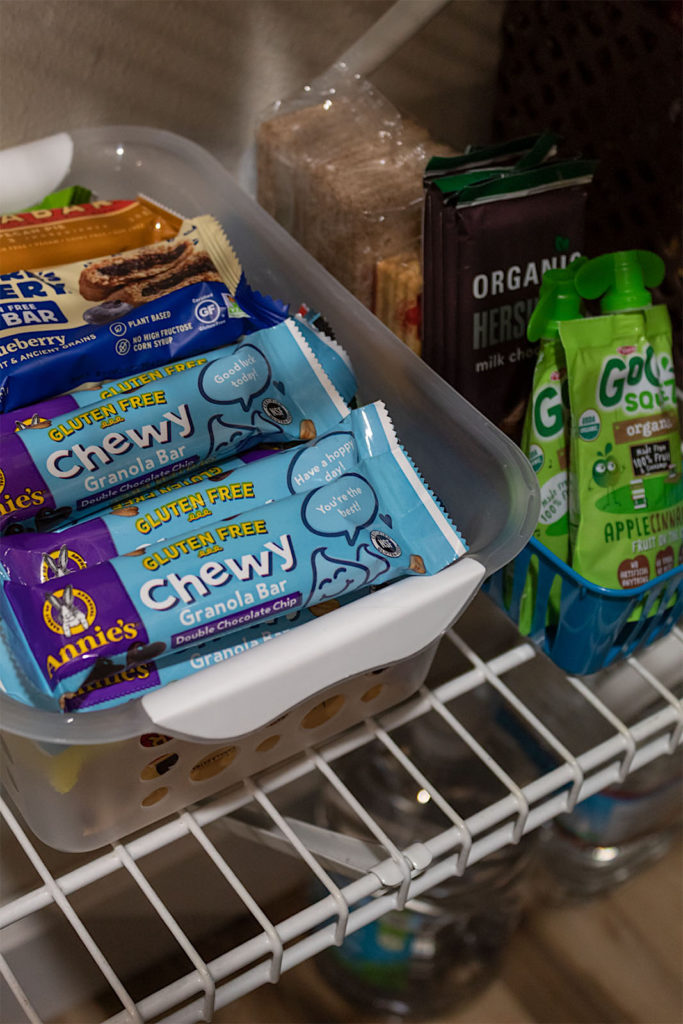
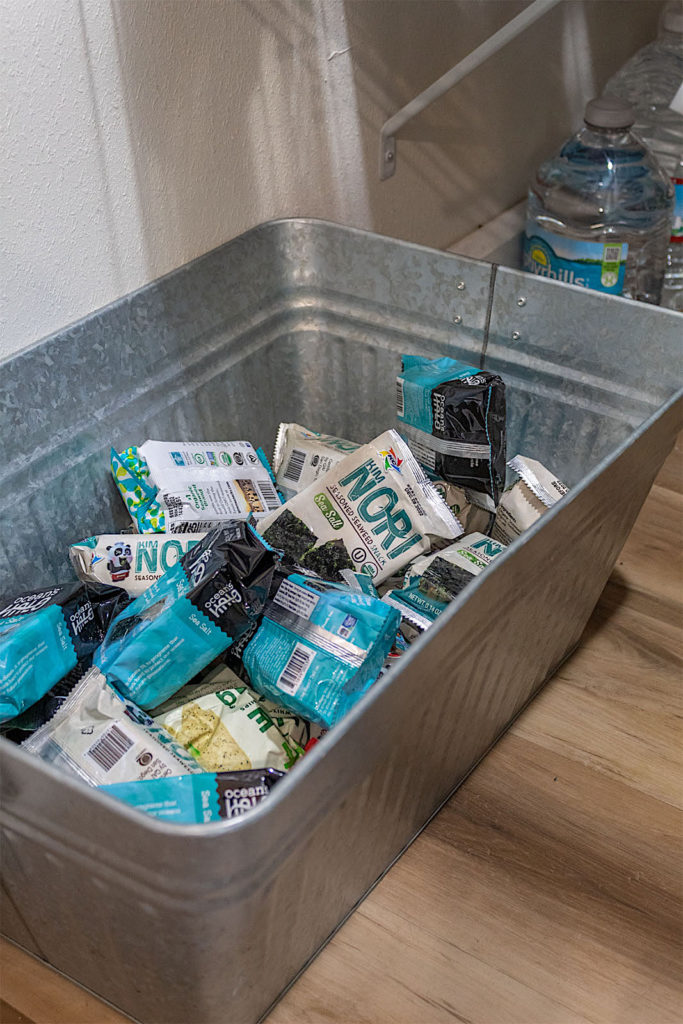
Piling granola and snack bars in one basket eliminated at least four boxes and created an easy-grab set up for quick lunch-box packing.
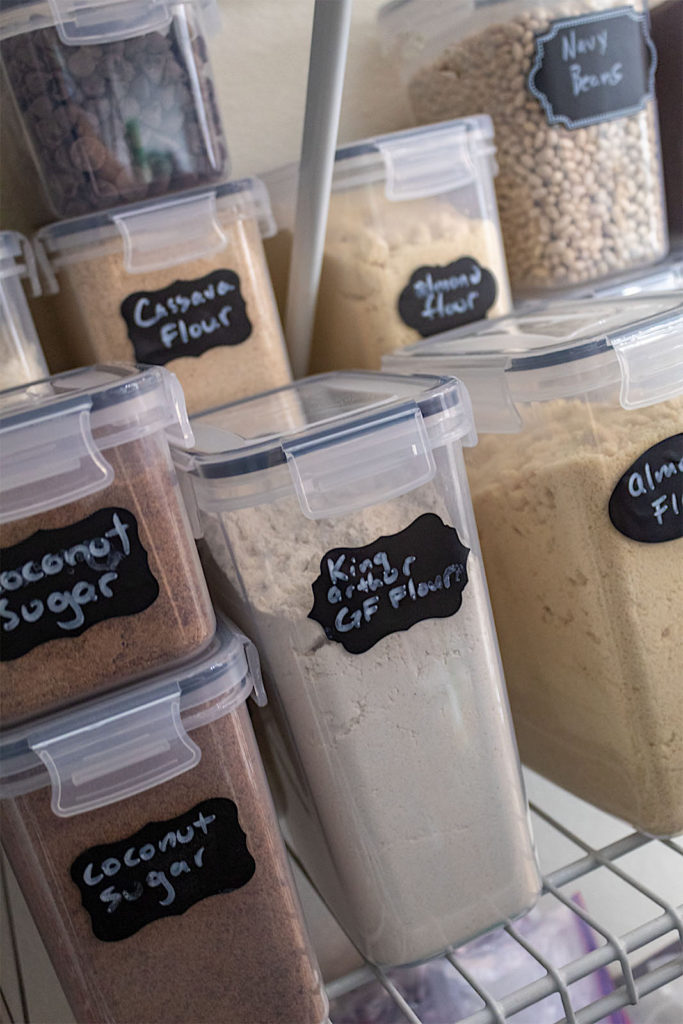
One of the biggest wins for me in this process was bringing order to my baking items. Before everything was throw into two oversized baskets and it was always a mess of spilled flour, vanilla and sugar.
I like to bake so I have quite a variety of flours and ingredients. It took me a while to work through the heap of bags and transfer these into containers. But it was so worth it.
Now every ingredient is easily accessible and clean. No more sticky spills!
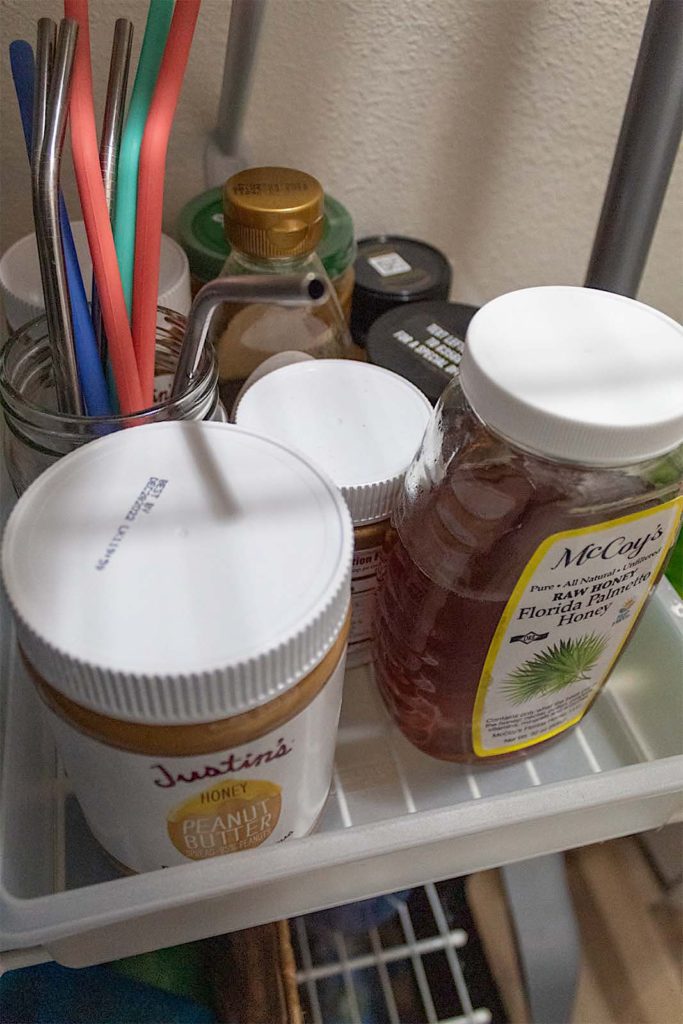
Drippy, sticky items like honey and nut butters were grouped together and placed on a plastic tray. No more dripped honey stuck to our shelves.
Places Everybody!
Once I had everything in its new container, it was time to coordinate the placement of items in the pantry. This was trickier than one would think. I thought a lot about priority items— running through my head what I typically reach for most during the day.
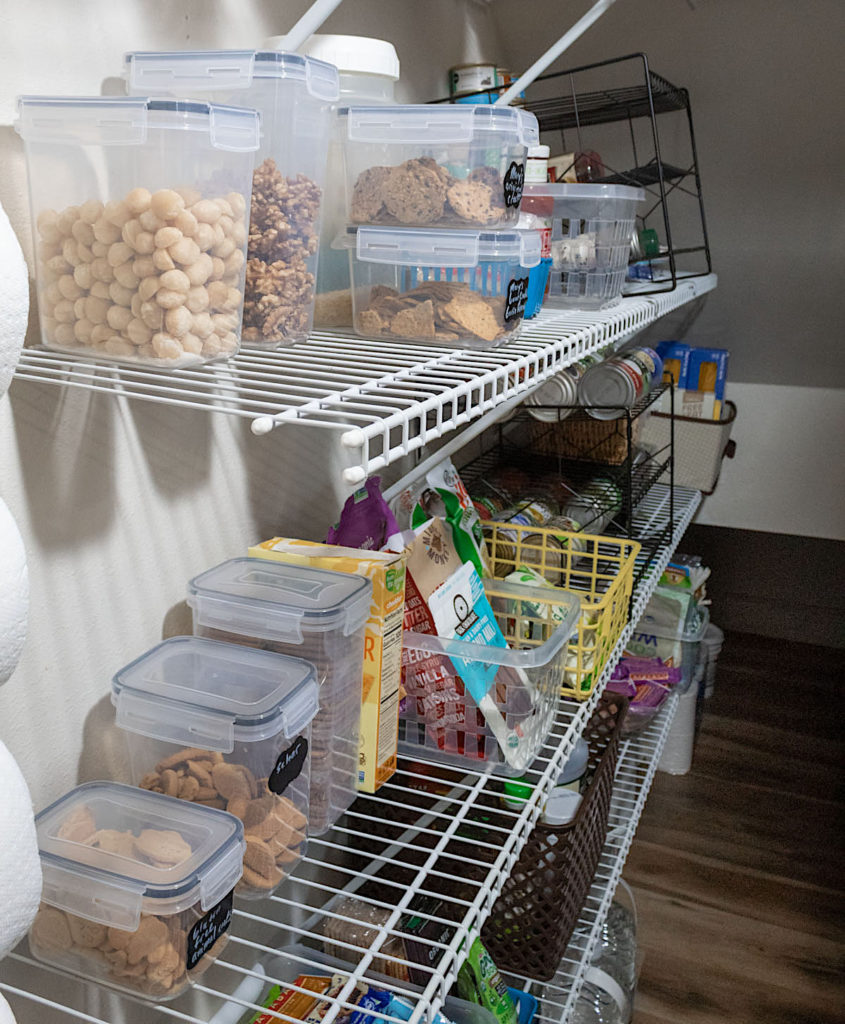
When you have a narrow and deep pantry, it is ideal to place regularly needed items towards the front and less frequently used ones towards the back.
Having young kids means lots of snacks throughout the day. So I placed these at a reachable level towards the front end of the pantry. I’d rather have these easily accessible for little ones, thus avoiding a reckless search that could lead to more messes in the space.
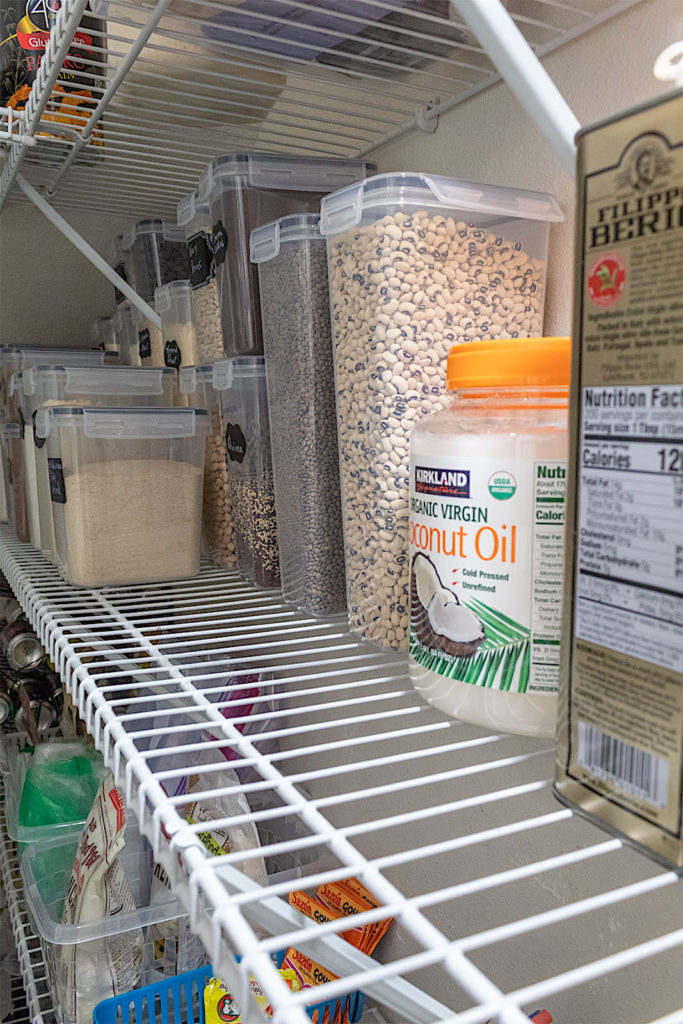
On the opposite side of the pantry and towards the front, I placed cooking items I tend to use throughout the day like grains, beans and cooking oils.
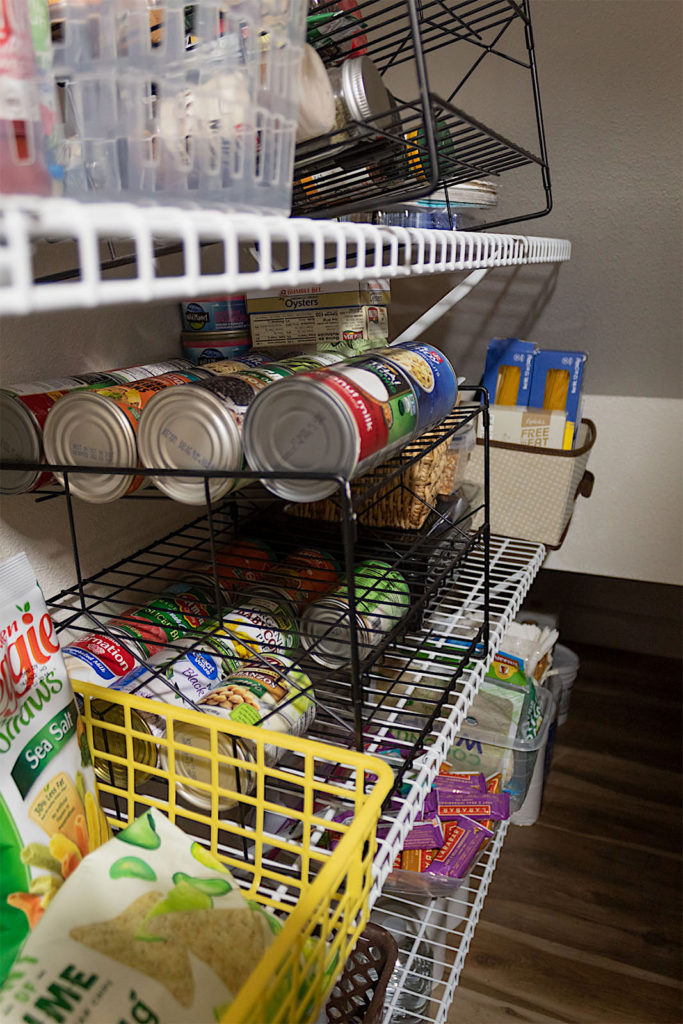
Although I love my Stackable Can Storage Dispensers because they hold so many cans or sodas, I realized they were not serving me well by having them taking up space at the front of the pantry.
We don’t drink soda very often or use can goods daily. This is something that could be better placed towards the middle or back.
Vertical Placement
Not only is placement horizontally along the shelves, but vertical placement is also key as you consider your food storage needs.
We don’t eat cereal or oatmeal on a daily basis so these went on top shelves.
For those items that we may pull out once a month or for those heavier items, the best placement was either on the floor under the shelves or at the far end of the pantry.
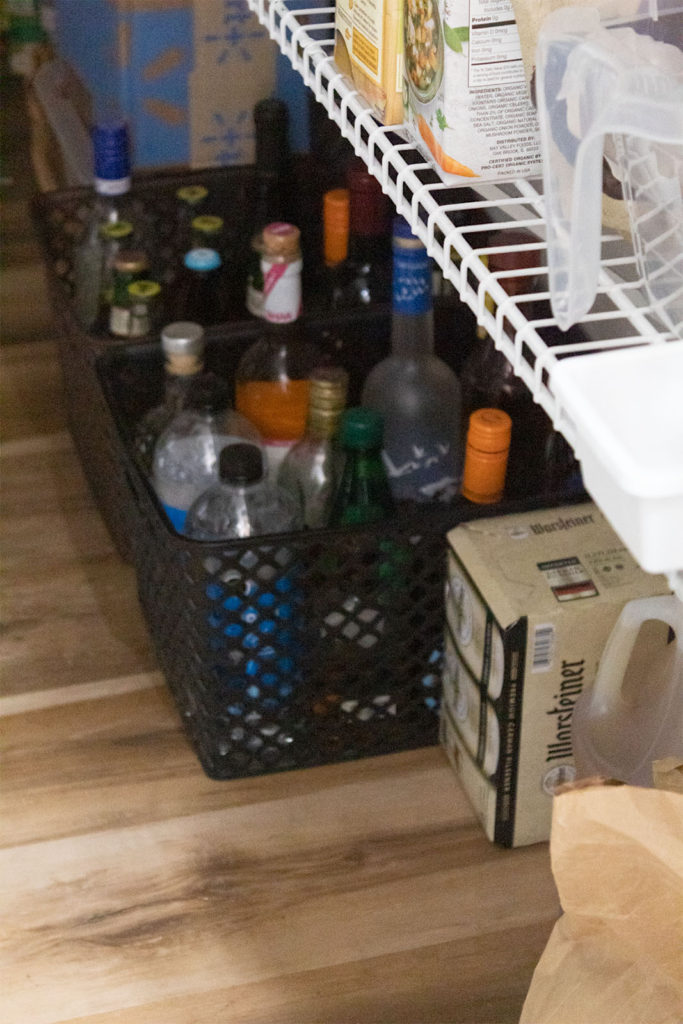
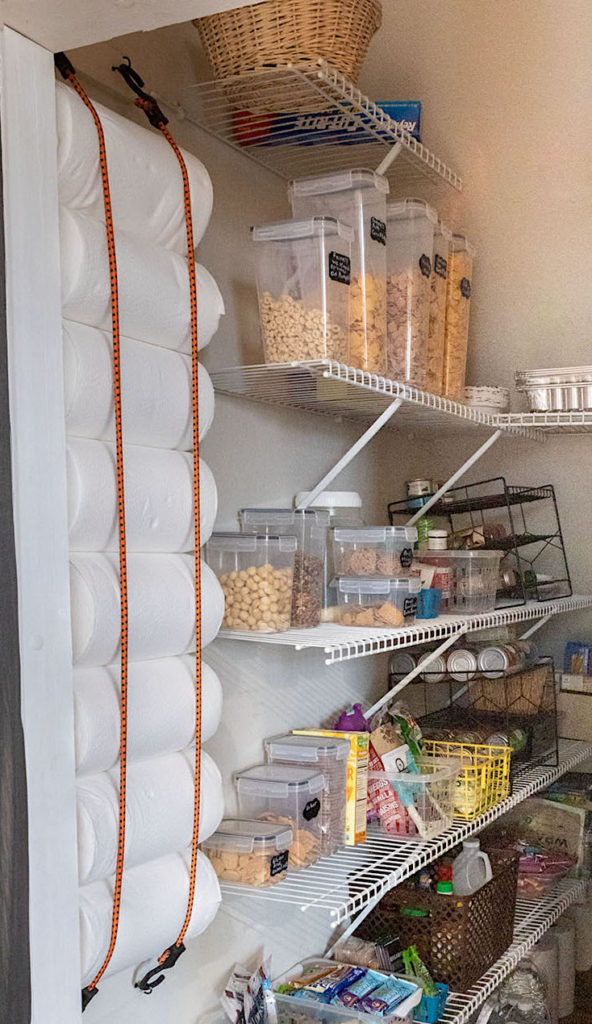
I combined heavy wine and beer bottles in large baskets and stashed them along the wall on the floor.
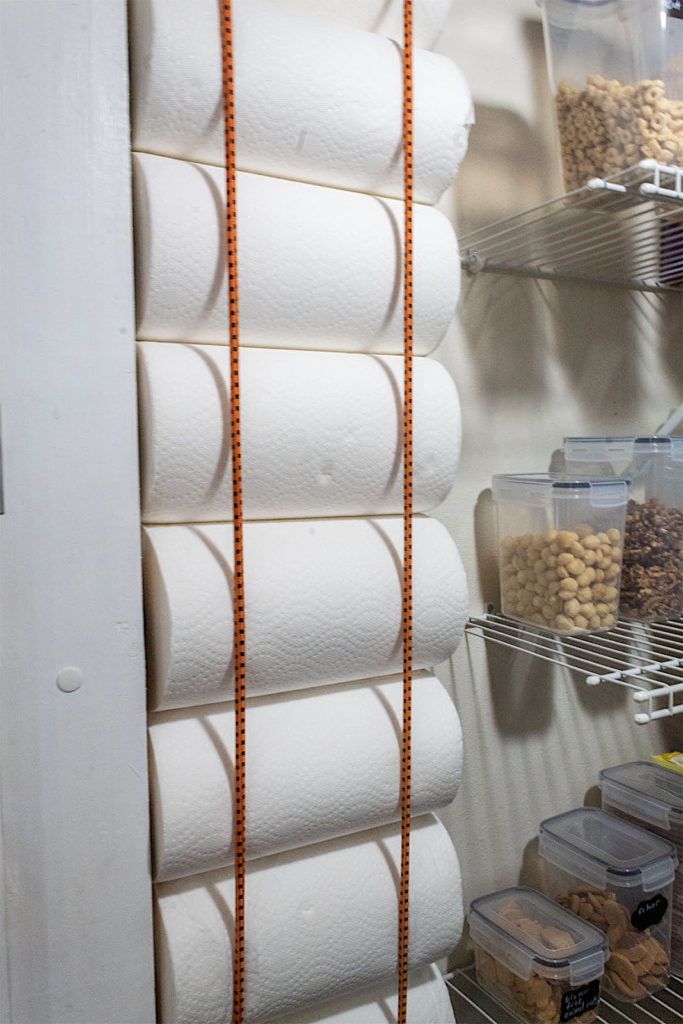
To date, my vertical paper towel holder is one of the smartest DIY’s I have done in our home. It is practical and perfect for storing tons of paper towels. If you’d like to see the tutorial of how I made it, click HERE.
The process of organizing your pantry or any room takes time and effort. It took me three afternoons to complete this project. But now that it is set up, I find that it is a system that is easy to maintain.
It is now a joy, rather than a dreaded task, to go into the pantry. I appreciate the cleanliness, the visibility (it’s even brighter in there!) and the ease of access to everything. Yay!
So remember: √ Think about your storage needs prior to purchasing your containers. √ Purge, purge, purge! Get rid of old, unused items that are just taking up space. √ Finally, be mindful of what items you use on a daily basis and your family’s needs as decide on placement.
One More Look At The Before & After
I’d love to hear of any organizing tips and tricks you may have. Please share in the comments below. I’ll be back soon with more fun tutorials. Until then, be well my friends!