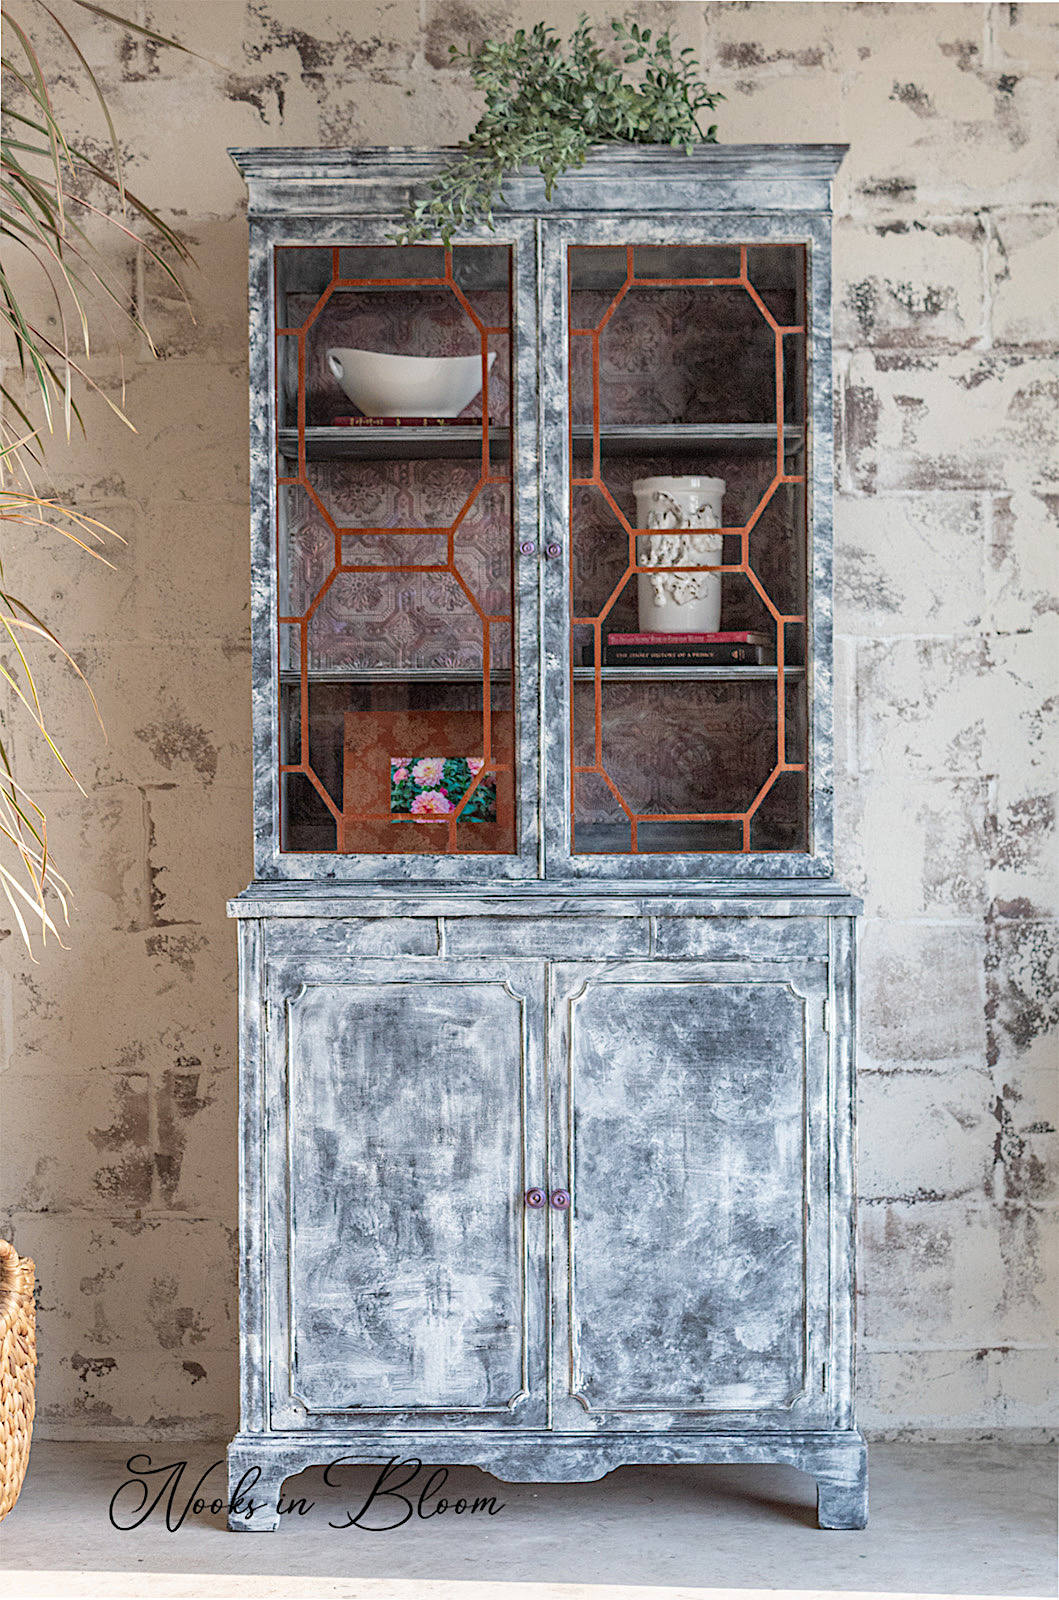
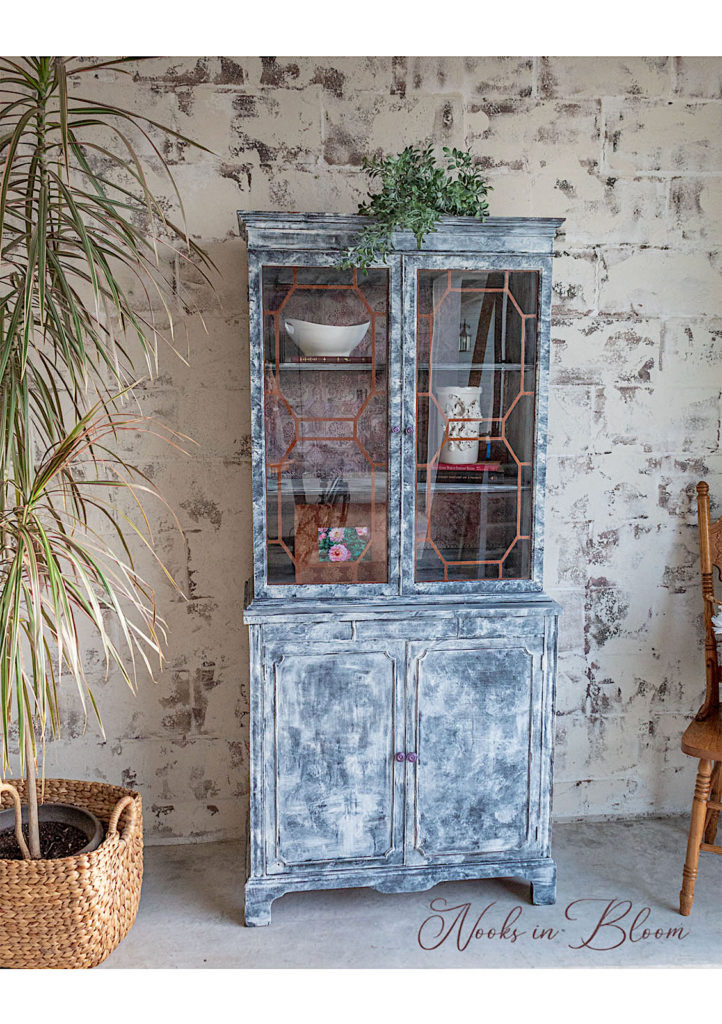
It was only fitting that this 1940’s China Cabinet made its way to its new home in New Orleans. The vibrant City of Jazz is characterized by art, soul, and plenty of flavor.
When I renovated this antique, I had all these things in mind, not knowing its final destination. Once the piece sold I was enthralled to learn it was headed to N’awlins—a serendipidous match.
Today I’m going to walk you through how I gave this antique china cabinet a fresh, new vibe with a moody feel. I will share the paint technique I used for an edgy aesthetic and the wallpaper detail that stole the show. So let’s get started!
Disclosure: Some of the links provided are affiliate links. By purchasing through these links you are supporting this family blog and the work we do and there is no extra cost to you. If you would like to read our full disclosure, click HERE.
Step 1. Prep Your Piece
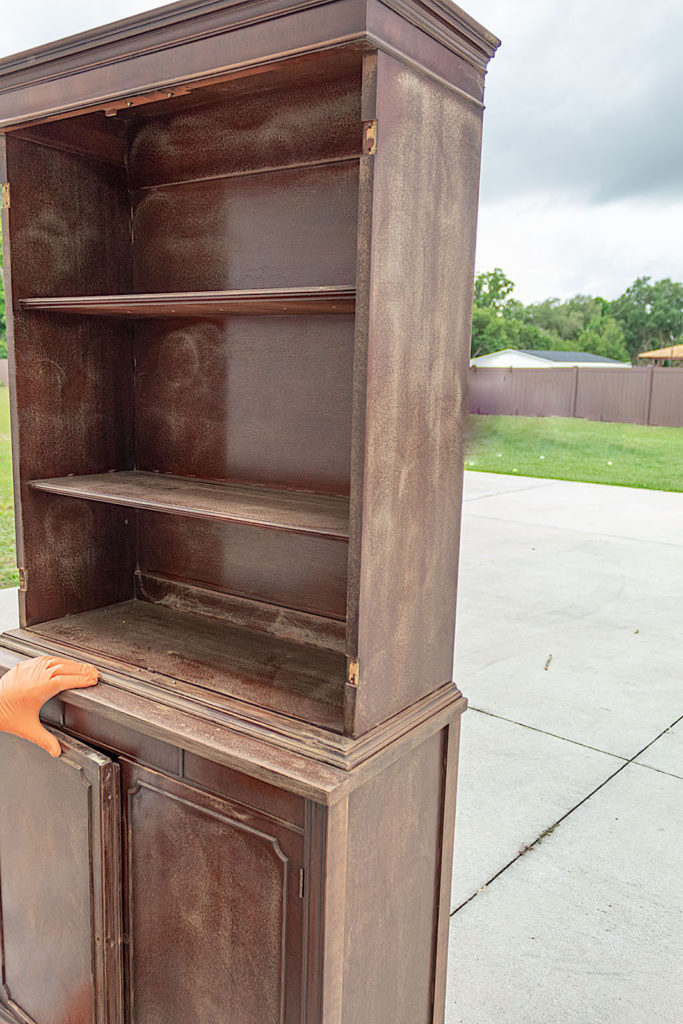
Before we get started on the decorative part of this piece, we must take care of the important basics. Repair, sand, and clean.
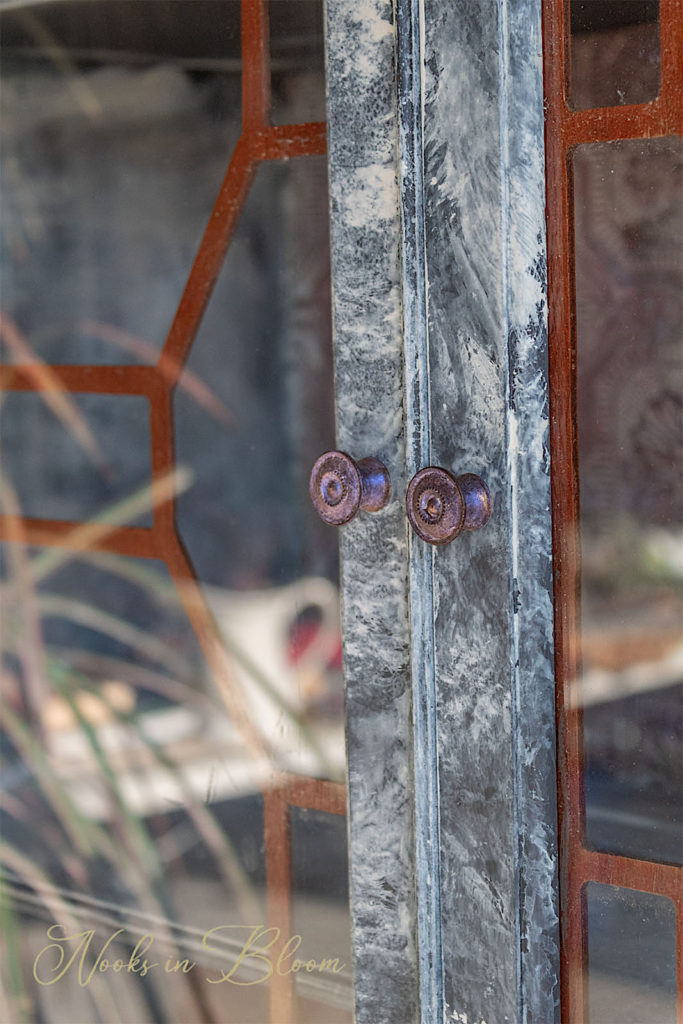
I like to always give my pieces a quick sanding over. This helps ensure good paint adherence. I also remove all the hardware. Because I was going to be spraying the first coat, I decided to remove the hutch doors as well.
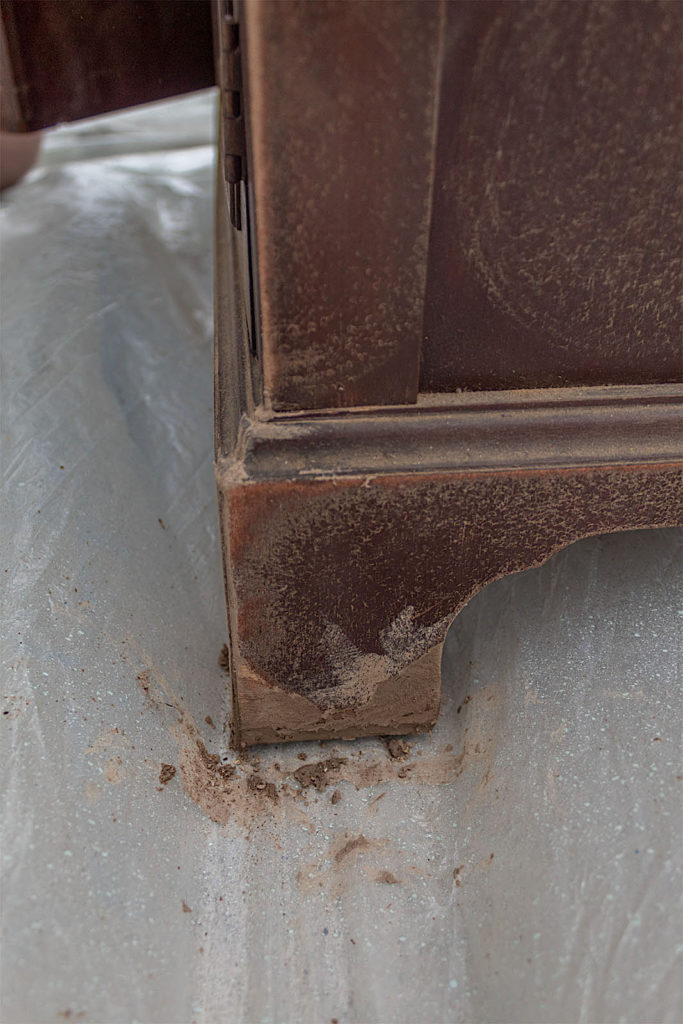
It is not uncommon as a furniture renovator to have to make repairs on salvaged pieces. Sometimes minor, sometimes major. I try to find pieces that don’t require heavy repairs.
This antique was surprisingly in decent shape for its age. We had to adjust the bottom doors slightly and one of the legs needed some wood filler where the wood had chipped off a bit.
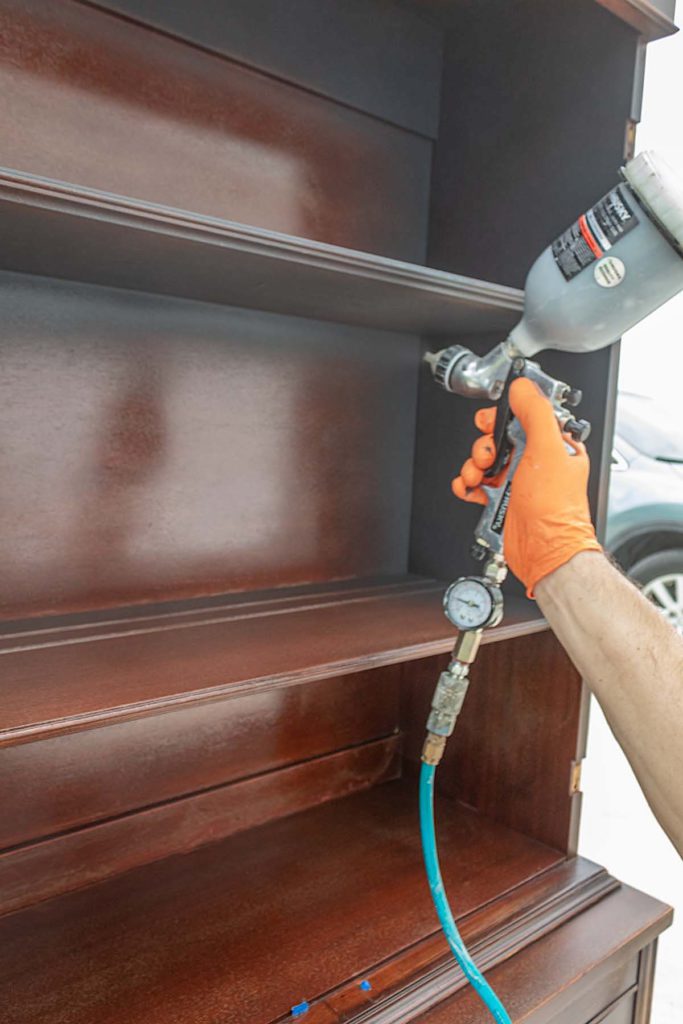
Step 2. Apply The First Color of Paint
I used my paint gun to apply two coats of my first color, Dark Secret. You can also add primer before applying your paint to reduce the amount of paint coats needed.
This is what the china cabinet looked after one coat of the blue. The setting wasn’t quite right on my gun so things looked a bit blotchy, but the second coat would even things out.
Step 3. Paint Your Wallpaper
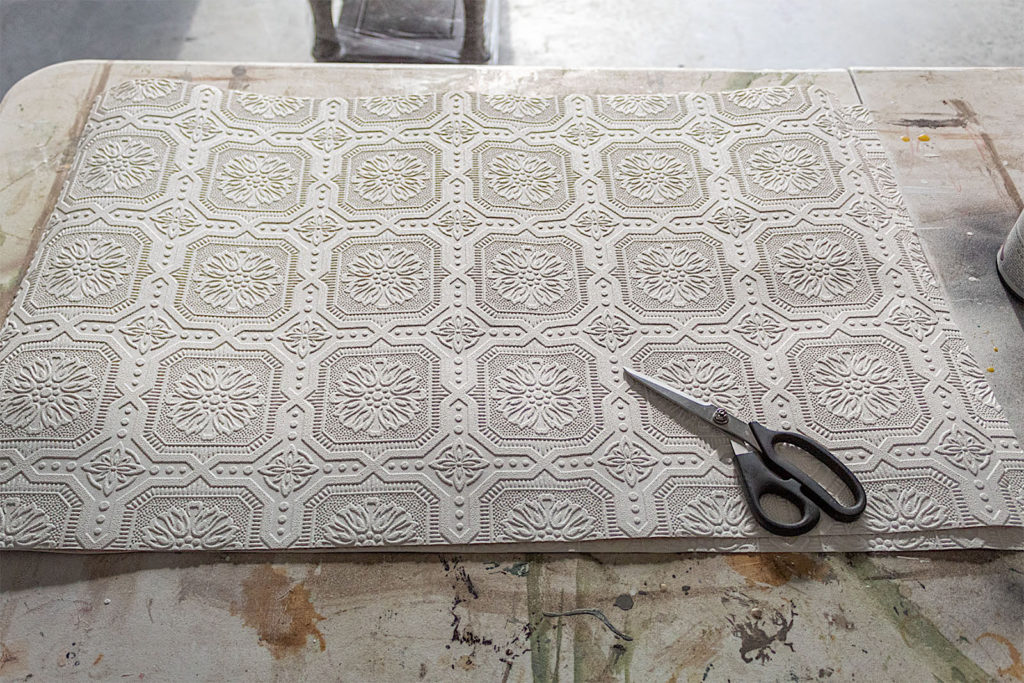
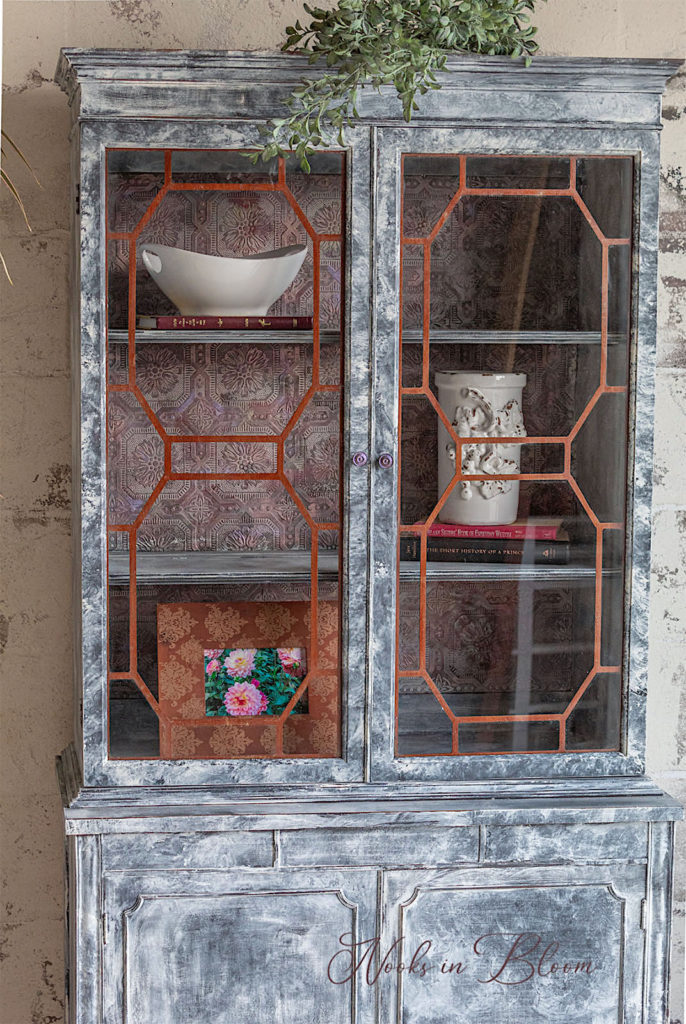
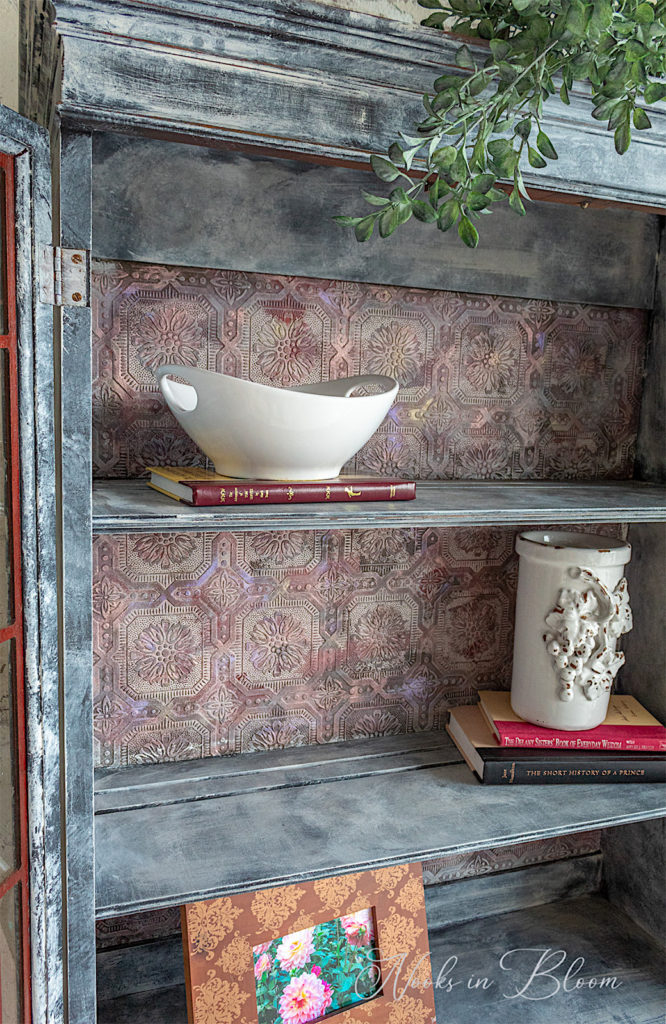
For a funky, fun detail, I decided to add a wallpaper to the top part of the cabinet. I first measured and cut my wallpaper pieces. I just love this paintable wallpaper by Graham and Brown. The pattern and texture is wonderful for elevating the design impact of furniture pieces.
A Brew Of Colors
I prefer to paint my wallpaper prior to hanging on the piece. This keeps unwanted paint from landing on your furniture.
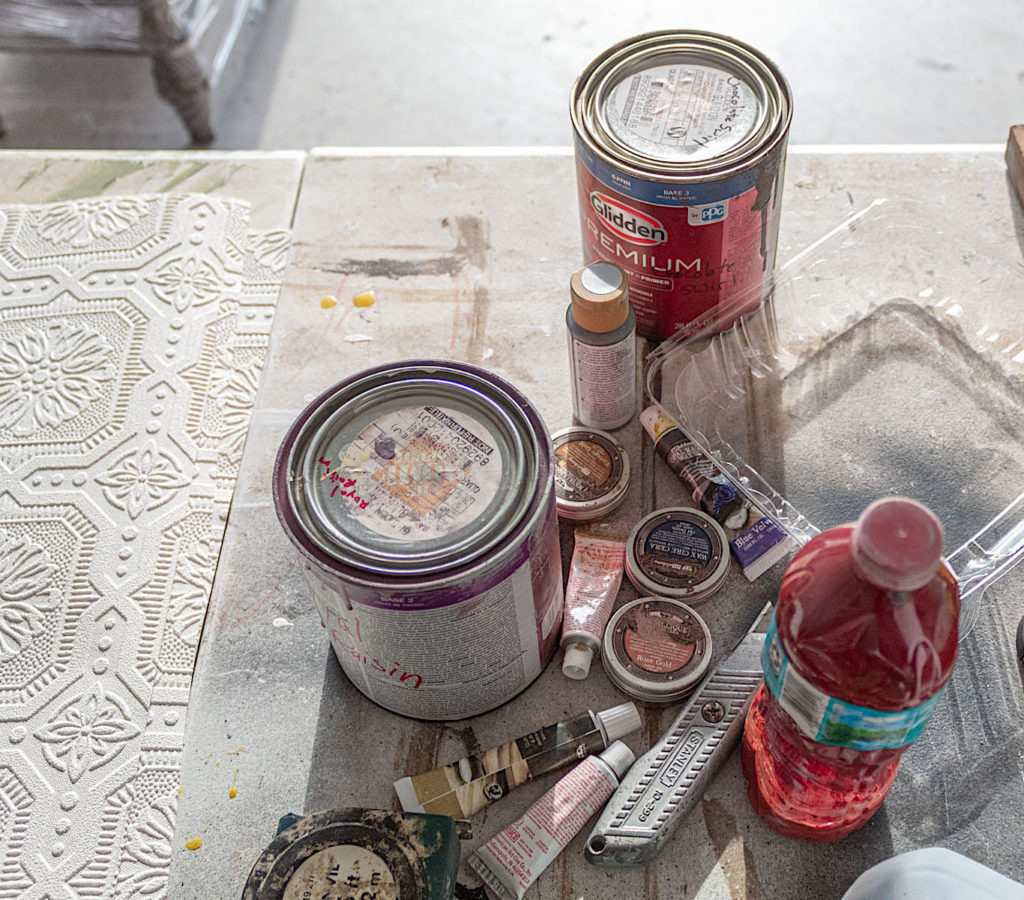
Experimenting with color and texture on the wallpaper is a wonderful way to create an artistic feature for your renovation project. I pulled out a few colors of leftover chalk paint and an assortment of tinted metallic waxes.
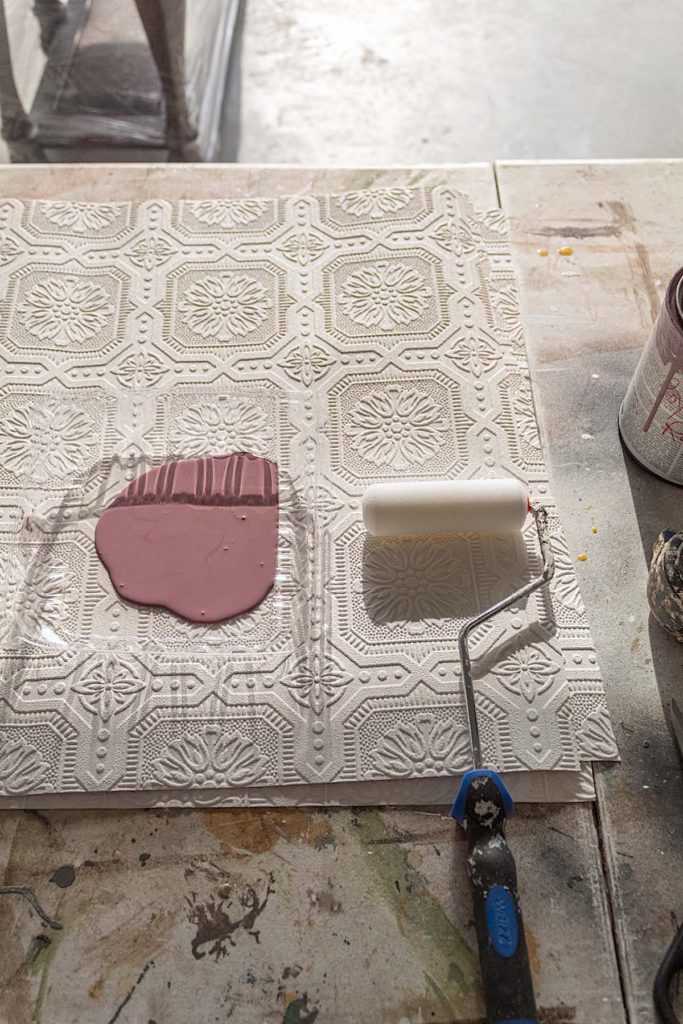
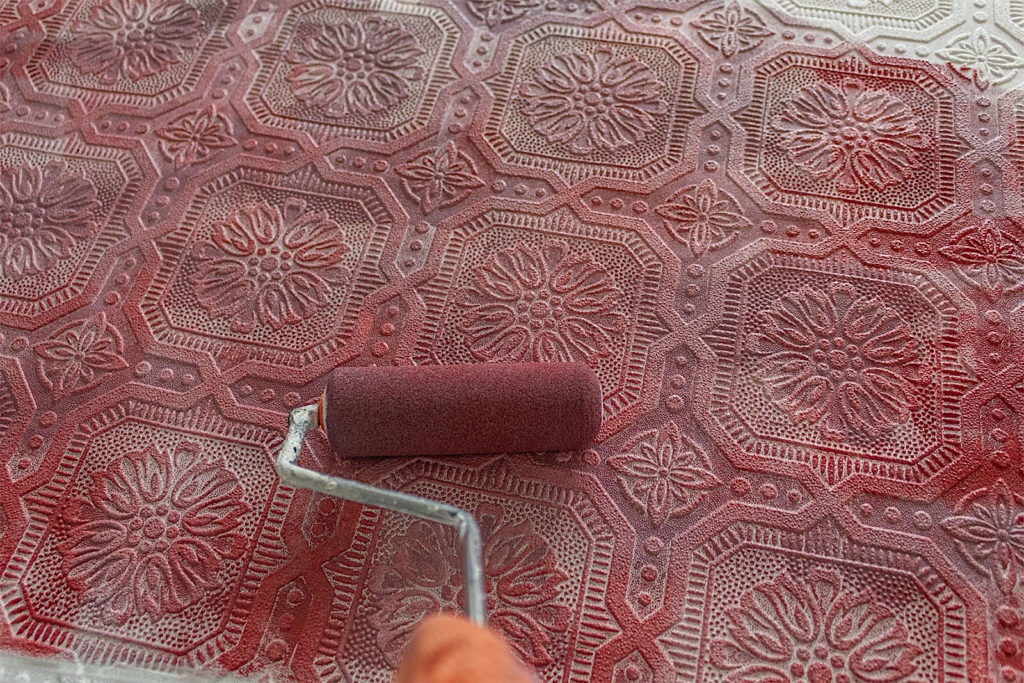
I like using a mini paint roller versus a paint brush to decorate the wallpaper. It glides over the raised texture of the paper highlighting all the details. I find brushing with a paintbrush loses a lot of the paper’s details.
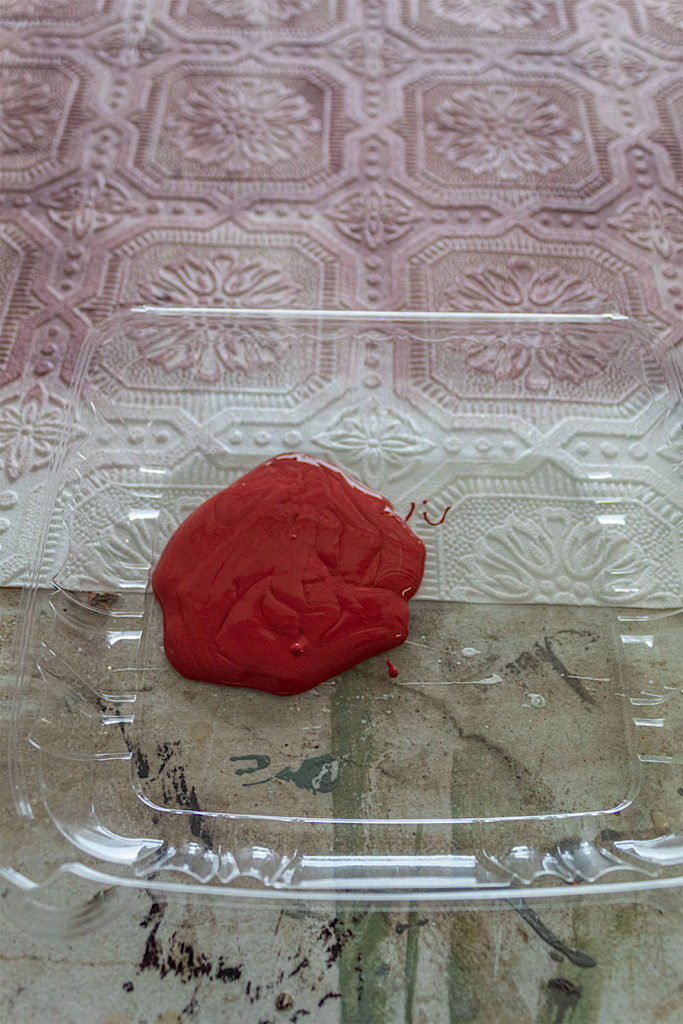
Royal Raisin by Behr was my first color. I am intentionally blotchy with my application. I also kept coverage light.
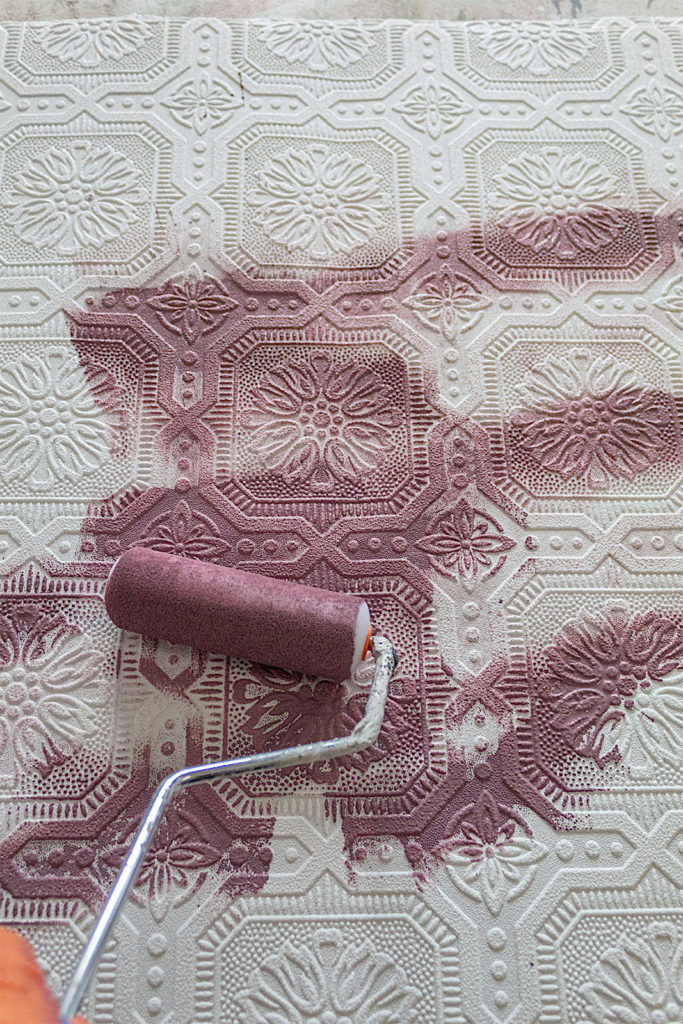
Next I added a red in the same fashion.
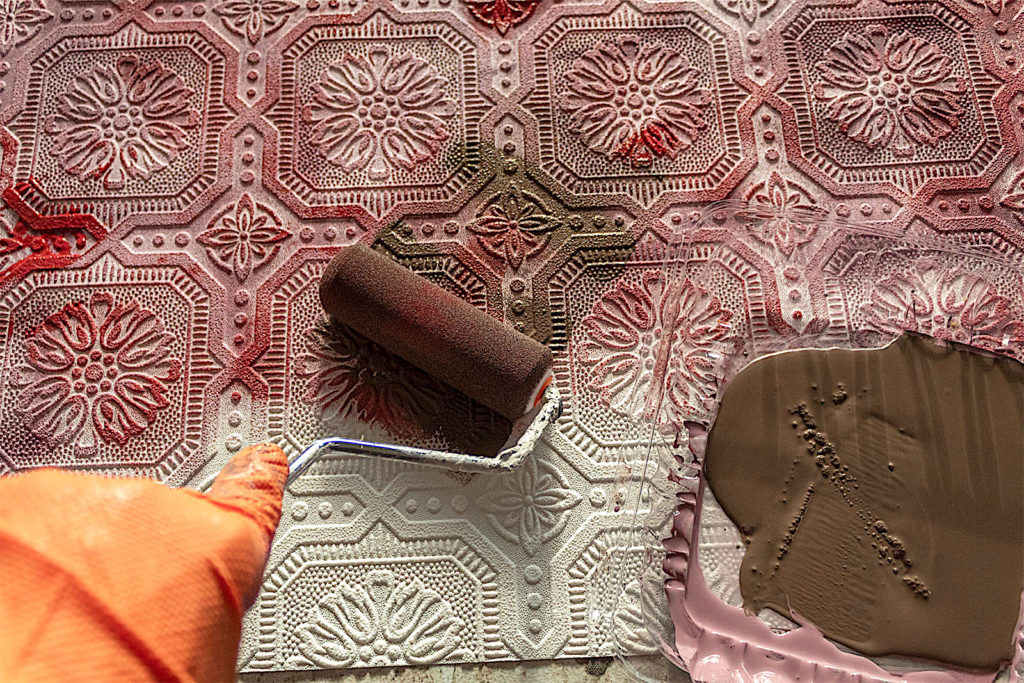
Now the two colors begin to create a beautiful sea of plum and red hues. Here’s where you indulge with color and see what happens. I suggest keeping all paint light in coverage so as to avoid drowning any color or getting a muddy aesthetic.
For some darker depth, I add some brown. This color is called Chocolate Swirl by Behr. By the way, I’m not allowing much dry time in between colors. Chalk paint dries rather quickly and I didn’t mind if some of the colors blended together. That resulted in another level of pretty!
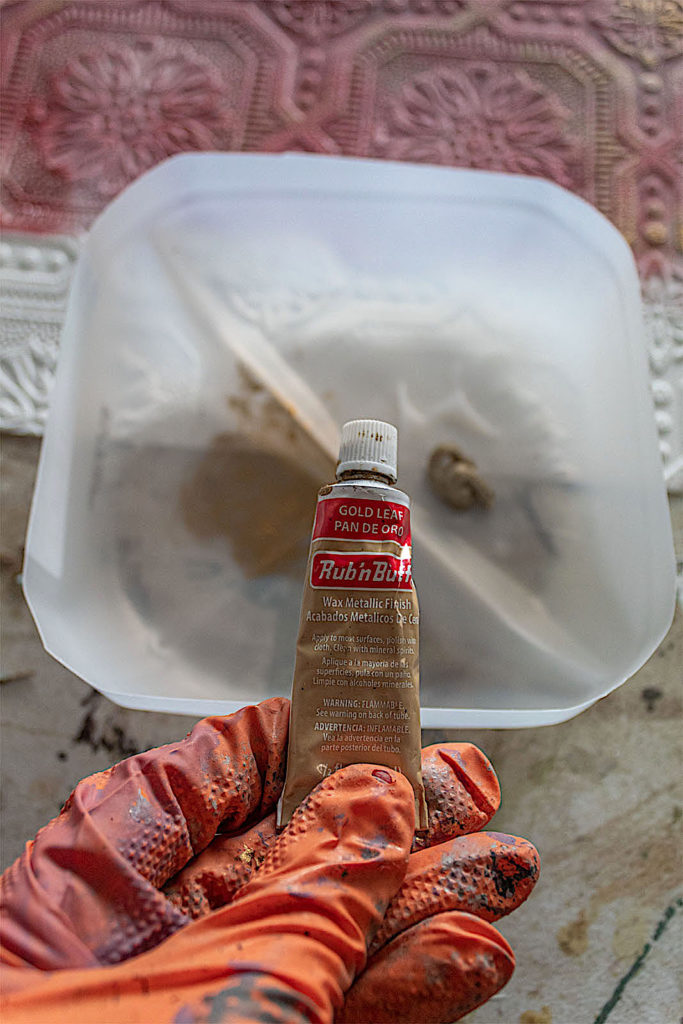
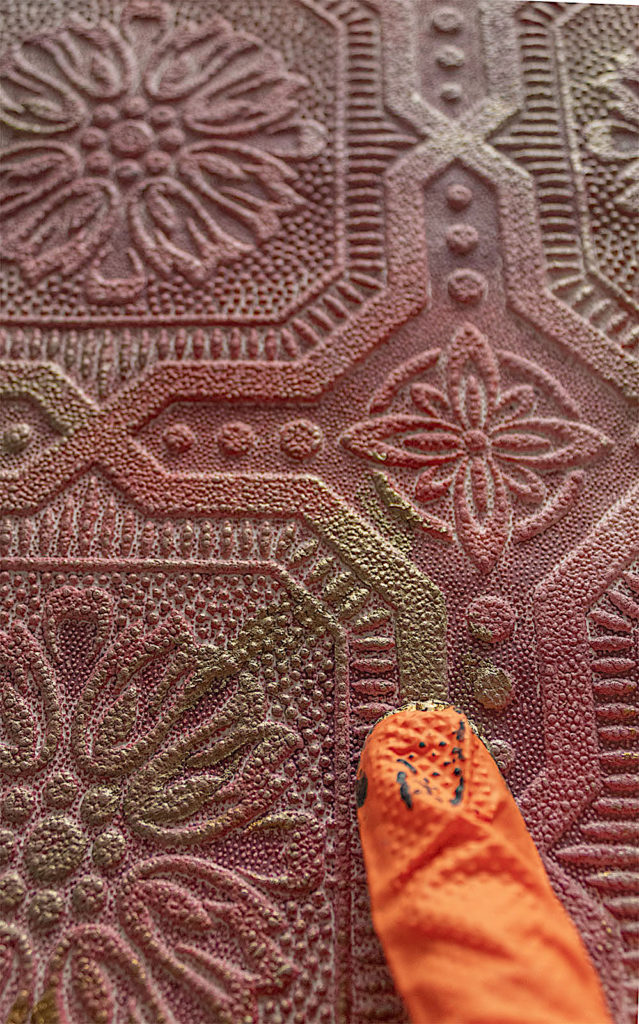
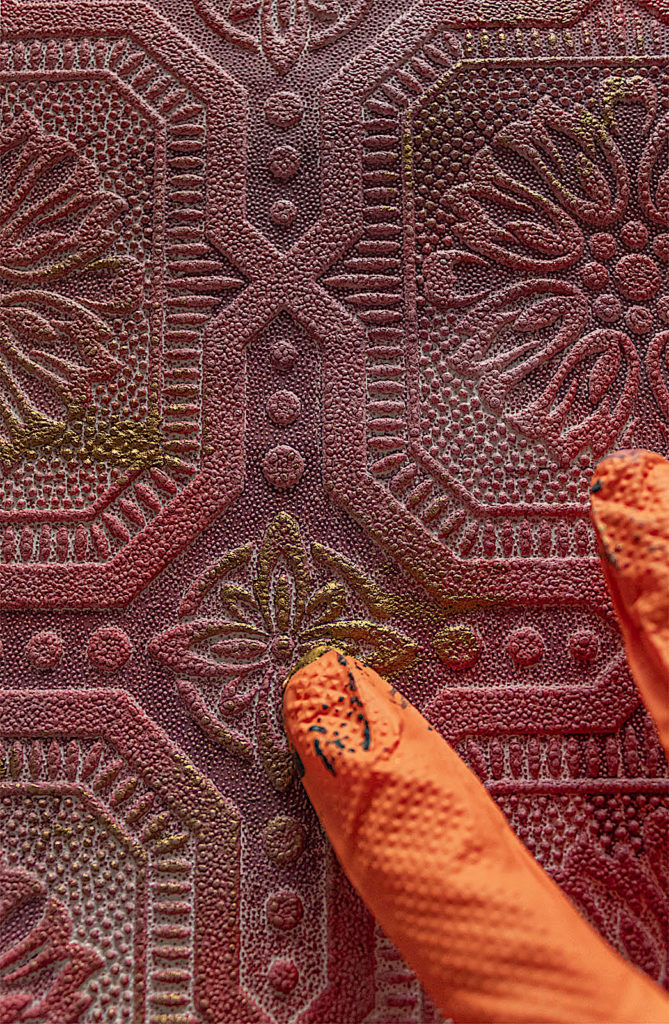
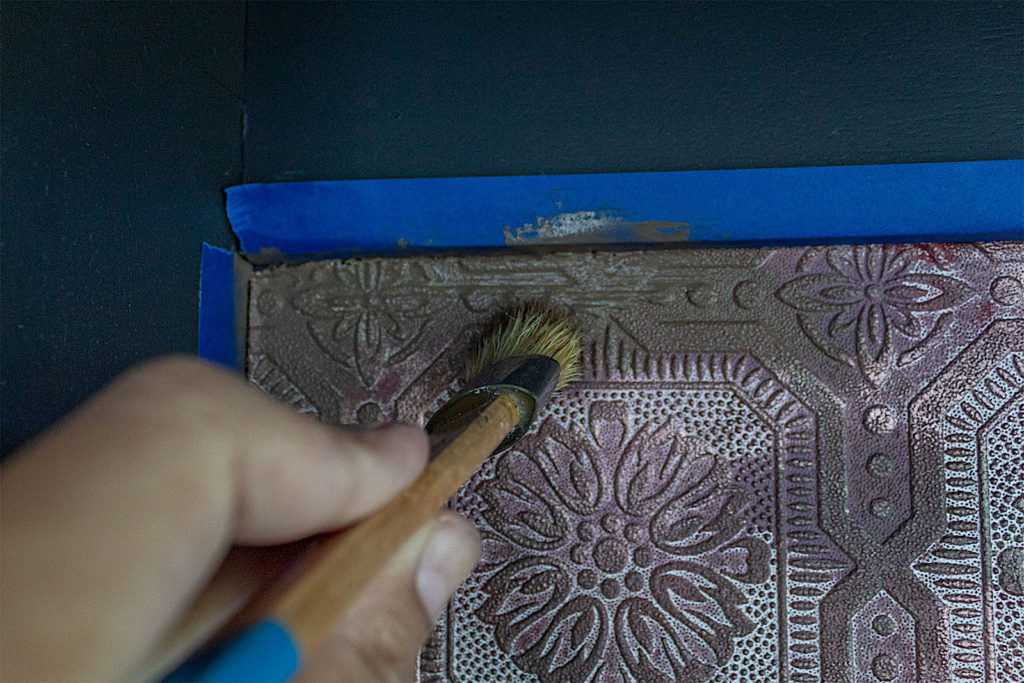
Next I add in some metallic waxes in random parts by rubbing colors onto the paper with my fingers.
I use the waxes sparingly, highlighting corners, edges and small details.
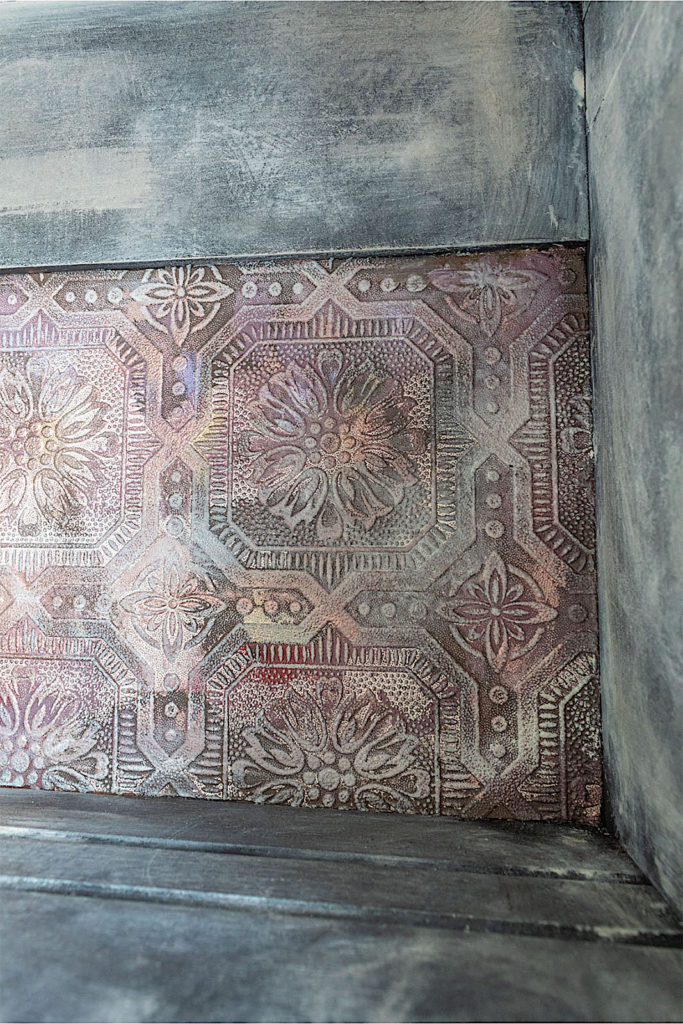
The metallic sheen is going to add elegance and somewhat of an optical illusion. When you look at this piece, later with the wallpaper adhered, it will appear less like wall paper and more like a stylish metallic feature.
Unleash Your Inner Artist
These are the moments of the craft that I relish. I can let go and experiment with different colors and combinations…there are no rules, just enjoy the artistic process!
Step 4. Hang Your Wallpaper
Once I was satisfied with the color scheme, it was time to hang my wallpaper.
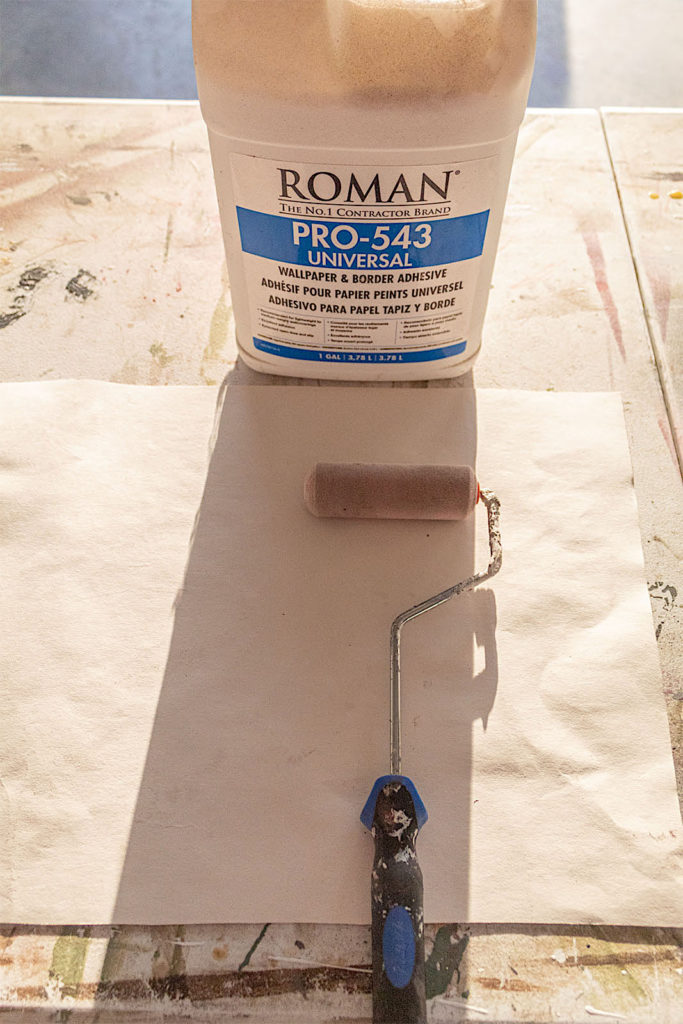
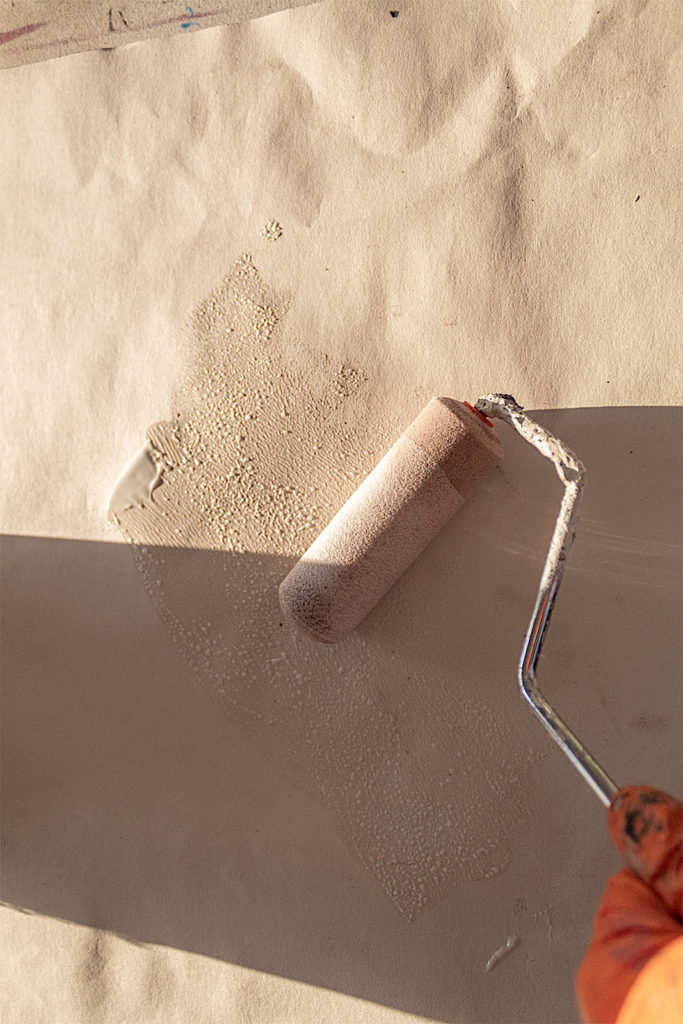
Using a clean paint roller, I added a generous amount of wallpaper glue to the back of my wallpaper pieces, one at a time. I let the glue sit on the paper for about a minute before hanging to give it some time to set.
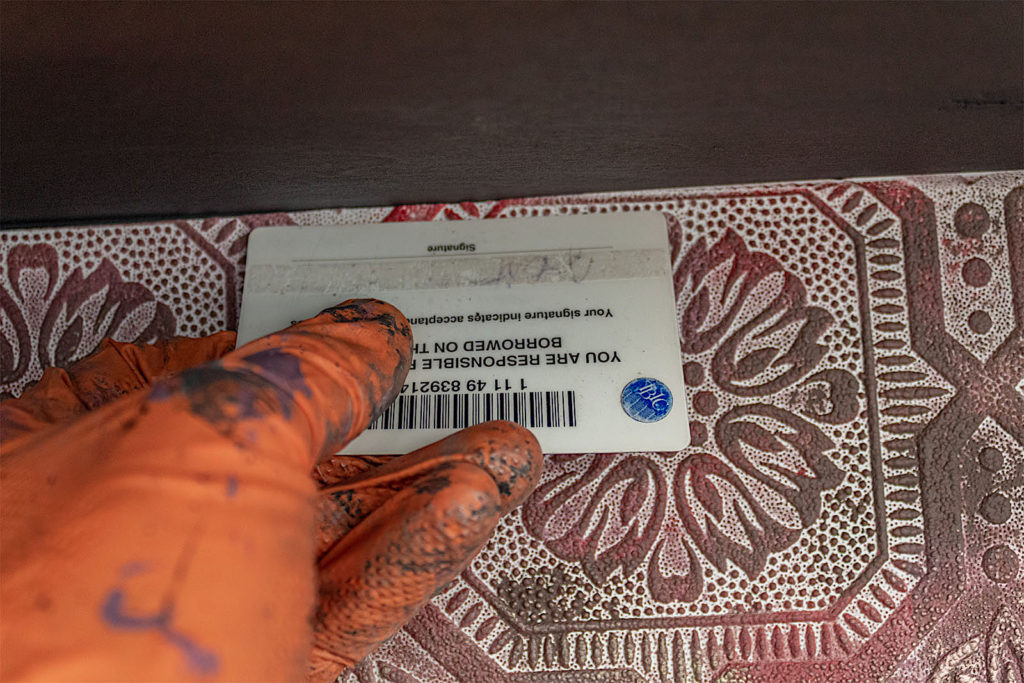
I used a library card to help smooth in the edges since I couldn’t locate my smoothing tool. I trimmed any excess of paper with a utility knife.
I also came back over with some color to disguise any seams.
Step 5. Add Your Final Paint Color
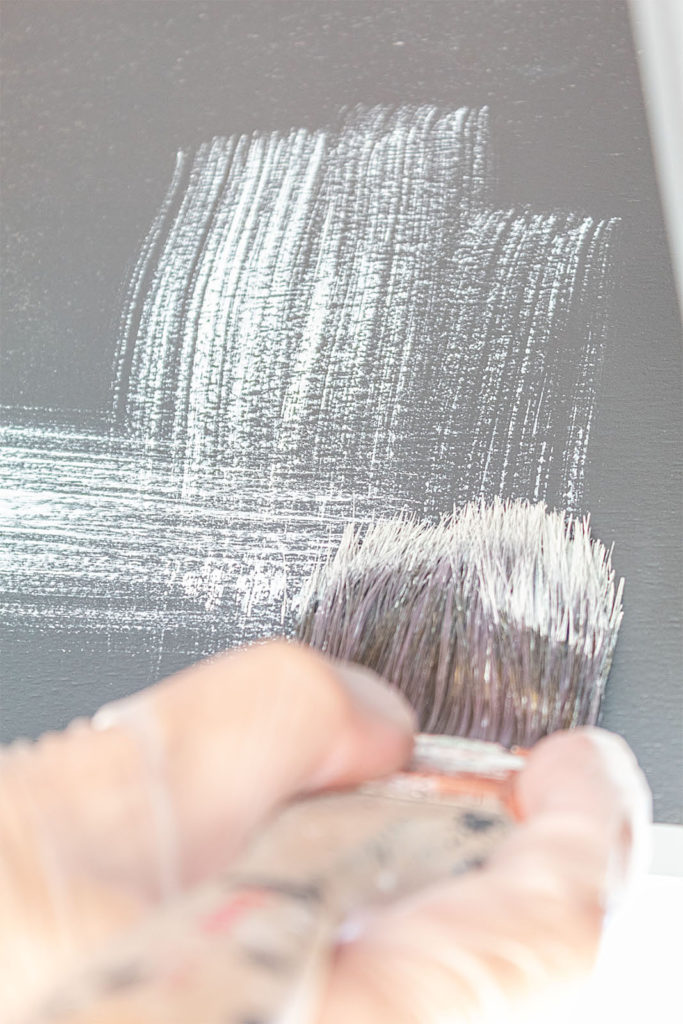
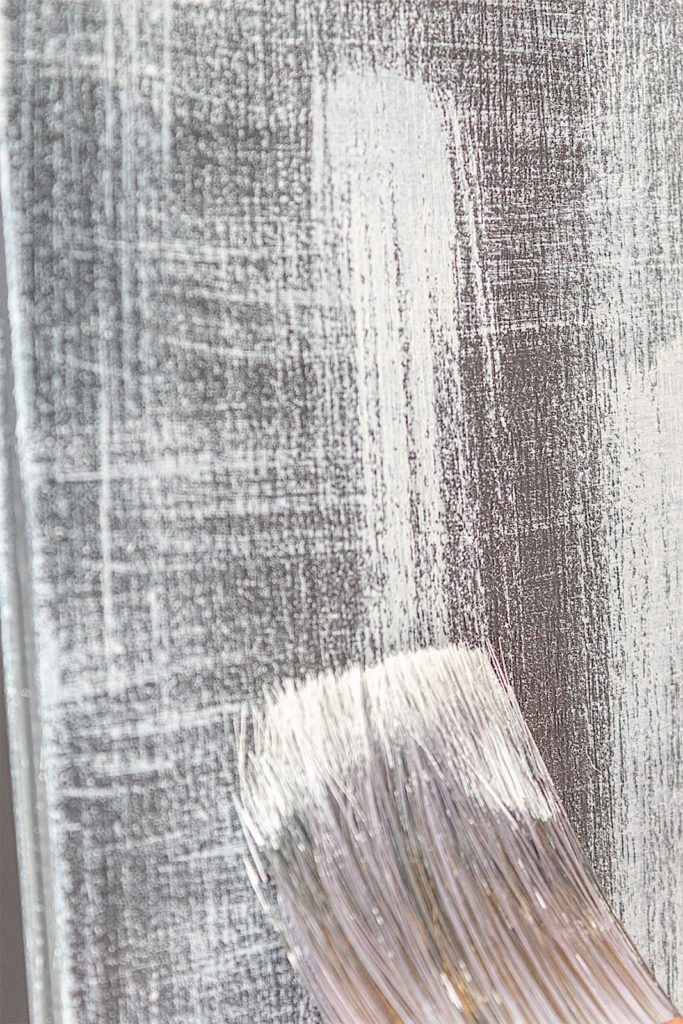
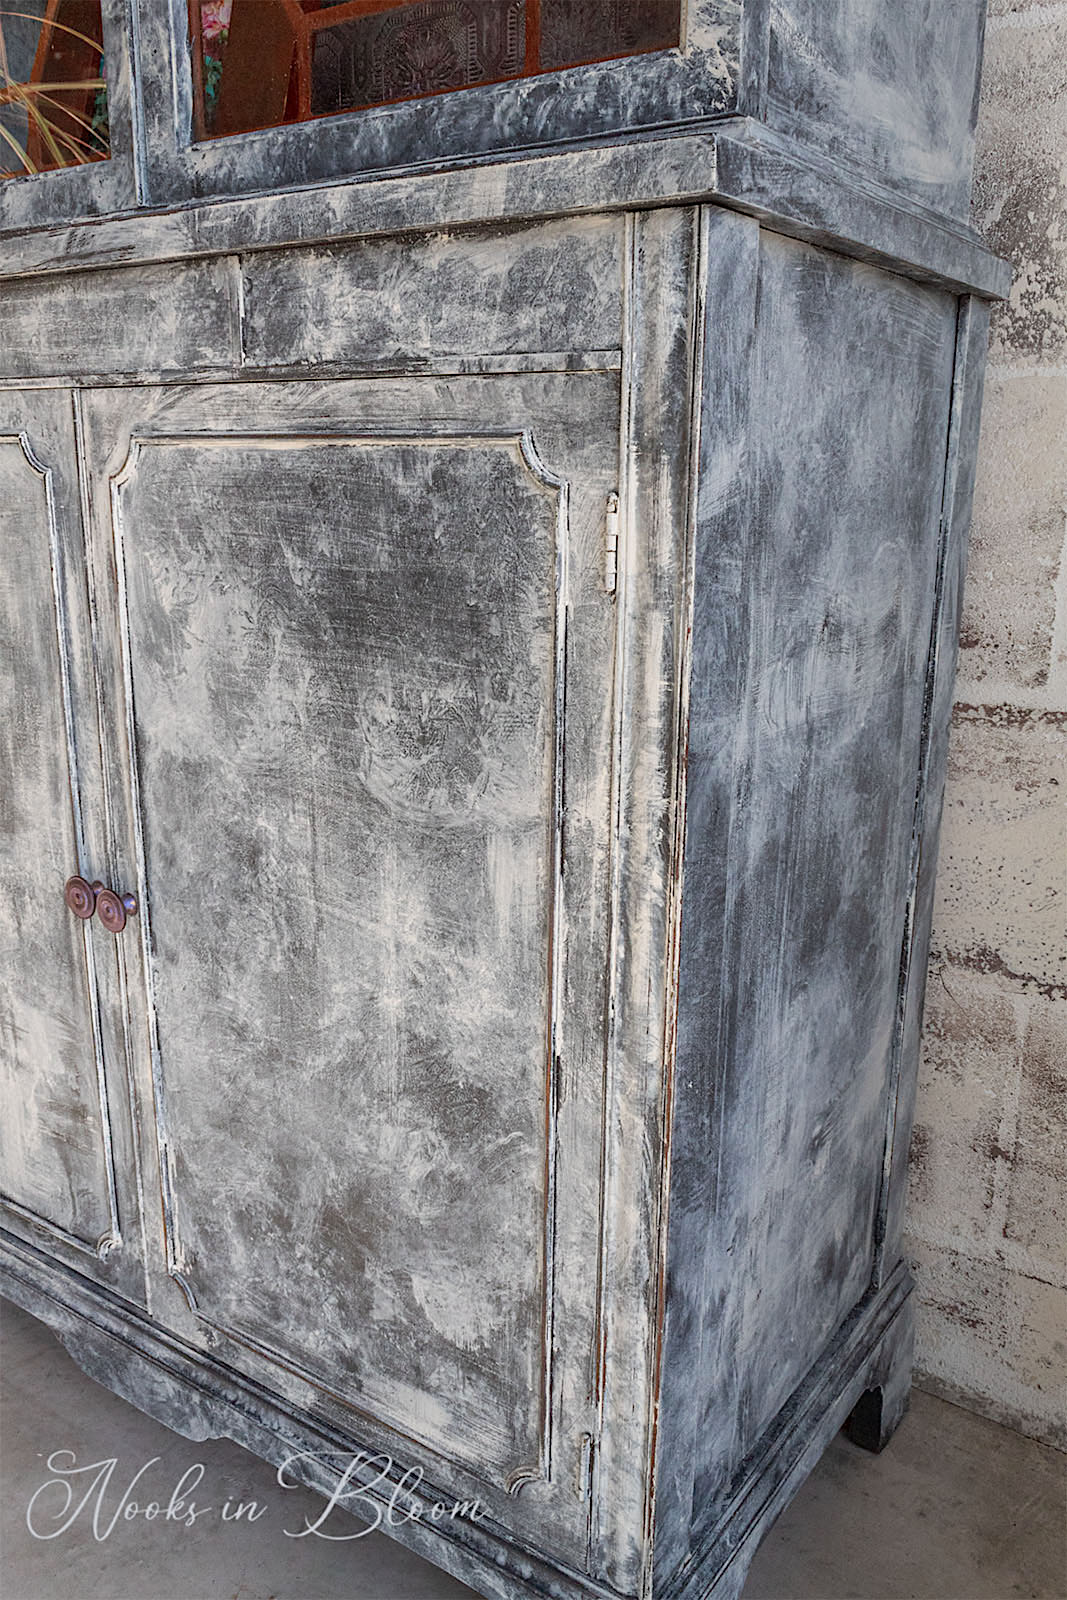
To expand on the artistic vibe of this piece, I decided to paint my top color, Behr’s Weathered White, with both a textured and cloudy effect.
I first dry brushed some of the white paint on, in both horizontal and vertical strokes. This I did in some sections until a textured effect was created. I was careful to leave parts of the blue underneath exposed.
Unfortunately I did not snap a picture of the cloudy effect technique but it goes like this:
√ dry brush a few strokes in a small section √ immediately mist the area with the misting bottle to add some moisture √ rub around in circular motions with a paper towel to move the paint and soften the strokes AND √ you can also apply the paint in circular motions √ dab up and down with the paper towel over the paint to smudge and/or pull off a little of the paint for a distressed effect
You can play with both of these techniques for a beautiful and unique finish.
My sweet friends, I hope that you found this tutorial enjoyable and informative. Please let me know what you think and if I missed any details in the instructions. I would love to hear from you!
I will leave you with some more pictures of the finished China Cabinet!